Quick Answer
To assemble the nanoblock Rayquaza set successfully, work in a well-lit area, sort all pieces before starting, and use tweezers for the tiny 4x4x5mm blocks. Press each block firmly until you hear a click, and follow the manual step by step without skipping ahead.
Why nanoblock is different from standard building blocks
nanoblock sets use extremely small blocks—the smallest part is only 4x4x5mm. This micro scale allows for more detail than standard building blocks, but it also means your fingers may struggle to handle and press the pieces accurately.
The Rayquaza set is part of the PokéNano series, which recreates legendary Pokémon in this compact format. Because the pieces are so small, assembly requires patience and a steady hand. Understanding these differences before you start will help you avoid frustration.
Trade-off: speed vs. accuracy
It can be tempting to rush through the build, especially when you are excited to see the finished Rayquaza. However, forcing pieces together too quickly often leads to misaligned connections or broken blocks. Take your time, especially with the first few layers, because a small error at the base can cause the entire structure to be unstable.
If you are new to micro block models, expect the build to take longer than a standard block set. The reward is a more detailed and compact display piece.
Step-by-Step Assembly Guide
- 1. Prepare your workspace: Choose a flat, well-lit surface. Empty all pieces onto a tray or shallow container to prevent them from rolling away. Sort pieces by color and size if possible. A bright desk lamp and a white tray make it easier to spot the tiny blocks.
- 2. Read the manual before starting: Skim the entire instruction sheet to understand the build sequence. Identify the base layers and any repeated patterns. Do not skip steps, as each layer supports the next. Mark the starting point with a small sticker if the manual is not clear.
- 3. Use tweezers for placement: Pick up each block with tweezers and position it gently. Avoid using excessive force, which can crack or deform the blocks. For very tight spots, use the tweezers to press down carefully. If the tweezers leave marks, use a soft cloth or your fingertip for final pressure.
- 4. Press blocks firmly and evenly: After placing a block, press down with even pressure until it clicks into place. Check that the block is level with its neighbors before moving on. Uneven pressure can cause gaps or misalignment. Listen for a soft click—if you do not hear it, the block may not be fully seated.
- 5. Build in small sections: Follow the manual to assemble sub-sections before attaching them to the main body. This makes the build more manageable and reduces the risk of knocking over a large fragile structure. When attaching sections, align all connection points before pressing down.
- 6. Fix mistakes immediately: If a block is in the wrong place, remove it with a brick separator or the flat edge of tweezers. Do not wait until later, as removing blocks from a completed section is harder and may damage surrounding pieces. Keep a small container for spare blocks in case you lose one.
Product Spotlight
-
nanoblock - Pokemon - Rayquaza (NBPM-064): The smallest nanoblock part is only 4x4x5mm, making it possible to create more detailed and smaller projects than standard sized blocks. This tiny scale means you need tweezers and a steady hand to place and press each block accurately, especially for the Rayquaza's intricate shape.
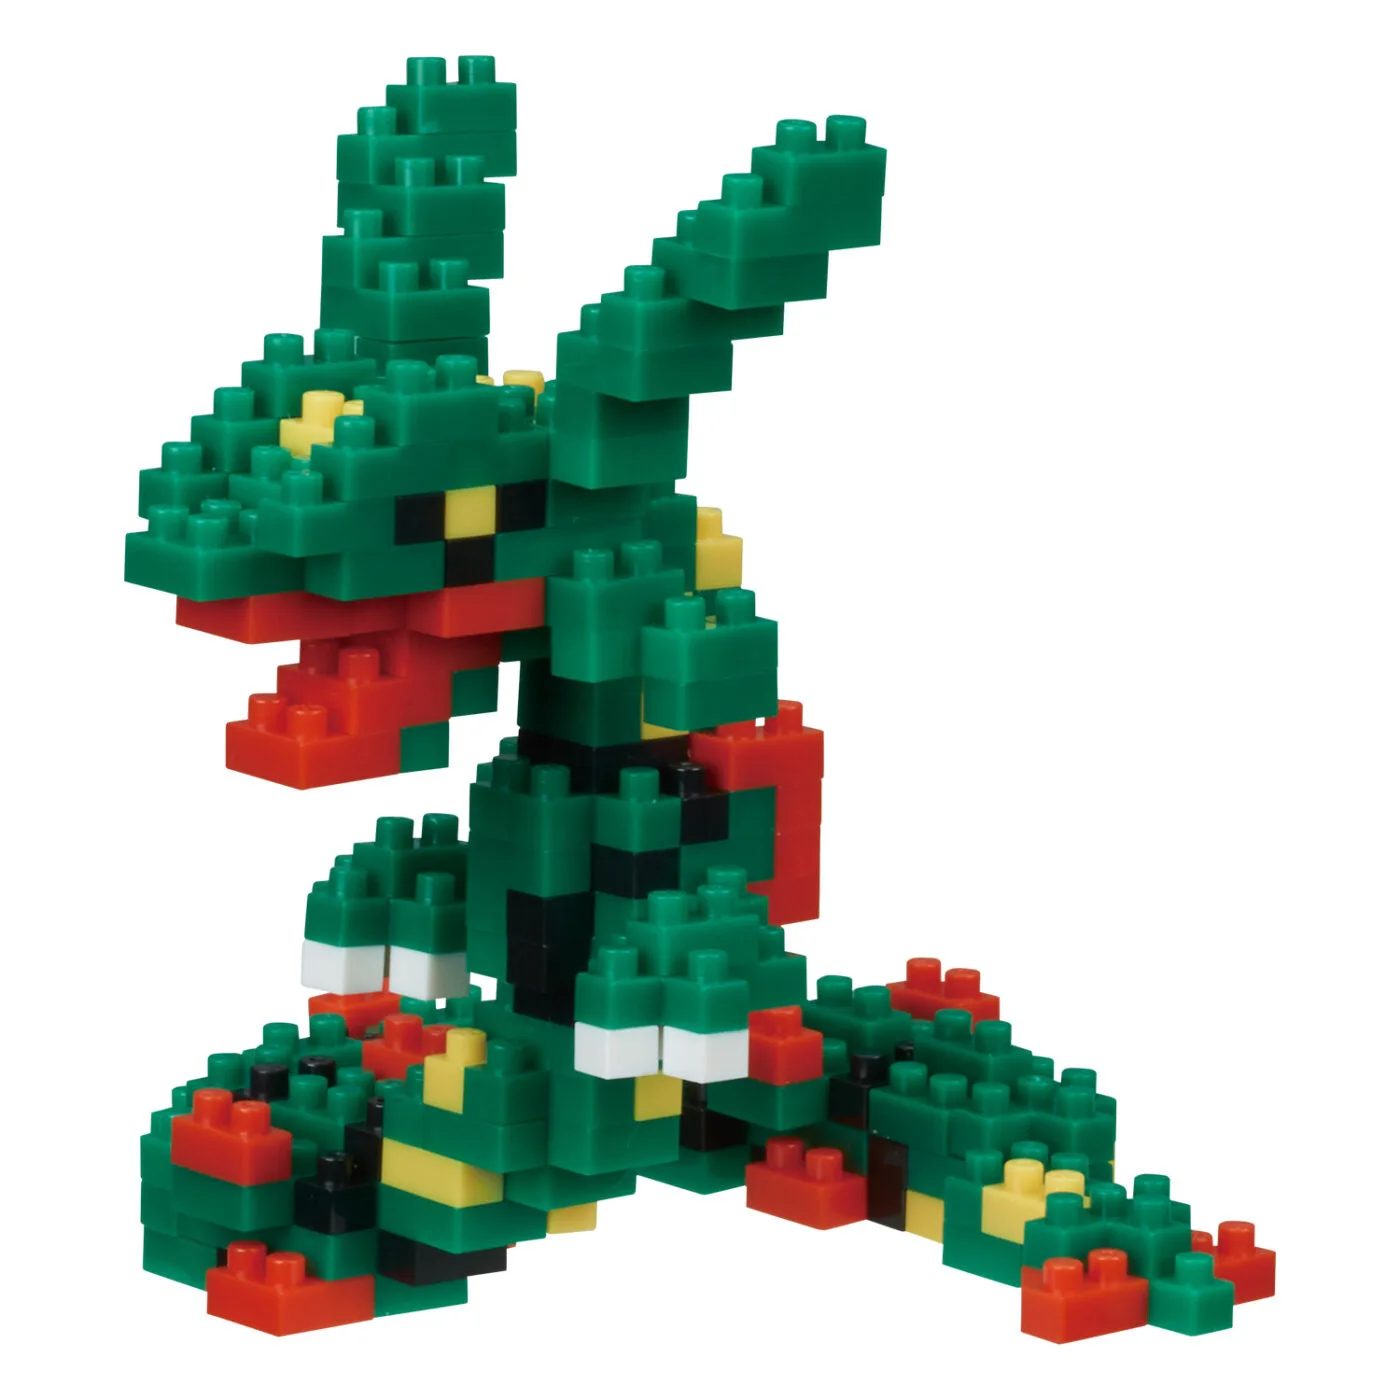
nanoblock - Pokemon - Rayquaza (NBPM-064)