Quick answer
Route the 24-pin, CPU EPS, and GPU cables through the grommets closest to their headers, bundle them flat against the motherboard tray, and use the PSU shroud as your main cable reservoir. For a faster build, start with an NZXT bundle like the H5 Flow + Kraken Elite 240, which pairs a mesh case with an AIO so you can plan cable paths before installing parts.
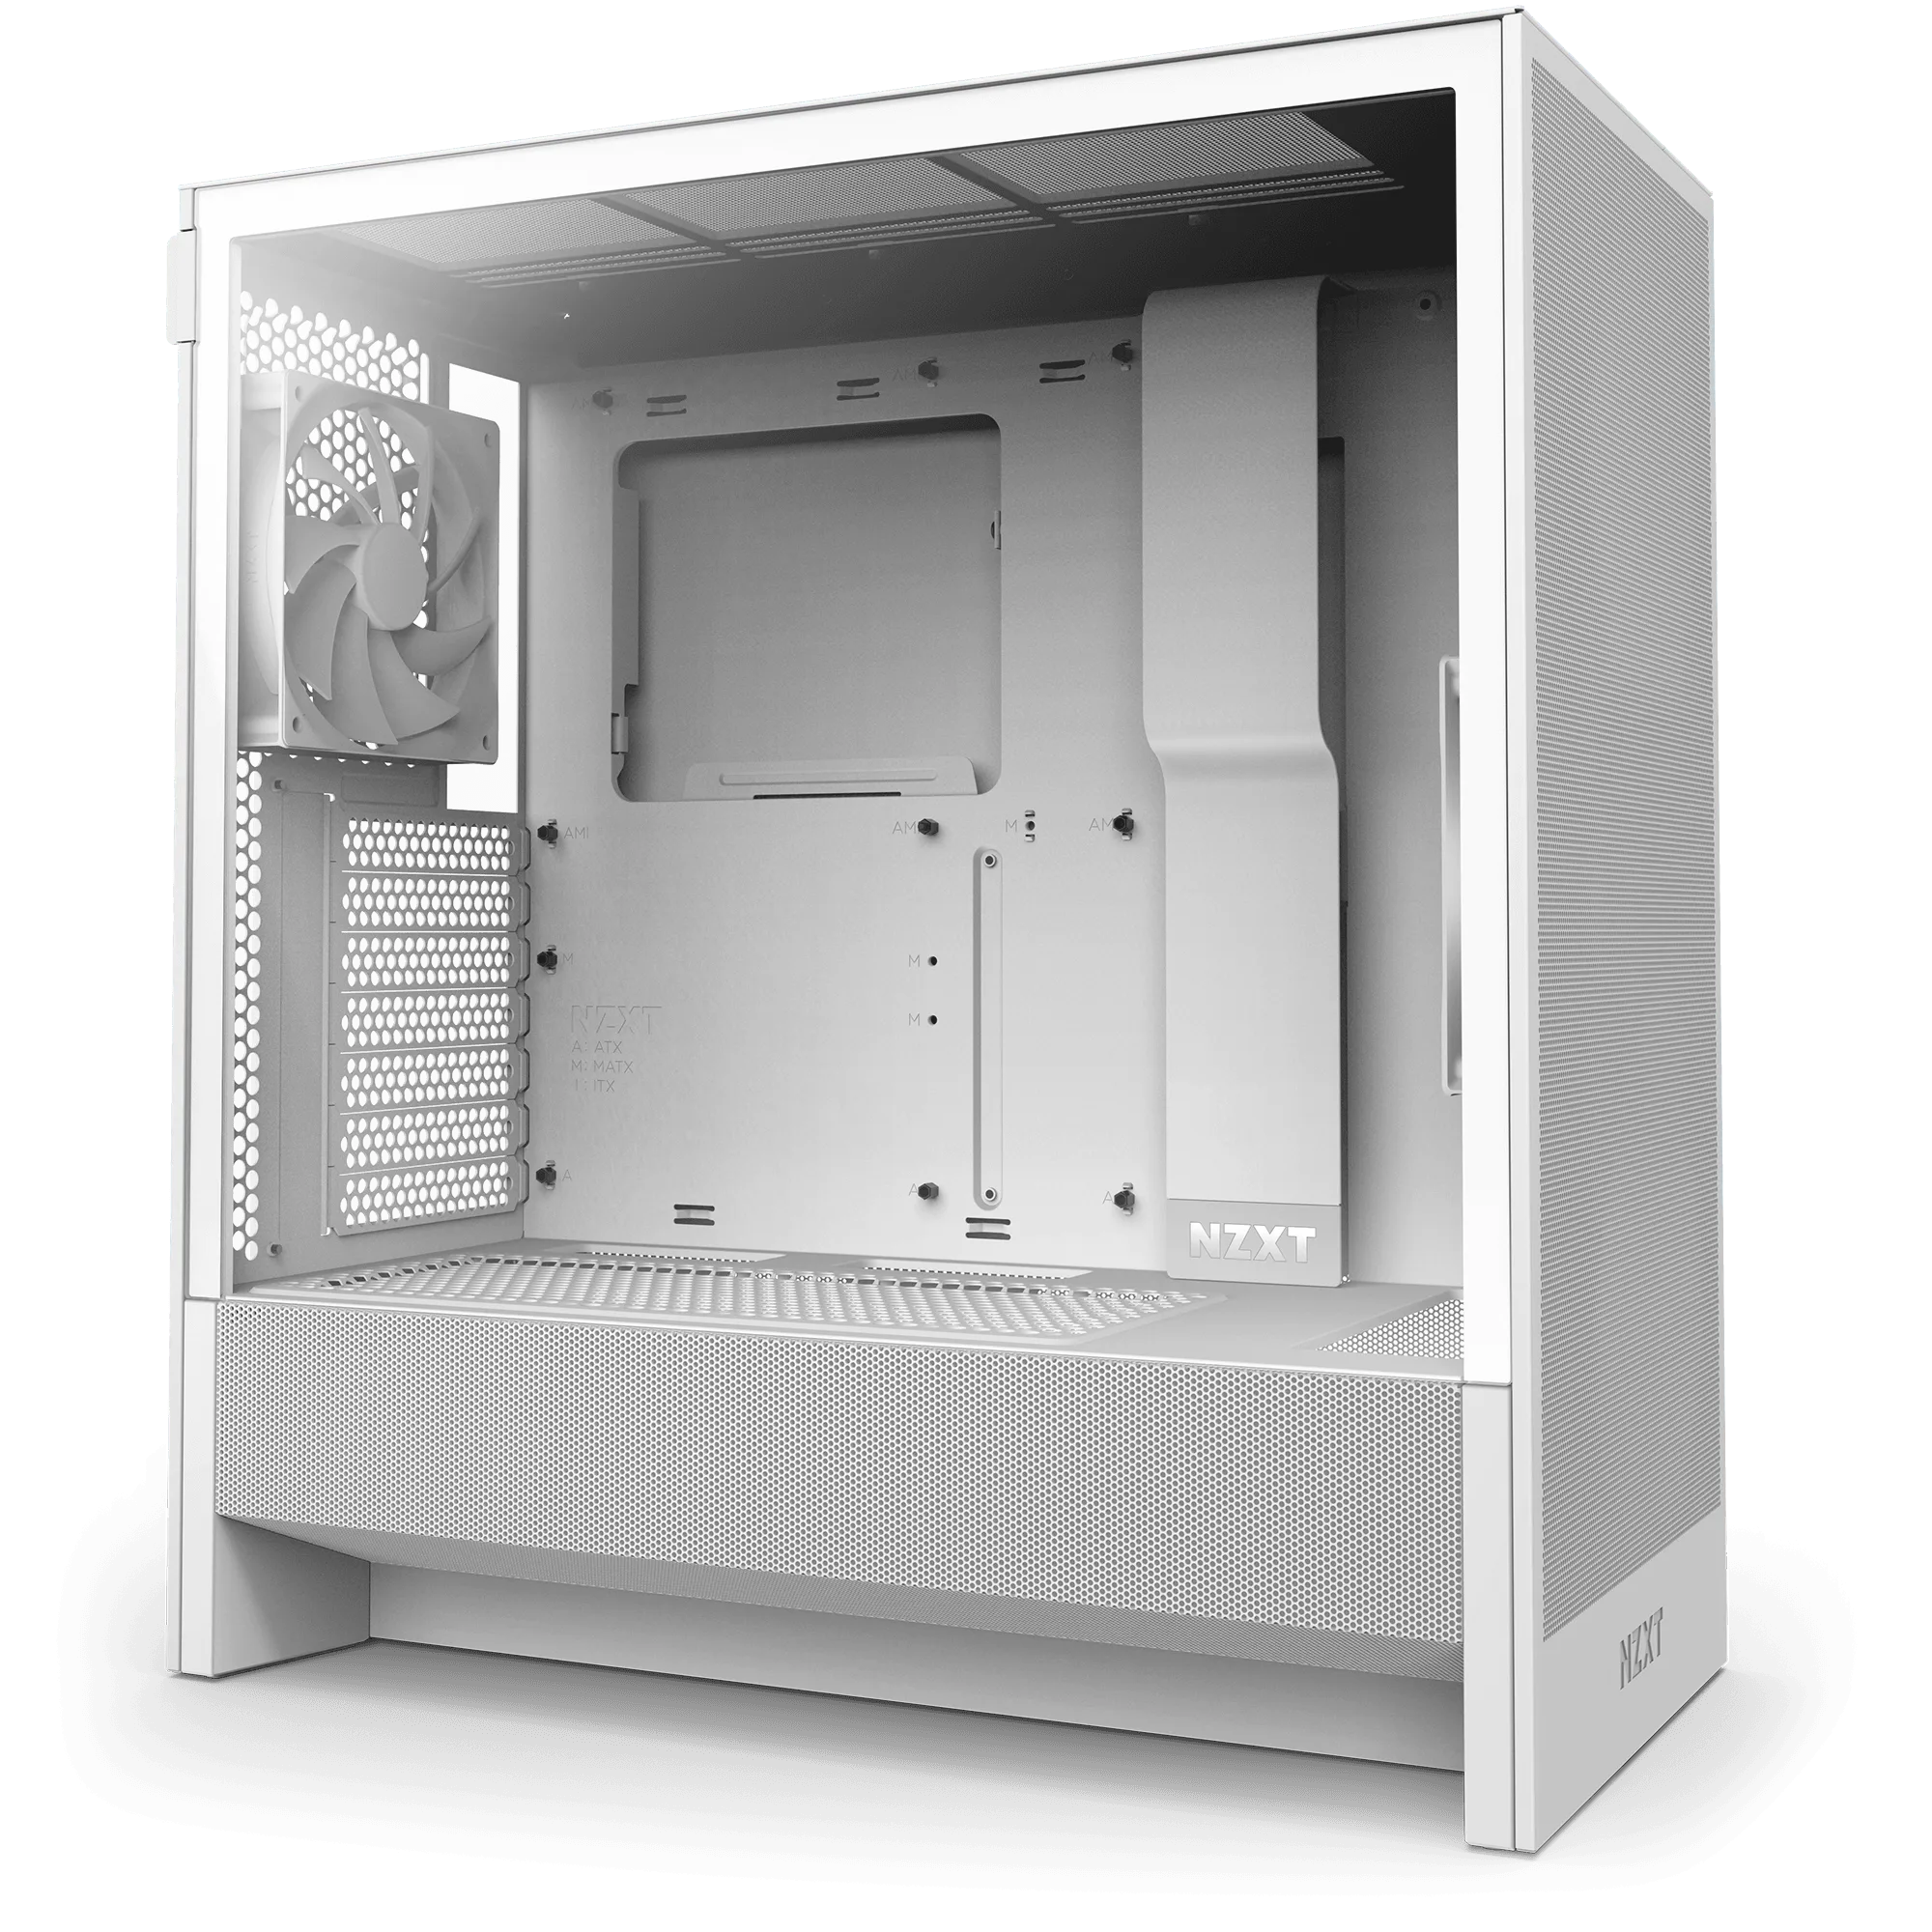
H5 Flow + Kraken Elite 240
Cable management in the NZXT H7 Flow RGB is less about hiding every wire and more about protecting airflow and making future upgrades painless. The case gives you mesh panels, a perforated PSU shroud, and generous radiator support, but those benefits disappear if cables block the front intake or tangle around the GPU.
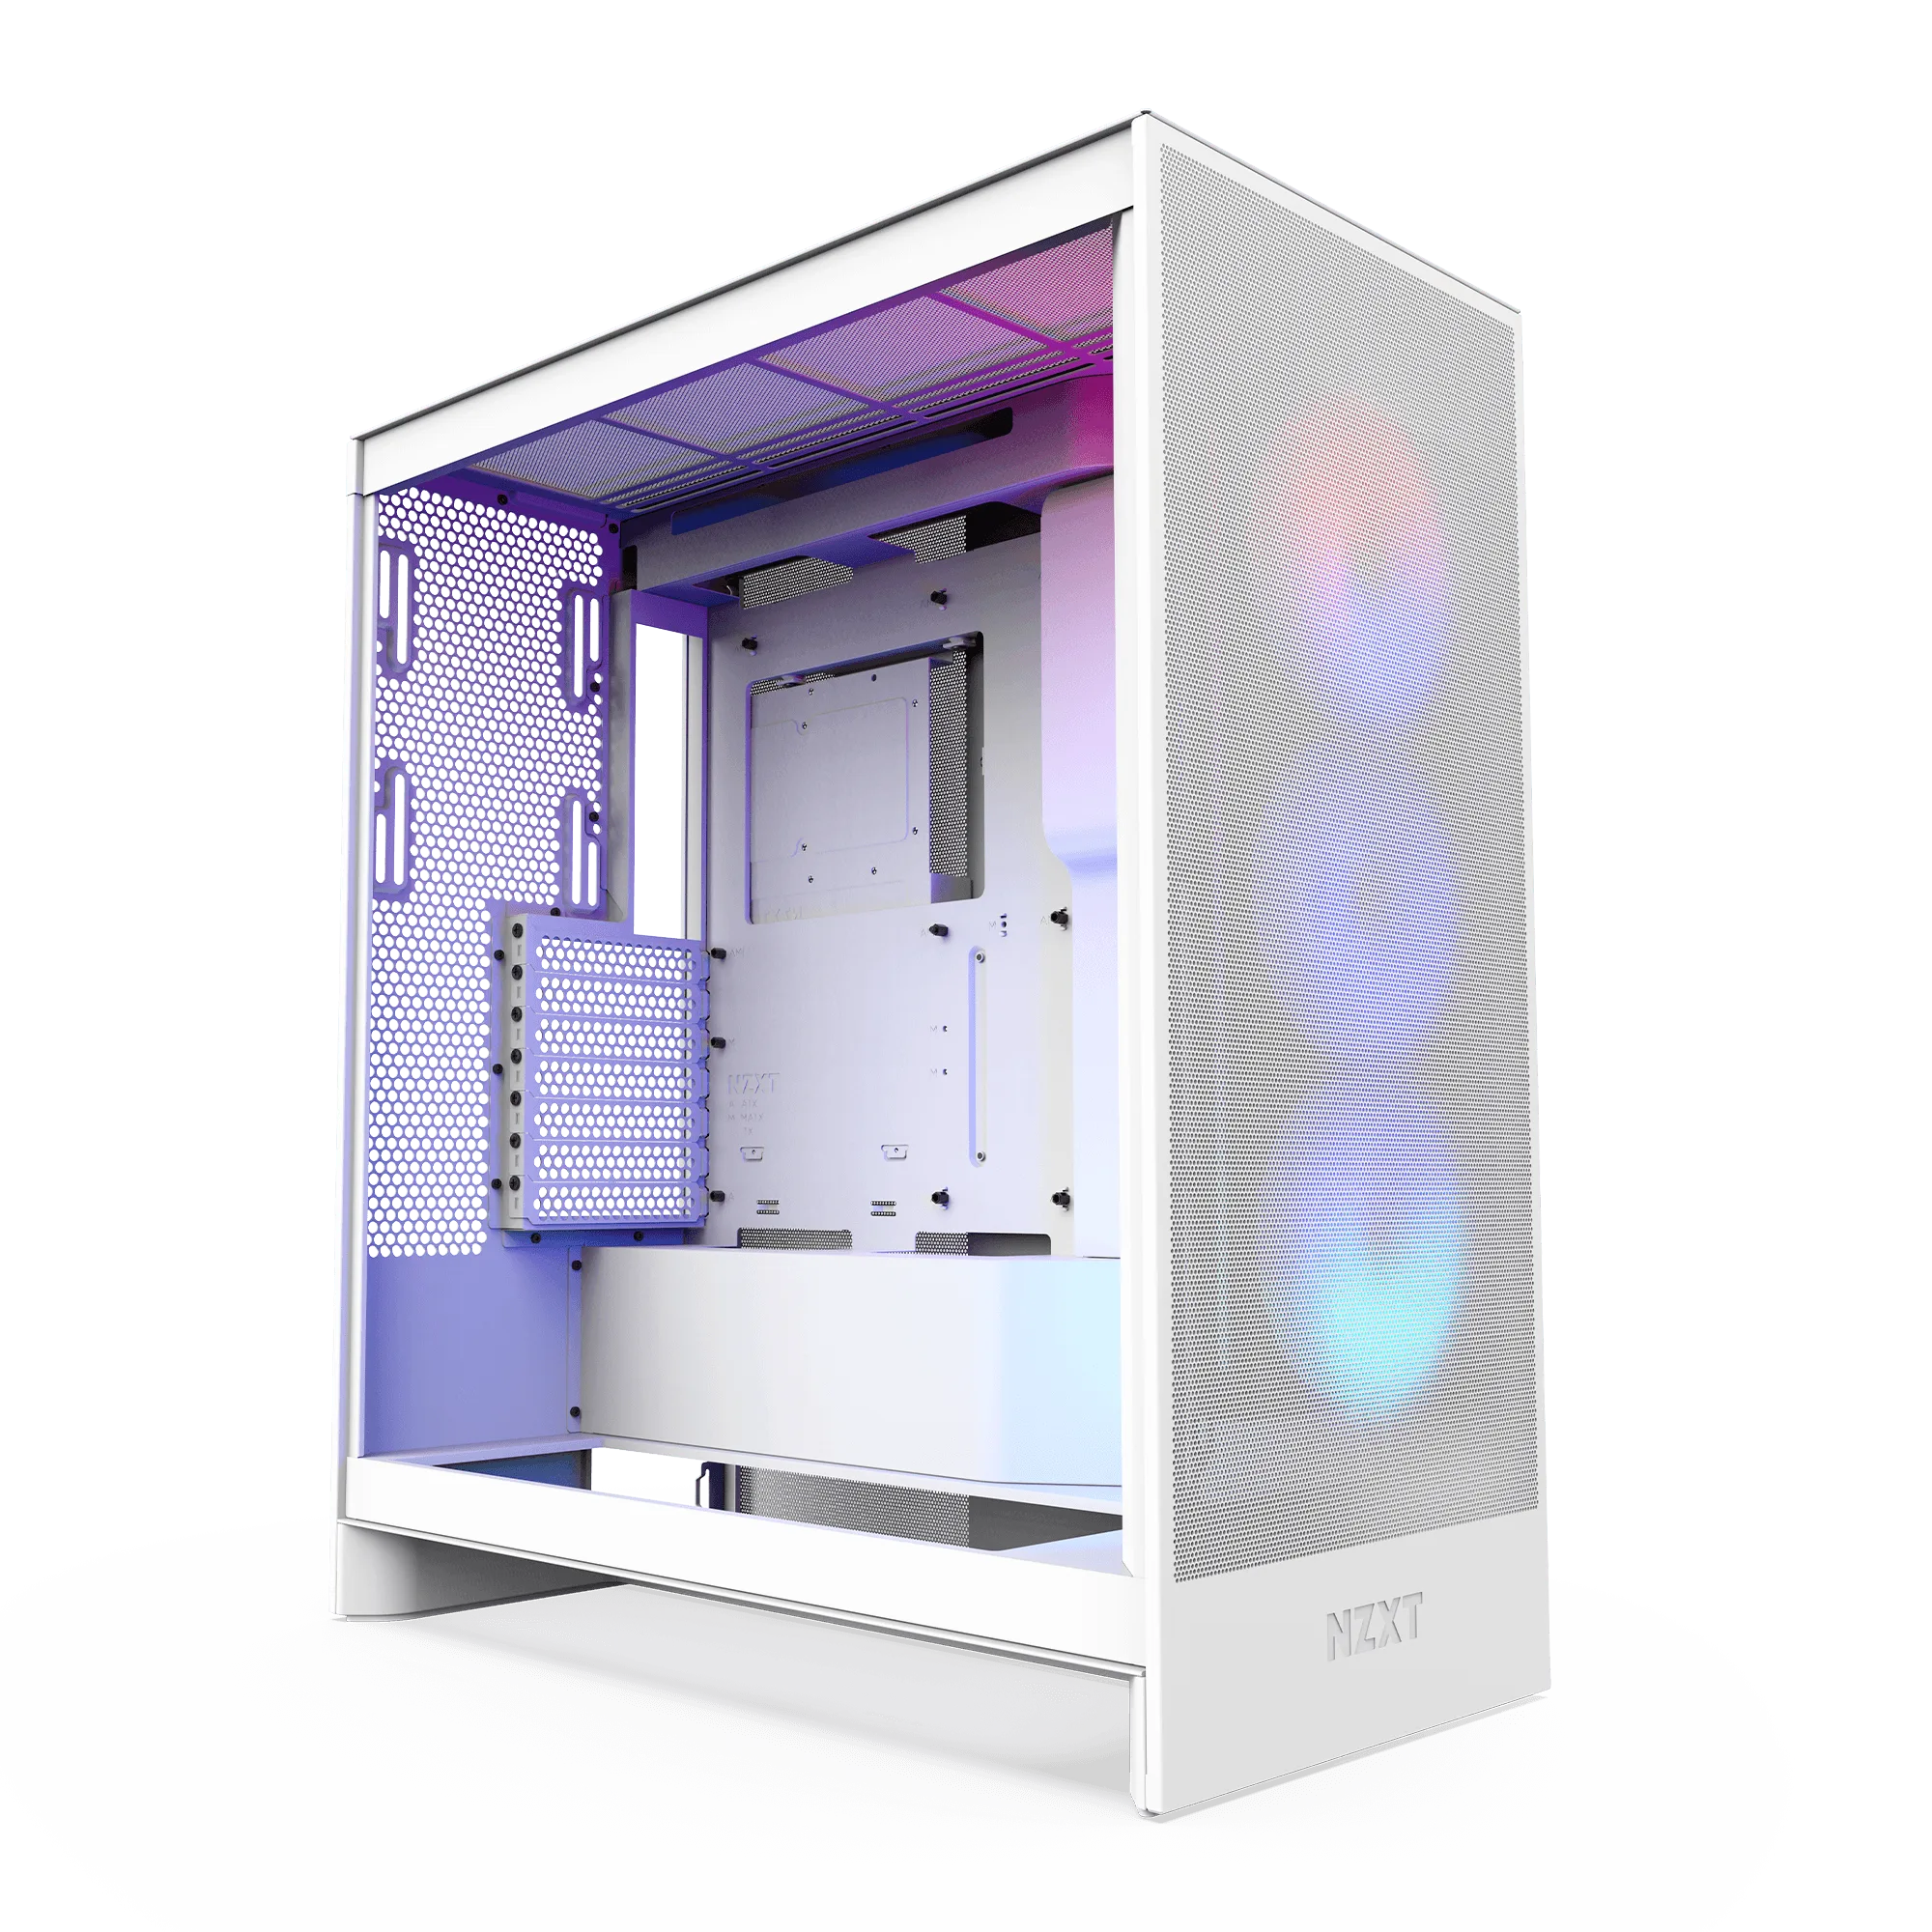
H7 Flow RGB
This H7 Flow build guide walks through a practical order of operations: plan the route, install the core components, run the main cables, bundle them, and finish with a visual check. Each step includes a common mistake or checkpoint so you can catch problems before they become permanent.
Plan the route before you install anything
Lay the H7 Flow RGB on its side and trace where each cable will travel. The 24-pin ATX and front-panel cables usually run behind the motherboard tray through the right-side grommets, while the CPU EPS cable goes up through the top-left cutout. GPU power should come from the shroud area and loop up to the card without crossing the front intake.
Decide early whether you will use the perforated PSU shroud as a cable reservoir. The H5 Flow RGB uses a similar perforated shroud design that enables air intake from two 120 mm fans, and keeping that area clear of loose cables preserves the airflow benefit.
- Checkpoint: every cable should have a destination grommet before you tighten anything.
- Common mistake: routing cables after the motherboard is screwed down, which forces awkward bends.
Install the motherboard, CPU cooler, and GPU first
Mount the motherboard and CPU cooler before you run cables. If you are using an AIO, the H5 Flow + Kraken Elite 240 bundle shows how a 240 mm radiator fits up top while leaving the front free for intake. In the H7 Flow RGB, keep the top radiator hoses oriented so they do not cross the EPS cable path.
Install the GPU last among the core components. This gives you room to plug in the 24-pin and EPS cables without the card in the way, and it makes the GPU power cables easier to route from the shroud.
- Checkpoint: confirm the CPU cooler does not block the top-left EPS cutout.
- Common mistake: installing the GPU too early and scraping knuckles on the 24-pin header.
Run the main power cables through the closest grommets
Start with the 24-pin ATX cable. Feed it through the right-side grommet nearest the header, then pull the slack behind the tray. Next, run the CPU EPS cable up through the top-left cutout and behind the motherboard tray. Finally, route GPU power from the shroud opening, leaving enough slack to connect the card without straining the connector.
Keep each cable in its own lane. Bundling the 24-pin, EPS, and GPU cables together behind the tray creates a thick block that can bulge the side panel and make it hard to close.
- Checkpoint: the side panel should close with light pressure, not force.
- Common mistake: pulling cables too tight, which can stress connectors or unseat the GPU.
Bundle and tie down with reusable ties
Use hook-and-loop ties or reusable zip ties rather than single-use plastic ties. Group cables by destination: one bundle for front-panel and USB, one for fan and RGB, and one for power. Anchor each bundle to the case tie-down points behind the motherboard tray so nothing shifts when you move the PC.
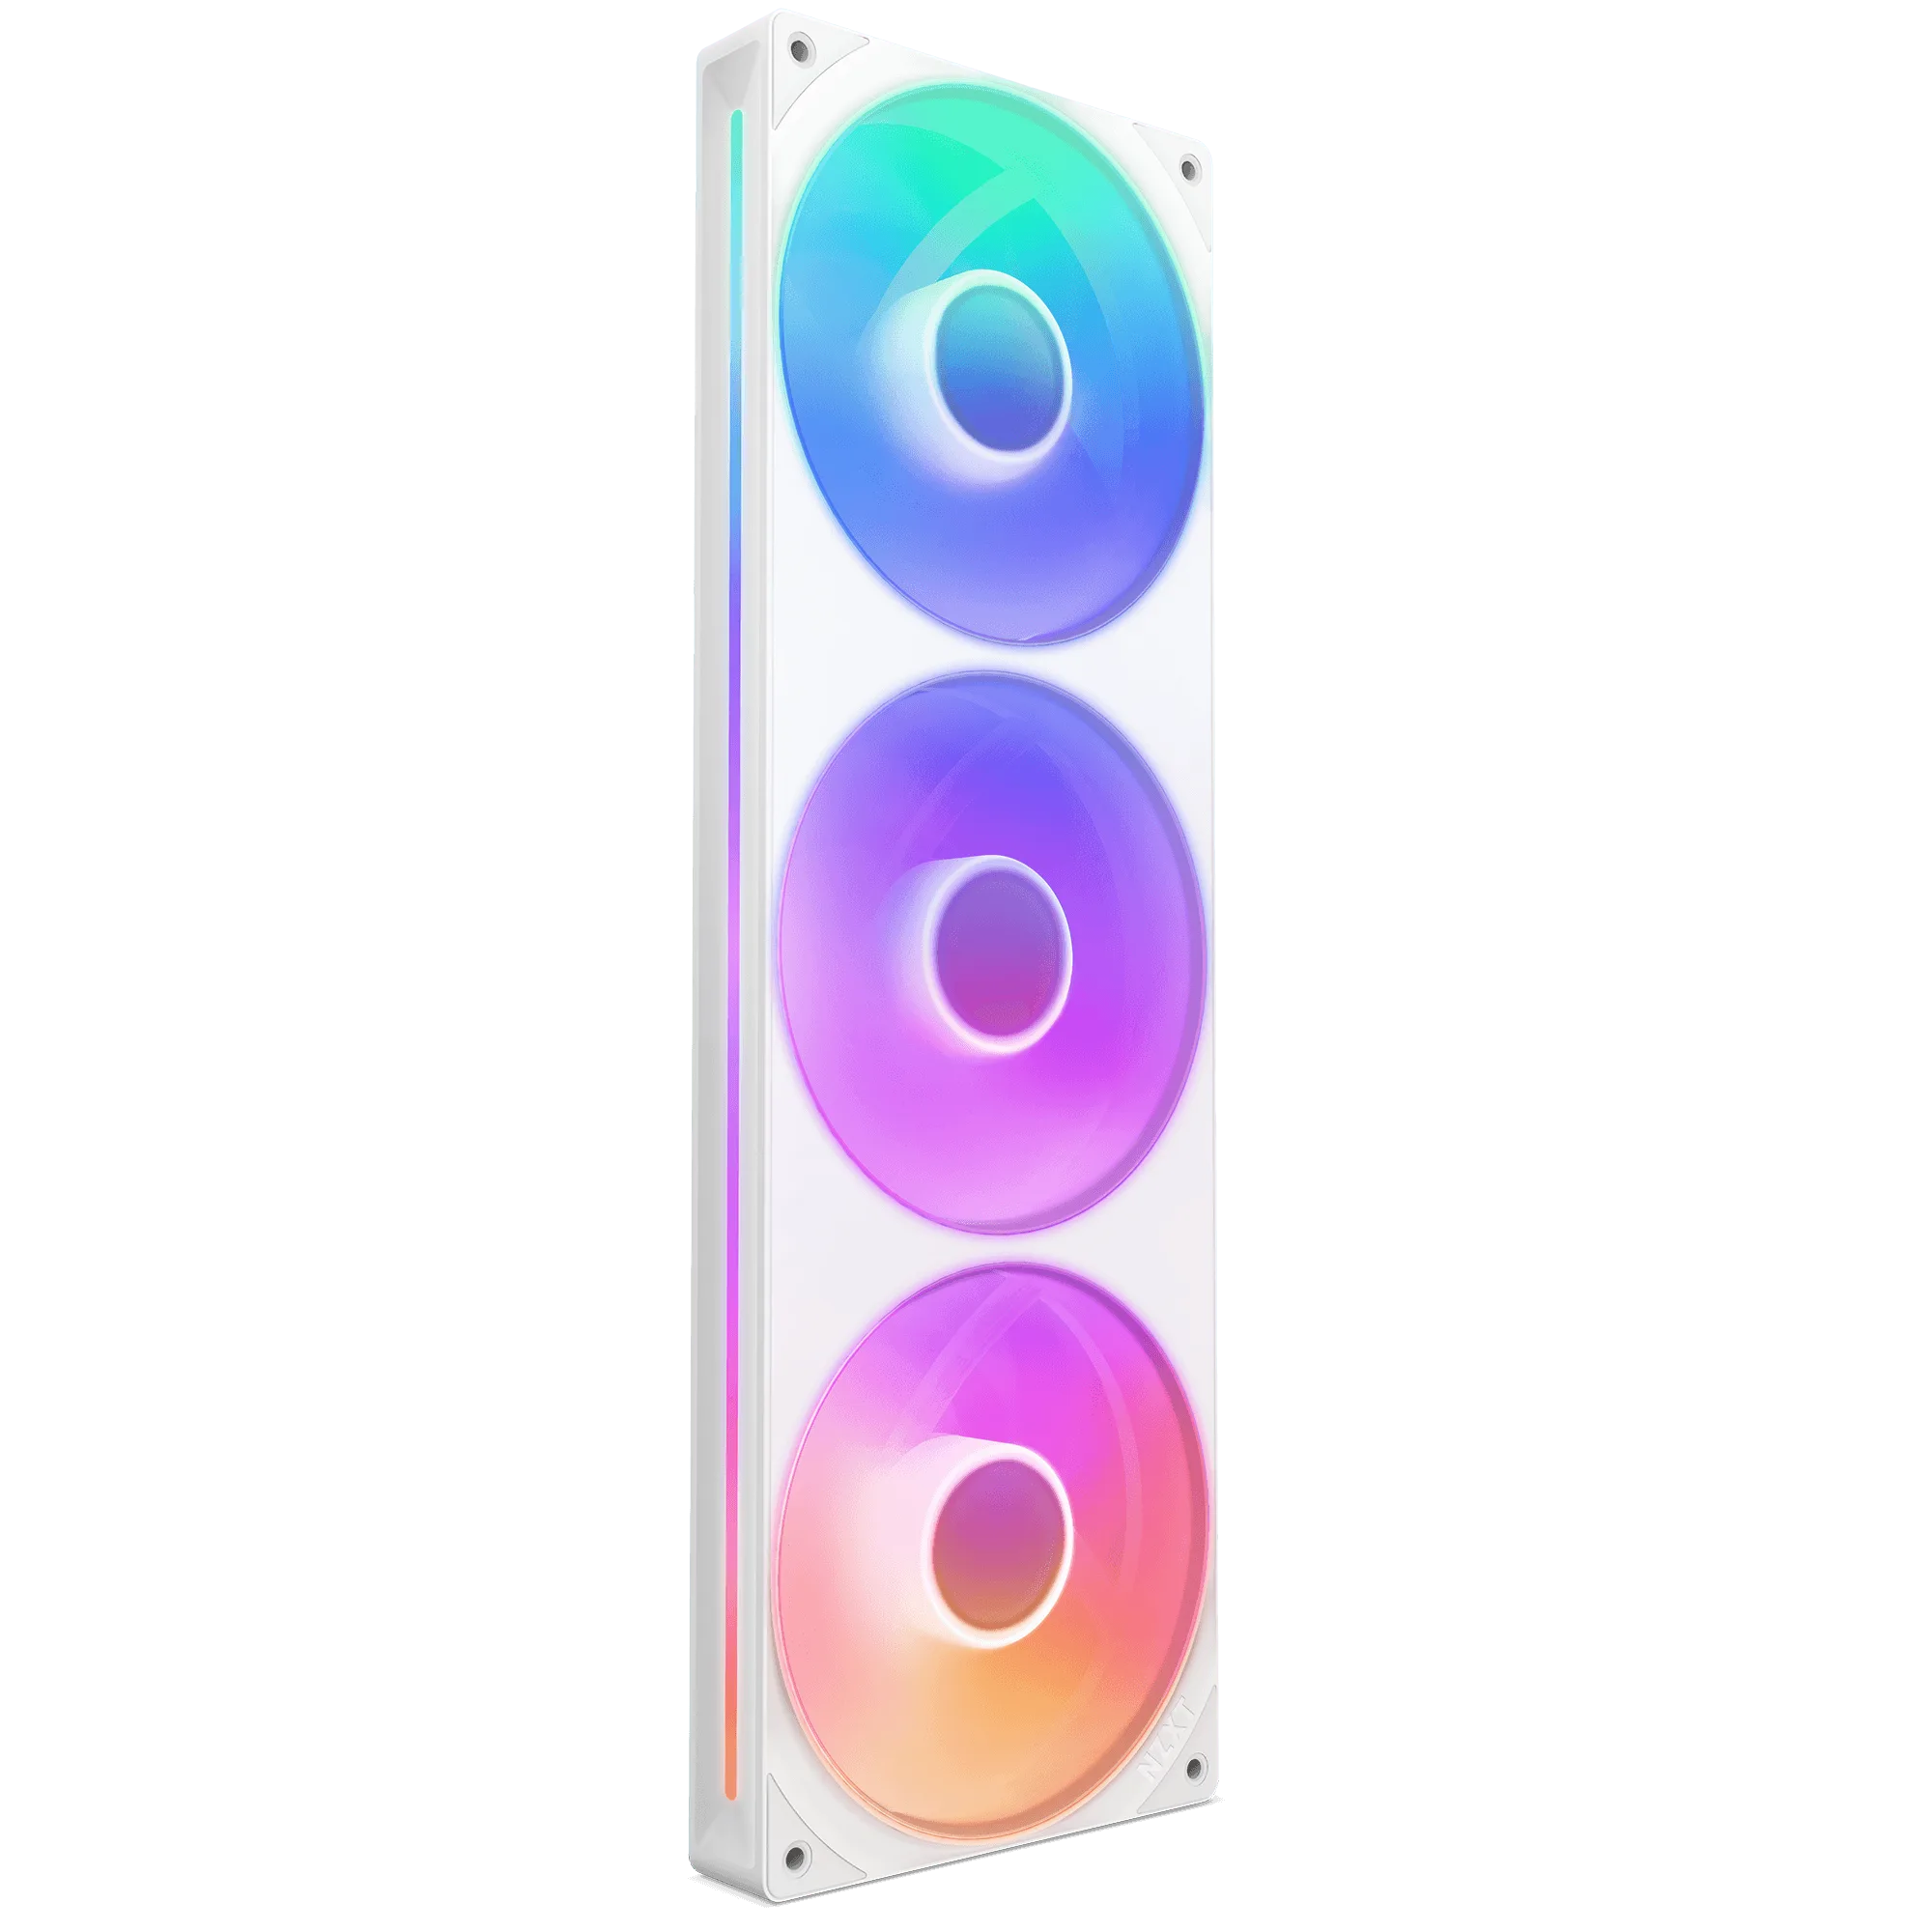
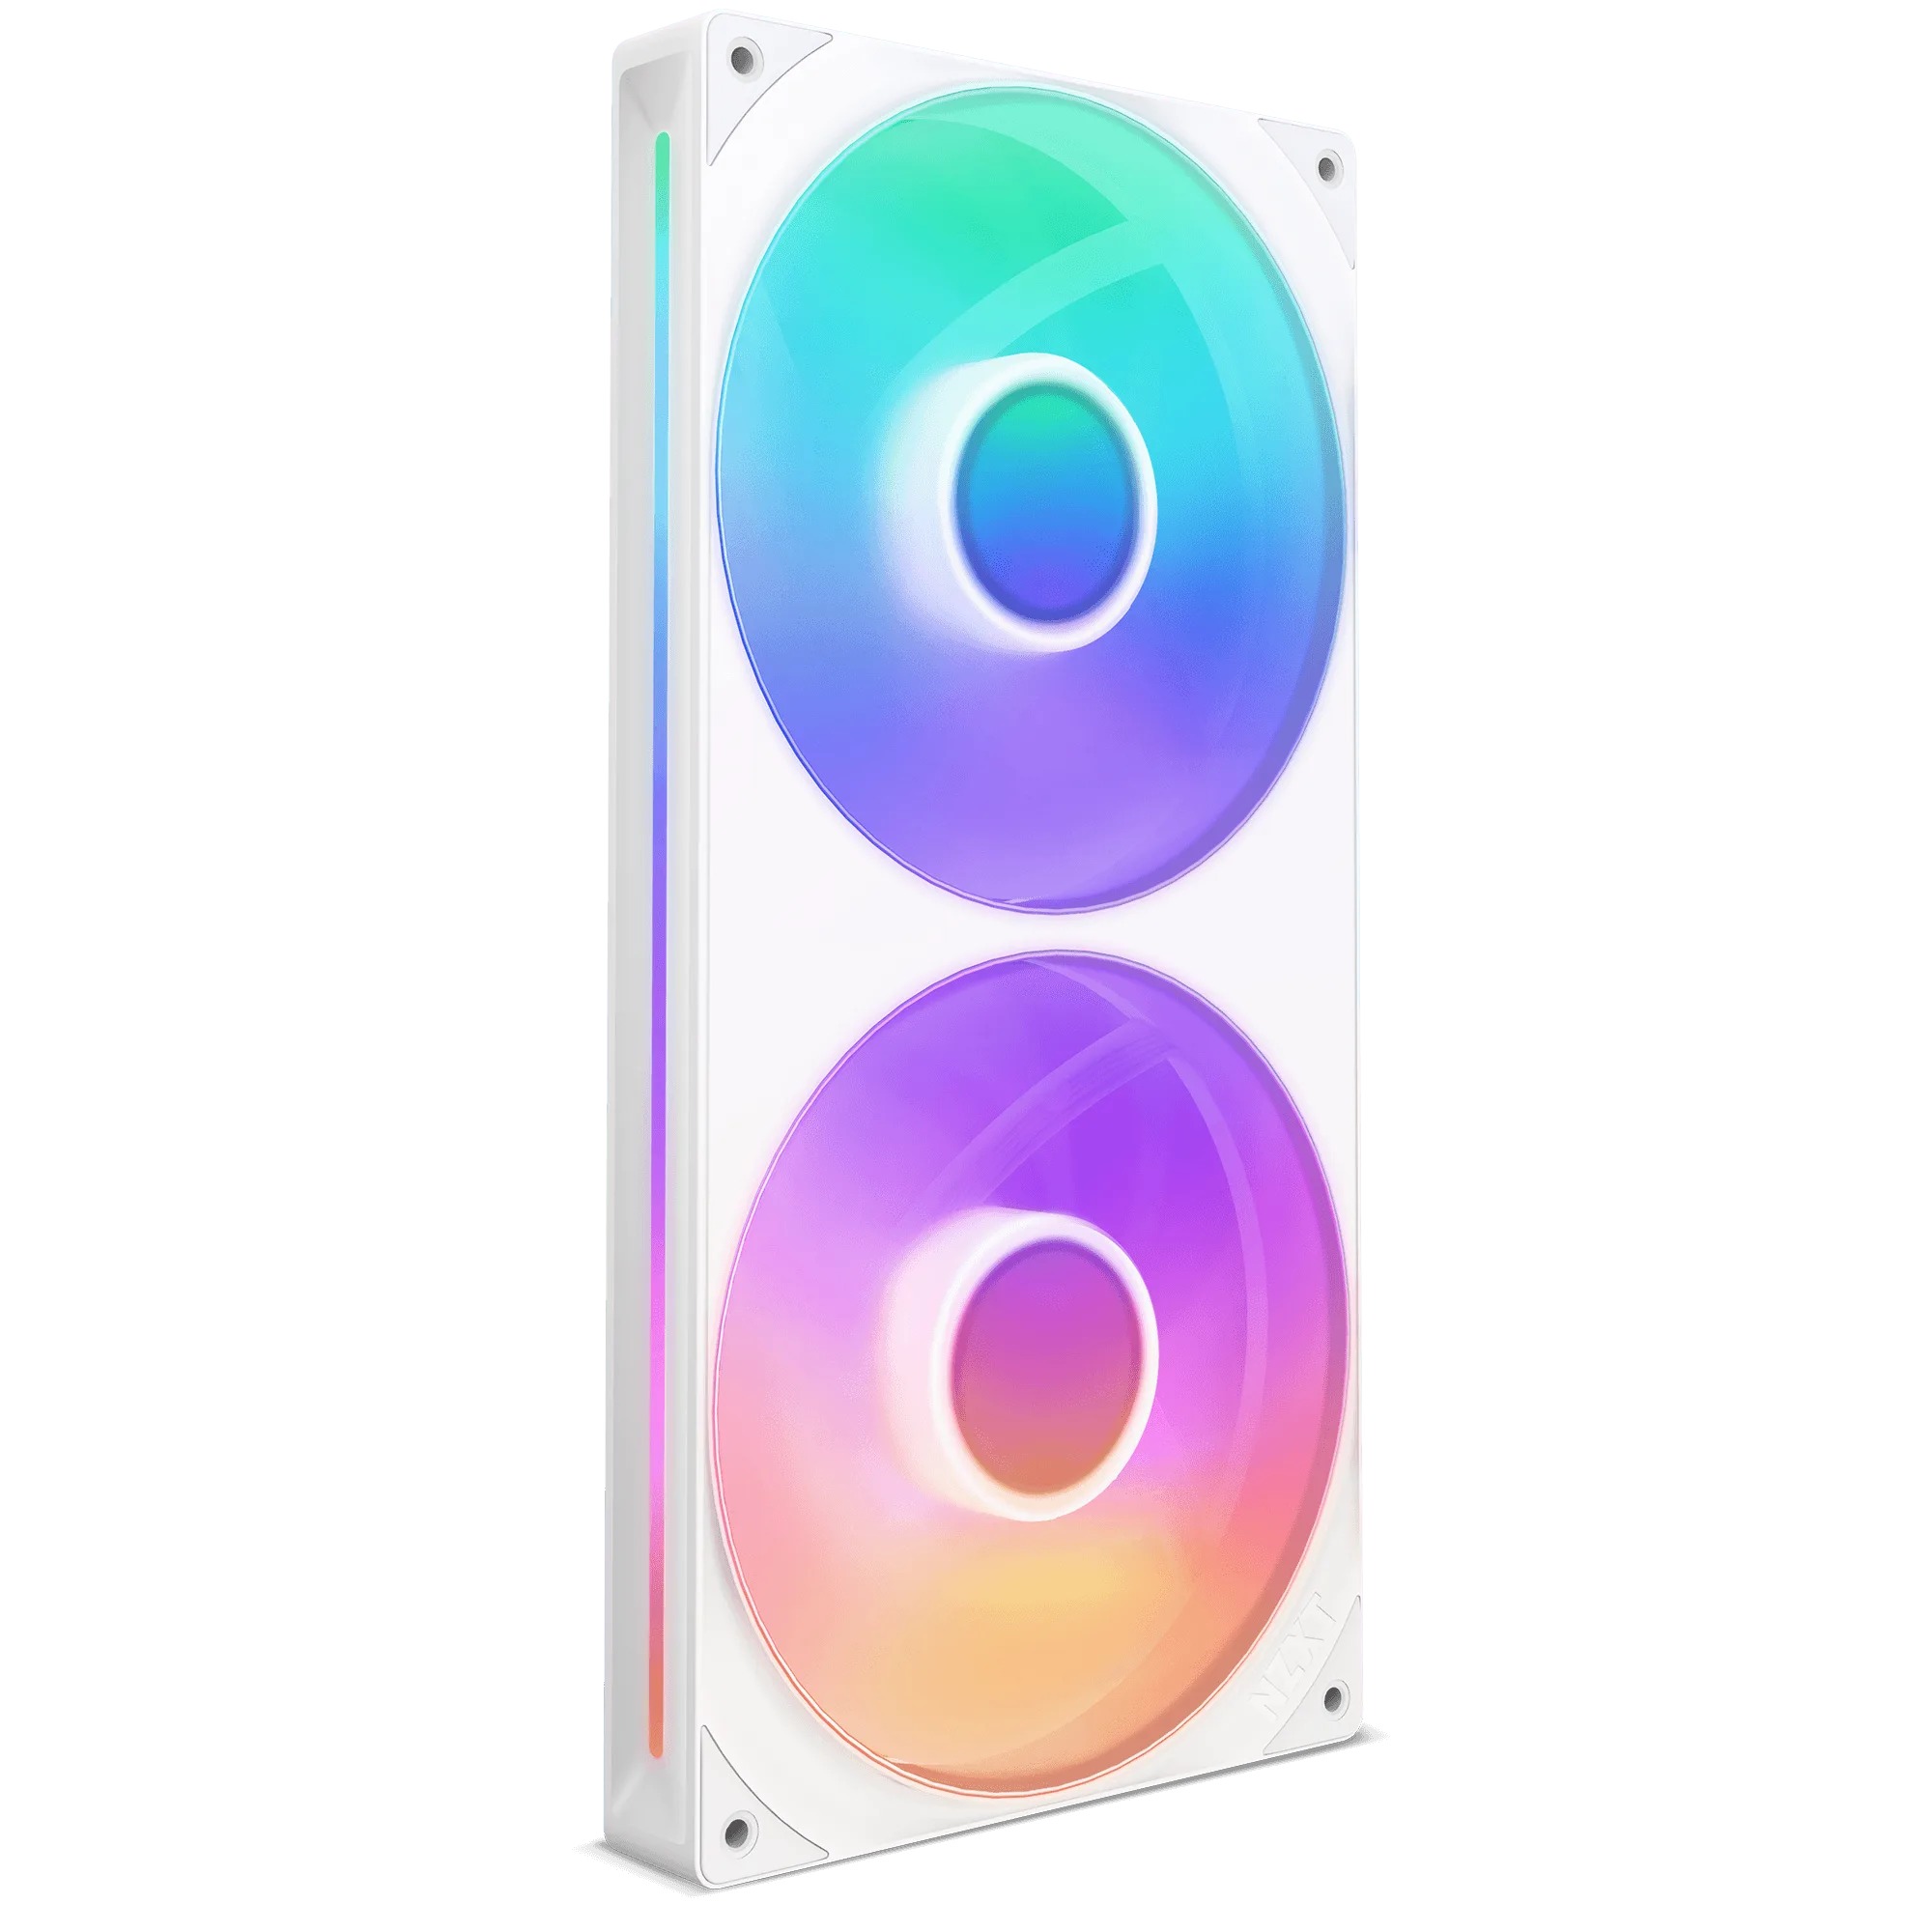
Leave a small service loop near each header. If you need to remove the GPU or swap a fan later, the loop gives you enough slack to disconnect without cutting ties. The F420 RGB Core single-frame fan simplifies this because it uses one cable to an NZXT controller instead of multiple fan cables.
- Checkpoint: gently tug each cable to confirm it is anchored but not taut.
- Common mistake: over-tightening ties and pinching cables against sharp metal edges.
Check airflow paths and close the panel
Before closing the side panel, look through the front mesh and confirm no cables block the intake fans. The H7 Flow RGB relies on unobstructed mesh panels, and a loose bundle in front of the intake can raise temperatures. Also check that the perforated PSU shroud area is clear so bottom intake fans can pull air.
Close the side panel slowly and check for bulges. If the panel resists, redistribute the bundle rather than pushing harder. A clean H7 Flow RGB setup should look tidy through the tempered glass and still allow easy access to the PSU shroud.
- Checkpoint: shine a light through the front mesh to spot cables in the intake path.
- Common mistake: forcing the side panel and cracking the glass or bending the frame.
H7 Flow RGB cable management steps
- Map every cable to a grommet: Before installing parts, trace the 24-pin, CPU EPS, GPU, front-panel, and fan cables to their nearest cutouts. Write down the route if it helps. Checkpoint: no cable should cross the front intake path.
- Install motherboard and cooler, then GPU: Mount the motherboard and CPU cooler first so you can reach the top-left EPS cutout. Add the GPU after the main cables are connected. Common mistake: installing the GPU too early and blocking the 24-pin header.
- Run power cables through separate lanes: Feed the 24-pin through the right-side grommet, the EPS through the top-left cutout, and GPU power from the shroud. Keep each cable in its own lane behind the tray. Checkpoint: the side panel closes with light pressure.
- Bundle with reusable ties and anchor to the tray: Group cables by destination and secure them to the case tie-down points. Leave a small service loop at each header. Common mistake: over-tightening ties and pinching cables.
- Verify airflow and close the panel: Look through the front mesh to confirm no cables block intake fans, and check that the perforated shroud area is clear. Close the panel slowly. Checkpoint: no bulges, and easy future access to the PSU shroud.
Product facts that affect cable routing
- H5 Flow RGB: The PSU shroud is perforated on the side and bottom, enabling optimal air intake from two 120 mm fans (not included). Treat the shroud as a cable reservoir only if you leave the perforations clear; blocking them with a cable bundle defeats the airflow design.
- H5 Flow + Kraken Elite 240: Supports up to a 360 mm radiator in front and a 240 mm radiator up top for powerful liquid cooling potential. Planning radiator placement first tells you which grommets stay free for the EPS and fan cables, so you avoid routing conflicts.
- F420 RGB Core: Single-frame unit with integrated fans streamlines installation, setup, and lighting control—no need to connect individual fans. Fewer fan cables means fewer runs behind the tray, which simplifies bundling and reduces clutter near the front intake.
Good cable management in the H7 Flow RGB is a sequence, not a single trick. Plan the route, install in the right order, bundle with reusable ties, and verify airflow before closing the panel. Do that, and your build stays cool, quiet, and easy to upgrade.