Quick answer
Load 120 film into a Paterson Super System 4 reel by feeding the film under the two steel ball bearings with the emulsion facing inward, then ratchet the reel forward and back in small strokes. Keep the film slightly bowed and never pull hard. If you feel resistance, stop, open the reel, and restart — forcing it is what causes kinks and scratches.
Why 120 film kinks in the first place
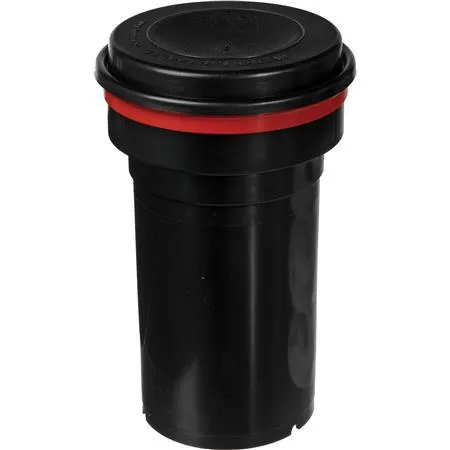
120 film is wider and more tightly curled than 35mm, and it has no sprocket holes to guide it. That tight curl is the main enemy: if you let the film twist or drag against the reel flanges, it creases. The Paterson Super System 4 tank uses a ratchet reel that advances the film as you twist the two halves back and forth, so your hands stay dry and the film moves in controlled increments. The reel is designed for 120 and 220, and the ball bearings grip the film edges without touching the image area — but only if the film enters straight.
Set up your dark space before you touch the film
You cannot load 120 film in daylight. Work in a completely dark room or a changing bag. Lay out the tank body, the center column, the reel, and a pair of scissors where you can reach them without fumbling. If you use a changing bag, keep the zipper closed and your sleeves inside. A common mistake is starting to load and then realizing the reel is still wet from a previous session — moisture makes the film stick. Dry the reel completely and let it cool to room temperature before you begin.
Find the leader and trim it square
120 film is taped to the backing paper at the start. In the dark, peel back the paper until you expose the film leader. Cut the leader square between the tape and the first frame, leaving a clean straight edge. Do not cut a curve or a point; a square cut feeds more predictably into the reel. If you are using a Paterson reel, you can also trim the corners very slightly to help the film slip under the ball bearings. Checkpoint: run your thumb along the cut edge — it should feel flat, not ragged.
Feed the film under the ball bearings
Hold the reel with the open side facing you and the center column removed. Insert the square-cut leader into the slot between the two reel halves, emulsion side facing the center of the reel. Push it under the two steel ball bearings until you feel it catch. Then twist the top half of the reel forward and back in short ratchet strokes. The film should advance about a centimeter with each stroke. If it does not move, do not force it — pull the film back out and reinsert it. The most common mistake here is inserting the film at an angle; keep it parallel to the reel flanges.
Keep the curl under control as you load
As the film goes in, hold the loose end with a gentle upward bow so it does not scrape the reel. Let the reel pull the film; your job is only to guide it. If you feel the film start to bind, stop and back the reel up a quarter turn. Forcing a bind is what creates the kink that shows up as a dark crescent on your negative. Once the film is fully wound, the end will come free from the backing paper. Use scissors to cut the film from the paper, leaving a short tail, and push the tail into the reel.
Load the reel into the tank and seal it
Drop the loaded reel onto the center column and slide it into the Paterson Super System 4 tank body. The tank accepts up to three 120 reels on the same column, so you can process multiple rolls at once if you have them. Fit the light-tight lid and the pour spout. You can now turn on the lights. Checkpoint: give the tank a gentle shake — if you hear the reel rattling loosely, it is not seated on the column. Reseat it before you pour chemistry.
A note on used gear and spare reels
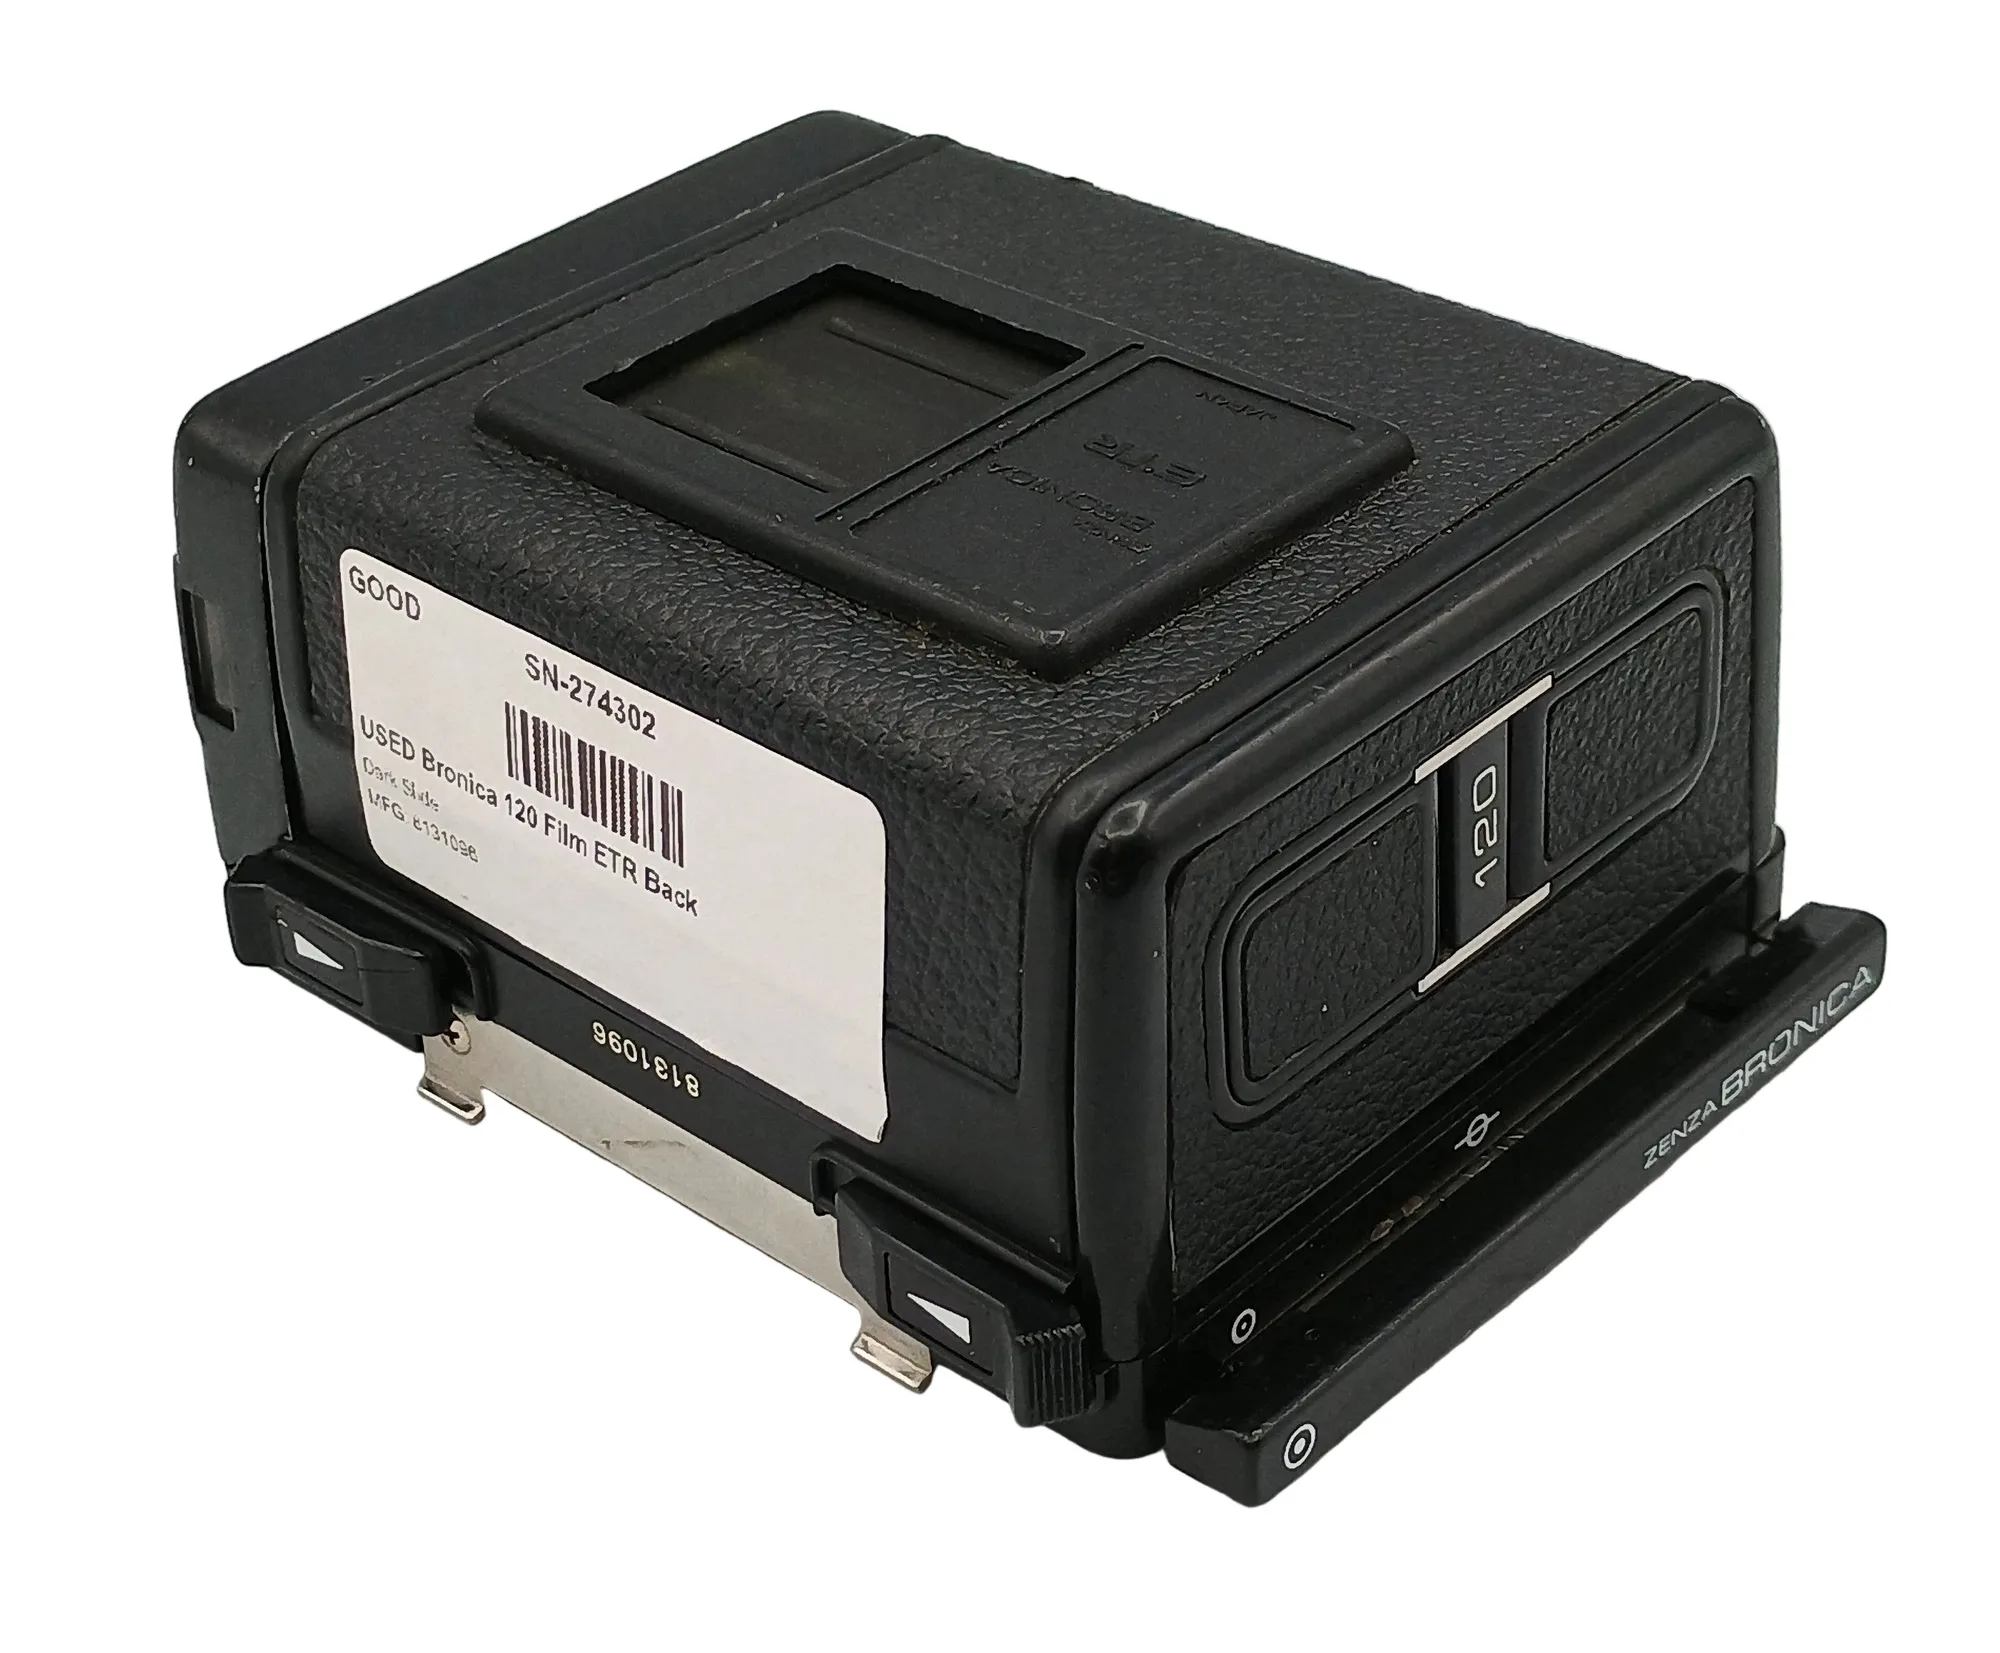
If you bought a used Paterson tank or extra reels, inspect the ball bearings before loading. They should move freely and sit flush. A bent or sticky bearing will grab the film and cause a kink. Used reels are widely available and often cheap, so keeping a spare on hand is practical when you are learning. The same goes for medium-format backs: if you shoot 120 on a Bronica system, a tested used back can be a cost-effective way to add a second film stock without changing bodies.
Step-by-step: loading 120 film without kinks
- Work in total darkness: Use a dark room or a changing bag. Lay out the tank, reel, center column, and scissors within reach before you open the film. Checkpoint: if you can see any light, stop — 120 film will fog.
- Trim the leader square: Peel back the backing paper and cut the film leader straight across between the tape and the first frame. Avoid curved or pointed cuts. A square edge feeds under the ball bearings more reliably than a tapered one.
- Insert the film under the ball bearings: Slide the leader into the reel slot with the emulsion facing the center. Push it under both steel ball bearings until it catches. Mistake to avoid: inserting at an angle. Keep the film parallel to the reel flanges.
- Ratchet the reel forward and back: Twist the top half of the reel in short strokes. The film should advance about a centimeter per stroke. Do not pull the film by hand. If it binds, back up a quarter turn and try again. Forcing it causes kinks.
- Guide the curl, don't fight it: Hold the loose end with a gentle upward bow so it does not scrape the reel. Let the reel do the pulling. A light touch keeps the emulsion free of scratches.
- Cut the film from the backing paper: Once fully wound, snip the film from the paper, leaving a short tail, and tuck the tail into the reel. Do not let the paper tail get wound into the reel — it can jam the next roll.
- Seat the reel in the tank and seal it: Drop the reel onto the center column and slide it into the tank body. Fit the lid and pour spout. Checkpoint: shake gently. A rattling reel is not seated — reseat it before pouring chemistry.
Products for this process
- Paterson Super System 4 Multi-Reel 3 Developing Tank: Paterson Super System 4 Multi-Reel 3 Developing Tank, listed under Dark Room and tagged Darkroom Equipment, offered in the Standard option. This is the tank the steps above describe. Its multi-reel column lets you process up to three 120 rolls in one session, which saves chemistry and time once you are comfortable loading.
- USED Bronica 120 Film ETR Back: USED Bronica 120 Film ETR Back, a pre-owned accessory compatible with Bronica 120 series camera bodies, supporting electronic TTL (ETR) metering for 120 film. If you shoot 120 on a Bronica system and want to develop at home, a tested used back gives you a second film transport so you can keep shooting while one roll is in the tank.