Quick answer
Set your bobbin tension first, then adjust the top tension in small increments until the knot sits inside the batting and the stitch looks the same on both sides. Test on a quilt sandwich that matches your real project, change one variable at a time, and re-check tension whenever you change thread, needle, or batting.
Thread tension is the balance between your top thread and your bobbin thread. When it is right, the two threads meet in the middle of the quilt sandwich and the stitch looks smooth on both sides. When it is off, you see loops on the back, puckers on the front, or a thread that snaps every few inches.
This guide gives you an ordered process for dialing in quilting thread tension on a domestic sewing machine or a longarm. You will learn how to adjust thread tension without chasing your tail, plus the checkpoints that tell you when to stop fiddling and start quilting. The goal is not a magic number on the dial; it is a repeatable stitch you can trust.
Why tension drifts (and why it is not your fault)
Tension is not a single setting. It is the result of your top tension discs, bobbin tension spring, needle size, thread weight, batting loft, and how fast you move the quilt. Change any one of those and the balance shifts. That is why a setting that worked on yesterday's project can loop today.
The most common mistake is adjusting the top tension to fix a problem that actually lives in the bobbin, the needle, or the threading path. Before you touch a dial, confirm the machine is threaded correctly, the bobbin is wound evenly, and the needle is the right size for your thread. A fresh needle solves more tension problems than any dial change.
- Re-thread with the presser foot up so the thread seats fully in the tension discs.
- Use a needle sized for your thread; a too-small needle causes fraying and skipped stitches.
- Clean lint from the bobbin case and tension discs before you judge the stitch.
Build a test sandwich that matches your quilt
Never tune tension on a scrap of fabric alone. Make a small sandwich with the same top fabric, batting, and backing as your real quilt. If your quilt has wool batting, test with wool. If it has cotton, test with cotton. The batting thickness changes how the knot buries.
Stitch a few inches in the same direction and speed you plan to quilt. Then look at both sides. On the top, you want smooth stitches with no dots of bobbin thread pulled up. On the back, you want smooth stitches with no top thread loops. If the knot shows on either side, you have a tension imbalance to correct.
- Label your test sandwich with the date and settings so you can repeat a good result.
- Test at your real quilting speed; slow stitching can hide tension problems.
- If you change thread color or weight, run a new test.
Set bobbin tension first, then top tension
On a machine with an adjustable bobbin case, start there. The bobbin thread should pull out with a slight drag, not fall free and not require a hard tug. If you are using a drop-in bobbin, you usually cannot adjust bobbin tension, so you will balance with the top tension instead.
Once the bobbin is set, adjust the top tension in quarter-turn increments. Stitch a few inches after each change and check both sides. If the top thread loops on the back, increase top tension. If the bobbin thread pulls to the top, decrease top tension. Move slowly; small changes make a big difference.
- Mark your bobbin case with a dot so you can return to a known setting.
- If you cannot adjust the bobbin, change the top tension only.
- Write down the final number; it is your starting point next time.
Match thread weight to the job
Thread weight affects tension. A 60 wt thread like The Bottom Line #627 Bright Red is fine and lint-free, which makes it a good choice for piecing, binding, and bobbin work. Because it is thin, it needs less top tension than a heavier 40 wt or 50 wt thread. If you switch from a 40 wt to a 60 wt without adjusting, you will likely see loops.
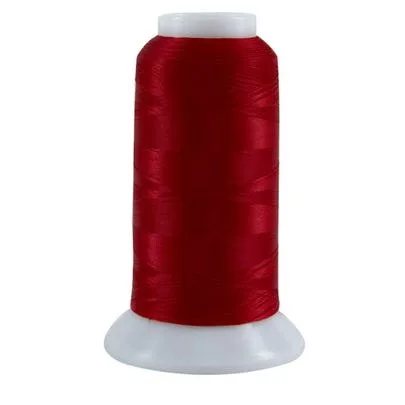
The Bottom Line #627 Bright Red
For longarm quilting, many quilters use a 40 wt or 50 wt top thread and a 60 wt bobbin thread. That combination lets you build texture on top while keeping the back clean. Whatever you choose, keep the bobbin thread the same weight or finer than the top thread unless your machine manual says otherwise.
- The Bottom Line is a 60 wt, 2-ply polyester thread sold in 3,000-yard cones.
- A finer thread needs a smaller needle and lighter tension.
- If you change thread weight, re-test tension before quilting the real project.
Longarm tension tips for smooth stitching
Longarm machines add variables: stitch regulation, bobbin case tension, and how you move the machine. If your stitches are inconsistent, check the bobbin case first. A bobbin case with a worn spring or lint buildup will cause loops no matter what you do to the top tension.
Set your stitch length and speed, then adjust top tension while stitching at that speed. If you slow down for corners, the tension can change. Many longarm quilters keep a small screwdriver handy and make tiny adjustments as they go. The key is to adjust only one thing at a time and stitch a few inches to see the result.
- Clean and oil the bobbin area according to your machine manual.
- Use a fresh needle rated for your thread and fabric.
- If you use rulers, slow down and check tension after the first few inches.
When to stop adjusting and start quilting
Perfect tension quilting does not mean zero adjustments. It means the stitch looks good on both sides and holds up when you tug gently. If you can see tiny dots of bobbin thread on the top, that is normal for some designs. If you see loops or puckers, keep adjusting.
Stop when the stitch is consistent, the thread does not break, and the quilt lies flat. If you have spent more than 15 minutes on a test sandwich, change your needle, re-thread, and start fresh. Sometimes the problem is not tension at all; it is a burr on the needle or a piece of lint in the bobbin case.
- Take a photo of your best stitch for future reference.
- If tension changes mid-quilt, stop and re-check the bobbin.
- A tension gauge can help, but your eyes on the stitch are the final judge.
Your step-by-step tension routine
- 1. Thread and needle check: Raise the presser foot, re-thread the machine from scratch, and install a fresh needle sized for your thread. Confirm the bobbin is wound evenly and seated correctly. Checkpoint: if the thread snaps or frays immediately, the needle is likely too small or dull.
- 2. Make a matching test sandwich: Layer the same fabric, batting, and backing as your quilt. Stitch a few inches at your normal quilting speed. Checkpoint: if you skip this step, you are guessing. Always test on the real materials.
- 3. Set bobbin tension: If your bobbin case is adjustable, set it so the thread pulls with a slight drag. If it is not adjustable, leave it alone and move to the top tension. Checkpoint: the bobbin thread should not fall free or require a hard pull.
- 4. Adjust top tension in small steps: Turn the top tension dial a quarter turn at a time. Stitch a few inches after each change and look at both sides. Checkpoint: loops on the back mean increase top tension; bobbin thread on top means decrease it.
- 5. Match thread weight and needle size: Use a finer needle for 60 wt thread and a larger needle for 40 wt or 50 wt. If you change thread weight, re-test tension. Checkpoint: a 60 wt thread like The Bottom Line needs lighter tension than a 40 wt thread.
- 6. Test at real speed and direction: Stitch forward, backward, and around a curve at the speed you plan to quilt. Tension can change with speed and direction. Checkpoint: if tension only fails at high speed, adjust for that speed, not for a slow test.
- 7. Record and repeat: Write down the final top tension number, bobbin setting, needle size, and thread weight. Keep the test sandwich with your notes. Checkpoint: a recorded setting saves time on your next project and helps you spot what changed.
Thread facts that affect tension
- The Bottom Line #627 Bright Red: The Bottom Line is a lint-free polyester quilting, embroidery, sewing, and binding thread. Each cone has 3,000 yards. It is a 60 wt, 2-ply thread. Because it is fine and lint-free, it runs cleanly in the bobbin and needs lighter top tension than heavier threads. The 3,000-yard cone means fewer bobbin changes on large quilts.
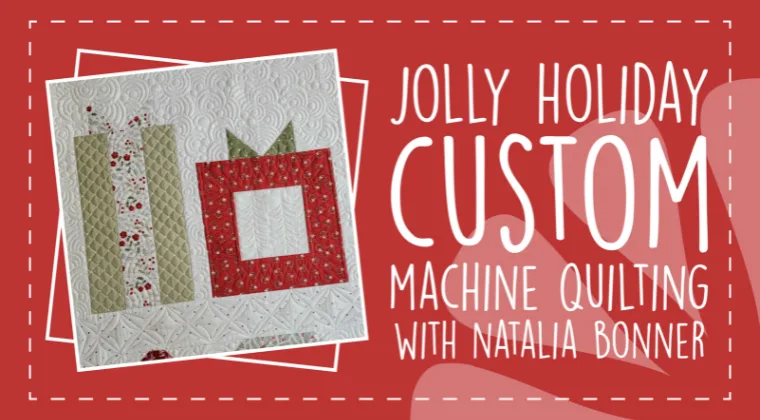
- Jolly Holiday - Custom Machine Quilting with Natalia Bonner: In this exclusive video, Natalia Bonner shares her process for custom machine quilting Lella Boutique's Jolly Holiday quilt, including marking a scalloped border and quilting melons in a stop border. Seeing a professional adjust tension in real time helps you understand how stitch quality changes with speed, direction, and design. Use it as a visual reference for your own tension tests.
Tension is a balance, not a destination. Set your bobbin first, adjust the top in small steps, and always test on a sandwich that matches your quilt. When you find a setting that works, write it down. With a repeatable routine, you will spend less time fighting loops and more time quilting.