Quick answer
A needlepoint chart is a grid where each square is one stitch, and the symbol inside the square tells you which thread color to use. Read it by starting with the legend, finding the chart's center mark, then working outward one symbol at a time. If counting squares feels stressful, a painted canvas like Pink and Green Floral Rectangle removes the counting entirely because the design is already on the canvas.
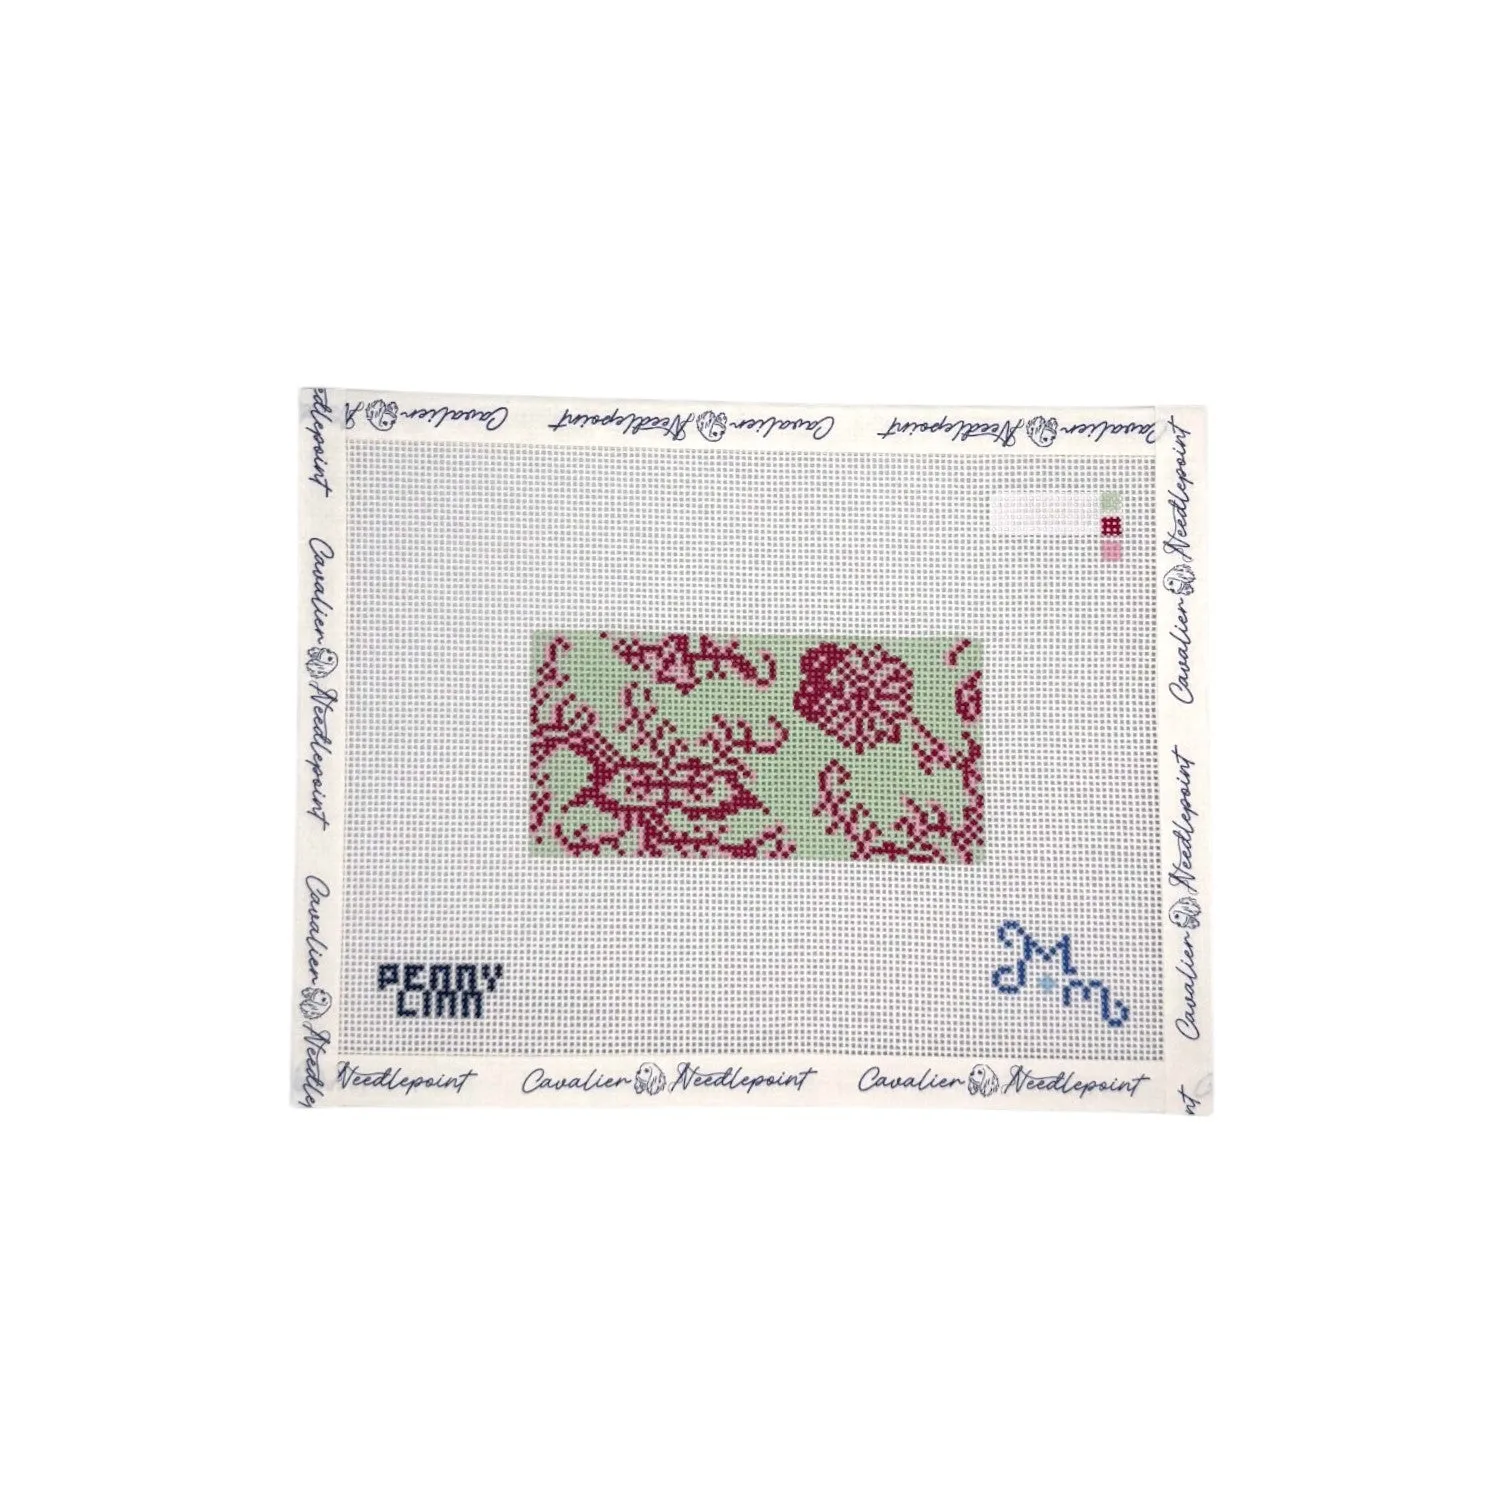
Pink and Green Floral Rectangle
A chart looks like a wall of tiny symbols the first time you open one. The good news is that a needlepoint chart is just a map: one square equals one stitch, and the symbol in that square is your thread color. Once you know where to start and how to follow the symbols, the chart stops being intimidating and starts being useful.
This walkthrough covers the full process in order, from checking the legend to finishing the last stitch, with the mistake that trips up most beginners at each stage. It also explains when a painted canvas is the smarter choice, because not every project needs a chart at all.
What a needlepoint chart actually shows you
A chart is a grid of squares. Each square represents one stitch on the canvas, and the symbol printed inside that square matches a thread color listed in the legend. A charted design is different from a painted canvas, where the design is printed directly on the canvas and you simply stitch over the colors you see. With a chart, you count squares and follow symbols rather than following paint.
That difference matters for how you work. A painted canvas is faster to start because there is no counting, while a chart gives you more control over color placement and is often used when a design is sold as a pattern rather than a printed canvas. Neither is better; they suit different projects and different moods.
- One square on the chart equals one stitch on the canvas, no exceptions.
- The symbol, not the printed color, tells you which thread to use.
Why charts use symbols instead of colors
Charts use symbols because printing in color is expensive and because two similar thread colors can look nearly identical on paper. A triangle, a dot, and a slash are easier to tell apart than two shades of green, especially under a lamp at night. The legend is the bridge: it pairs each symbol with a specific thread color name or number.
This is also why you should never assume a chart square printed in light blue means a light blue thread. The symbol rules. If the legend says the dot symbol is Merlot, then every dot gets Merlot, regardless of what color the ink looks like on your page.
- Keep the legend visible the entire time you stitch; do not memorize it.
- If a symbol is hard to read, enlarge the chart on a photocopier or tablet.
Setting up your thread before you stitch
Before you make a single stitch, gather the threads the legend calls for. Planet Earth Milan Fiber is a 50% silk and 50% wool blend that comes as a non-strandable 10-yard card and is suited for 13 or 18 mesh, which makes it a practical choice for charted work where you want a smooth, blended look. Because it is non-strandable, you use the full thickness as it comes off the card rather than separating plies.
Match your thread to your canvas mesh, not just to the color. A canvas with 18 mesh has smaller holes than 13 mesh, so the same thread will cover differently on each. If you are unsure, test one stitch in a corner before committing to a whole area.
- Write the symbol next to each thread card so you can grab colors quickly.
- Test one stitch on the edge before starting the main design.
Finding your starting point on the chart
Most charts mark the center with arrows or a bold cross. Find that center mark on the chart and the matching center on your canvas, then begin there and work outward. Starting in the middle keeps the design centered even if your stitch tension shifts slightly as you go, which is common for beginners.
If the chart has no center mark, count the total squares across and down, divide by two, and mark the middle square yourself with a removable stitch marker or a small dot of tape on the chart. Do not guess; a half-square error at the start becomes a visible shift by the end.
- Mark the chart's center with a sticky note so you can find it again.
- Count twice, stitch once, especially in the first row.
Following the symbols stitch by stitch
Work one symbol at a time rather than one row at a time. Stitching all the squares with the same symbol first reduces how often you change threads, and it makes errors easier to spot because a stray symbol stands out against a completed color area. Use a magnetic needle minder to park your needle on the canvas when you switch colors so it does not get lost in the couch cushions.
As you complete each symbol, cross it off on a paper copy or trace it on a tablet. This is the single habit that prevents the most common beginner mistake: losing your place and stitching a block of the wrong color.
- Cross off completed symbols as you go; your future self will thank you.
- If you lose your place, stop and count from a known landmark rather than guessing.
Checking your work as you go
Every few rows, lay the canvas flat and compare it to the chart from a short distance. Errors are much easier to catch early, when you only have to remove a few stitches, than at the end when a whole section is off by one square. Look for color blocks that should be symmetrical but are not.
If you do find a mistake, undo it rather than stitching around it. A misplaced stitch in a charted design rarely blends in, and the fix is usually faster than you fear. Keep a spare needle and a small pair of snips nearby so correcting does not derail your momentum.
- Check symmetry after every color block, not just at the end.
- Fix mistakes immediately; they compound if you stitch over them.
Your step-by-step chart reading checklist
- Read the legend first: Match every symbol to a thread color before you thread a needle. Common mistake: assuming the printed ink color is the thread color. Checkpoint: you can name the thread for any symbol on the chart.
- Find and mark the center: Locate the chart's center arrows or count to the middle square and mark it. Common mistake: starting at a corner and drifting off center. Checkpoint: your center mark on the canvas matches the chart.
- Test one stitch: Stitch a single square in a corner to confirm your thread covers your mesh the way you want. Common mistake: skipping the test and discovering coverage problems halfway through. Checkpoint: the test stitch looks full and even on your mesh.
- Stitch by symbol, not by row: Complete all squares of one symbol before switching threads. Common mistake: working row by row and constantly changing threads, which invites errors. Checkpoint: each completed symbol is crossed off your chart copy.
- Check symmetry every few rows: Lay the canvas flat and compare it to the chart from a distance. Common mistake: waiting until the end to notice a one-square shift. Checkpoint: mirrored sections of the design match each other.
- Fix mistakes immediately: Undo misplaced stitches as soon as you spot them. Common mistake: stitching around an error and hoping it disappears. Checkpoint: the finished area matches the chart before you move on.
Threads and canvases that make chart reading easier
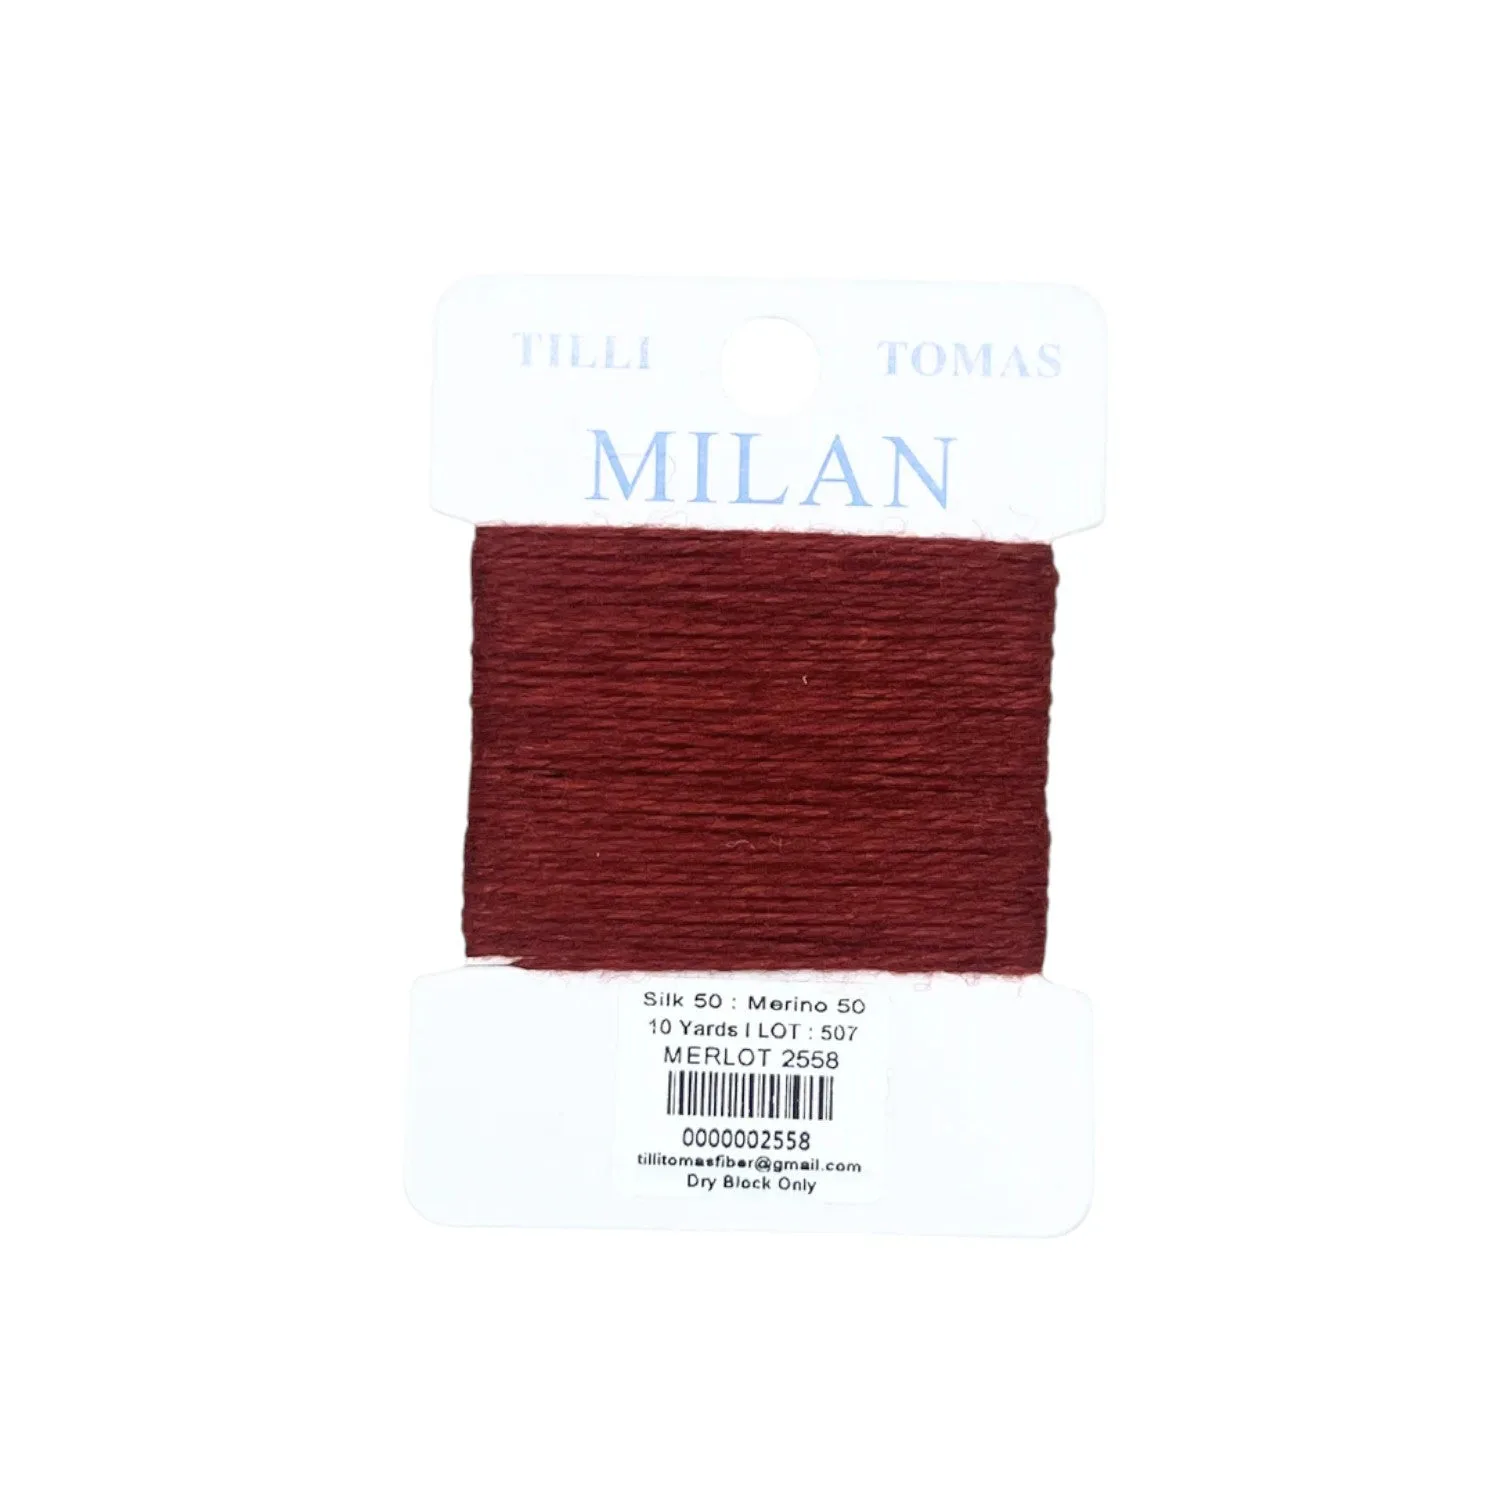
- Milan Card - Merlot 2558: Planet Earth Milan Fiber, 50% silk and 50% wool, non-strandable, 10 yards, suited for 13 or 18 mesh. A non-strandable thread means you do not have to decide how many plies to use, which removes one more variable while you are still learning to follow a chart.
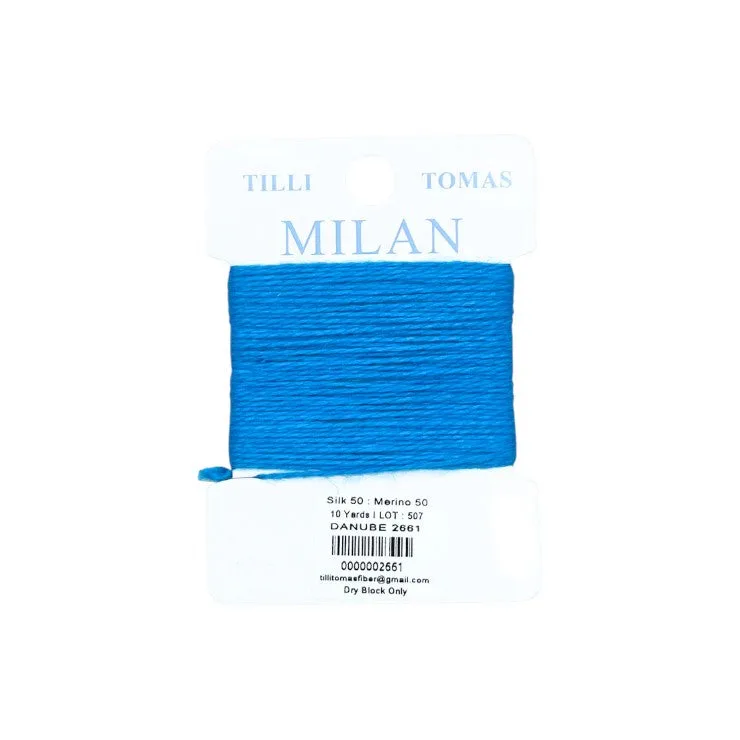
- Milan Card - Danube 2661: Planet Earth Milan Fiber, 50% silk and 50% wool, non-strandable, 10 yards, suited for 13 or 18 mesh. A 10-yard card is enough for small charted areas, so you can test a color on your mesh before committing to a larger project.
- Pink and Green Floral Rectangle: A pink and green floral rectangle needlepoint canvas on 18 mesh, 4 by 2 inch design on an 8 by 6 inch canvas, intended as an insert for a 4 by 2 self-finishing item. Because the design is already painted on the canvas, this is a good option if you want to skip chart counting entirely and still practice your stitches on 18 mesh.
Reading a needlepoint chart comes down to three habits: trust the legend, start at the center, and check your work as you go. Practice on a small charted area first, and if counting squares still feels like a chore, a painted canvas is a perfectly good way to spend an evening stitching.