Quick answer
Set the ring light about 3 to 4 feet from your subject, center it just above eye level, and use the built-in diffusion of an edge-lit LED ring light to soften shadows. Start at roughly 50 percent power, then adjust distance or power before moving the light. A cordless ring light removes cable clutter, so you can reposition it for headshots without hunting for an outlet.
Pick a spot with room to move
Cordless ring lights are only useful if you actually reposition them, so choose a space where you can step back 3 to 5 feet from your subject. A plain wall or a corner with some depth works well because it keeps the background from competing with the face. If you are shooting ring light portrait photography in a small room, angle the light slightly toward a side wall so the falloff stays natural instead of flattening everything behind the subject.
Set height and distance before power
Height and distance do more for portrait quality than brightness. For a classic ring light for headshots look, place the center of the ring just above the subject's eye line so the catchlight sits in the upper part of the iris. Then set distance: about 3 to 4 feet for a flattering falloff, closer for a more dramatic ring-shaped shadow, farther for softer, more even light. Get these two right first, and power becomes a minor adjustment.
Use edge-lit diffusion to your advantage
An edge-lit LED ring light bounces light sideways into a diffusion layer, which spreads the source and softens shadows without a separate softbox. That matters for portraits because hard, specular light exaggerates skin texture and creates harsh nose shadows. If your ring light has built-in diffusion, you do not need to add a modifier for most headshots; just avoid pointing the bare LEDs directly at the face if the model has a glossy finish or glasses.
Step-by-step portrait setup
- Position the light at eye level: Raise the center of the ring until it sits just above your subject's eyes, then lock the stand. This placement creates a natural catchlight and avoids the shadow-under-the-nose look that comes from light that is too low. Checkpoint: the catchlight should sit in the upper half of the iris, not dead center.
- Set distance for the look you want: Start at 3 to 4 feet from the subject for a balanced portrait. Move closer for more dramatic ring-shaped shadows, or farther for softer, more even coverage. Reposition the cordless light rather than zooming your lens to fake the change. Common mistake: standing too close and then dimming the light to compensate, which flattens the face.
- Dial in power last: Begin around 50 percent power and adjust in small increments. If the image is too bright, first try moving the light back or lowering power slightly; if it is too flat, increase distance or angle the light a few degrees off-axis. Checkpoint: skin highlights should be bright but not clipped, and shadows should still show detail.
- Angle slightly off-axis for depth: A perfectly centered ring light gives a flat, fashion-style look. Rotating the light 5 to 15 degrees to one side adds gentle shadow shaping while keeping the ring catchlight. For ring light portrait photography, this small angle often separates a good portrait from a great one. Common mistake: leaving the light dead center for every shot, which removes facial dimension.
- Test with a phone or monitor: Take a test frame and review it on a larger screen if possible. Look for hot spots on the forehead, shadow density under the chin, and background separation. Adjust one variable at a time so you know what changed the result. Next step: once the setup is locked, mark the stand height and floor position with tape for fast repeatability.
Gear that fits this setup
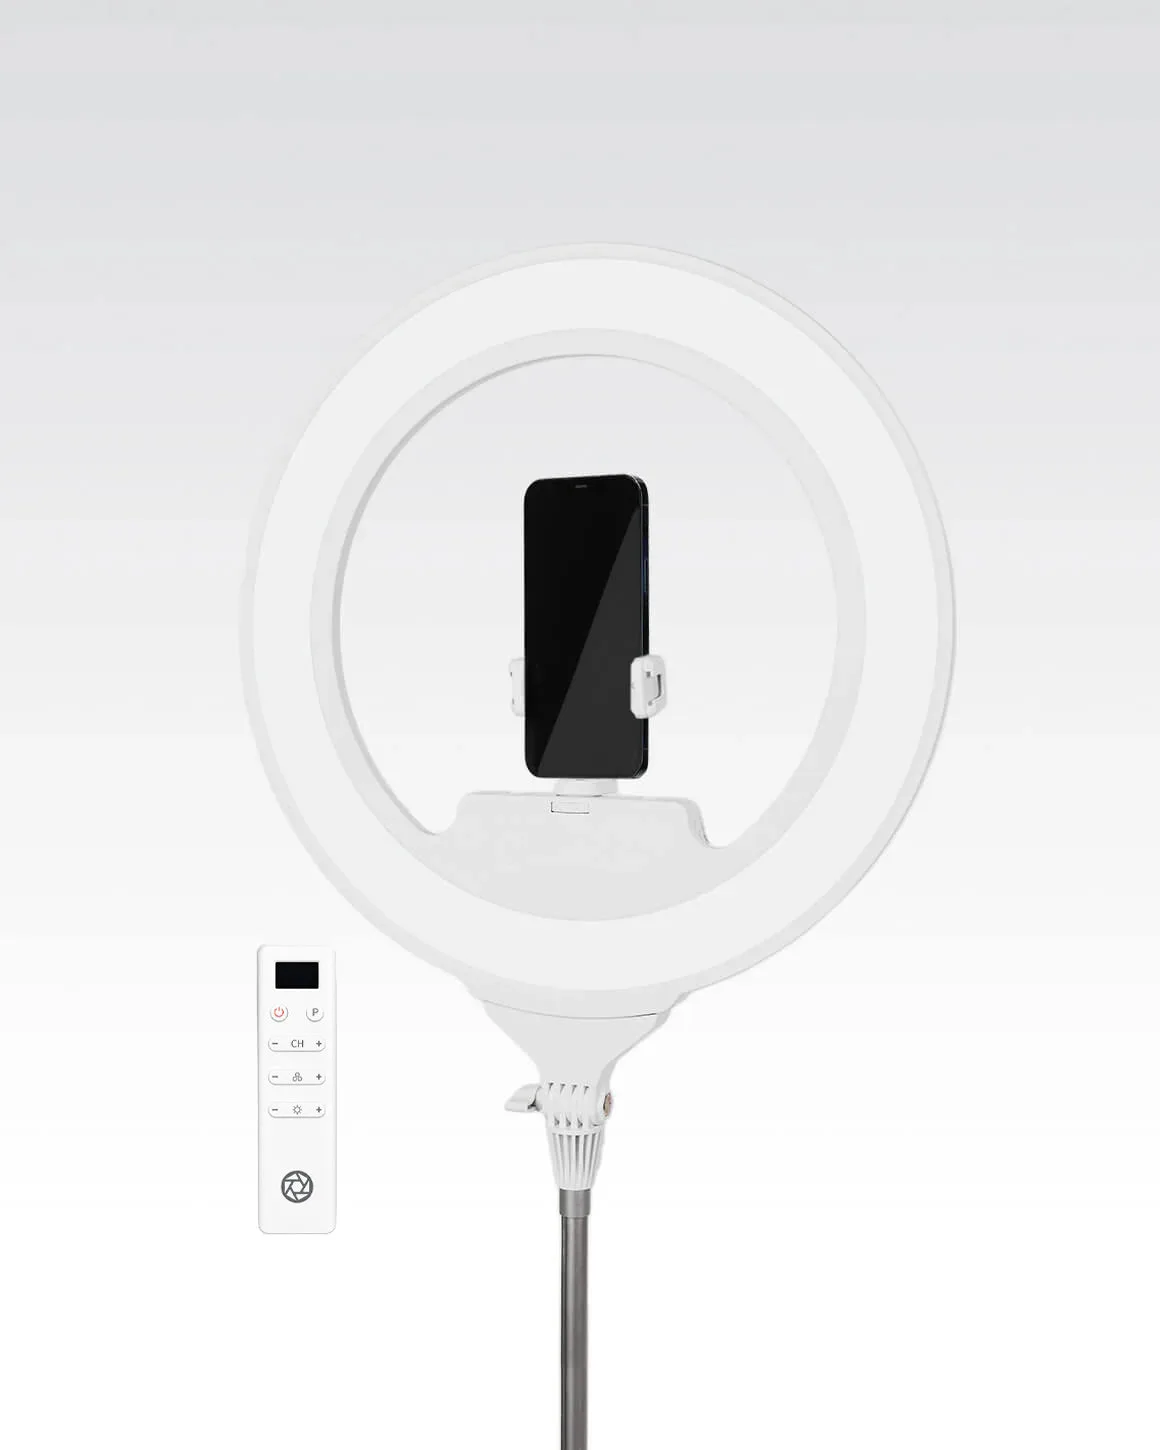
- Lume Cube Cordless Ring Light Pro White 18-inch Edge-Lit LED Ring Light: Cordless Ring Light Pro White 18-inch Edge-Lit LED Ring Light uses Edge-Lit technology with built-in diffusion for soft light. The 18-inch size and edge-lit diffusion make it a strong choice for portraits and headshots where you want soft, even light without extra modifiers.