Quick answer
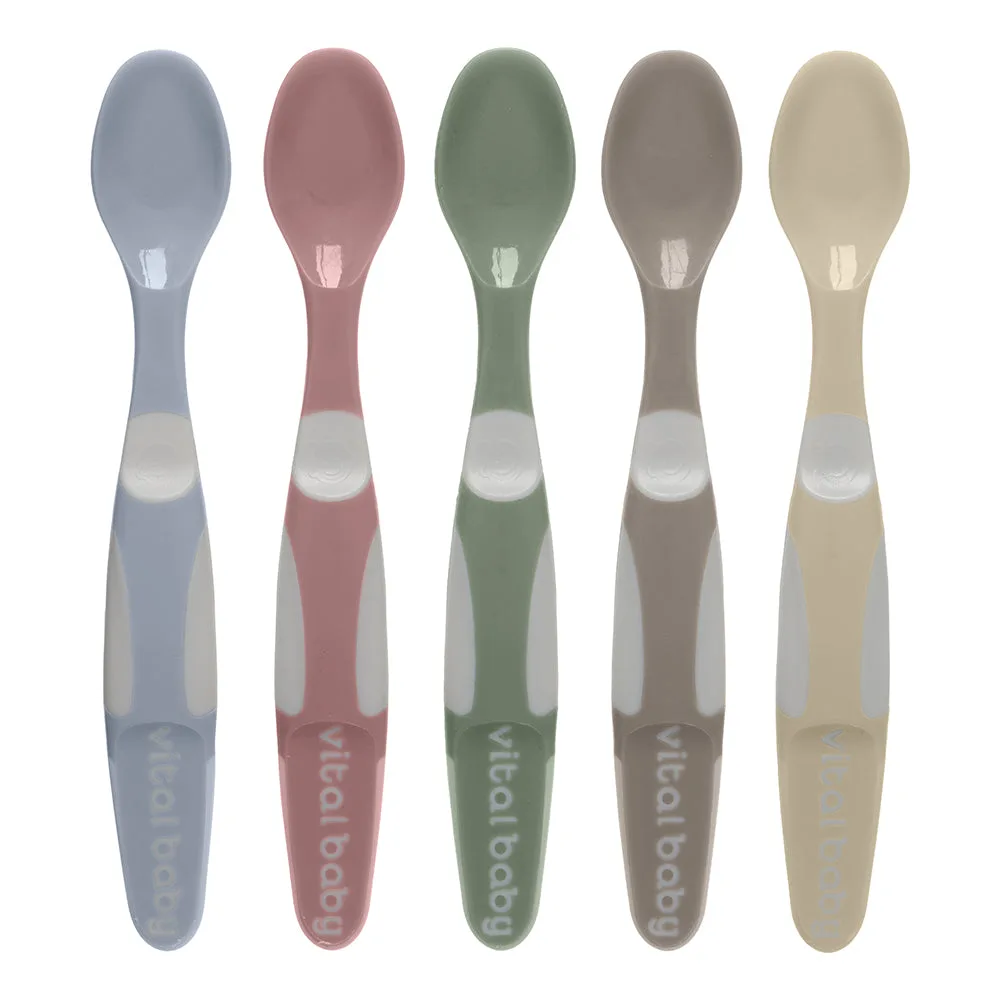
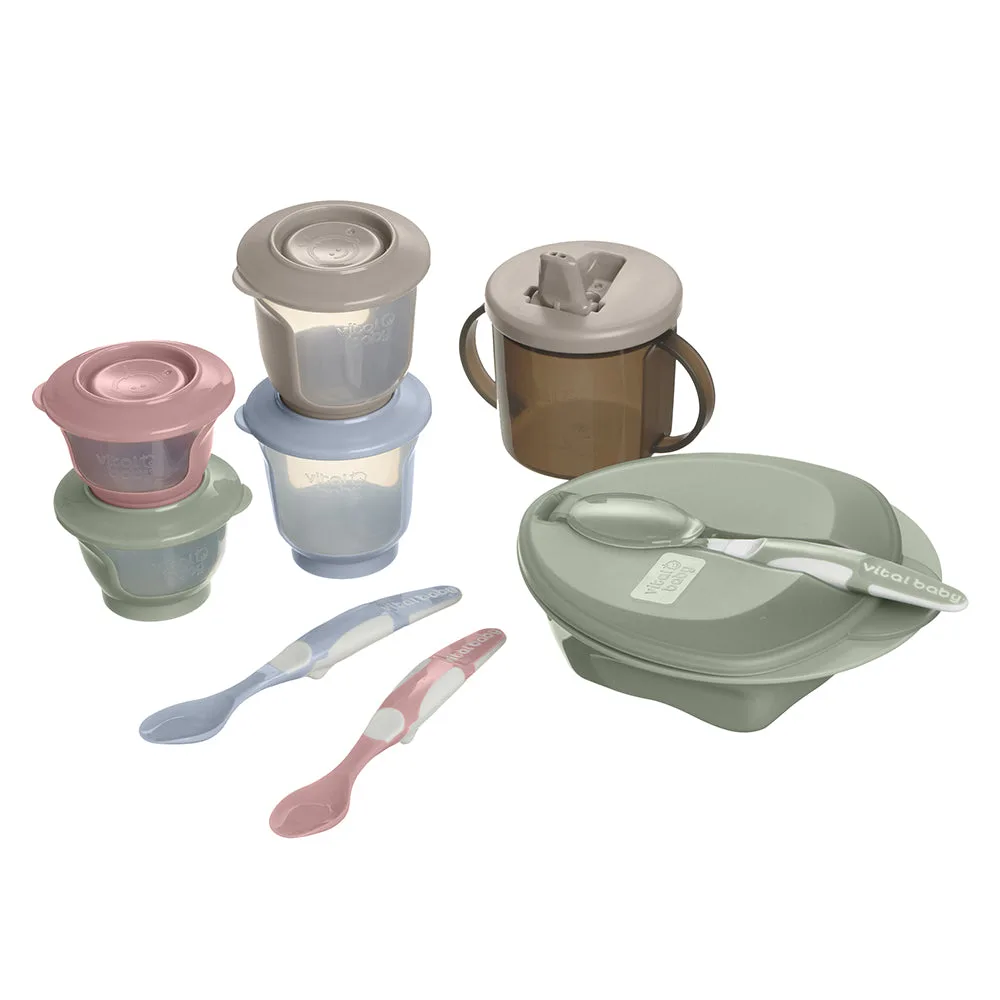
Start weaning with one set of tools you can keep clean and ready: a couple of soft-tipped spoons, two small pots with lids, a suction or non-slip bowl, a lidded cup, and a wipe-down cover. Add a scoop-sided feeding set so you can mash and serve in the same dish. Begin with one meal a day, offer a teaspoon or two of a single-ingredient puree, and let your baby set the pace.
What actually belongs in a weaning essentials list
A weaning essentials list is shorter than most parents expect. You need a way to mash, a way to serve, a way to store, and a way to clean up. Everything else is optional in the first weeks. The practical core is two soft-tipped spoons, two small lidded pots, one bowl that stays put, one free-flow or lidded cup, and a bib you can rinse. If you buy a bundled kit, check that it covers those five jobs before adding anything else.
- Two spoons: one in use, one clean and dry.
- Two small pots with lids: one for today, one for the fridge.
- One bowl with a non-slip base.
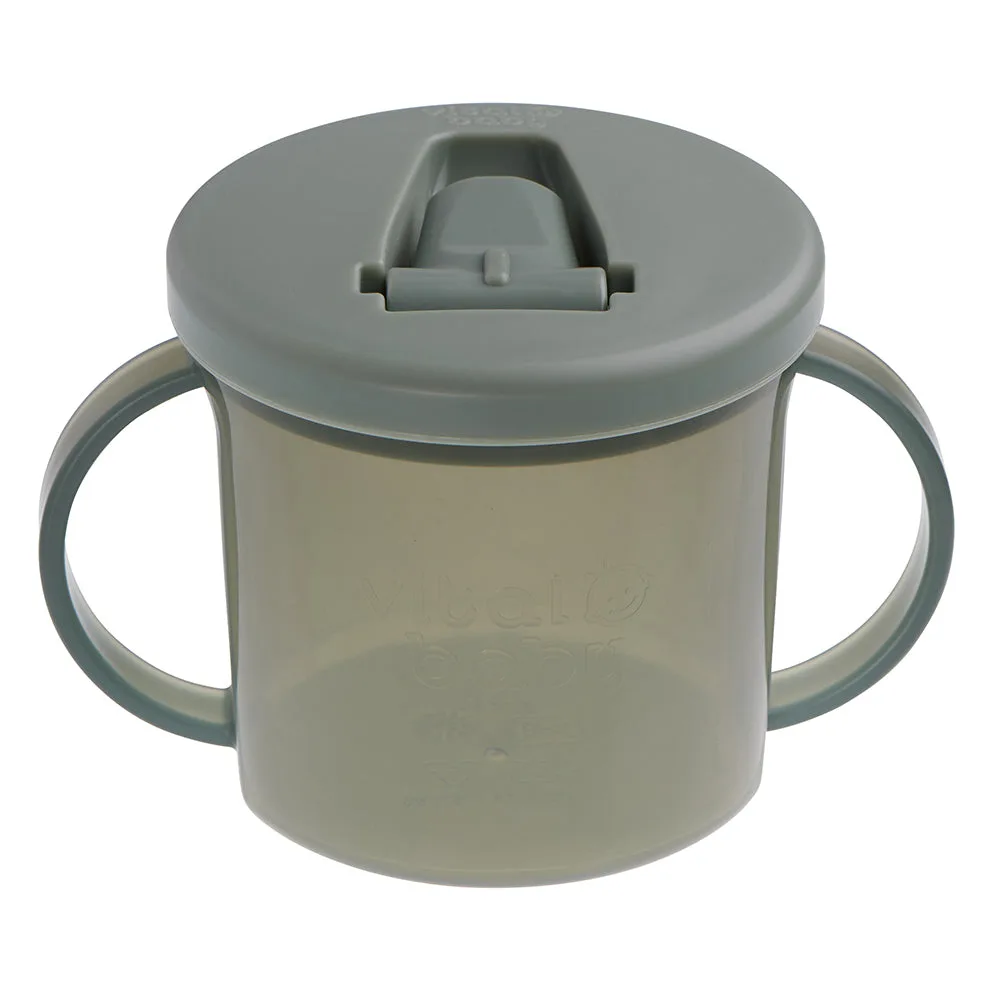
- One cup with a lid or free-flow spout.
- One wipe-clean bib and a damp cloth within reach.
How to set up before the first spoonful
Set up once and the daily routine gets easier. Wash and air-dry the spoons, pots, bowl, and cup before first use. Choose a time when your baby is alert but not ravenous, and when you are not rushing. Sit your baby upright, facing you, with feet supported. Put the pot of food within your reach but out of your baby's grabbing range, and keep a damp cloth on the table so you can wipe hands and faces without leaving your seat.
How to start weaning: the first-week rhythm
Offer one meal a day for the first few days, at the same time each day. Start with a single-ingredient puree, thinned with your baby's usual milk if needed. Let your baby taste, turn away, or refuse without pressure. If they accept, offer a little more the next day. If they refuse, stop and try again tomorrow. Around day four or five, you can add a second taste at a different time of day, but keep portions small. The goal of the baby weaning first week is familiarity, not volume.
First foods for baby: what to offer and what to avoid
Start with soft, single-ingredient foods: cooked and mashed vegetables, soft fruit, or iron-fortified infant cereal mixed with milk. Introduce one new food at a time and wait a day or two before adding another, so you can spot any reaction. Avoid added salt, added sugar, honey before twelve months, whole nuts, and any hard, round food that could be a choking risk. If you are unsure about allergens or your baby's readiness, ask your health visitor or pediatric clinician.
Cleaning and storing between meals
Rinse spoons, pots, and bowls in cool water before washing, then wash in hot soapy water or the dishwasher and air-dry fully. Store cooled food in a lidded pot in the fridge and use it within the time your clinician recommends. Do not reheat more than once. Keep a clean, dry spoon in your bag for outings so you are not improvising with a spoon that has been rolling around loose.
Your first-week weaning steps
- Step 1: Check readiness signs: Look for steady head control, sitting with support, and showing interest in food. Wait until around six months unless your clinician advises otherwise. Common mistake: starting because a growth chart or a relative says so, rather than because your baby shows the signs.
- Step 2: Wash and set up the kit: Wash and air-dry two spoons, two lidded pots, a bowl, and a cup. Put a damp cloth on the table and sit your baby upright, facing you. Checkpoint: everything you need is within your reach, and nothing hot or sharp is within your baby's.
- Step 3: Offer one small taste: Serve a teaspoon or two of a single-ingredient puree on a soft-tipped spoon. Let your baby lead. Stop when they turn away or close their mouth. Common mistake: chasing the last spoonful. A few tastes count as a successful first meal.
- Step 4: Repeat at the same time tomorrow: Keep one meal a day for the first few days. Add a second taste at a different time only once the first is going smoothly. Checkpoint: by the end of the week, your baby recognizes the routine, even if they still eat very little.
- Step 5: Introduce one new food at a time: Wait a day or two between new foods so you can spot any reaction. Keep textures soft and thin at first, then thicken as your baby manages. Common mistake: mixing several new foods into one pot, which makes any reaction hard to trace.
- Step 6: Clean, store, and reset for tomorrow: Rinse and wash used items, air-dry them fully, and store any cooled leftovers in a lidded pot in the fridge. Use within the time your clinician recommends. Next step: keep a covered spoon and a lidded pot in your bag so outings do not break the routine.
Kit contents worth knowing
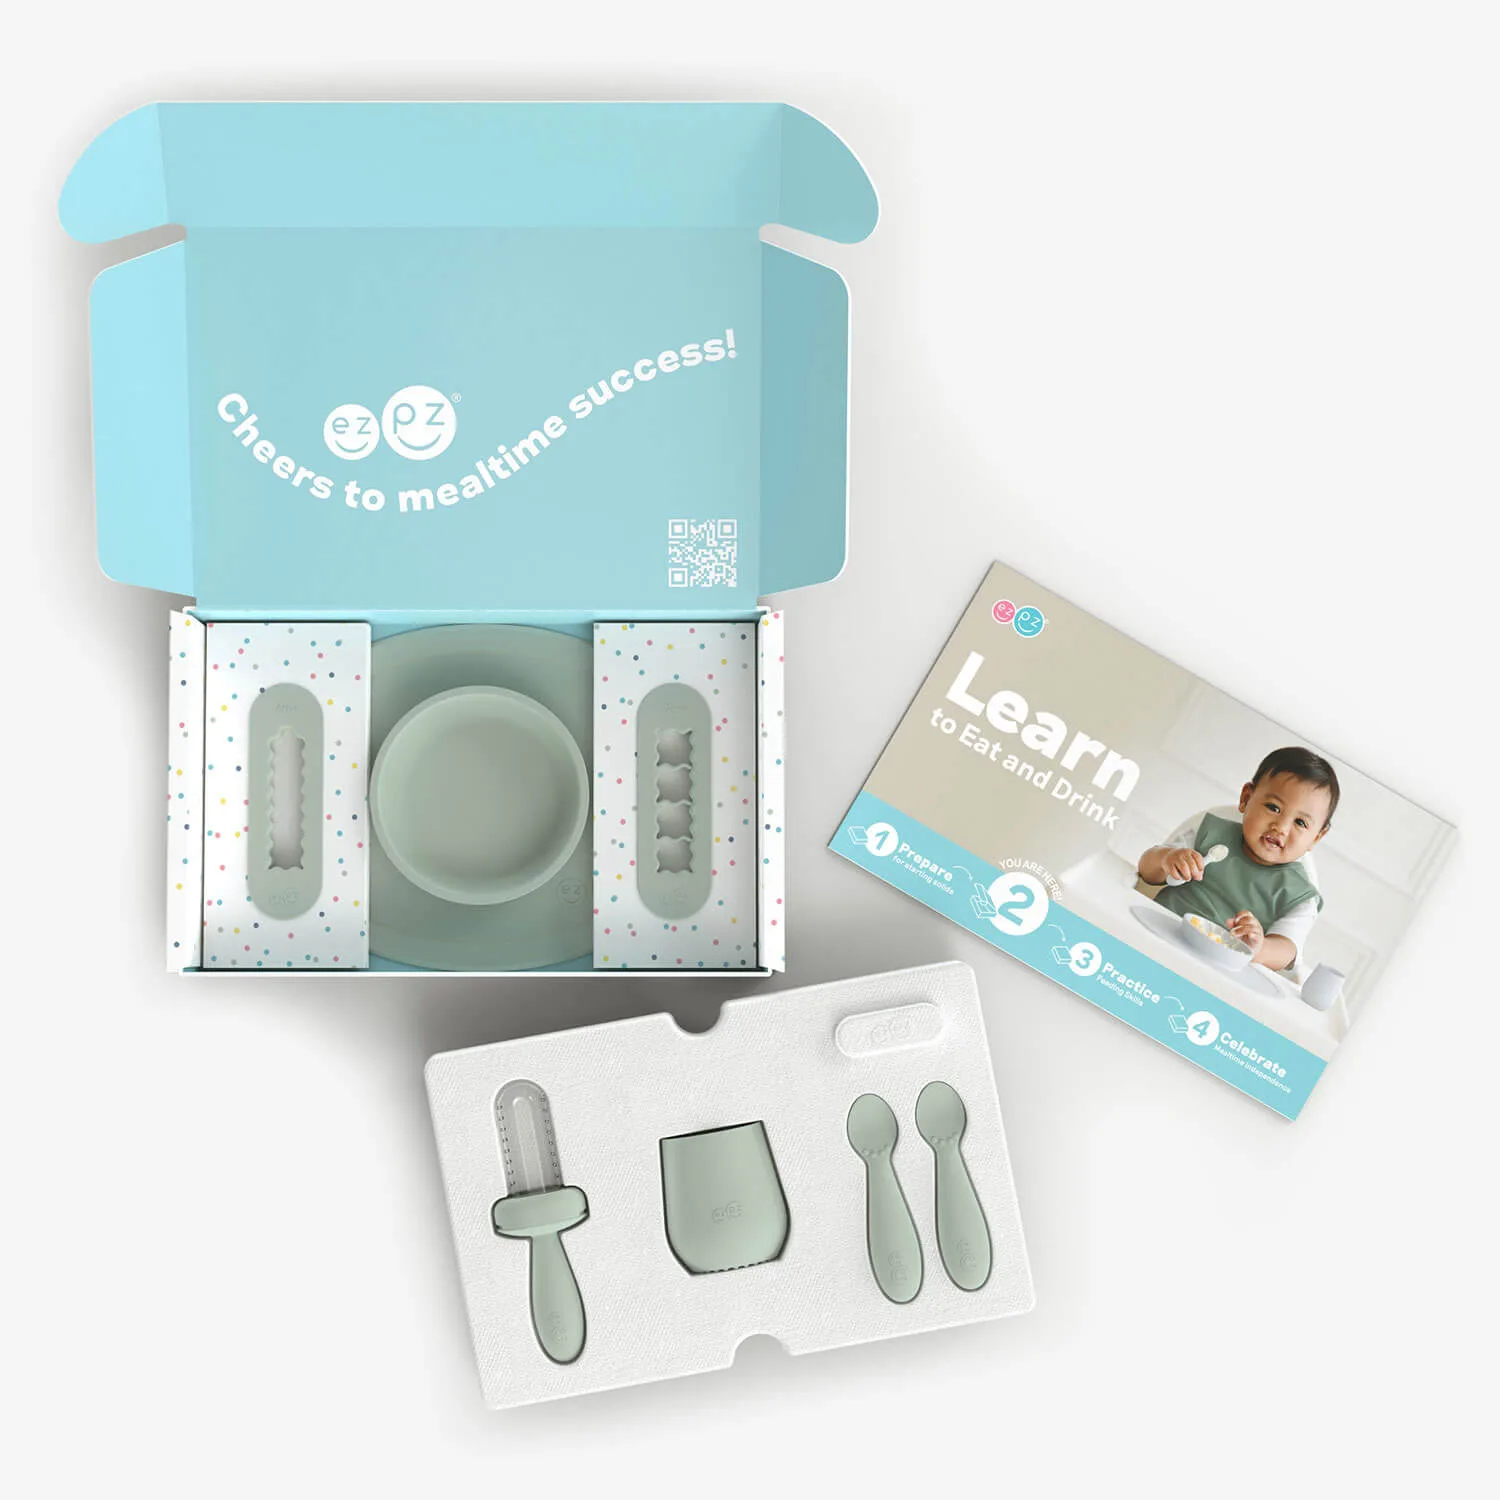
- start weaning kit: Complete kit to help you and your baby embark on your weaning journey, including multi-award-winning start weaning spoons, a feeding set, store and wean pots, and a free flow cup. Covers the five core jobs in one purchase, so you are not assembling spoons, pots, and a cup separately.
- start weaning kit: BPA, Latex and Phthalate free, and EarthSmart biodegradable in landfill without leaving microplastics behind. Useful if you want to avoid those materials and prefer a kit designed to break down at end of life.
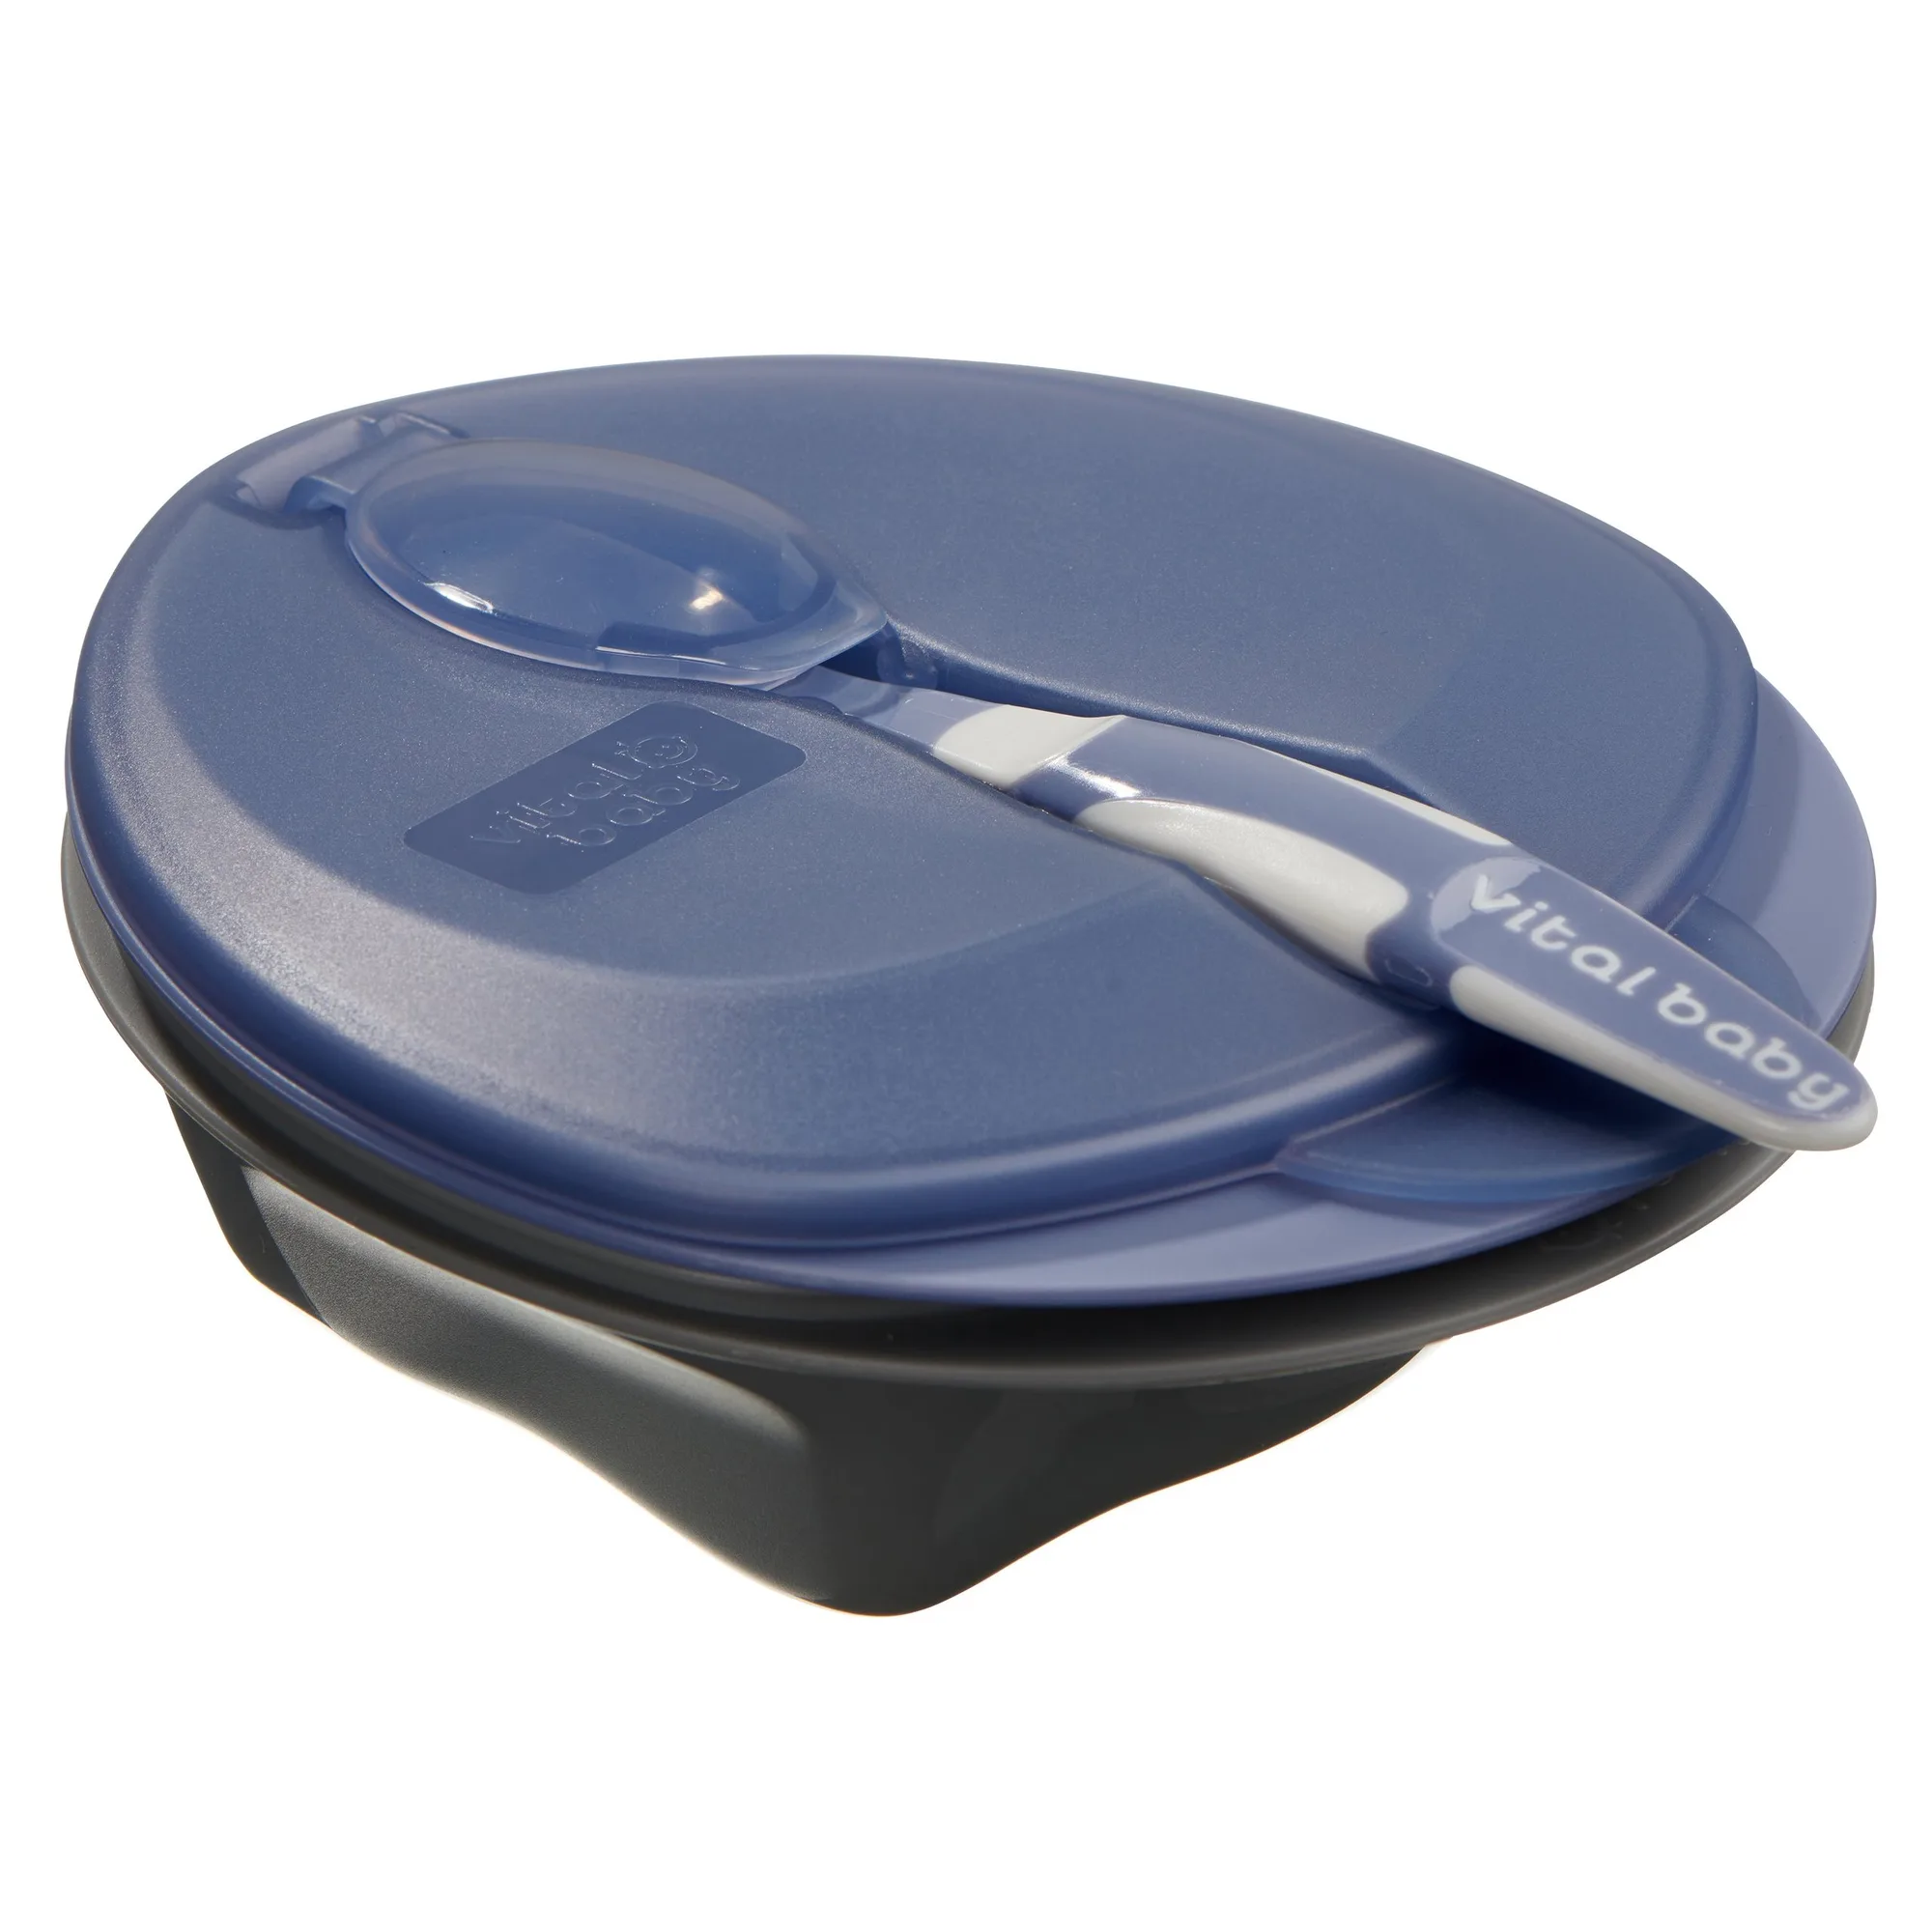
- scoop™ feeding set 2pk: Scooped sides for easy scooping, integrated mashing zones for tailored textures, a start weaning spoon, a leak-proof lid, and a hygienic spoon cover. Lets you mash and serve in the same dish and carry a covered spoon, which reduces what you need to pack for outings.