Quick answer
To set up a Strider Rocking Base, you need a compatible Strider 2-in-1 Rocking Bike frame and a Rocking Base. The base is held together with eight push pin bolts. Insert the bolts into the small holes on top of the base, then attach the bike frame. This turns the balance bike into a toddler rocking bike. Always check that all eight bolts are fully seated before your child plays.
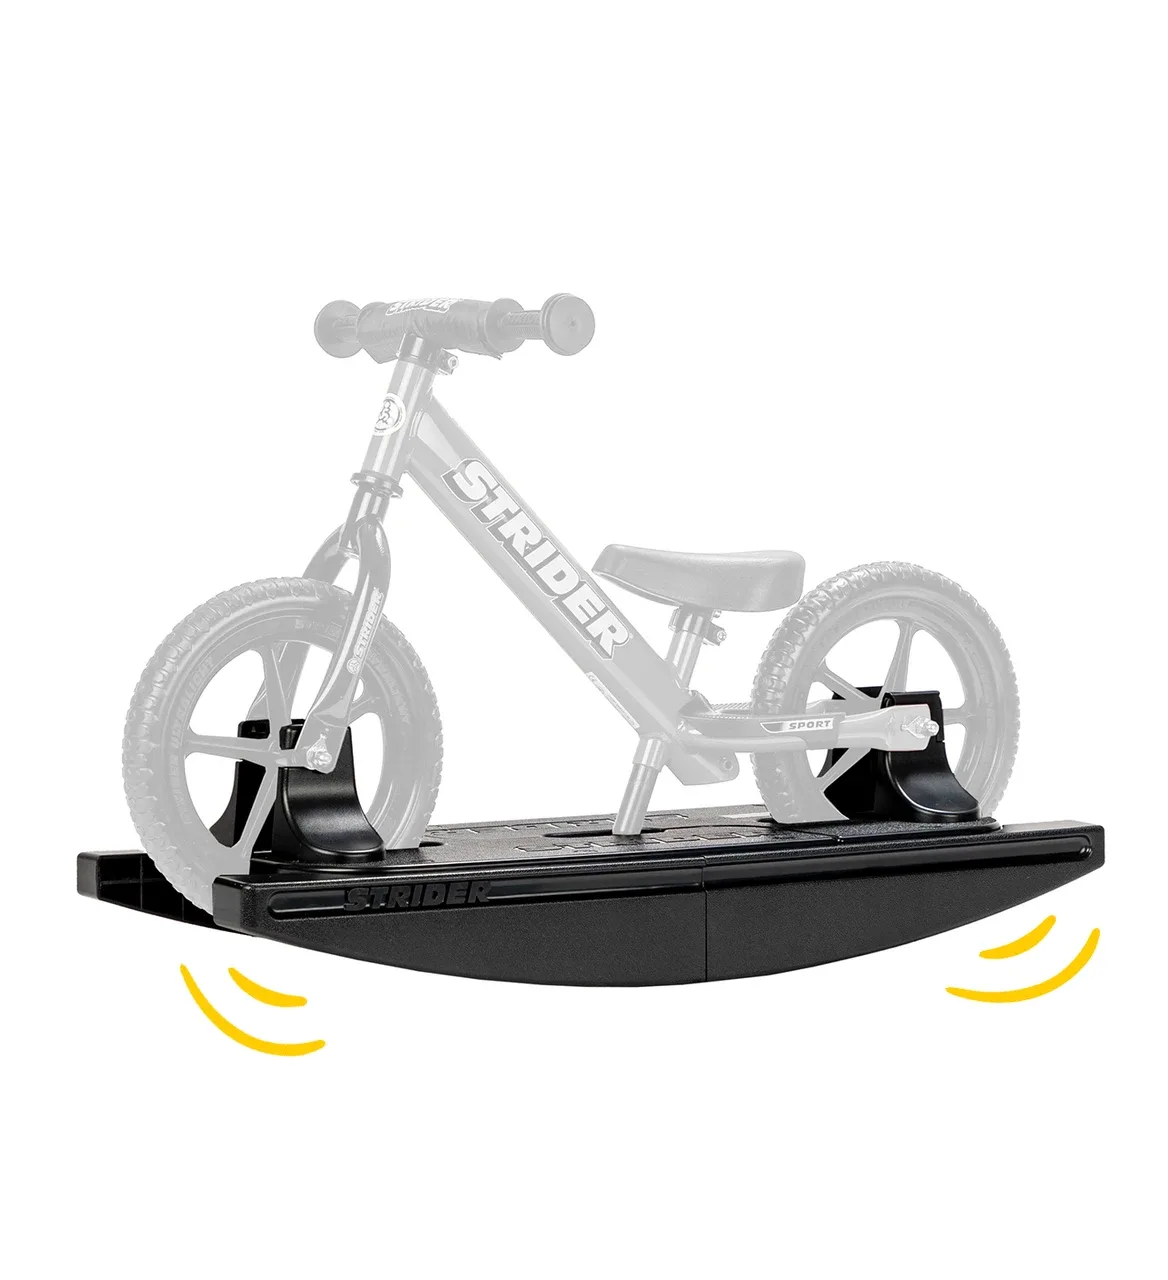
Strider Rocking Base
What you need before you start
You need a Strider Sport 2-in-1 Rocking Bike or Strider Pro 2-in-1 Rocking Bike, plus a Rocking Base. The base is compatible with Generation 2 and 3 Rocking Bases. If you already own a standard Strider balance bike, it is not designed to fit the Rocking Base; the 2-in-1 models include the frame that accepts the base. The Rocking Base uses eight push pin bolts in total. These bolts fit into the small holes on top of the base and hold it together.
Common mistakes and how to avoid them
The most common mistake is using too few bolts. The Rocking Base takes eight push pin bolts. Missing even one can make the base feel unstable. Another mistake is forcing the bolts; they should slide in easily when aligned. If a bolt does not go in, check that you are using the correct hole and that the base halves are properly aligned. Finally, do not use a standard balance bike frame with the Rocking Base. Only the 2-in-1 Rocking Bike frames are designed for this conversion.
Setup steps with checkpoints
- Gather the base and eight push pin bolts: Lay out the Rocking Base halves and all eight push pin bolts. The Rocking Base requires eight bolts total. Count them before you start. Checkpoint: You should have exactly eight bolts. If you are short, order replacements before assembling.
- Align the base halves: Match the top holes of the base halves so they line up. The bolts will pass through these small holes to hold the base together. Checkpoint: The holes should line up without force. If they do not, flip the halves and try again.
- Insert the push pin bolts: Push each bolt into the small holes on top of the base. They should slide in smoothly. Do not hammer or force them. Checkpoint: All eight bolts must be fully seated. If one is stuck, remove it and check for misalignment.
- Attach the 2-in-1 Rocking Bike frame: Place the Strider Sport 2-in-1 Rocking Bike or Strider Pro 2-in-1 Rocking Bike frame onto the assembled base. Follow the frame's own attachment points; the base is designed to accept these frames. Checkpoint: The frame should sit securely. If it wobbles, check that the base is fully assembled with all eight bolts.
- Test stability before use: Gently rock the assembled unit with your hand. Listen for rattles and feel for any movement in the base. Tighten or reseat any loose bolts. Checkpoint: The rocker should feel solid. If it does not, do not let your child use it until you fix the issue.
Parts and bikes mentioned
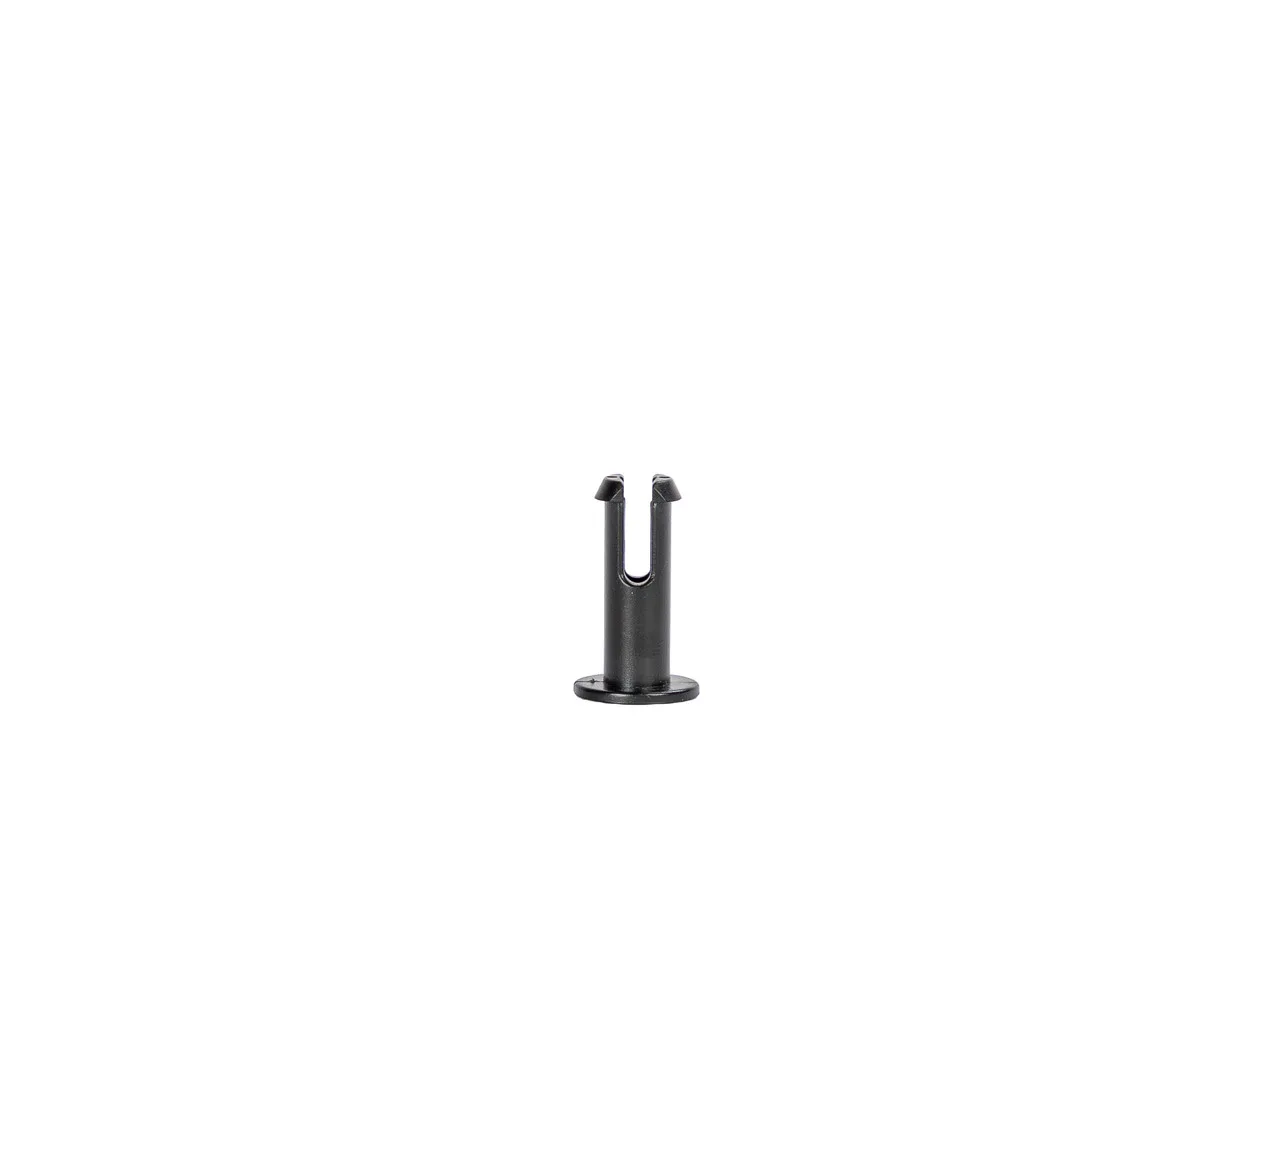
- Rocking Base Push Pin Bolt: Replacement push pin bolt for Strider Rocking Bases and 2-in-1 Rocking Bikes; fits the small holes on top of the Rocking Base; sold as a single bolt; the Rocking Base takes 8 total; compatible with Generation 2 and 3 Rocking Bases. If you lose or strip a bolt, you can replace it individually instead of buying a new base. Always keep eight on hand.
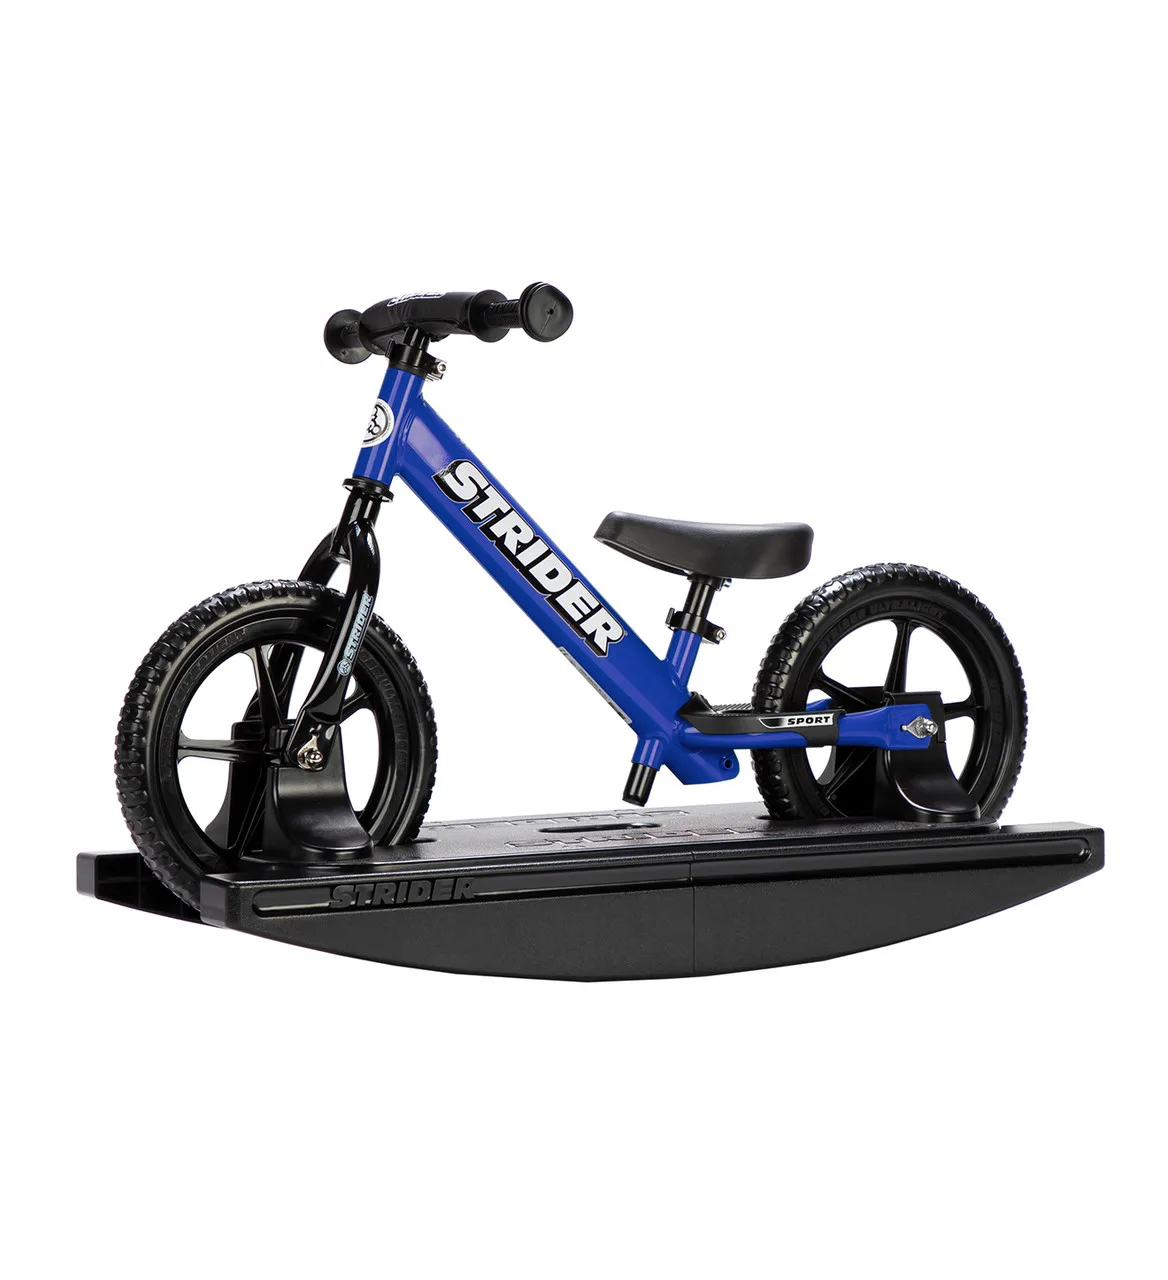
- Strider Sport 2-in-1 Rocking Bike: Strider Sport 2-in-1 Rocking Bike is a baby balance bike that converts to a rocking bike; available in multiple colors. This is the entry-level 2-in-1 option if you want a rocking bike that later becomes a balance bike.
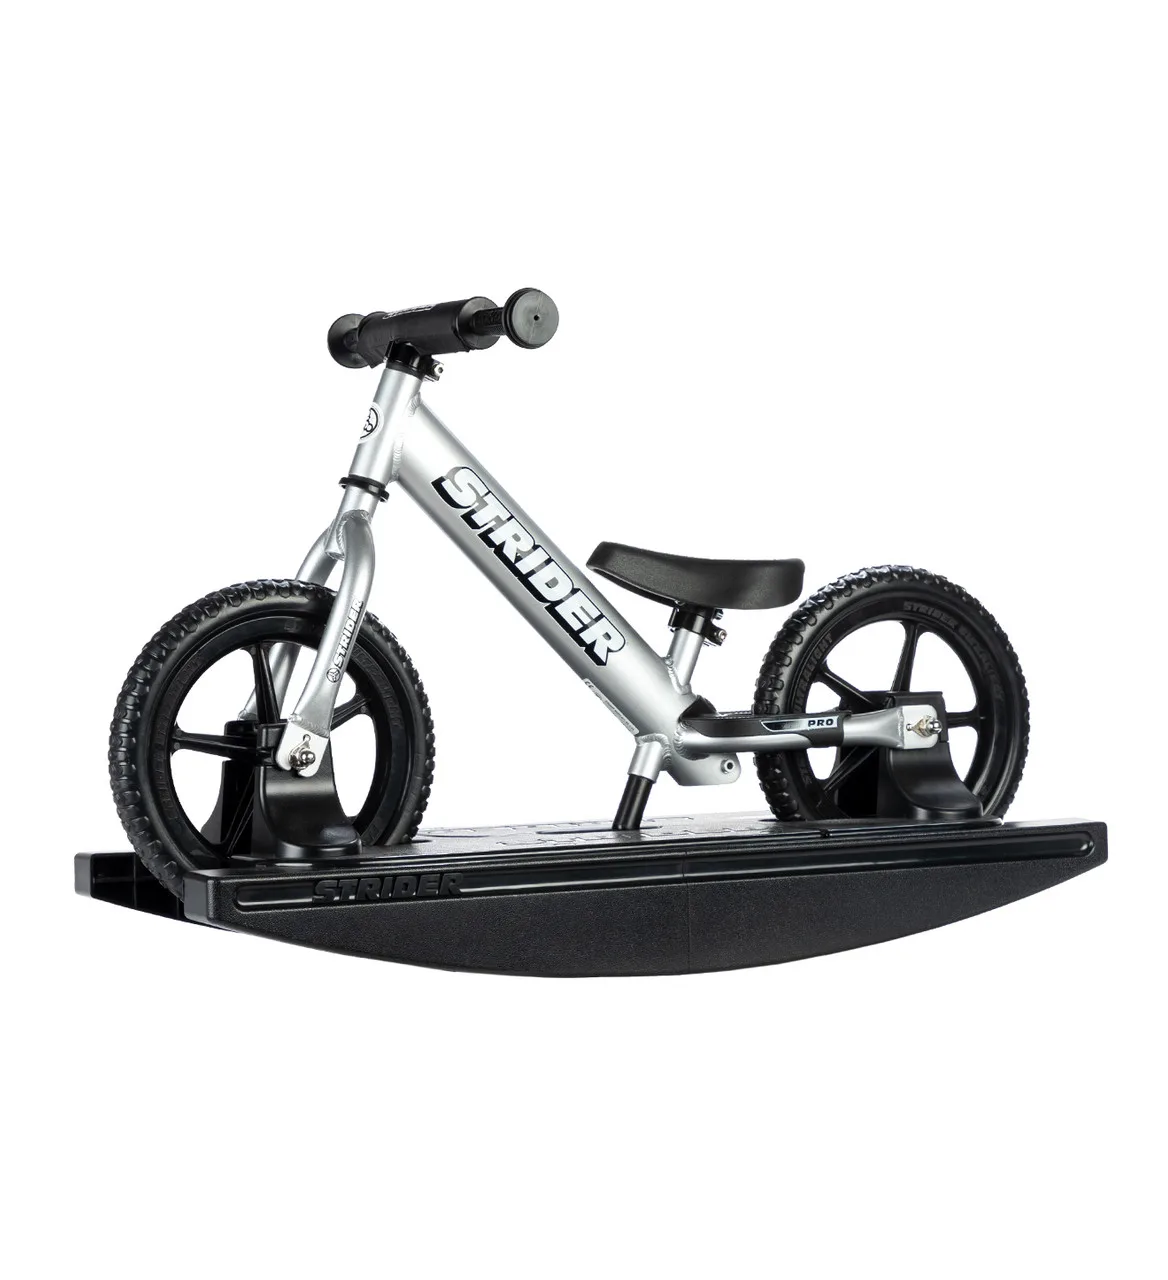
- Strider Pro 2-in-1 Rocking Bike: Strider Pro 2-in-1 Rocking Bike is a modern alternative to a traditional rocking horse; offers two toys in one; available in multiple colors. Choose the Pro if you want a more premium finish and design for the same two-in-one function.