Quick answer
Tubeless is worth it for kids who ride often on rough or thorny terrain and whose rims and tires are tubeless-ready. It reduces pinch flats and lets you run lower pressure for grip. If your child rides occasionally on smooth paths, or your rims aren't tubeless-ready, stick with tubes and save the effort.
Check compatibility before you buy anything
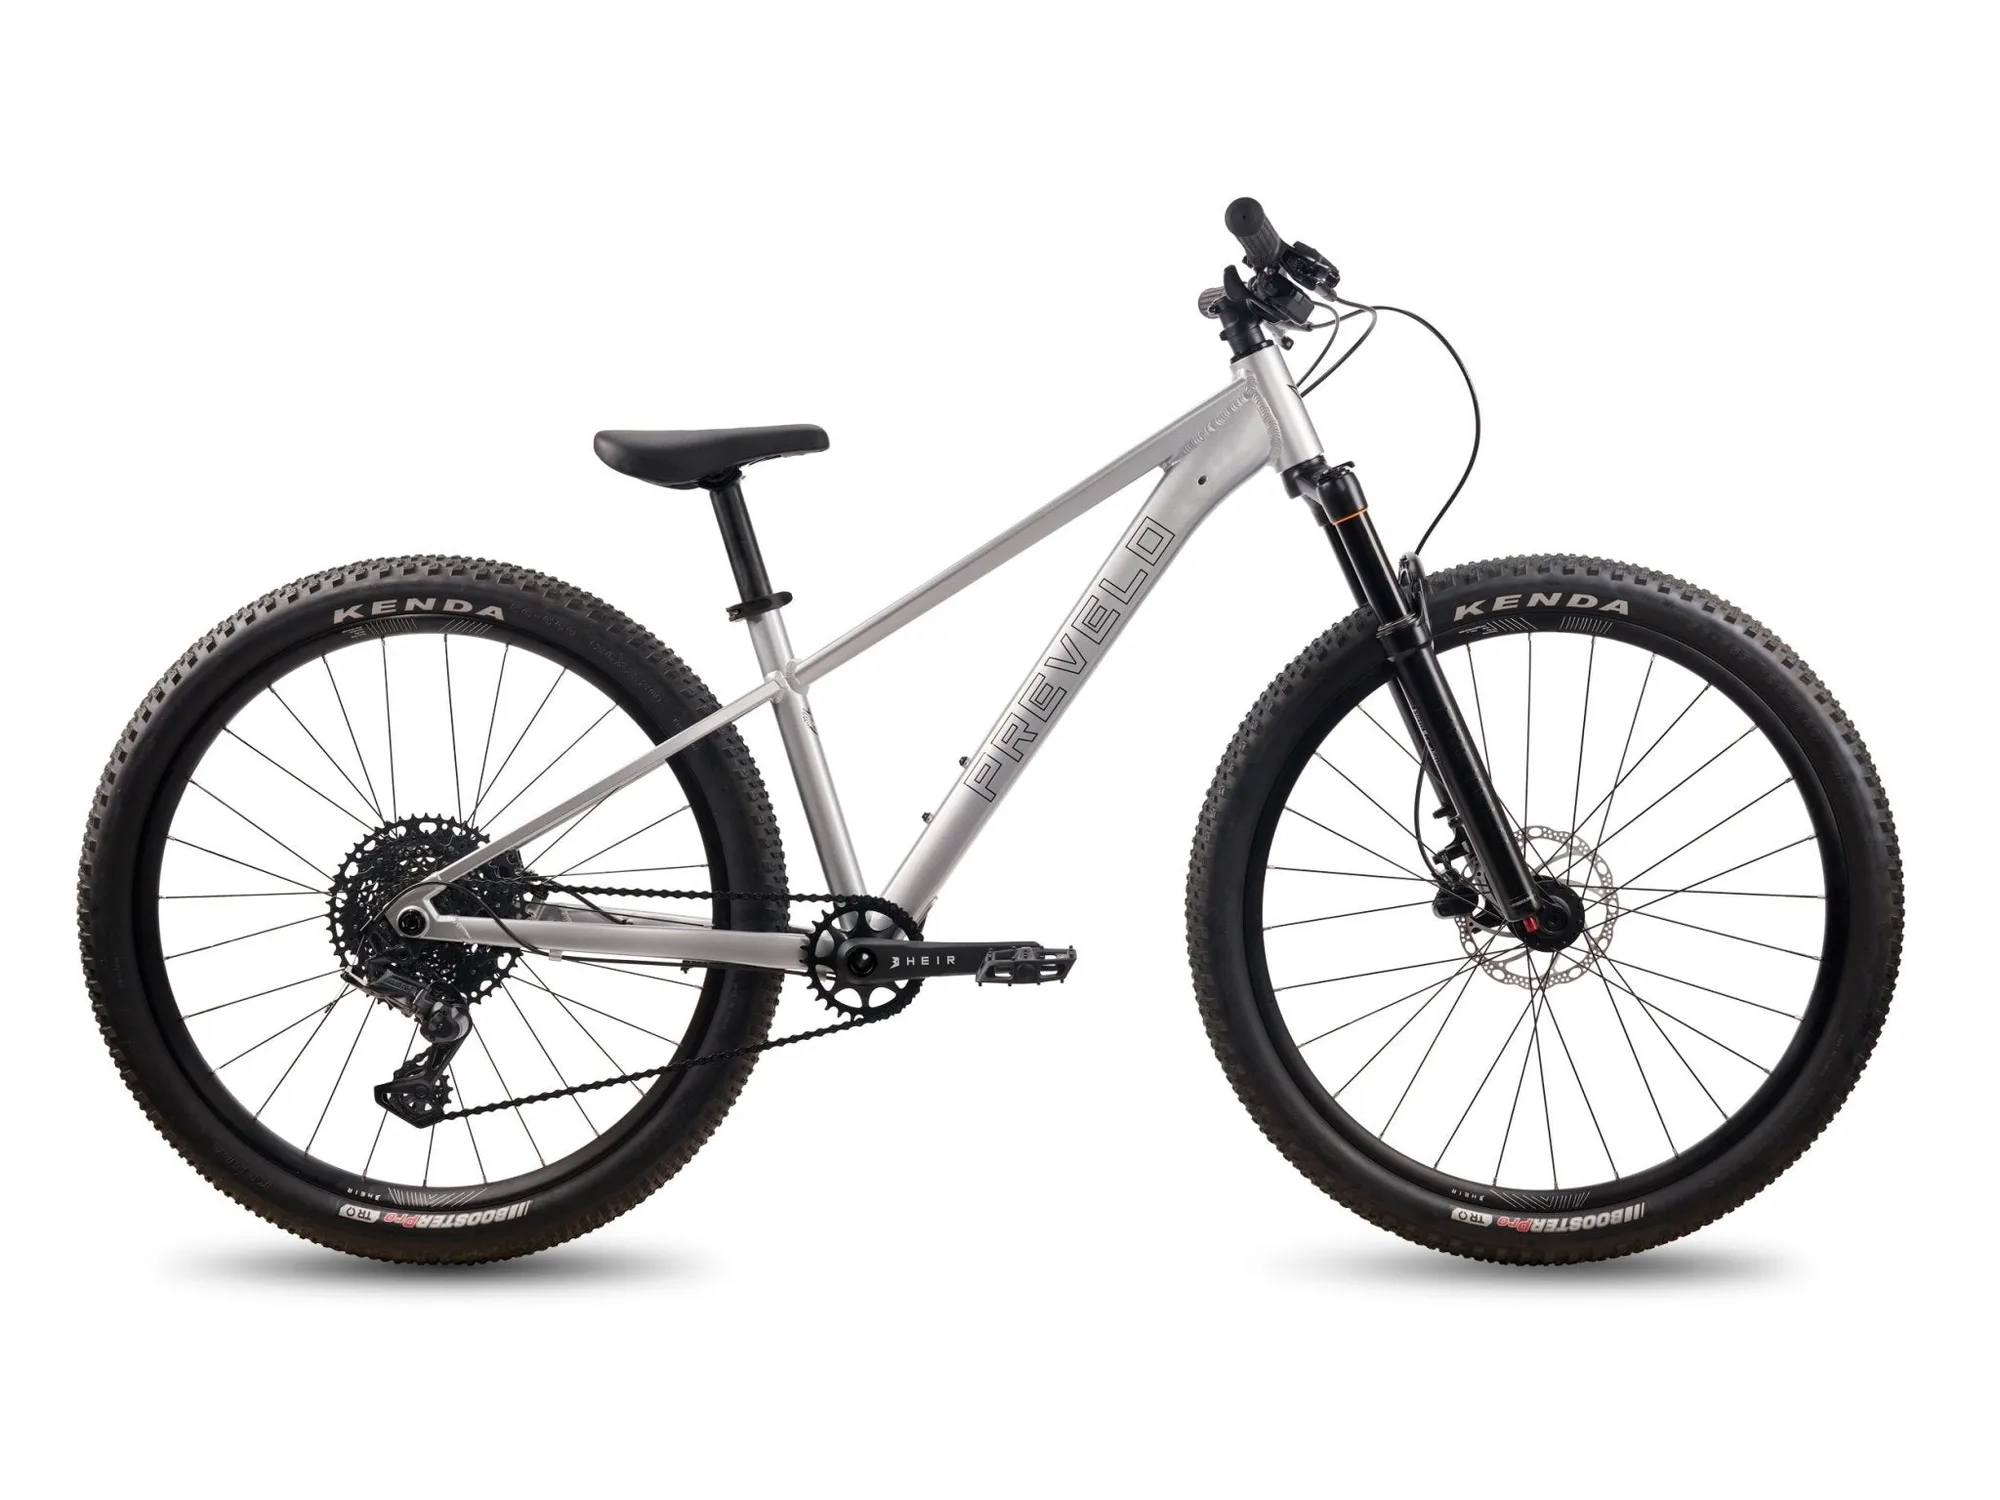
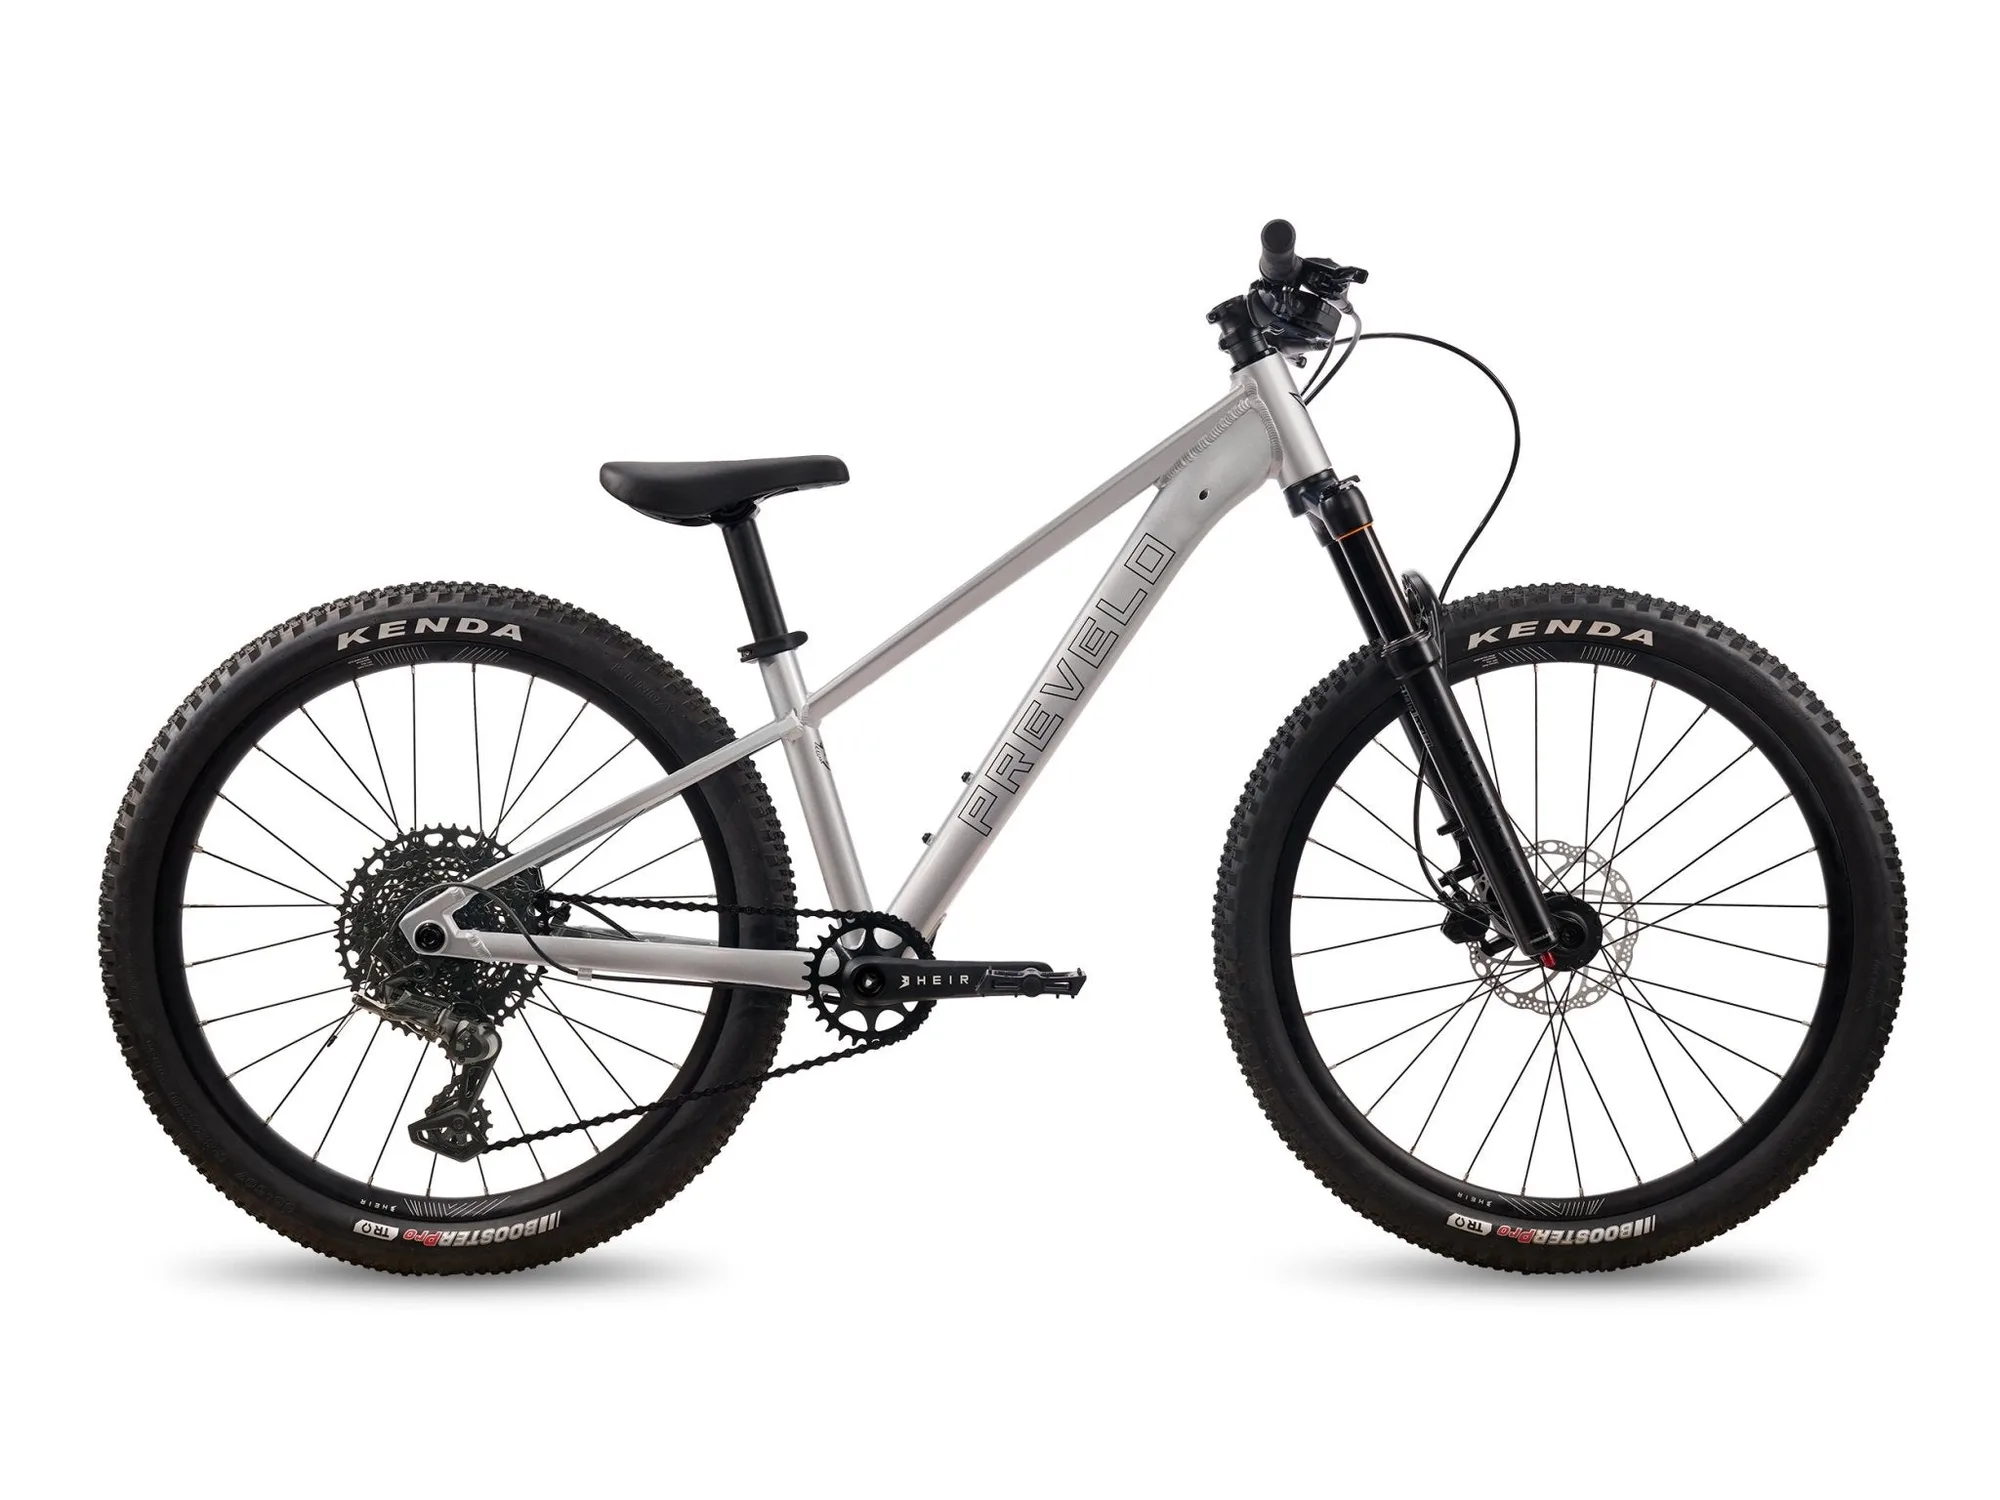
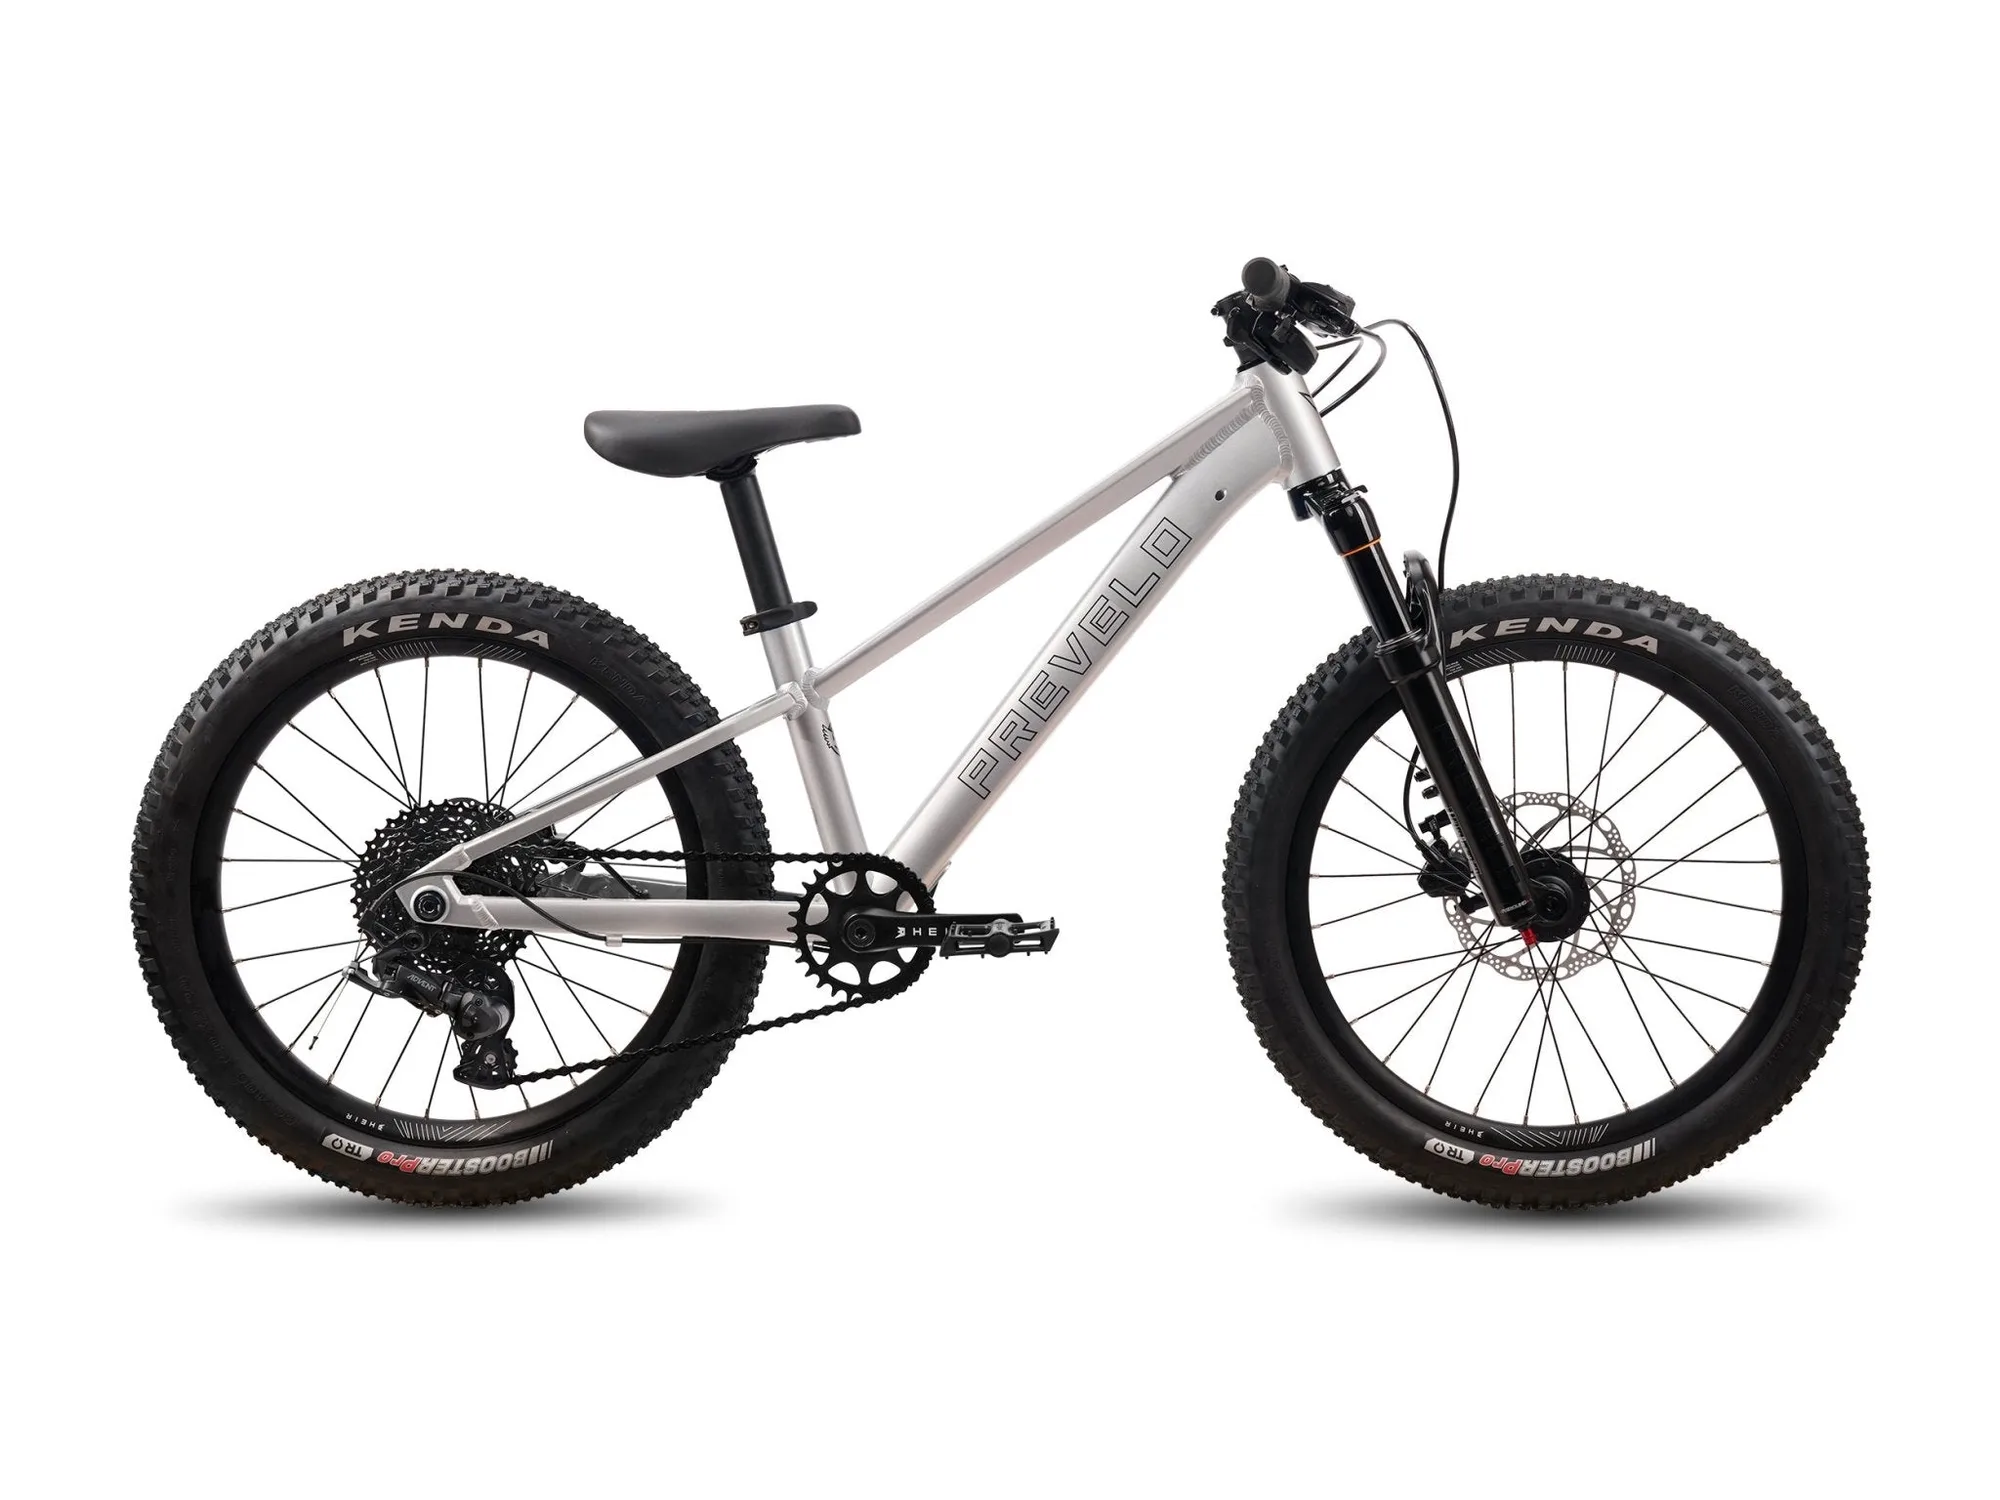
Tubeless only works if both the rim and tire are designed for it. Look for a 'tubeless-ready' or 'TLR' marking on the rim and tire sidewall. If either is missing, a tubeless tire conversion is not safe or reliable. Prevelo's Tubeless Setup Kit is compatible only with Zulu Three, Zulu Four and Zulu Five models that have tubeless-ready tires and rims, and some early model versions may not be compatible. If you are unsure whether your Prevelo bike is tubeless-ready, check the rim and tire markings or contact the manufacturer before buying sealant.
What changes when you remove the tube
Without a tube, the tire and rim form an airtight chamber. Sealant inside the tire coats small punctures and seals them as you ride. You can also run lower air pressure without pinch-flatting the tube against the rim, which improves traction on loose or bumpy surfaces. The tradeoff is more frequent pressure checks and a messier repair if a puncture is too large for sealant to close.
Tools and supplies you'll need
Gather tire levers, a valve core removal tool, an air compressor or a high-volume floor pump, tubeless tire sealant, tubeless valves, and a rag. A compressor makes seating the bead much easier, but a fast-stroke floor pump can work with some tire and rim combinations. Don't substitute household tools for bike-specific ones; tire levers are shaped to avoid pinching the bead.
Safety and maintenance after setup
Check pressure before every ride. Tubeless tires lose air faster than tubed tires, especially when new. Replenish sealant every few months, or sooner in hot, dry climates, because it dries out. If a puncture won't seal, carry a spare tube or a plug kit on longer rides. For young riders, a sudden flat far from home is a bigger problem than for adults, so plan accordingly.
Step-by-step tubeless setup
- Confirm tubeless-ready rims and tires: Look for 'tubeless-ready' or 'TLR' on both the rim and tire. If either is missing, stop here and keep your tubes. Checkpoint: no TLR marking means no tubeless conversion.
- Remove the wheel and old tube: Deflate the tire completely, unseat one bead with tire levers, and pull out the tube. Inspect the inside of the tire for thorns or glass and remove anything embedded. Common mistake: skipping the inspection and sealing a thorn inside the tire.
- Install the tubeless valve: Remove the old rim tape if it's not tubeless tape, then push the tubeless valve through the valve hole and tighten the locknut by hand. Don't overtighten; you can crush the rim or tear the rubber base. Checkpoint: the valve should sit flush and not spin when you twist it.
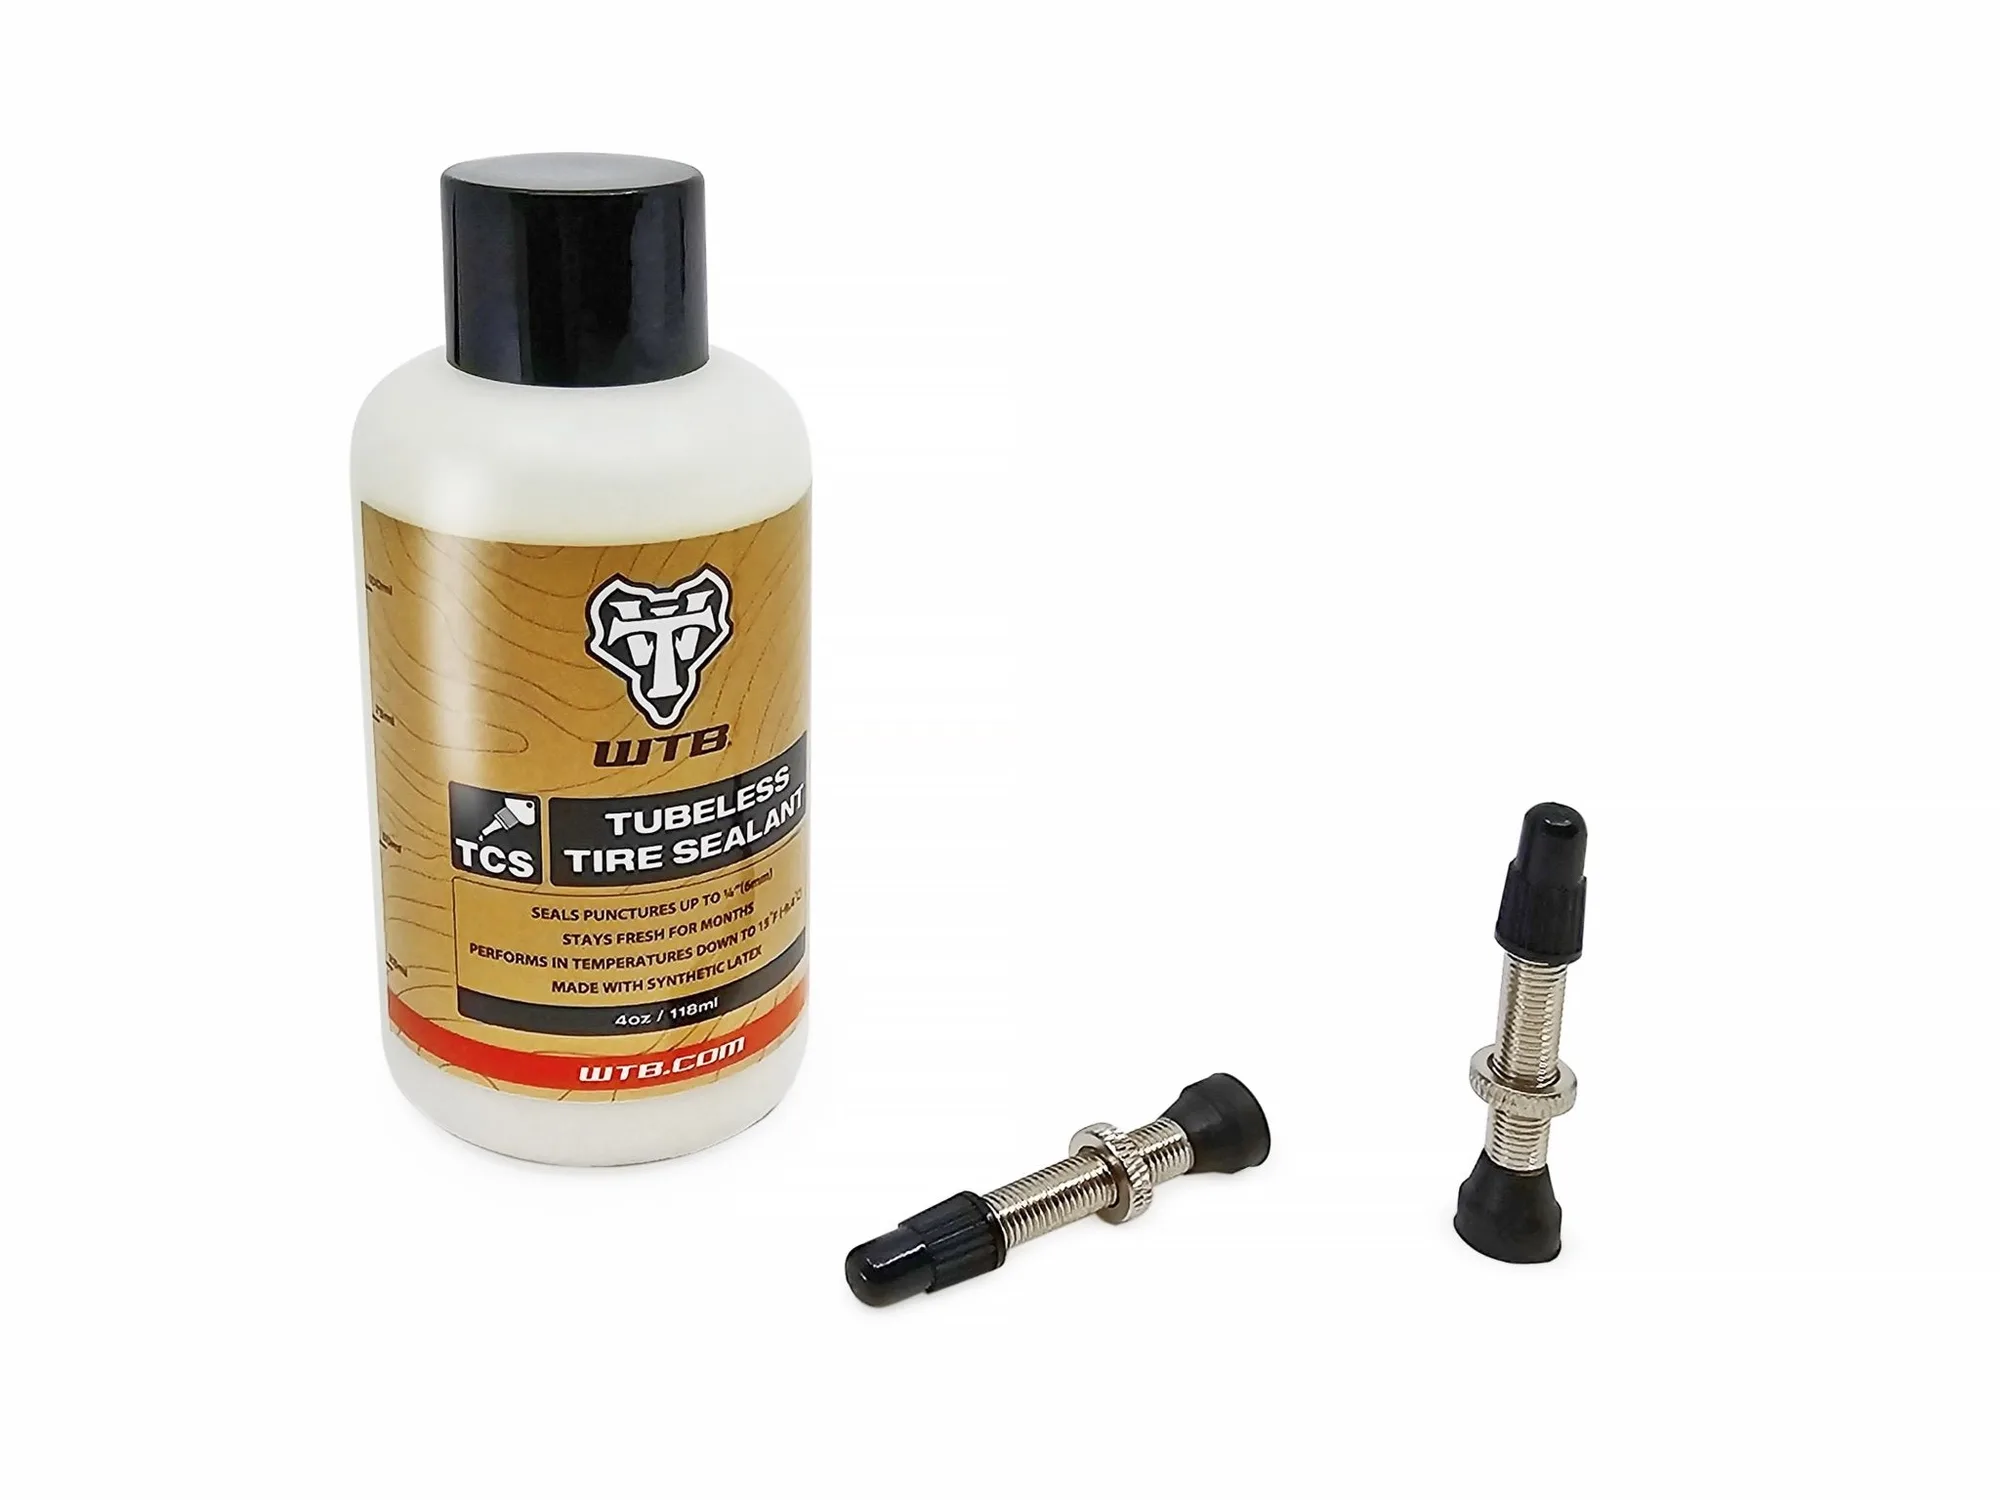
- Seat one bead, add sealant, seat the other: Seat one side of the tire onto the rim by hand. Pour 4oz of sealant into the tire, then seat the second bead. If you have removable valve cores, you can add sealant through the valve after seating instead. Common mistake: pouring sealant before the bead is seated and spilling it everywhere.
- Inflate quickly to seat the bead: Use a compressor or a fast-stroke floor pump to blast air in until you hear the bead snap into place. If it won't seat, remove the valve core for more airflow, then reinstall it. Checkpoint: look for a consistent line around the rim on both sides.
- Shake, spin, and check pressure: Shake the wheel and spin it to distribute sealant. Check that it holds pressure overnight. If it goes flat, the tape or valve is likely leaking. Next step: if it holds, set your child's preferred pressure and go ride.
Product facts
- Tubeless Setup Kit: Includes a 4oz bottle of tubeless tire sealant and two tubeless tire valves with removable valve cores. This is the minimum you need to convert one bike. The removable valve cores let you inject sealant through the valve instead of breaking the bead.