Quick answer
A circular polarizer (CPL) filter is a must-have for landscape photography because it cuts reflections, deepens blue skies, and boosts color saturation—all in-camera. Here’s how to use one step by step.
Why a CPL matters for landscapes
Unlike UV or clear filters, a circular polarizer does more than protect your lens—it actively controls light. By filtering out polarized light, it reduces glare from water, leaves, and rocks, making textures pop. It also darkens skies without altering the overall exposure, giving you richer, more dramatic landscapes straight from the camera.
Trade-offs to know before you buy
A CPL reduces light by about 1–2 stops (depending on the model), so it’s less ideal in low-light conditions or for fast-moving subjects. It also works best when the sun is at a 90-degree angle to your subject—straight-on or backlit scenes show little effect. Finally, a cheap polarizer can introduce color casts or softness, so quality matters.
How to use a circular polarizer for landscapes
- Attach and rotate the filter: Screw the CPL onto your lens (make sure the thread size matches). Look through the viewfinder or live view and rotate the front ring slowly. The effect will change as you turn it—stop when the sky is darkest or the glare is gone. Common mistake: rotating too fast or not checking the effect at different focal lengths. Always fine-tune after composing.
- Dial in the optimal angle to the sun: The polarizing effect is strongest when your lens is at a 90-degree angle to the sun. Point your camera sideways to the light source for maximum sky darkening and reflection removal. Facing the sun or having it behind you yields little to no effect. Common mistake: expecting uniform polarization across a wide-angle shot. The sky can appear unevenly darkened—use a graduated ND filter if needed.
- Check for unwanted vignetting: On ultra-wide lenses (especially below 24mm full-frame equivalent), a standard CPL can cause dark corners. Stacking filters makes it worse. Test by shooting a plain white wall at your widest focal length and checking for shadowed edges. Common mistake: using a CPL on a lens with a built-in hood or step-up ring, which can block the filter ring and cause mechanical vignetting.
- Compensate exposure manually: A CPL reduces light by 1–2 stops. In aperture-priority or manual mode, your camera’s meter will adjust automatically, but be aware that shutter speed will slow. On a tripod this isn’t an issue; handheld, raise ISO or open the aperture to avoid blur. Common mistake: forgetting to remove the CPL when moving into shade or indoors, where the light loss can push shutter speeds below a safe handheld threshold.
Polarizers we recommend
-
Promaster HGX Prime Circular Polarizer Filter: The Promaster HGX Prime Circular Polarizing Filter allows 30% more light than everyday polarizers while reducing reflections and enhancing color saturation. It is individually ground, polished, and coated with a Repellemax II anti-static barrier. This means you lose less light (only about 1 stop) compared to standard CPLs, making it more usable in overcast or twilight landscapes.
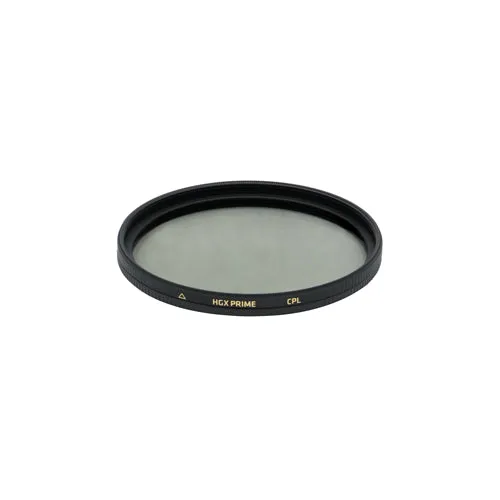
Promaster HGX Prime Circular Polarizer Filter
-
NiSi True Color Pro Nano CPL Circular Polarizing Filter: The NiSi True Color Pro Nano CPL is crafted to reduce glare and reflections from non-metallic surfaces while delivering true-to-life colors and enhanced clarity. If color accuracy is your priority—say, for foliage or sunrise hues—this filter minimizes the warm or cool color shift that some polarizers introduce.
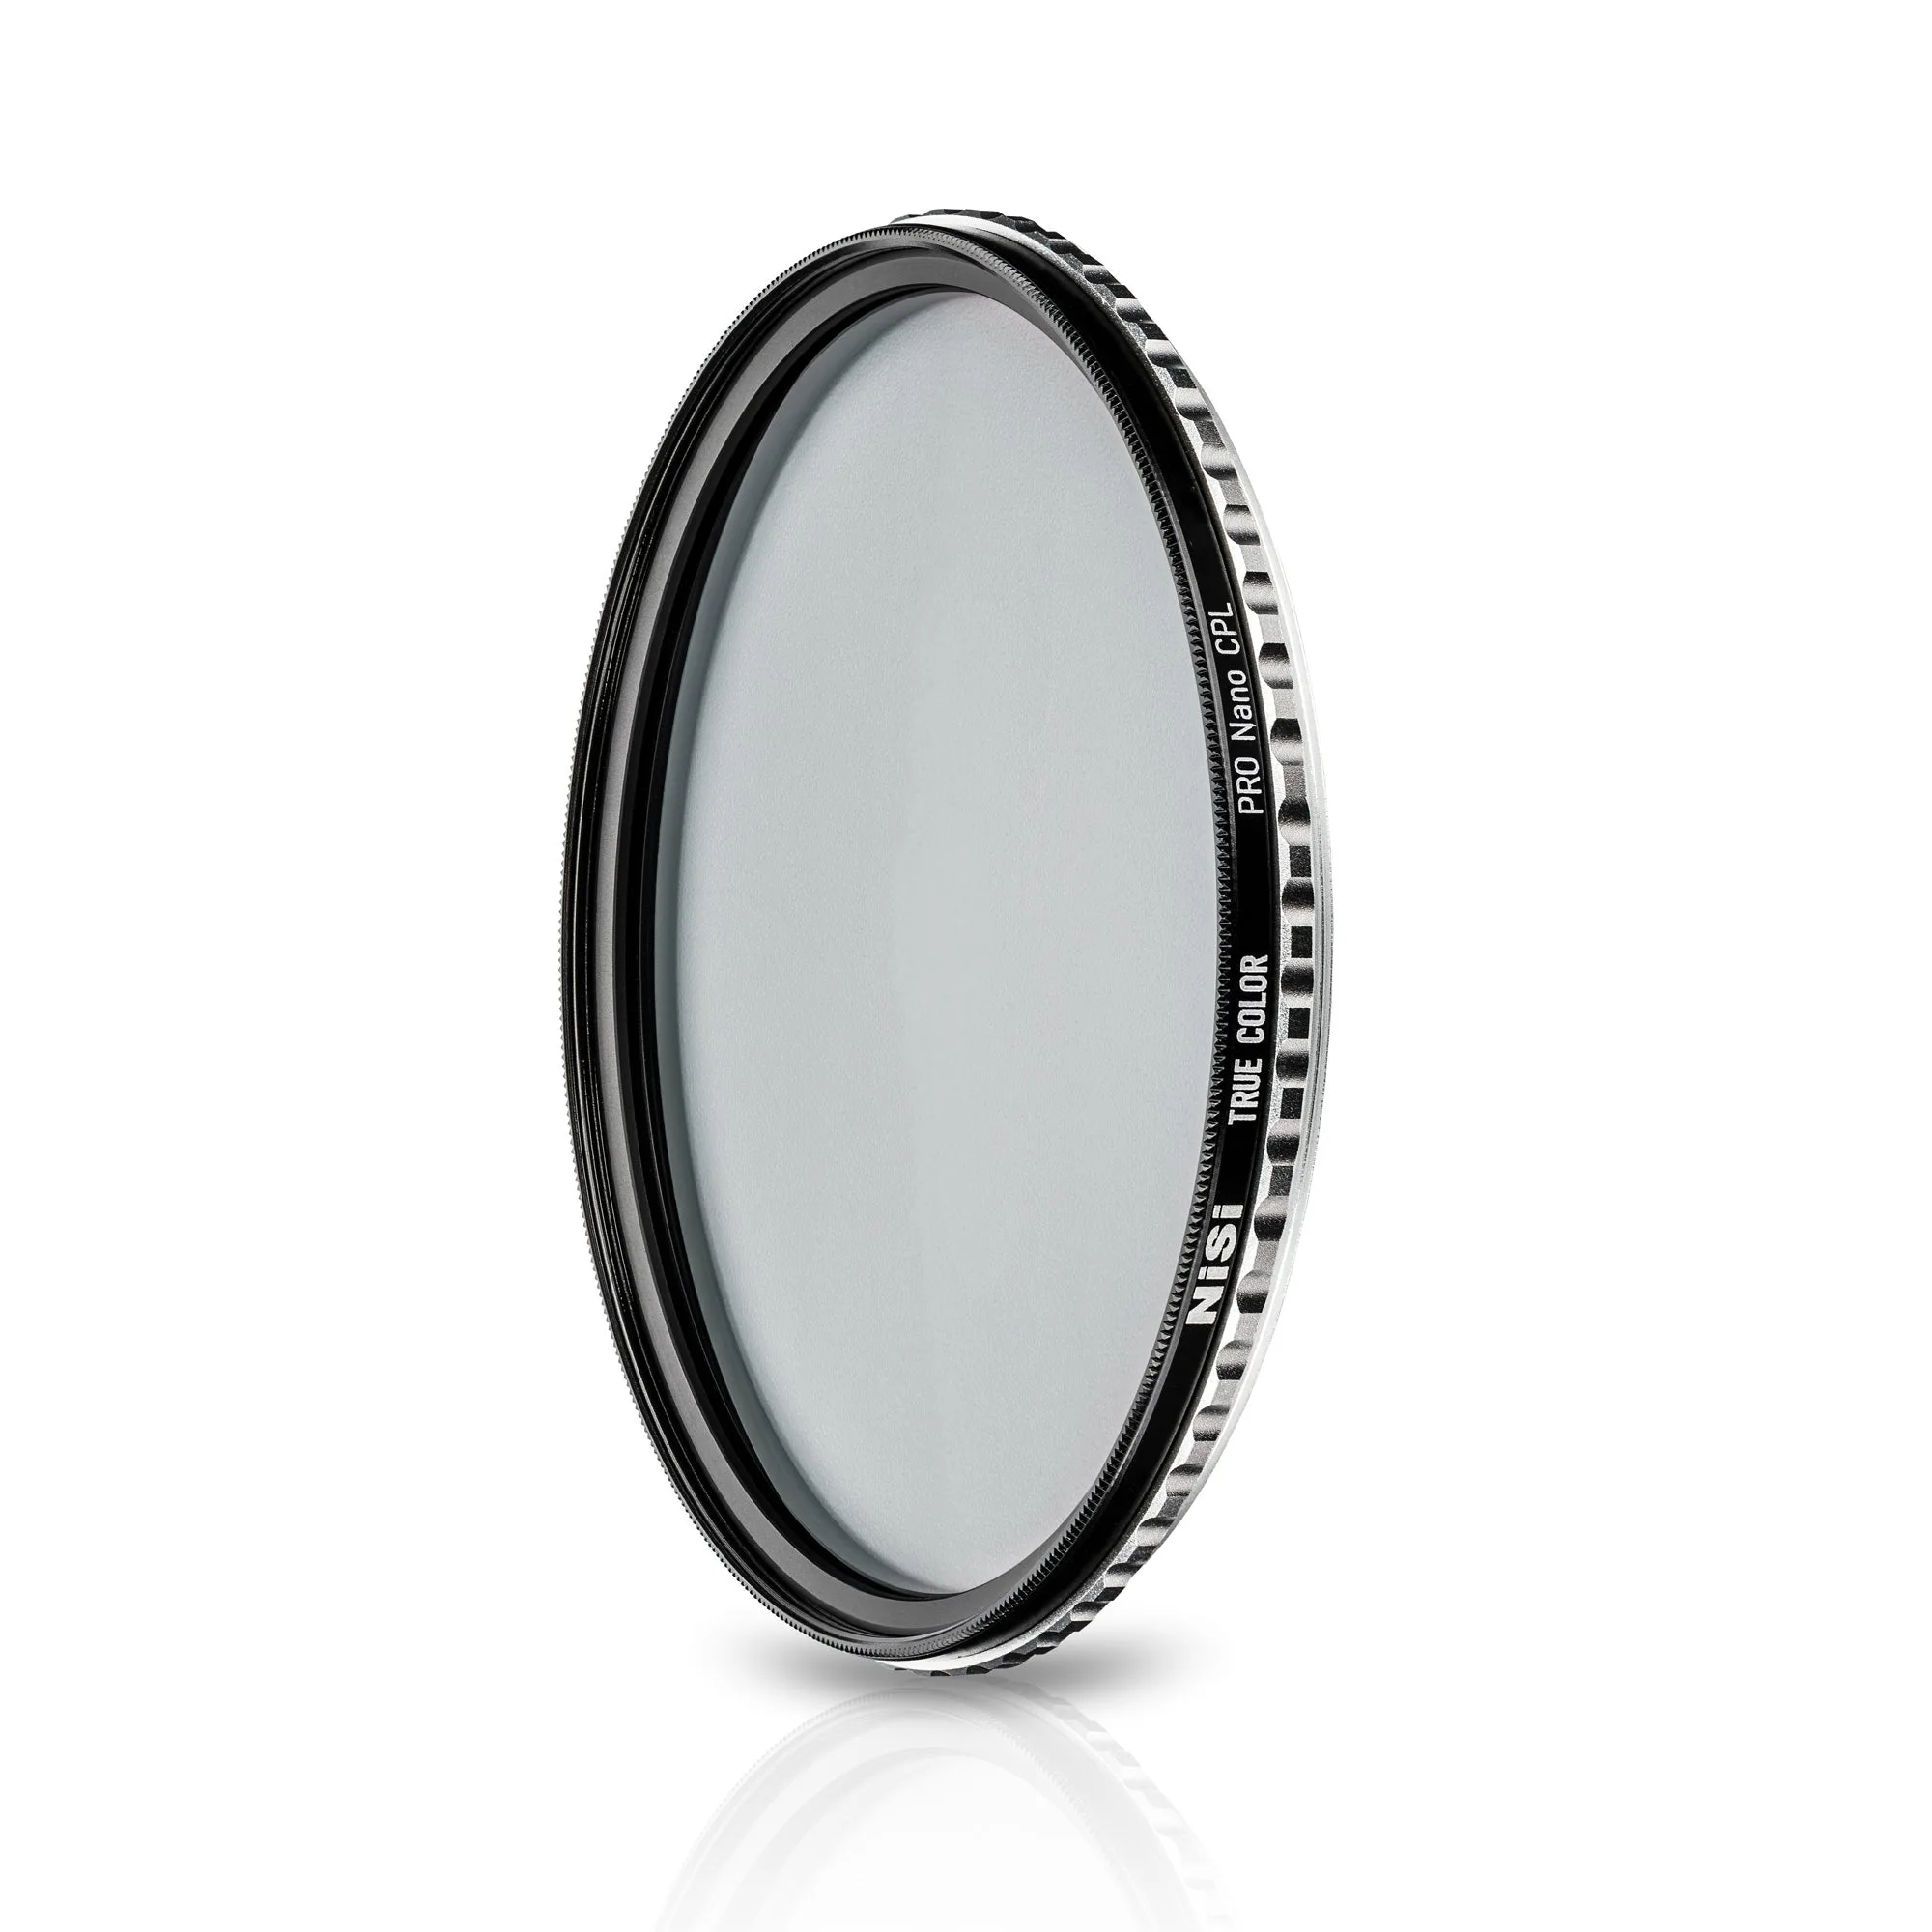
NiSi True Color Pro Nano CPL Circular Polarizing Filter