Start with the camera, not the panel
Placement decisions get easier when you work backward from the camera. The Wyze Solar Panel is made to work with Wyze Cam Outdoor v1/v2 and Wyze Battery Cam Pro, and Wyze describes its job simply: attach it to your Wyze Battery Cam Pro to extend battery life. That means the panel only earns its keep when the camera is somewhere the panel can actually collect light.
Before you drill or mount anything, stand where the camera will sit and look at the sky. If a tree, eave, wall, or neighboring roofline blocks the sun for most of the day, no amount of panel repositioning will fix it. In that case, move the camera first and the panel second.
A practical placement check before mounting
Use these checkpoints to compare candidate spots. They are placement habits, not manufacturer setup instructions; the supplied product information does not include a specific angle or installation procedure, so treat these as ways to test a spot rather than a fixed formula.
- Watch the light across a full day: Check the candidate spot in the morning, midday, and late afternoon. A spot that looks bright at noon can sit in shadow during the hours your camera needs the most help.
- Look for hard shade, not just dim light: Solid shade from a wall or dense foliage is the main thing to avoid. Dappled light under a tree is harder to judge and tends to change with the seasons.
- Keep the panel clear of the camera's view: Mount the panel so it does not block the lens or create a reflection in the frame. The panel is designed to be mountable anywhere, which gives you room to separate the two.
- Choose a spot you can reach: You will want to check the panel for debris and confirm the cable is still seated. A high, awkward mount saves nothing if you cannot inspect it.
- Recheck after the seasons shift: Sun angles change through the year. A spot that charges well in summer can fall into shade in winter, so plan to revisit placement rather than assume it is permanent.
Shade is the variable you can actually control
Most charging complaints trace back to shade rather than a faulty panel. A panel partly covered by an eave or branch still receives some light, but the covered portion does less work. When you compare two mounting spots, favor the one with the longest uninterrupted window of direct light, even if it is a little farther from the camera.
This is also why seasonal solar charging tips matter more than a one-time setup. Deciduous trees leaf out and cast shade that was not there in winter, and the sun tracks lower in the sky. If your camera's battery life starts dropping in the same weeks each year, shade is the first thing to inspect.
What the Wyze Solar Panel is built for
-
Wyze Solar Panel: Works with Wyze Cam Outdoor v1/v2 and Wyze Battery Cam Pro. Confirm your camera model before planning placement, because the panel is not a universal accessory.
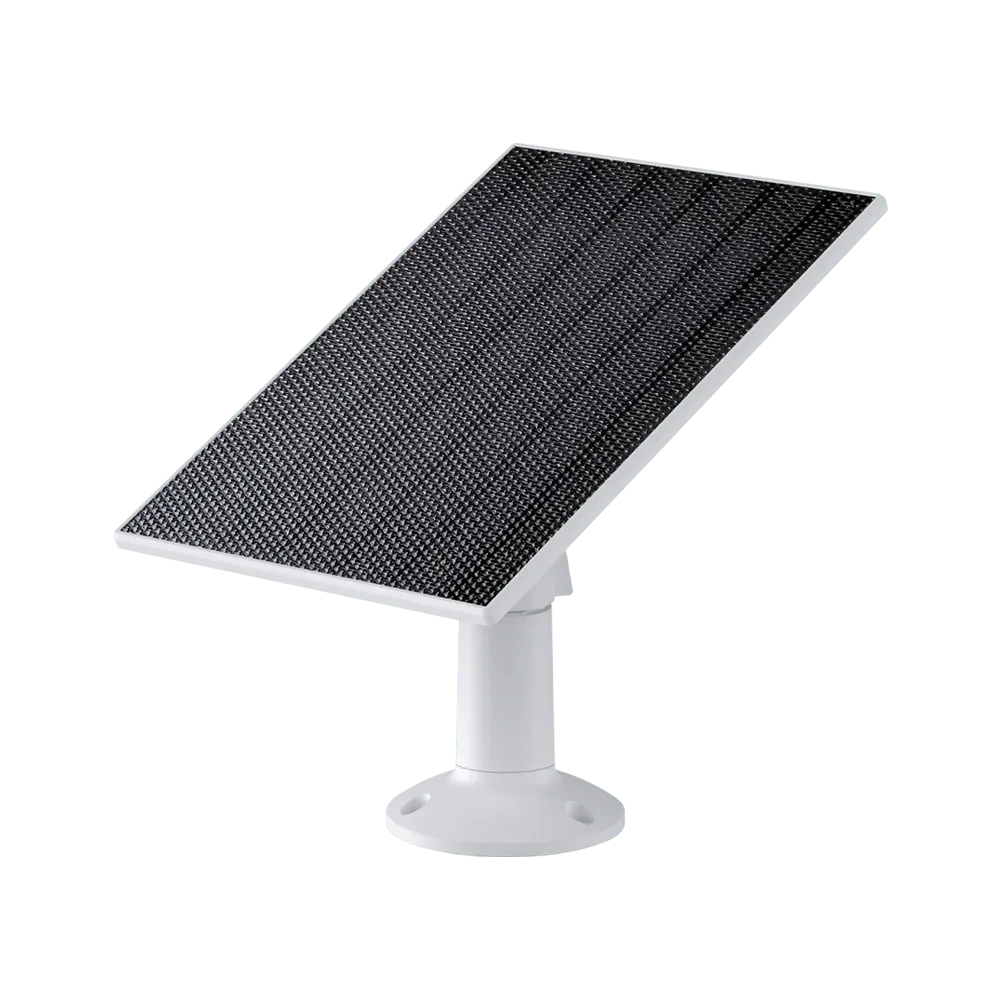
Wyze Solar Panel
-
Wyze Solar Panel: Attach it to your Wyze Battery Cam Pro to extend battery life. The panel's purpose is extending runtime, so placement should be judged by how much light it can collect, not by how tidy it looks.
-
Wyze Solar Panel: Designed to be weather resistant and mountable anywhere. That flexibility lets you prioritize a sunny, reachable spot over a spot that is merely close to the camera.
Angle and orientation: what the supplied information does not settle
The product record does not specify a recommended tilt angle or compass orientation, and it does not state expected charging output. Rather than guess at a number, use the light check above and adjust the panel's facing toward the brightest part of the day at your location.
- Do not assume a fixed angle: No angle is confirmed in the supplied information. Test the spot you have and move the panel if the camera's battery life does not hold up.
- Do not assume a charge rate: The record does not list output or charging time, so plan around observed battery behavior rather than a promised figure.
- Do not assume cable length or connector details: The supplied facts confirm compatibility with the listed cameras but do not describe cable reach. Check the physical setup before committing to a distant mount.
Maintenance that keeps placement working
A well-placed panel still needs occasional attention. Dust, pollen, bird droppings, and snow all reduce the light reaching the surface, and the fix is usually a simple wipe rather than a remount. Check the panel whenever you check the camera, and clear debris from the top edge where it tends to collect.
Also confirm the cable connection stays seated after wind or yard work. The supplied information does not include care instructions or cleaning products, so keep it simple: a soft cloth and a visual check are enough to catch the common problems.
Two placement approaches and their trade-offs
- Panel close to the camera: Shorter cable runs and easier visual checks, but the spot may be shaded by the same wall or eave that shelters the camera.
- Panel in the sunniest reachable spot: Better light collection and steadier charging, but you need to confirm cable reach and accept a less tidy installation.