Quick answer
To zero a pistol red dot, first confirm the mounting plate and sight are torqued to spec, then bore sight at 10 yards to get on paper. Fire three-shot groups at 10–15 yards, adjust the dot toward the group, and confirm at 25 yards. Use a rest, keep the dot centered in the window, and re-check torque after the first range session.
Mount the sight and plate correctly
A pistol red dot is only as stable as its mounting plate. Clean the slide and plate with isopropyl alcohol, apply the manufacturer's recommended threadlocker to the plate screws, and torque them to the plate maker's spec—often around 15–20 inch-pounds, but check your specific plate and slide. Then install the sight to the plate using the sight manufacturer's torque value. If the plate does not sit flush or you feel any rocking, stop and fix the fit before continuing. A loose plate will not hold zero and can shear screws.
Bore sight to get on paper
Bore sighting saves ammunition and frustration. With the pistol unloaded and pointed in a safe direction, look through the barrel from the rear (or use a bore-sight laser if you have one) and align the barrel with a target at 10 yards. Without moving the pistol, adjust the dot until it sits on the same point. If you cannot see the dot, start by adjusting it toward the center of the window. This step is not a final zero—it just ensures your first shots will be on paper.
Fire and adjust in small increments
Set up a rest and fire three-shot groups at 10 yards. Find the center of the group, then adjust the dot toward that center. Most red dots move the point of impact in the direction you turn the adjustment—so if your group is low and left, turn the elevation adjustment up and the windage adjustment right. Make small changes, re-fire, and repeat until the group centers on your point of aim. A 6 MOA dot covers about 1.5 inches at 25 yards, so do not chase a perfectly round group; focus on the center of the group.
Confirm at 25 yards and check torque
Once you are centered at 10 yards, move to 25 yards and fire another three-shot group. At this distance, small errors are more visible. Adjust as needed, but remember that a 6 MOA dot is designed for fast acquisition, not benchrest precision. After you are satisfied, let the pistol cool, then re-check the torque on the plate and sight screws. Vibrations from live fire can loosen screws; a quick re-torque now prevents a lost zero later.
Step-by-step zeroing process
- 1. Prepare and mount the red dot: Clean the slide and mounting plate, apply threadlocker, and torque the plate screws to the plate maker's spec (often 15–20 inch-pounds). Then mount the sight to the plate and torque to the sight manufacturer's spec. Common mistake: over-torquing screws and stripping threads, or under-torquing and having the sight shift. Check that the plate sits flush with no gaps.
- 2. Bore sight at 10 yards: With the pistol unloaded, look through the barrel from the rear and align it with a target at 10 yards. Without moving the pistol, adjust the dot until it sits on the same point. If the dot is not visible, adjust it toward the center of the window first. Checkpoint: the dot should be roughly on the target before you fire a shot. This saves ammo and range time.
- 3. Fire three-shot groups and adjust: From a rest, fire three shots at 10 yards. Find the center of the group and adjust the dot toward that center. Make small adjustments, re-fire, and repeat until the group centers on your point of aim. Common mistake: adjusting after every single shot. Wait for a group to see the true point of impact.
- 4. Confirm at 25 yards: Move to 25 yards and fire another three-shot group. Adjust as needed. Remember that a 6 MOA dot covers about 1.5 inches at 25 yards, so accept a practical group size. Checkpoint: your group should be centered on the target. If it is not, repeat step 3 at 25 yards.
- 5. Re-check torque and confirm zero: After the pistol cools, re-check the torque on the plate and sight screws. Then fire a final confirmation group. If the zero shifted, re-torque and re-zero. Next step: mark your screws with a paint pen so you can quickly see if they loosen later.
A red dot built for this process
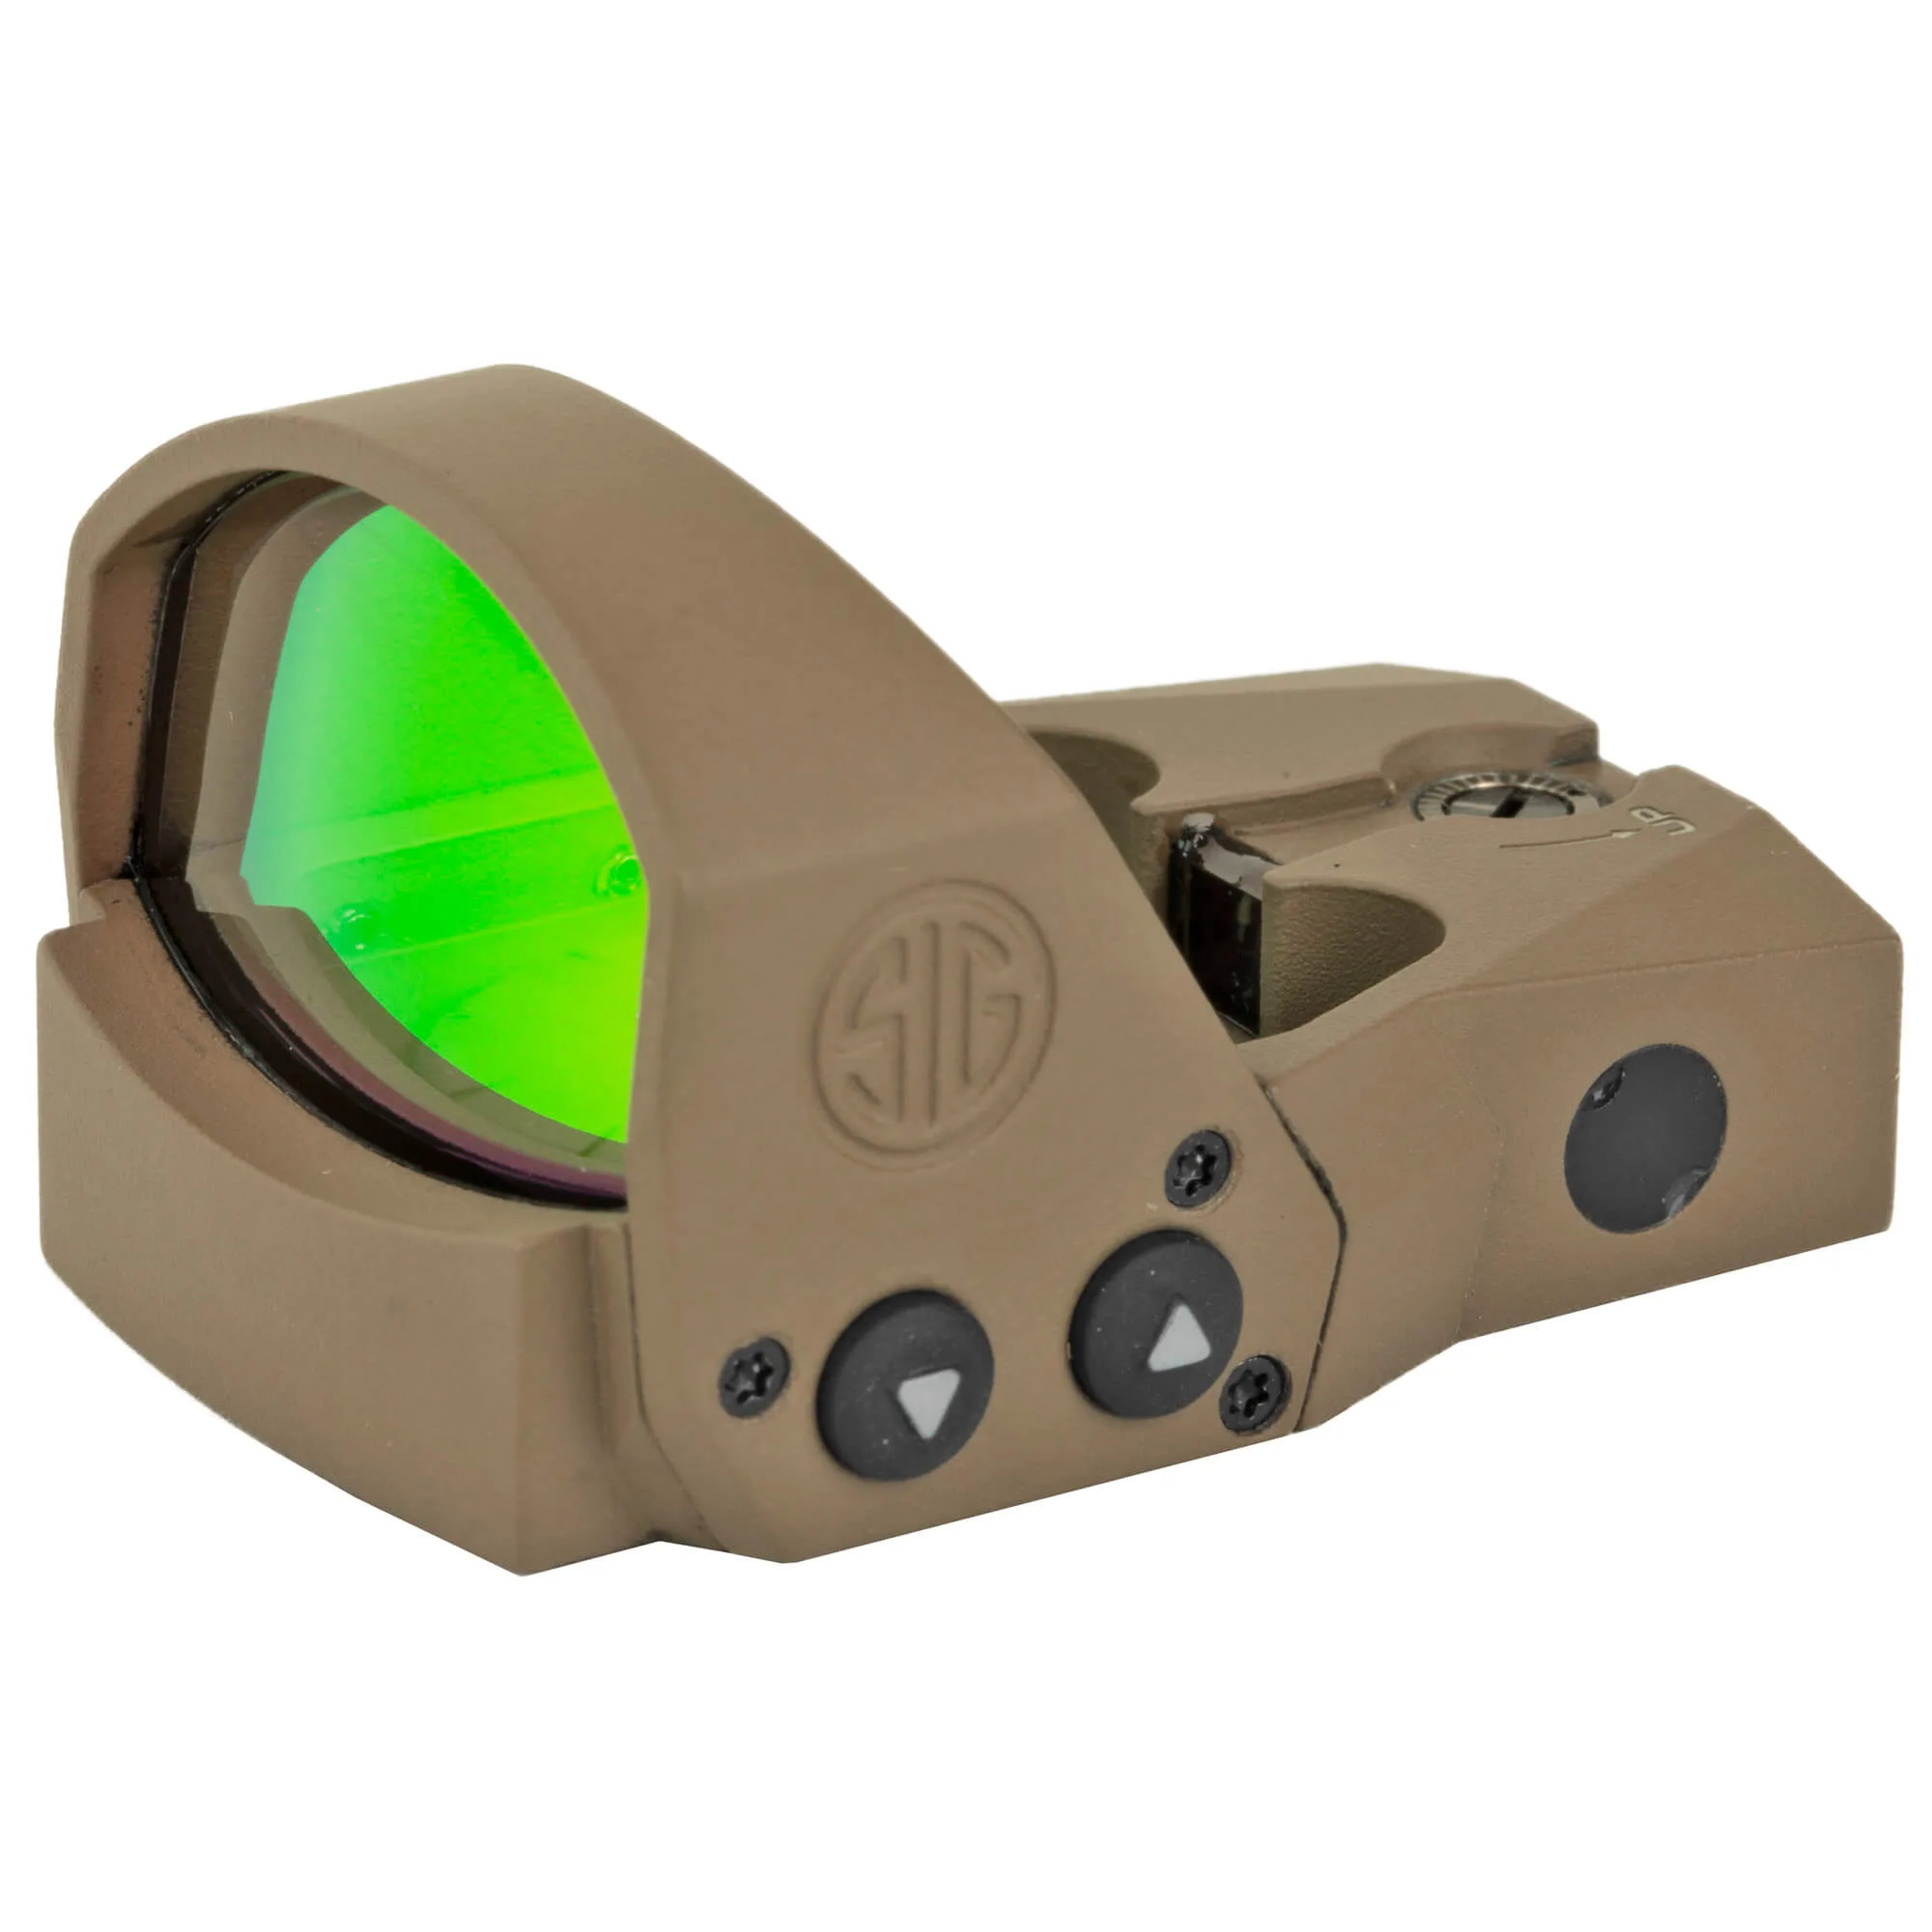
- Sig Sauer Electro-Optics SOR1P103 Romeo1Pro 1 x 30mm Red Dot Sights Flat Dark Earth 1x30mm 6 MOA Red Dot Reticle Illuminated: Sig Sauer Romeo1 Pro, Reflex Sight, 6 MOA Dot, FDE, 1 MOA Adjustments SOR1P103. The ROMEO1PRO brings a new level of durability and performance to the miniature open-reflex red dot sight. Its aircraft grade aluminum housing ensures corrosion resistance under the harshest environments and a new upgraded point-source emitter provides increased brightness in day or night conditions with 12 brightness settings. The 1 MOA adjustments let you make fine corrections during zeroing, while the 6 MOA dot is easy to pick up quickly. The aluminum housing stands up to daily carry and range use.