Quick answer
Start with a 1:1 swap by weight, not volume, using a blend built for the recipe type. Then adjust liquid down slightly, add a binder if the blend lacks one, and let batters rest 15–30 minutes before baking. This three-part approach solves most gummy or dry outcomes.
Why 1:1 by weight is the only reliable starting point
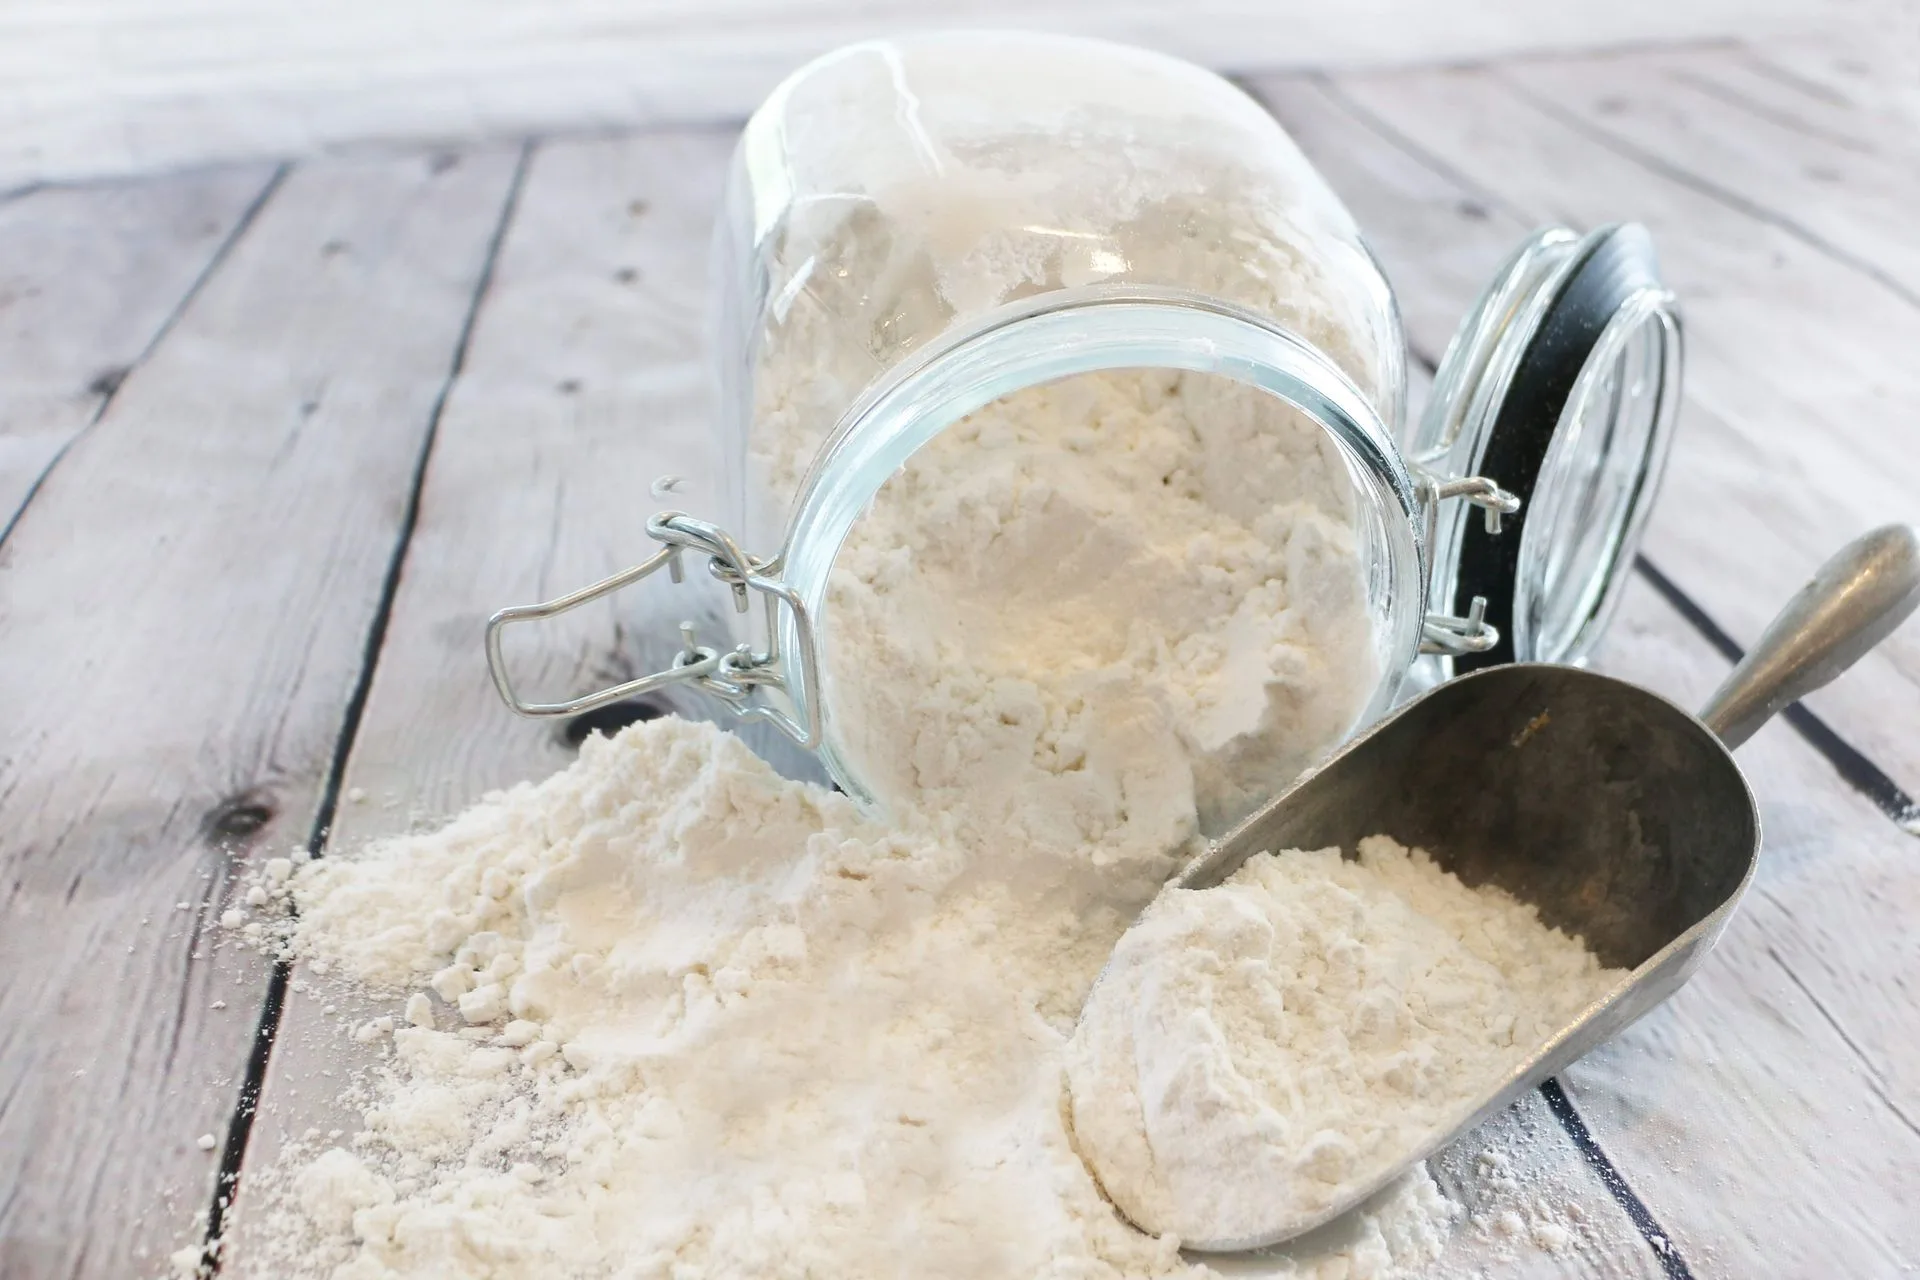
Gluten-free flour blends vary in density, so a cup of one blend can weigh 120 grams while another weighs 160 grams. Scooping by volume can throw off a recipe by 30% or more. Weighing both the original flour and the gluten-free blend keeps the ratio honest and makes results repeatable.
If you do not own a scale, spoon the blend into the cup and level it without tapping or packing. This gets you close, but expect to fine-tune the next time you bake the same recipe.
Match the blend to the recipe, not the other way around
A whole-grain gluten-free blend with bean flours behaves very differently from a white rice and starch blend. For delicate cakes and pie crusts, choose a lighter blend. For pancakes, waffles, and sturdy quick breads, a heartier blend adds structure and flavor.
If a recipe already calls for a specific gluten-free blend, use that one. Swapping in a different blend changes hydration and browning, so treat the first bake as a test batch.
Adjust liquid and fat by feel, not by formula
Gluten-free blends often absorb more liquid than wheat flour, but the amount varies by brand and by the starches used. Add liquid in small splashes until the batter looks like the texture described in the recipe—thick and scoopable for cookies, pourable for cake.
Fat can mask grittiness, but too much makes cookies spread and cakes fall. If the batter seems stiff, add liquid first. If it seems greasy or slack, add a tablespoon of the blend.
Add a binder when the blend does not include one
Many gluten-free blends already contain xanthan gum or another binder. Check the label. If it does not, add 1/2 teaspoon xanthan gum or 1 teaspoon psyllium husk powder per cup of blend for most baked goods. For yeast breads, use 1 teaspoon xanthan gum per cup.
Too much binder creates a rubbery, gummy crumb. Start with the lower amount and increase only if the baked good crumbles when sliced.
Rest the batter before baking
Gluten-free flours need time to hydrate. A 15–30 minute rest at room temperature lets the starches absorb liquid, which improves structure and reduces a gritty mouthfeel. This is especially important for pancakes, waffles, and any batter with rice flour.
Do not rest batters that rely on baking powder for lift for more than 30 minutes, or the leavening will lose power. For yeast doughs, follow the recipe’s rise times instead.
Step-by-step gluten-free flour substitution
- Weigh the original flour, then match that weight with your gluten-free blend: Use a kitchen scale. If the recipe calls for 120 grams of all-purpose flour, use 120 grams of gluten-free blend. Do not scoop by volume unless you have no scale. Checkpoint: the scale should read the same number for both flours.
- Check the blend for binder and adjust if needed: If the blend does not list xanthan gum, psyllium, or guar gum, add 1/2 teaspoon xanthan gum per cup of blend for cookies and cakes, or 1 teaspoon per cup for breads. Mistake to avoid: adding binder to a blend that already contains it, which makes baked goods rubbery.
- Reduce liquid by about 10% and add it back gradually: Start with 90% of the liquid in the recipe, mix, then add the rest a tablespoon at a time until the batter reaches the consistency described in the original recipe. Checkpoint: cookie dough should hold a scoop shape; cake batter should ribbon off a spoon.
- Let the batter rest for 15–30 minutes: Cover and set aside at room temperature. This hydrates the flours and reduces grittiness. For yeast doughs, skip this and follow the recipe’s rise schedule. Mistake to avoid: resting a baking-powder batter for over 30 minutes, which weakens lift.
- Bake at the recipe temperature, then check early: Gluten-free baked goods can brown faster. Start checking at the low end of the recipe’s time range. The center should spring back and a toothpick should come out with a few moist crumbs, not wet batter. Next step: note the exact weight and liquid amount that worked so your next batch is repeatable.
Products that make substitution easier
- Mom's Best Gluten-Free Flour Blend 2lb (WS): Mom's Best Gluten-Free Flour Blend 2lb (WS) is a versatile blend made from simple ingredients and manufactured on dedicated equipment. A dedicated facility reduces cross-contact risk, and a versatile blend is the easiest starting point for 1:1 swaps in cookies, muffins, and quick breads.
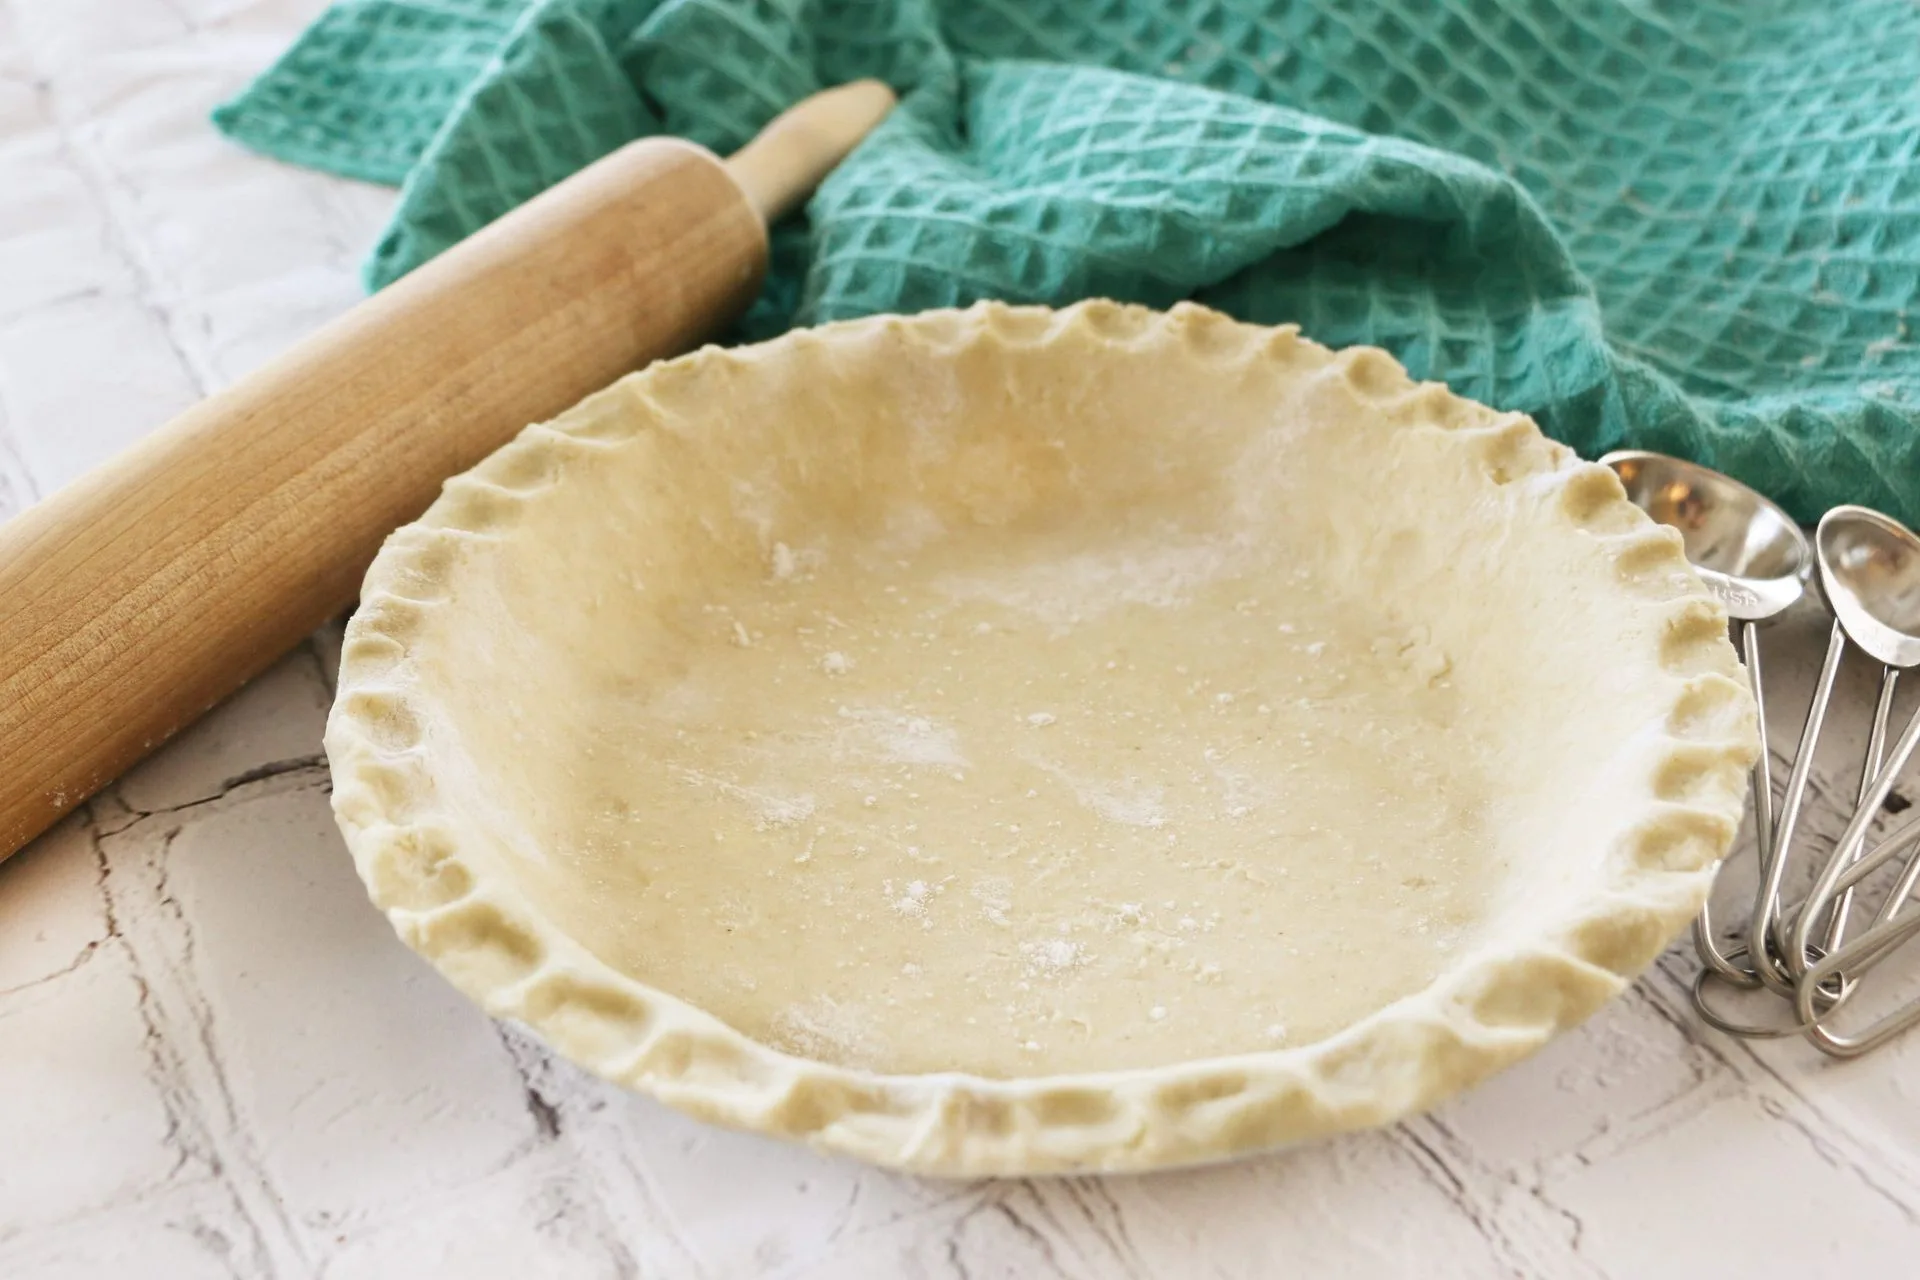
- Gluten-Free Blue Ribbon Pie Crust Mix: Gluten-Free Blue Ribbon Pie Crust Mix makes two 8–9 inch pie crusts and is designed for a flaky result. Pie crust is one of the hardest gluten-free swaps. Using a mix built for crust removes the guesswork of blending your own flour and binder for that specific texture.
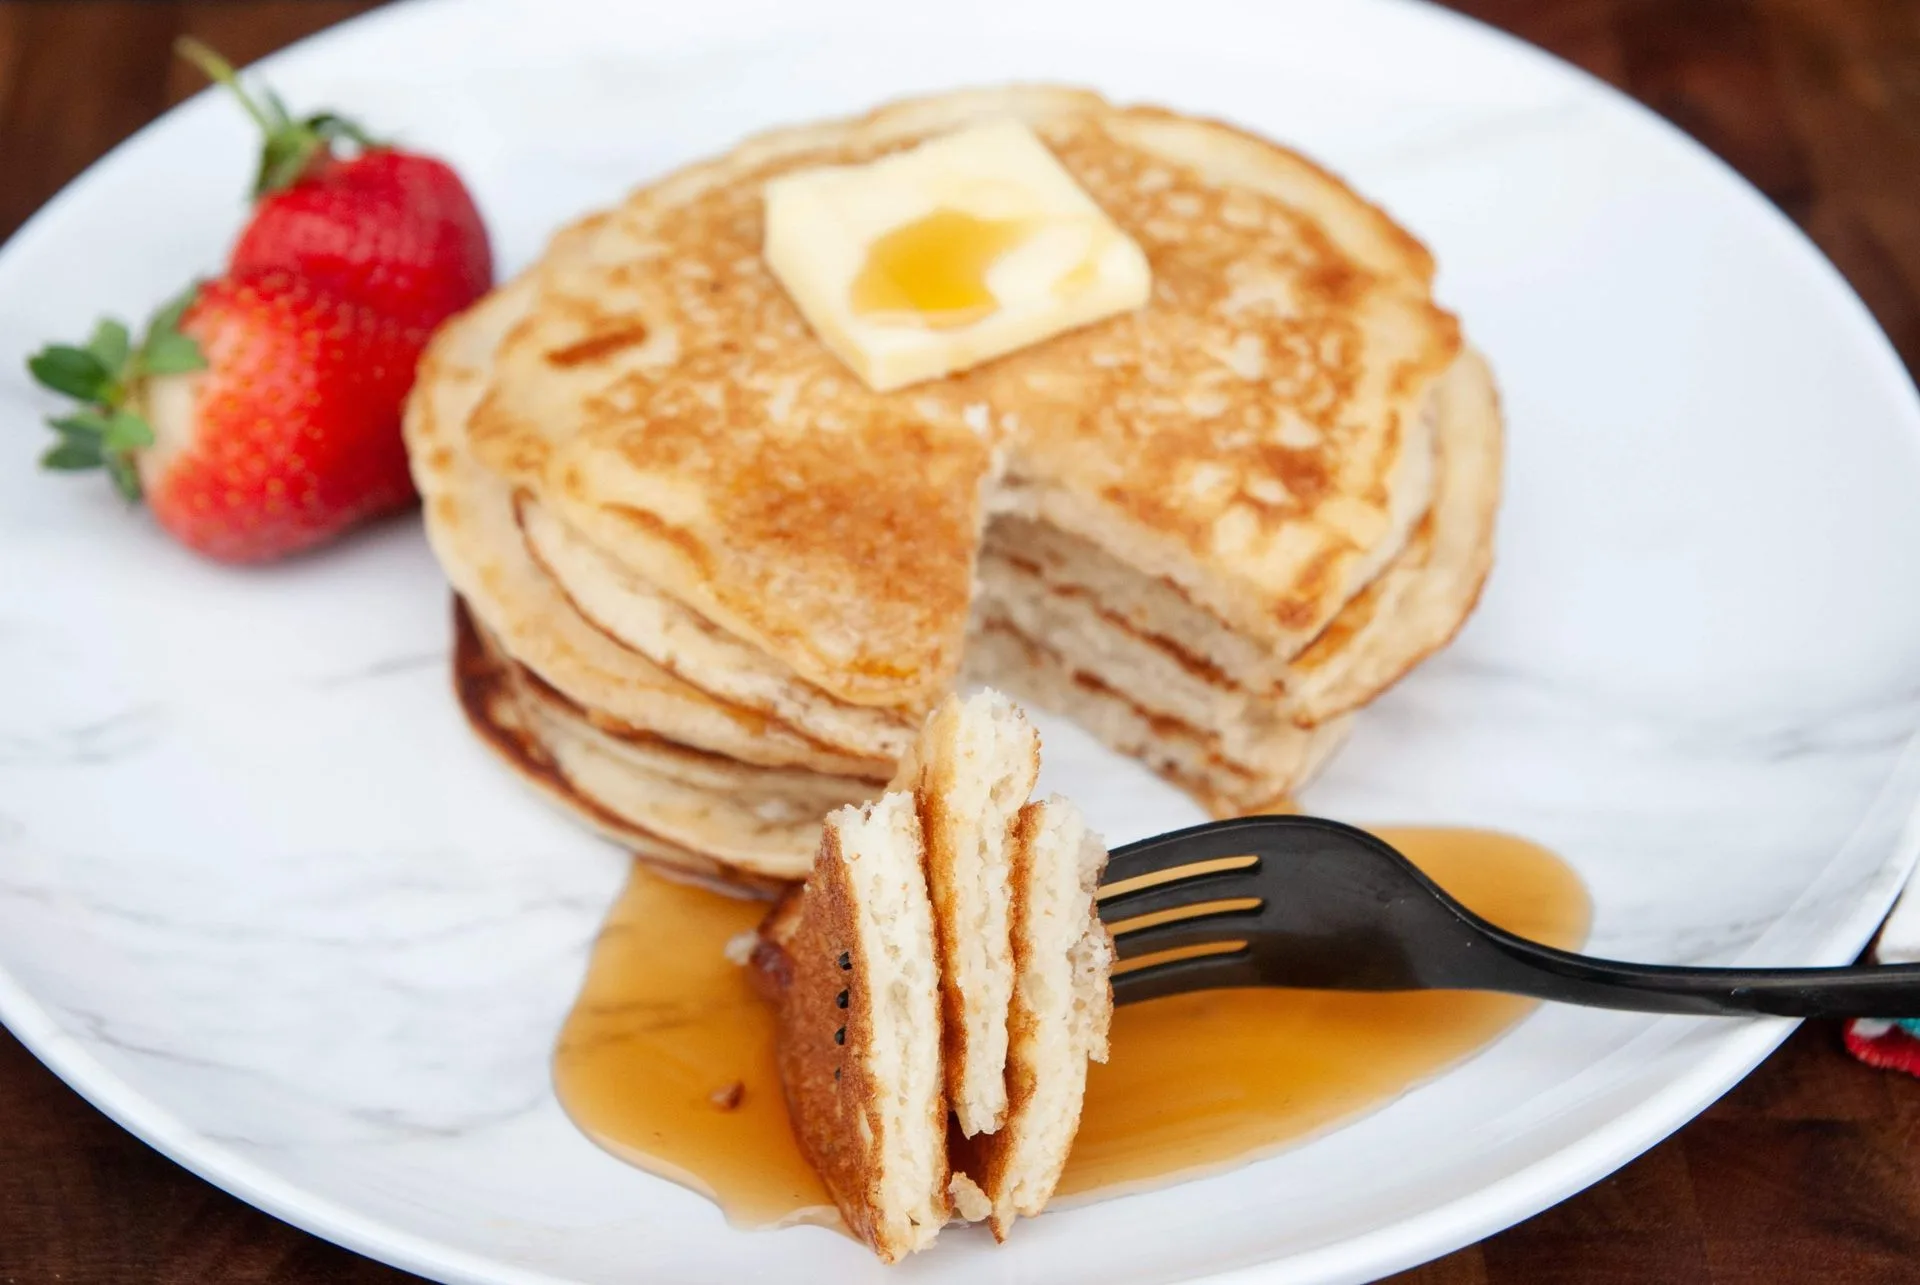
- Gluten Free Sourdough Start and Flour Blend Combo: Gluten Free Sourdough Start and Flour Blend Combo includes a sourdough start mix and a 2-pound sourdough flour blend for pancakes, waffles, and more. Sourdough depends on a specific flour-to-starter ratio. A matched combo lets you skip the trial-and-error of substituting a general blend into a sourdough recipe.