Quick answer
Build your stash around a single greeting card organizer divided into Birthday, Thank You, Thinking of You, and Blank. Keep a greeting card box near where you write, store cards flat with dividers, and buy only what fits your categories. Check the box monthly and refill what you used.
Most card stashes fail for the same reason: cards are bought for a feeling and stored without a system. They end up in a drawer, a tote, or a pile, and when a birthday arrives you buy another card because you cannot find one. The fix is a small, labeled organizer and a rule about what earns a spot in it.
This guide walks through seven steps to build a stash you will actually use, from choosing the box to keeping it stocked. It also covers how to store greeting cards so they stay flat and clean, and where a few non-birthday cards, like Mary Engelbreit's Lost Me Lady Engeldark Card, fit into a working system.
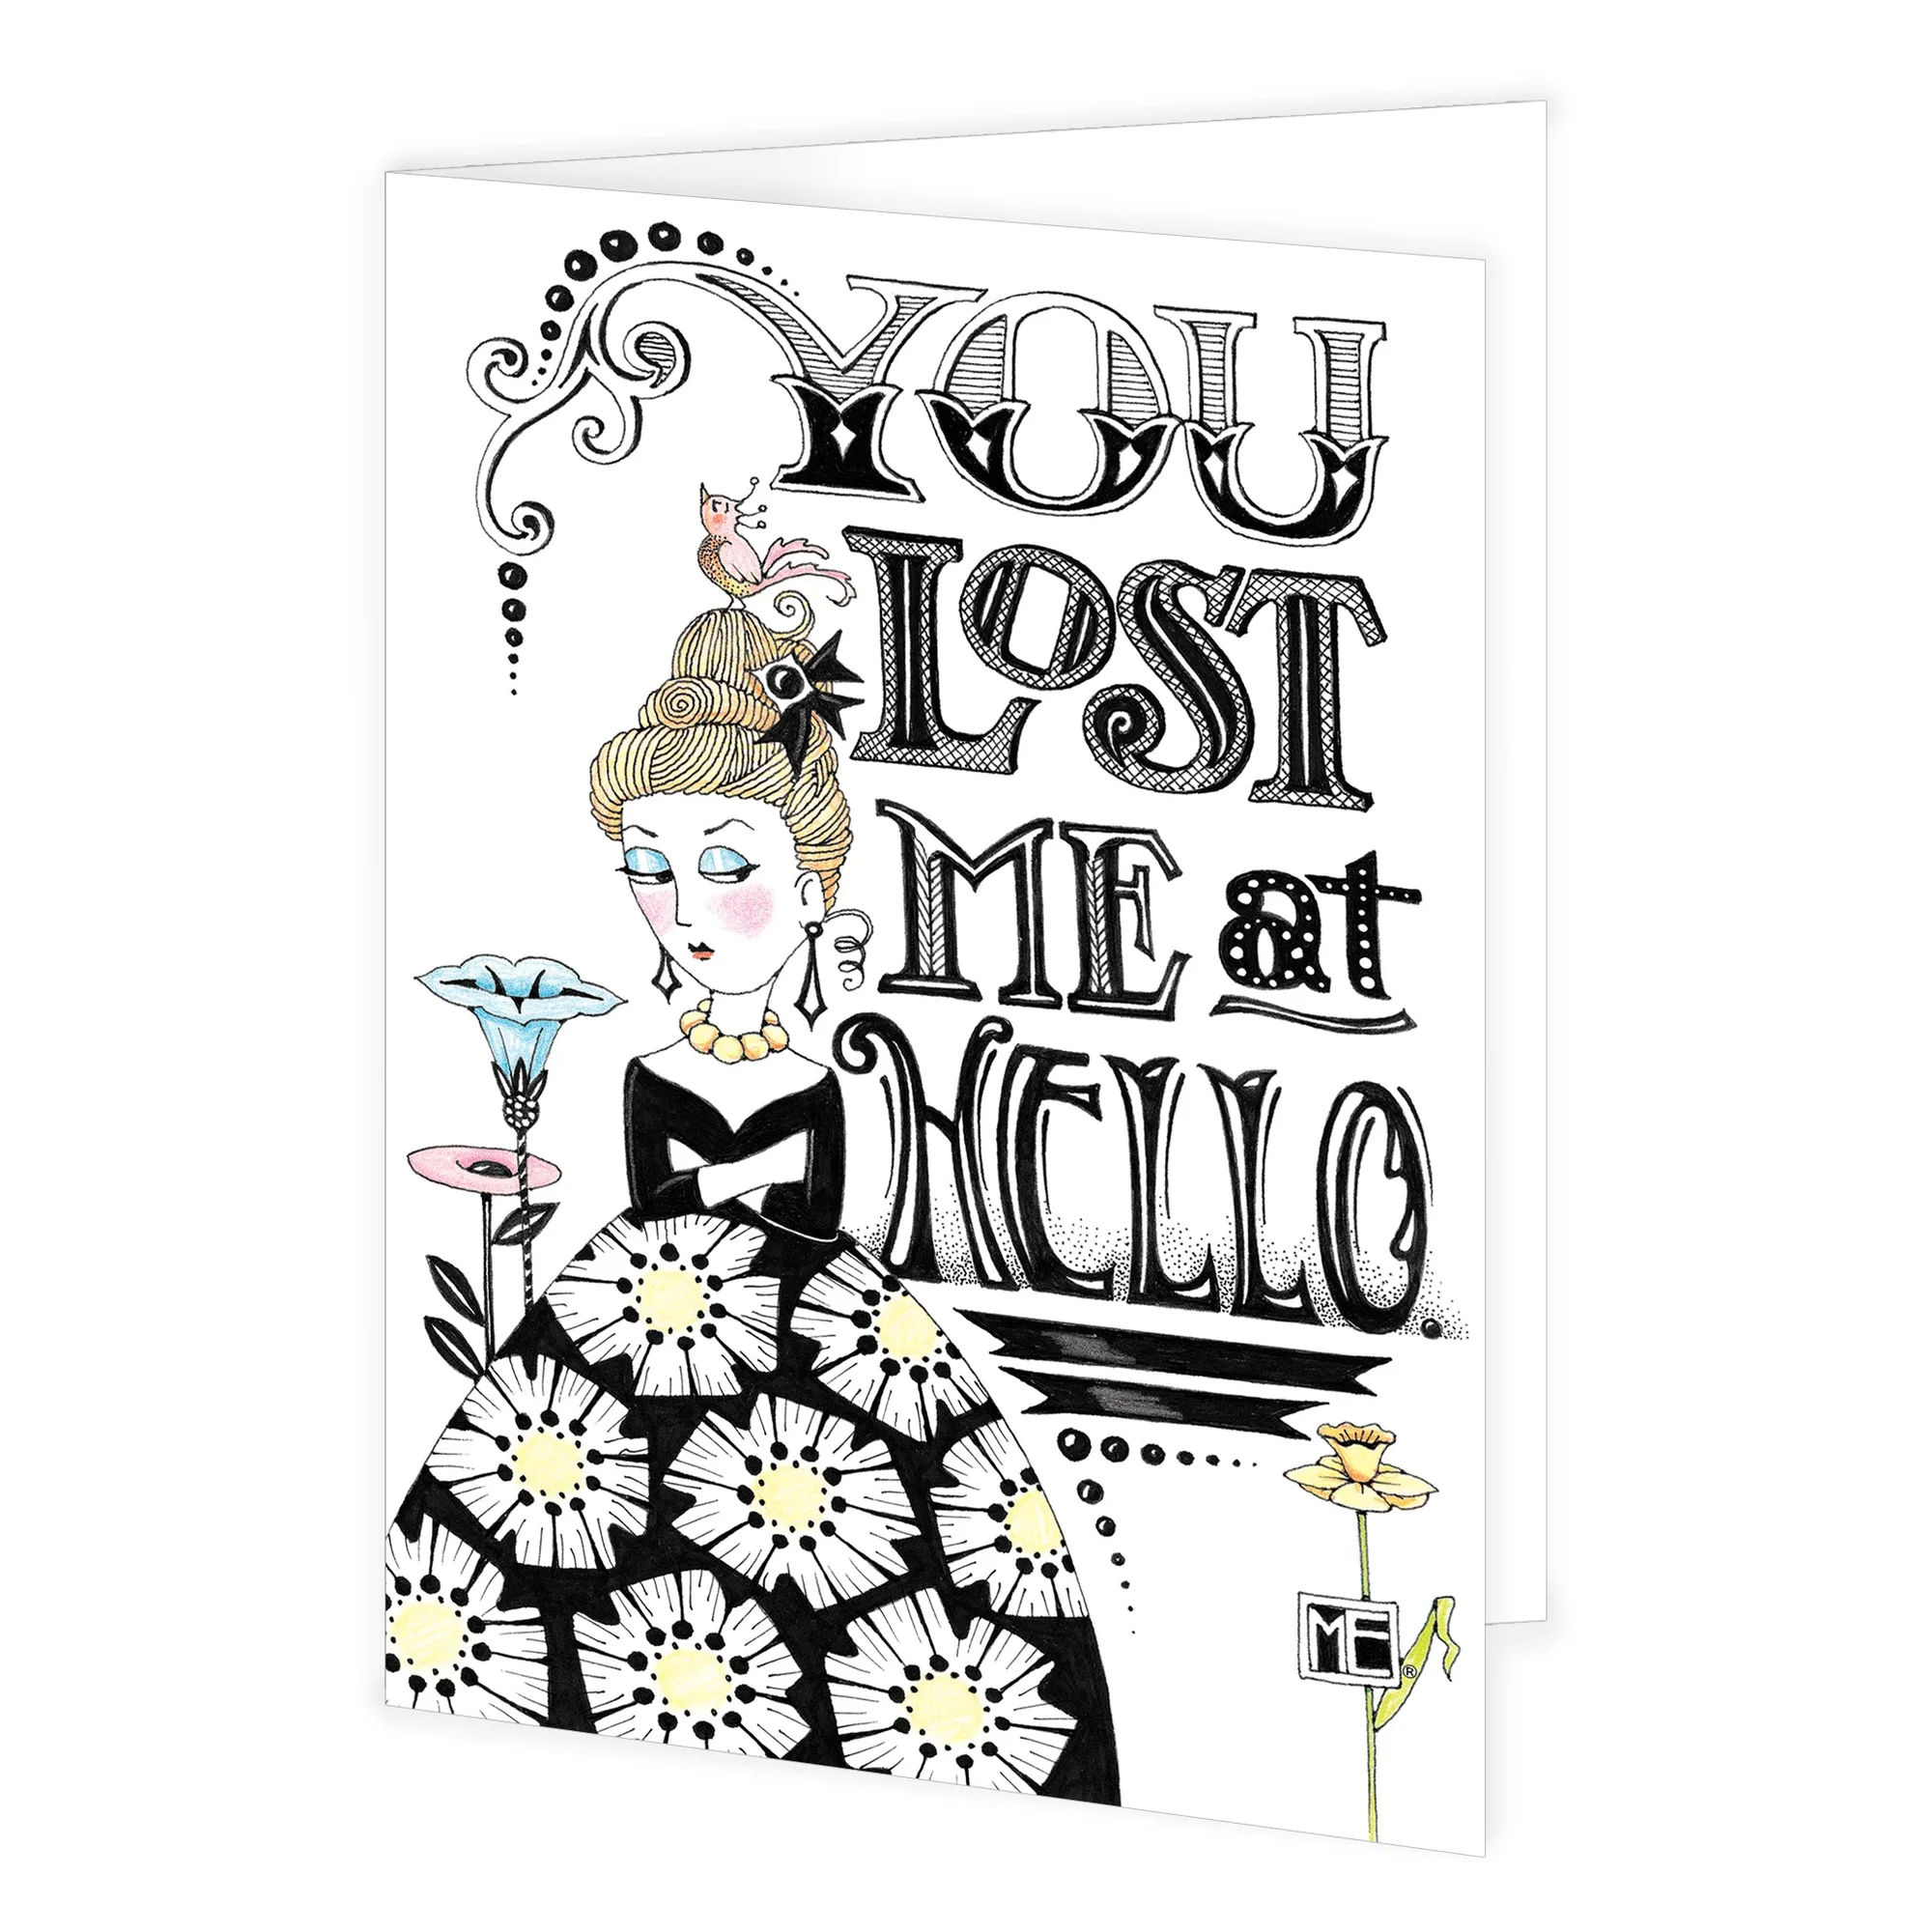
Lost Me Lady Engeldark Card
Step 1: Choose a greeting card organizer that matches how you send
Pick a container before you buy a single card. A greeting card box with removable dividers works for most people because it holds standard 5 x 7 cards flat and lets you relabel sections as your habits change. If you send mostly postcards or mini cards, a smaller divided box is easier to keep on a desk.
The common mistake is buying a beautiful box with no dividers. Cards slide, corners bend, and you stop using it. A checkpoint: if you cannot name the four to six categories you will label, the organizer is too big or too vague.
- Measure your most common card size before choosing a box.
- Look for a lid that closes fully so cards stay dust-free.
Step 2: Set up card stash organization with four to six categories
Label dividers by occasion, not by design. Birthday, Thank You, Thinking of You, Congratulations, Sympathy, and Blank cover most everyday sending. If you keep seasonal cards, add a Holiday section and move it to the front during that season.
The mistake here is creating a category for every holiday and then leaving most of them empty. A checkpoint: after one month, any divider with fewer than two cards should be merged into Blank or dropped.
- Write labels in pencil first so you can adjust them.
- Keep a small 'to send' pocket at the front for cards already addressed.
Step 3: Stock birthday card storage first
Birthday cards are the ones you will reach for most, so give them the most space. Keep a mix of ages and relationships rather than ten cards for the same person. If you send to kids, add a few bright designs; if you send to coworkers, keep a few neutral ones.
The mistake is buying only funny cards and then needing a sincere one. A checkpoint: count your birthday cards against the birthdays you actually send for in a year. If the numbers do not match, adjust before buying more.
- Store birthday cards in the front section for quick access.
- Note the month on the back of each card if you buy seasonally.
Step 4: Add non-birthday cards you will actually send
Thank You, Thinking of You, and Blank cards cover most unexpected sending. A blank card works for almost anything, which makes it the most flexible thing in your stash. Keep at least three blank cards on hand.
The mistake is treating blank cards as a last resort. They are the most useful card you own. A checkpoint: if you have not used a blank card in three months, your other categories are too narrow.
- Keep one sympathy card on hand; you rarely have time to shop for one.
- Add a couple of congratulations cards for work and school milestones.
Step 5: Decide how to store greeting cards so they stay flat
Store cards flat, not upright, unless your box is designed for vertical filing. Flat storage keeps corners sharp and prevents cards from bowing. Keep the box out of direct sun and away from damp basements or hot attics.
The mistake is storing cards in a plastic bag inside a drawer. They get bent and forgotten. A checkpoint: if you cannot see the dividers when you open the box, you have too many cards or the wrong box.
- Keep envelopes with their cards, not in a separate stack.
- Use a small acid-free sheet between specialty cards if you worry about transfer.
Step 6: Place the stash where you write
A stash in a closet is a stash you will not use. Put the greeting card box near where you sit to write, along with pens, stamps, and a return address label. If you write at the kitchen table, keep a small tray there and refill it from the main box.
The mistake is storing cards in a home office you rarely sit in. A checkpoint: time yourself. If it takes more than 30 seconds to get a card and a pen, the stash is in the wrong place.
- Keep a small 'send' tray for cards that need stamps or addresses.
- Add a weekly five-minute check to your routine.
Step 7: Maintain the stash with a monthly reset
Once a month, open the box and check what is missing. Refill birthday and blank cards first, then thank you. If a card has been in the box for a year without being sent, ask whether it fits your categories or your actual sending habits.
The mistake is buying more cards without removing the ones you never use. A checkpoint: keep the box no more than two-thirds full so you can see and reach everything.
- Donate or repurpose cards you will not send.
- Restock after big sending months like December and May.
Your seven-step card stash checklist
- Choose the box: Pick a divided greeting card box sized to your most common card, usually 5 x 7. Checkpoint: if you cannot name four categories, the box is too big.
- Label four to six categories: Use Birthday, Thank You, Thinking of You, Congratulations, Sympathy, and Blank. Checkpoint: merge any divider with fewer than two cards.
- Stock birthday first: Match card quantity to the birthdays you actually send for in a year. Checkpoint: keep a mix of funny and sincere designs.
- Add flexible non-birthday cards: Keep at least three blank cards and one sympathy card on hand. Checkpoint: blank cards should be your most-used category.
- Store cards flat: Keep envelopes with cards, away from sun, damp, and heat. Checkpoint: you should see dividers when you open the box.
- Put the stash where you write: Keep pens, stamps, and labels with the box or in a nearby tray. Checkpoint: getting a card and pen should take under 30 seconds.
- Reset monthly: Refill birthday and blank cards, remove what you never send. Checkpoint: keep the box no more than two-thirds full.
Cards that fit a working stash
- Lost Me Lady Engeldark Card: Front reads: You lost me at hello. Inside reads: Blank. Measures 5 x 7 inches, envelope included, printed on premium thick cardstock, printed in the USA. A blank-inside 5 x 7 card fits standard greeting card boxes and works for the Blank or Thinking of You divider.
- Bunny & Chick Postcards: Set of 6 Easter postcards featuring Mary Engelbreit artwork of bunnies, chicks, and blooms, printed on sturdy cardstock with bright colors. Postcards take less space than folded cards, so they suit a small seasonal section or a separate postcard pocket.
- Like Whatever You Do Fine Art Print: Reads: To be happy, don't do whatever you like; like whatever you do. Printed on high-quality textured paper in standard frame sizes, available with Mary's signature, created to order with up to one week for processing. If you write cards at a desk, a small framed print nearby makes that spot more inviting, which is where a stash actually gets used.
A greeting card stash only works if it is small, labeled, and close to where you write. Start with one divided box, four to six categories, and a monthly reset. Add cards like the Lost Me Lady Engeldark Card or Bunny & Chick Postcards only when they fit a category you already use.