Quick answer
Choose grit by matching the number to your goal: coarse grits (40–80) remove material fast, medium grits (100–150) shape and smooth, and fine grits (180–320+) prepare for finish. Work through the sequence without skipping more than one step, and stop when the surface is uniform, not when you hit a number.
Sanding goes wrong when you pick a grit by habit instead of by task. A belt that erases a scratch in seconds can also dish out a flat panel if you keep going. The fix is to treat grit as a sequence, not a single choice.
This guide walks through the decisions in order: what you are sanding, what stage you are in, and how to step up through grits without over-sanding. It also covers how belts and sanding sticks fit into the same workflow.
Start with the material, not the grit number
The same grit behaves differently on hardwood, softwood, plastic, and metal. On softwoods like pine, a 120-grit belt can cut as aggressively as an 80-grit on oak, so start one step finer than you would on a hard species. On plastics and soft metals, coarse grits load up and heat the surface quickly, so begin at 150 or finer and check often. If you are unsure, test on a scrap piece from the same board.
This is also where choosing sandpaper grit by feel fails. Run your hand over the surface before you start, note any tear-out, raised grain, or old finish, and let that condition set your starting grit. A surface with planer marks needs a coarser start than one that is already smooth but needs a finish prep.
- Checkpoint: if the belt clogs within a minute, you started too coarse or pressed too hard.
Match grit to the stage of the project
Think in three stages. Stage one is stock removal or flattening: 40 to 80 grit. Stage two is shaping and smoothing: 100 to 150 grit. Stage three is finish prep: 180 to 320 grit and beyond for some finishes. Skipping a stage leaves scratches that show up only after the first coat of finish, when it is expensive to fix.
A practical rule is to move up in small steps. From 80, go to 120, then 180, then 220. Jumping from 80 straight to 220 leaves deep scratches that the fine belt cannot remove. If you must skip, skip only one step, and inspect under raking light before moving on.
- Common mistake: sanding a finished surface with a coarse belt to 'save time' — it removes more than you expect.
Work through the grits in order
Sand with the grain where possible, and change direction between grits so you can see when the previous scratches are gone. Cross-hatching is a simple check: sand at 45 degrees one way, then 45 degrees the other way at the next grit. When the second set of scratches replaces the first, you are ready to move up. Keep the belt moving and let the abrasive cut, not pressure.
For small or shaped areas where a belt cannot reach, sanding stick belts let you apply the same grit sequence by hand. Use the same order and the same inspection method so the whole piece finishes evenly.
- Checkpoint: wipe the surface with a tack cloth or vacuum between grits so loose grit does not scratch the next pass.
Know when to stop
Stop when the surface is uniform in color and texture under raking light, not when you reach a particular number. Over-sanding with fine grits can burnish the wood and close the pores, which makes stain absorb unevenly. On veneer or thin stock, over-sanding is worse: you can cut through the face. If the surface looks glassy and refuses to take a stain sample, you have gone too far.
For most film finishes and paint, 180 to 220 is enough. For stain, 150 to 180 is often better because it leaves a little tooth. For bare wood that will be oiled, 220 to 320 gives a smooth feel without burnishing. Test on scrap before committing the whole project.
- Common mistake: sanding end grain with the same grit as face grain — end grain scratches deeper and needs a finer final pass.
Match the abrasive to the tool and the job
Belt sanders remove material fast and leave swirl marks, so they belong in the early stages. Random-orbit sanders are more forgiving and can carry you from 80 to 220. Detail sanders and hand blocks handle edges and profiles. If you are using a belt sander for finish prep, you are fighting the tool; switch to a finer-grit hand method or a random-orbit sander.
Belt life matters too. A loaded or glazed belt cuts slower and heats the surface, which can burnish wood or melt plastic. Change belts when they stop cutting, not when they look worn. Keeping a few grits on hand in the sizes your tool uses avoids the temptation to 'make do' with the wrong grit.
- Checkpoint: if the belt is hot to the touch after a light pass, reduce pressure and check for loading.
Your grit sequence, step by step
- Identify the material and starting condition: Test a scrap piece from the same stock. Note hardness, old finish, and any tear-out. Start one grit finer on softwoods, plastics, and soft metals than you would on hardwoods. If you are unsure, start finer — you can always go coarser, but you cannot undo a deep scratch easily.
- Pick your starting grit: Use 40–80 for flattening and stock removal, 100–150 for shaping and smoothing, and 180–320+ for finish prep. Do not start finer than the surface condition requires. Checkpoint: if the belt loads or burns in the first minute, you started too coarse.
- Step up through the grits: Move in small increments: 80 → 120 → 180 → 220. Change sanding direction between grits and inspect under raking light. Do not skip more than one step. If scratches remain, go back one grit rather than pressing harder.
- Use the right tool for the stage: Belt sander for coarse work, random-orbit for medium and fine, and sanding stick belts or hand blocks for edges and profiles. Match the abrasive to the tool and the job. A belt sander at finish grit is the wrong tool; switch methods before you burnish the surface.
- Stop at the right grit for your finish: 180–220 for film finishes and paint, 150–180 for stain, 220–320 for oil. Test on scrap. Over-sanding with fine grits can close the pores and cause uneven stain. The surface should be uniform, not glassy. If it shines, you have gone too far.
Product facts that help you sand in sequence
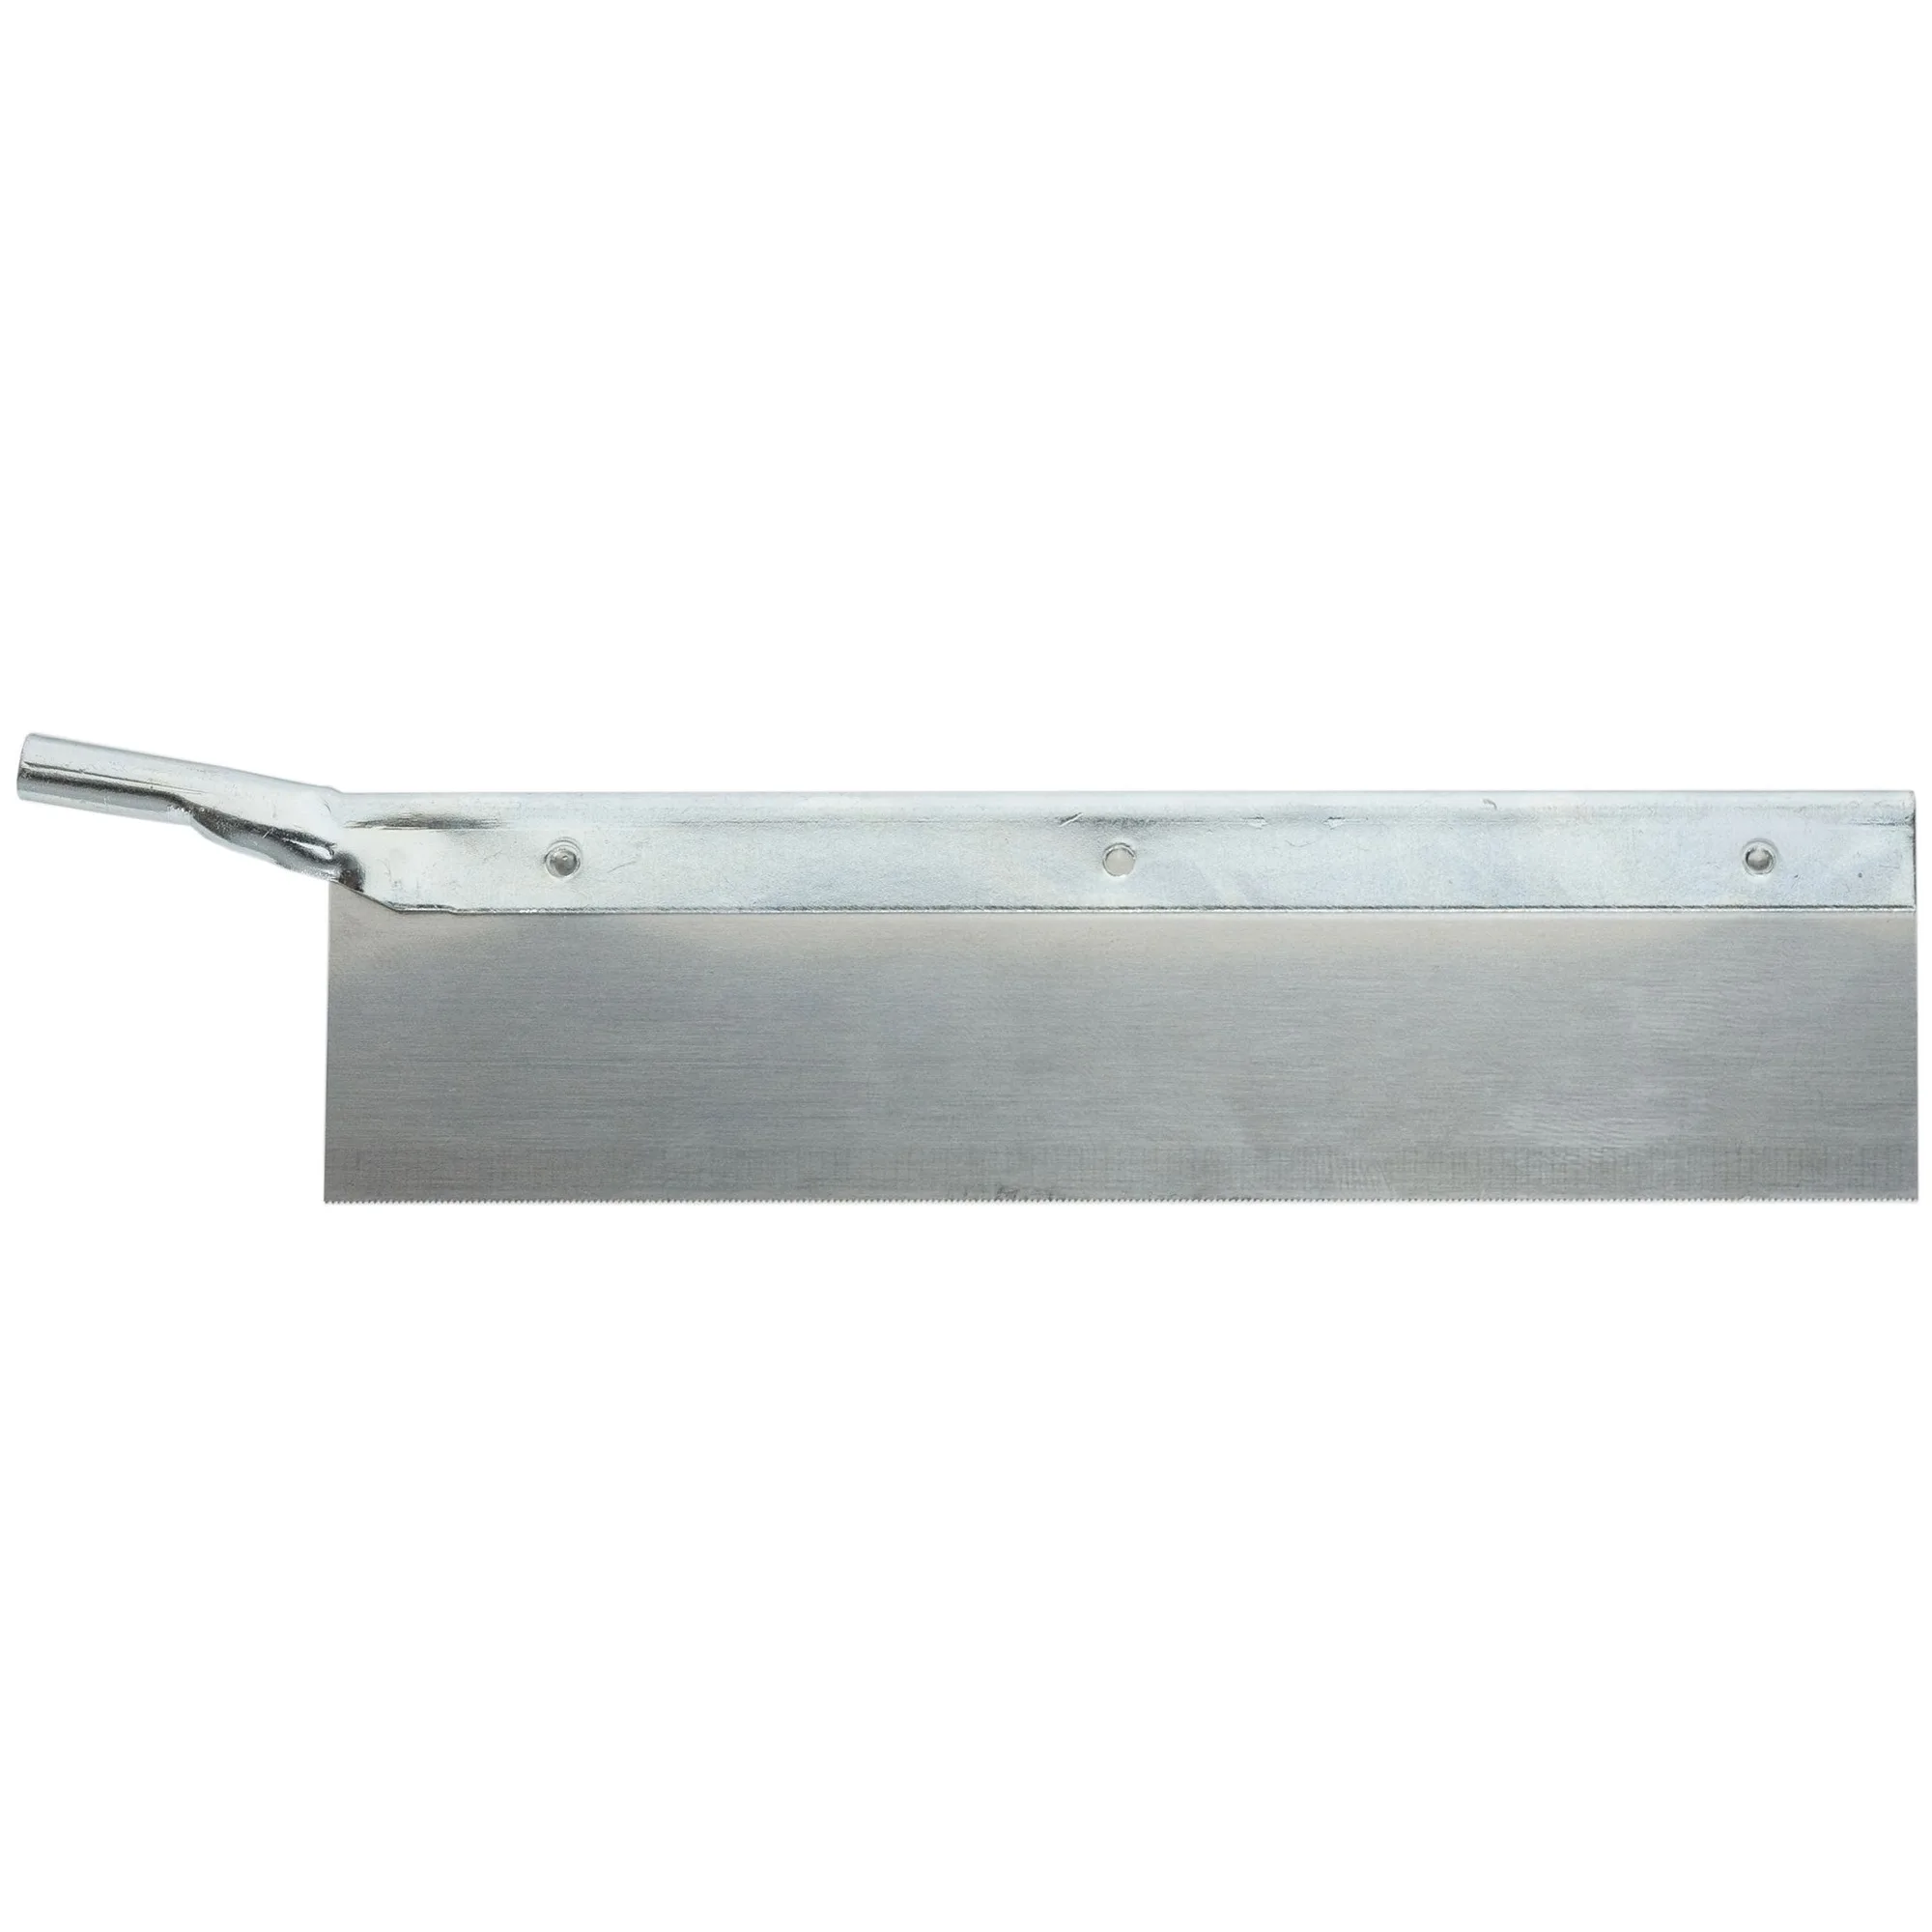
- Razor Saw Blades 24 Teeth per Inch: Hardened serrated steel blade with soft metal backer, 1-1/4 x 0.015 x 24 tpi x 5, fits K2, K5, and K6 Excel Handles; used for balsa wood, fiberglass, plastic, and model railroad tracks. A fine-tooth saw like this cuts close to the line so you have less material to remove when you start sanding, which means you can begin at a finer grit.
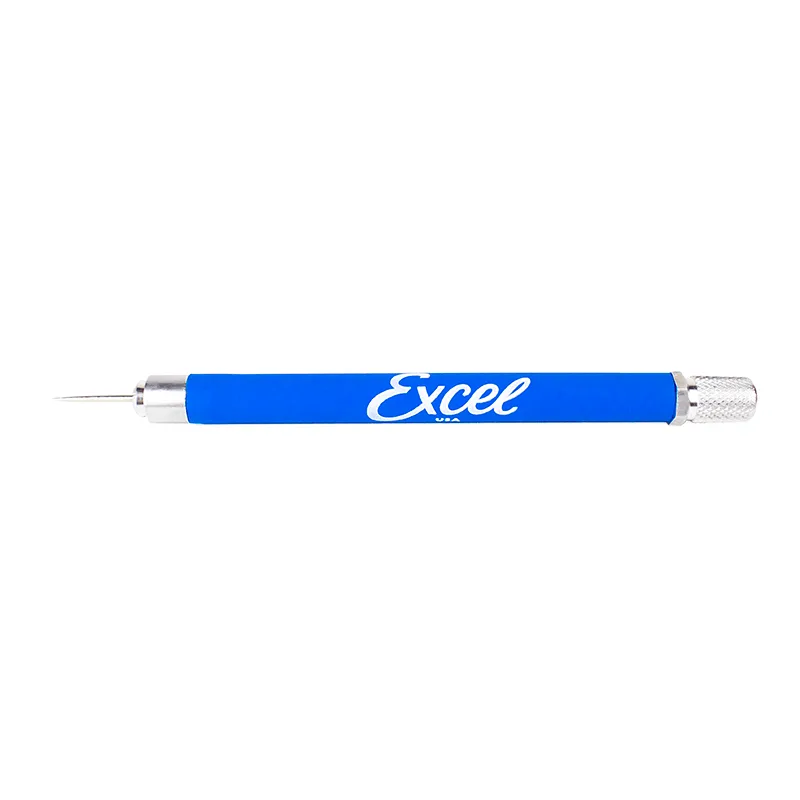
- Excel Blades Cushion Grip Awl/Scribe: Soft ergonomic cushion grip with a 0.050-inch replaceable steel tip, designed for marking, weeding, etching, and crafting. A comfortable scribe lets you mark your sanding progress or layout lines accurately, so you know when you have removed enough material.
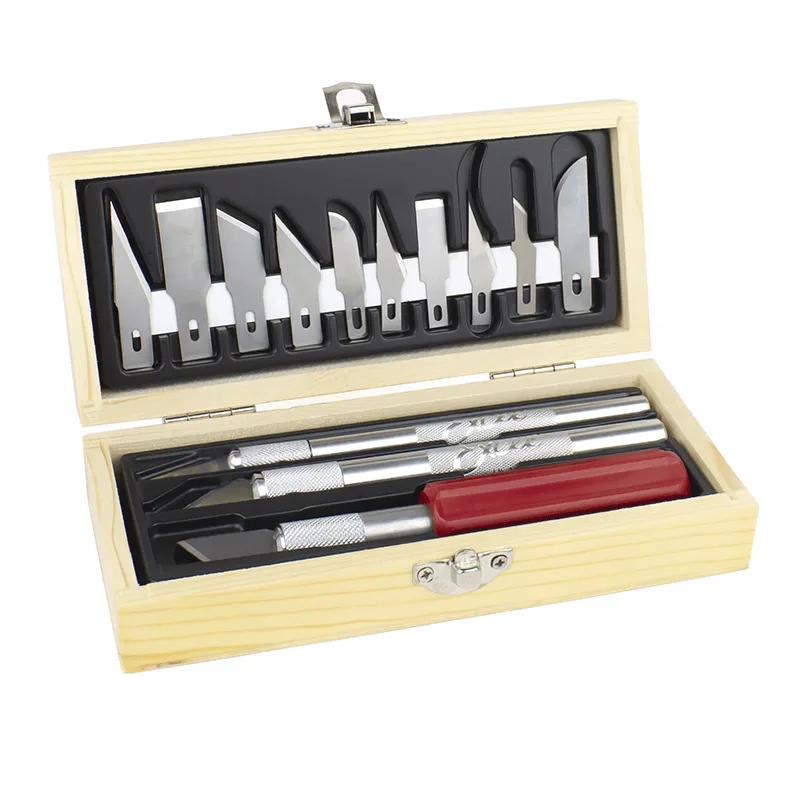
- Hobby Knife Set, 3 Knives, Assorted Blades: Includes three precision knives (K1, K2, K5) and 13 assorted blades for precision cutting in construction, woodworking, and DIY. Trimming and fitting before sanding reduces the amount of coarse-grit work you need to do, which saves belts and avoids over-sanding.
Choosing the right sanding belt grit comes down to matching the number to the material and the stage, then stepping through the sequence without skipping. Keep a few grits on hand, inspect between passes, and stop when the surface is uniform — not when you hit a number.