Quick answer
Measure your band size by wrapping a soft tape snugly around your ribcage directly under your bust, then round to the nearest even number. Measure your cup size by wrapping the tape around the fullest part of your bust, then subtract your band size from that number. Each inch of difference equals one cup letter. Re-measure every six months or after any weight change.
A bra that digs, slips, or gapes is usually a size problem, not a body problem. Measuring yourself at home takes about five minutes and gives you a reliable starting point before you try anything on.
You do not need a professional fitter to get a useful number. You need a soft measuring tape, a mirror, and a few small habits that keep the tape level. Here is the process, step by step, with the mistakes that throw measurements off.
What you need before you start
Use a soft, flexible tape measure, the kind used for sewing. A metal tape measure or a piece of string will not sit flat against your ribcage and will give you a number that is too large. Stand in front of a mirror so you can see whether the tape is level all the way around.
Wear an unlined, non-padded bra or no bra at all. A padded or molded bra adds volume that does not belong to your body, which inflates your bust measurement. Keep your arms down at your sides for the band measurement and relaxed for the bust measurement.
- Check that the tape is not twisted anywhere around your back.
- Breathe normally. Do not hold your breath or pull the tape tight.
Step 1: Measure your band size
Wrap the tape around your ribcage, directly under your bust, where the band of a bra would sit. The tape should be snug and level, parallel to the floor all the way around. Exhale normally, then read the number where the tape meets in front.
If the number is even, that is your band size. If it is odd, round down to the nearest even number for a snugger band, or up if you prefer a looser feel. A band that rides up in back is too loose; a band that leaves red marks after an hour is too tight.
- Common mistake: measuring over a thick shirt or a padded bra. Measure against bare skin or a thin unlined bra.
- Checkpoint: the tape should not slide down when you lower your arms.
Step 2: Measure your cup size
Wrap the tape around the fullest part of your bust, usually across the nipple line. Keep the tape level and snug but not compressing. Write down this number in inches.
Subtract your band size from your bust measurement. The difference in inches tells you your cup letter: 1 inch is an A, 2 inches is a B, 3 inches is a C, 4 inches is a D, 5 inches is a DD or E, and so on. If the difference is less than 1 inch, you may need a smaller band or a different cup style.
- Common mistake: pulling the tape too tight across the bust. Let it rest against your skin without pressing in.
- Checkpoint: if your bust measurement is smaller than your band measurement, re-check the band. It is probably too loose.
Step 3: Check the fit with the scoop-and-swoop
Put on a bra in your measured size. Lean forward slightly, then use your hand to scoop your breast tissue from under your arm into the cup. This is called the scoop-and-swoop, and it shows you whether the cup actually holds all your tissue.
The center gore, the piece between the cups, should sit flat against your sternum. The band should be level in back. If the gore floats away from your body, the cup is too small. If the cup wrinkles at the top, the cup is too large or the style is too shallow for your shape.
- Common mistake: judging the fit while hunched forward. Stand tall and look in the mirror.
- Checkpoint: you should be able to slide two fingers under the band at your back.
Step 4: Adjust for sister sizes and shape
If your measured size feels close but not right, try a sister size. Going down one band size and up one cup letter, or up one band and down one cup, keeps roughly the same cup volume. For example, a 34C sister-sizes to a 32D or a 36B.
Shape matters as much as size. A full-cup style suits softer tissue that needs containment, while a wireless or front-closure style can be easier to put on. If you are between sizes, start with the smaller band and the larger cup, because bands stretch over time.
- Common mistake: assuming one number fits every brand. Sizing varies between manufacturers, so always check the brand's own size chart.
- Checkpoint: if the band rides up, go down a band size before you change cup size.
Your at-home measuring checklist
- Gather a soft tape and a mirror: Use a flexible sewing tape, not a metal one, and stand where you can see the tape stay level around your back. If the tape twists or slopes, start over.
- Measure the band under your bust: Wrap snugly around your ribcage, exhale, and read the number. Round to the nearest even number. The band should not slide down when you lower your arms.
- Measure the bust at the fullest point: Keep the tape level and resting against your skin, not pressing in. Write the number down. If the tape leaves a dent, you pulled too tight.
- Subtract band from bust for cup size: One inch equals an A, two inches a B, three a C, and so on. Less than one inch means re-check the band. Write the result as band plus cup, such as 34C.
- Try the size and scoop-and-swoop: Put on the bra, lean forward, and sweep tissue from under your arm into the cup. Check the gore and band. A flat gore and level band mean the size is close.
- Re-measure every six months: Weight changes, pregnancy, and hormonal shifts all change your measurements. Repeat the process and adjust. A bra that fit last year may not fit this year.
How real sizes show up in practice
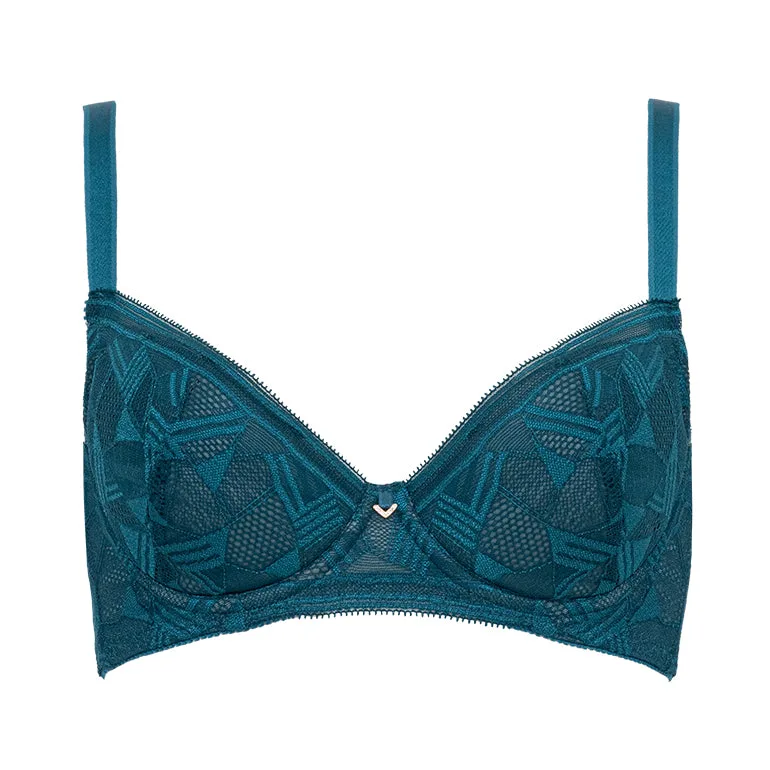
- Challenge Shaping Bra: This online exclusive Step1 shaping bra is recommended for first timers who prefer a comfortable and soft fit, and it includes a free matching extension hook. The extension hook lets you fine-tune band tension, which is useful when your measured band size sits between two sizes.
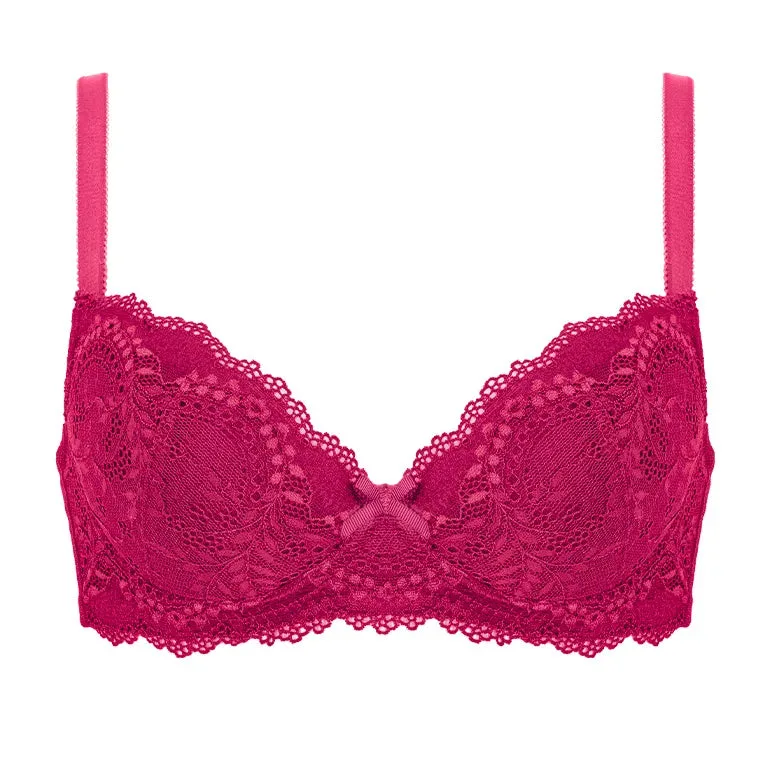
- Wendy Smoothing Shaping Bra 25A1: A Step 1 shaping bra made with stretch Raschel lace and clean lace edges, designed to stay discreet under clothing. Smooth lace edges reduce show-through, so you can check the fit without a bulky seam changing how the cup sits.
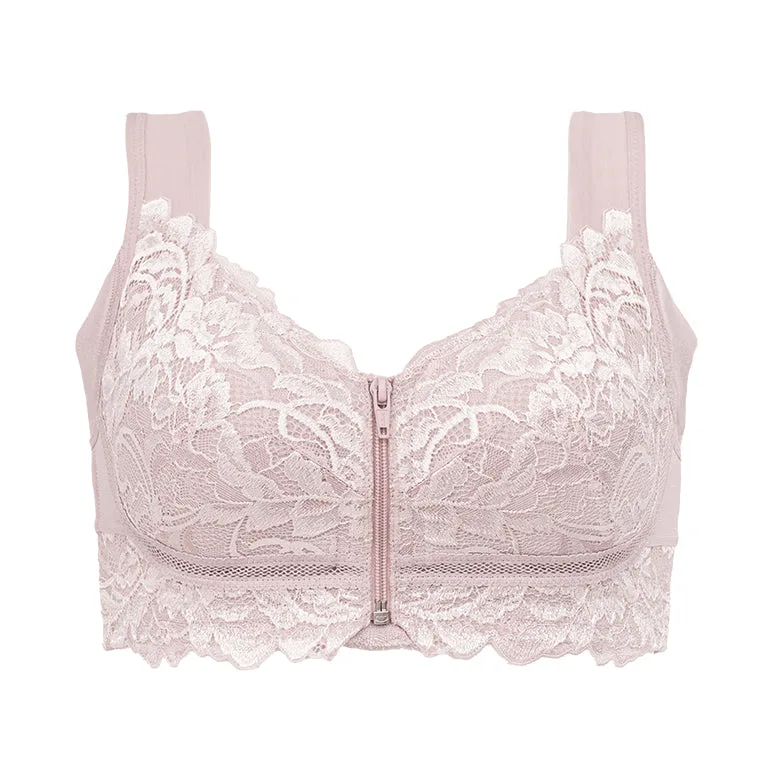
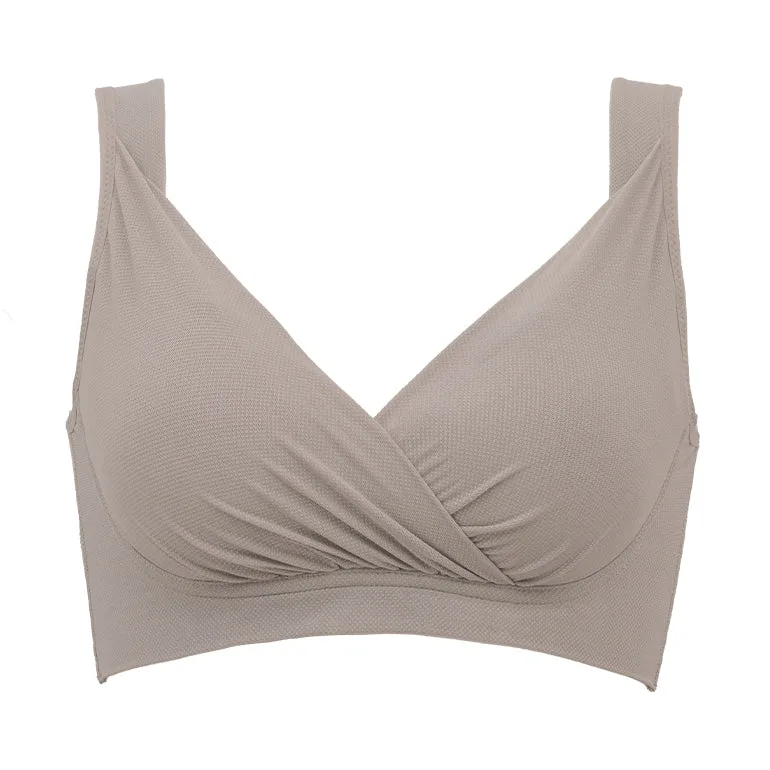
- Slimming Zip Front Wireless Bra 25: A front-zipper, non-wire shaping bra that goes on and off without reaching behind, with a cool-touch breathable mesh body fabric. If shoulder mobility makes back-closure bras hard to adjust, a front-zip style lets you test band and cup fit more easily.
Measuring at home gives you a reliable starting point, not a permanent label. Start with your band and bust numbers, test the fit with the scoop-and-swoop, and adjust one variable at a time. If a bra still feels off, the size chart for that specific style is the next place to look.