Quick answer
Measure your band snugly around your ribcage, measure your bust at the fullest point, then subtract the band from the bust to find your cup. Round the band to the nearest even number and recheck both measurements once. If you are between sizes, size up in the band and down in the cup.
A bra that fits should not require a fitting room. With a soft tape measure and three steps, you can find your band, bust, and cup size at home in about five minutes. The goal is not a perfect number on the first try, but a starting point you can adjust based on how a bra actually feels.
This guide walks through the order that matters: band first, bust second, cup third. It also covers the checkpoints most people skip, like keeping the tape level and exhaling before you read the number.
Before You Start: What You Need
Use a soft, flexible tape measure and wear an unlined bra or no bra at all. A padded or molded bra can add inches to your bust measurement and throw off the cup calculation. Stand in front of a mirror so you can see whether the tape is level around your back.
Write your numbers down as you go. You will use the band measurement and the bust measurement together, and it is easy to mix them up if you try to remember them. If you do not have a tape measure, use a piece of string and measure it against a ruler afterward.
- Measure over bare skin or a thin, unlined bra, not a push-up style.
- Keep the tape parallel to the floor; a tape that dips at the back adds phantom inches.
Step 1: Measure Your Band Size
Wrap the tape around your ribcage, directly under your bust, keeping it snug but not tight. Breathe out normally, then read the number where the tape meets. This is your underbust measurement, and it sets the band size you will shop for.
If the number is even, that is your band size. If it is odd, round down to the nearest even number for a snugger band, or up if you prefer a looser feel. Most bra sizing charts use even band numbers, which is why this rounding step matters.
- Checkpoint: the tape should stay level all the way around, not ride up at the back.
- Common mistake: pulling the tape too tight, which makes the band feel smaller than it is.
Step 2: Measure Your Bust Size
Wrap the tape around the fullest part of your bust, usually across the nipple line. Keep the tape level and relaxed, not compressing the tissue. Stand straight with your arms down so your posture does not change the number.
Read the measurement at the point where the tape meets. This is your bust size, and it is the number you will compare against your band measurement in the next step. If the number falls between two values, note both and use the average for your cup calculation.
- Checkpoint: the tape should touch your bust without indenting it.
- Common mistake: measuring while wearing a padded bra, which inflates the bust number.
Step 3: Calculate Your Cup Size
Subtract your band measurement from your bust measurement. The difference in inches tells you your cup size: about 1 inch for an A cup, 2 inches for a B, 3 inches for a C, and so on. This is the same logic behind most bra size calculators, though every brand cuts slightly differently.
For example, a 34 band with a 37 bust gives a 3-inch difference, which points to a 34C as a starting size. Treat that as a starting point, not a verdict. Adjust based on how the band and cups behave when you try the bra on.
- Checkpoint: if the difference is less than 1 inch, you may be an AA or A cup.
- Common mistake: assuming the cup letter is fixed across brands; a 34C in one style can fit like a 34B in another.
How to Check the Fit Without a Fitting Room
Put the bra on the loosest hook and check the band first. It should sit level and snug, with no more than two fingers of give at the back. If the band rides up, it is too loose; if it digs in, size up in the band and down in the cup.
Next, check the cups. The center gore should sit flat against your sternum, and the underwire should follow your ribcage, not sit on breast tissue. If you are trying a soft bralette or a wire-free style, the same principle applies: the band carries the support, and the cups should not gap or spill.
- If the band feels right but the cups gap, try one cup size down.
- If the cups spill over, try one cup size up before changing the band.
When to Remeasure
Remeasure every six to twelve months, and after any significant weight change. Bra sizing is not permanent, and a band that fit last year may feel loose or tight now. It is also worth remeasuring if you switch between brands, since sizing can vary by a full cup.
For wire-free styles like bralettes and triangle styles, the band measurement matters more than the cup calculation. These pieces are often more forgiving, so you can prioritize the band and let the adjustable straps handle the rest.
- Remeasure after weight changes, pregnancy, or a change in workout routine.
- Keep a note of your size in different brands so you can shop faster next time.
Your 3-Step Bra Measuring Routine
- Measure the band: Wrap the tape snugly under your bust, exhale, and read the number. Round to the nearest even number. Checkpoint: the tape stays level around your back.
- Measure the bust: Wrap the tape around the fullest part of your bust, keeping it level and relaxed. Checkpoint: the tape touches but does not compress.
- Calculate the cup: Subtract the band from the bust. Each inch of difference is roughly one cup size. Checkpoint: treat the result as a starting size, then adjust by fit.
Fit Notes From KILO BRAVA Styles
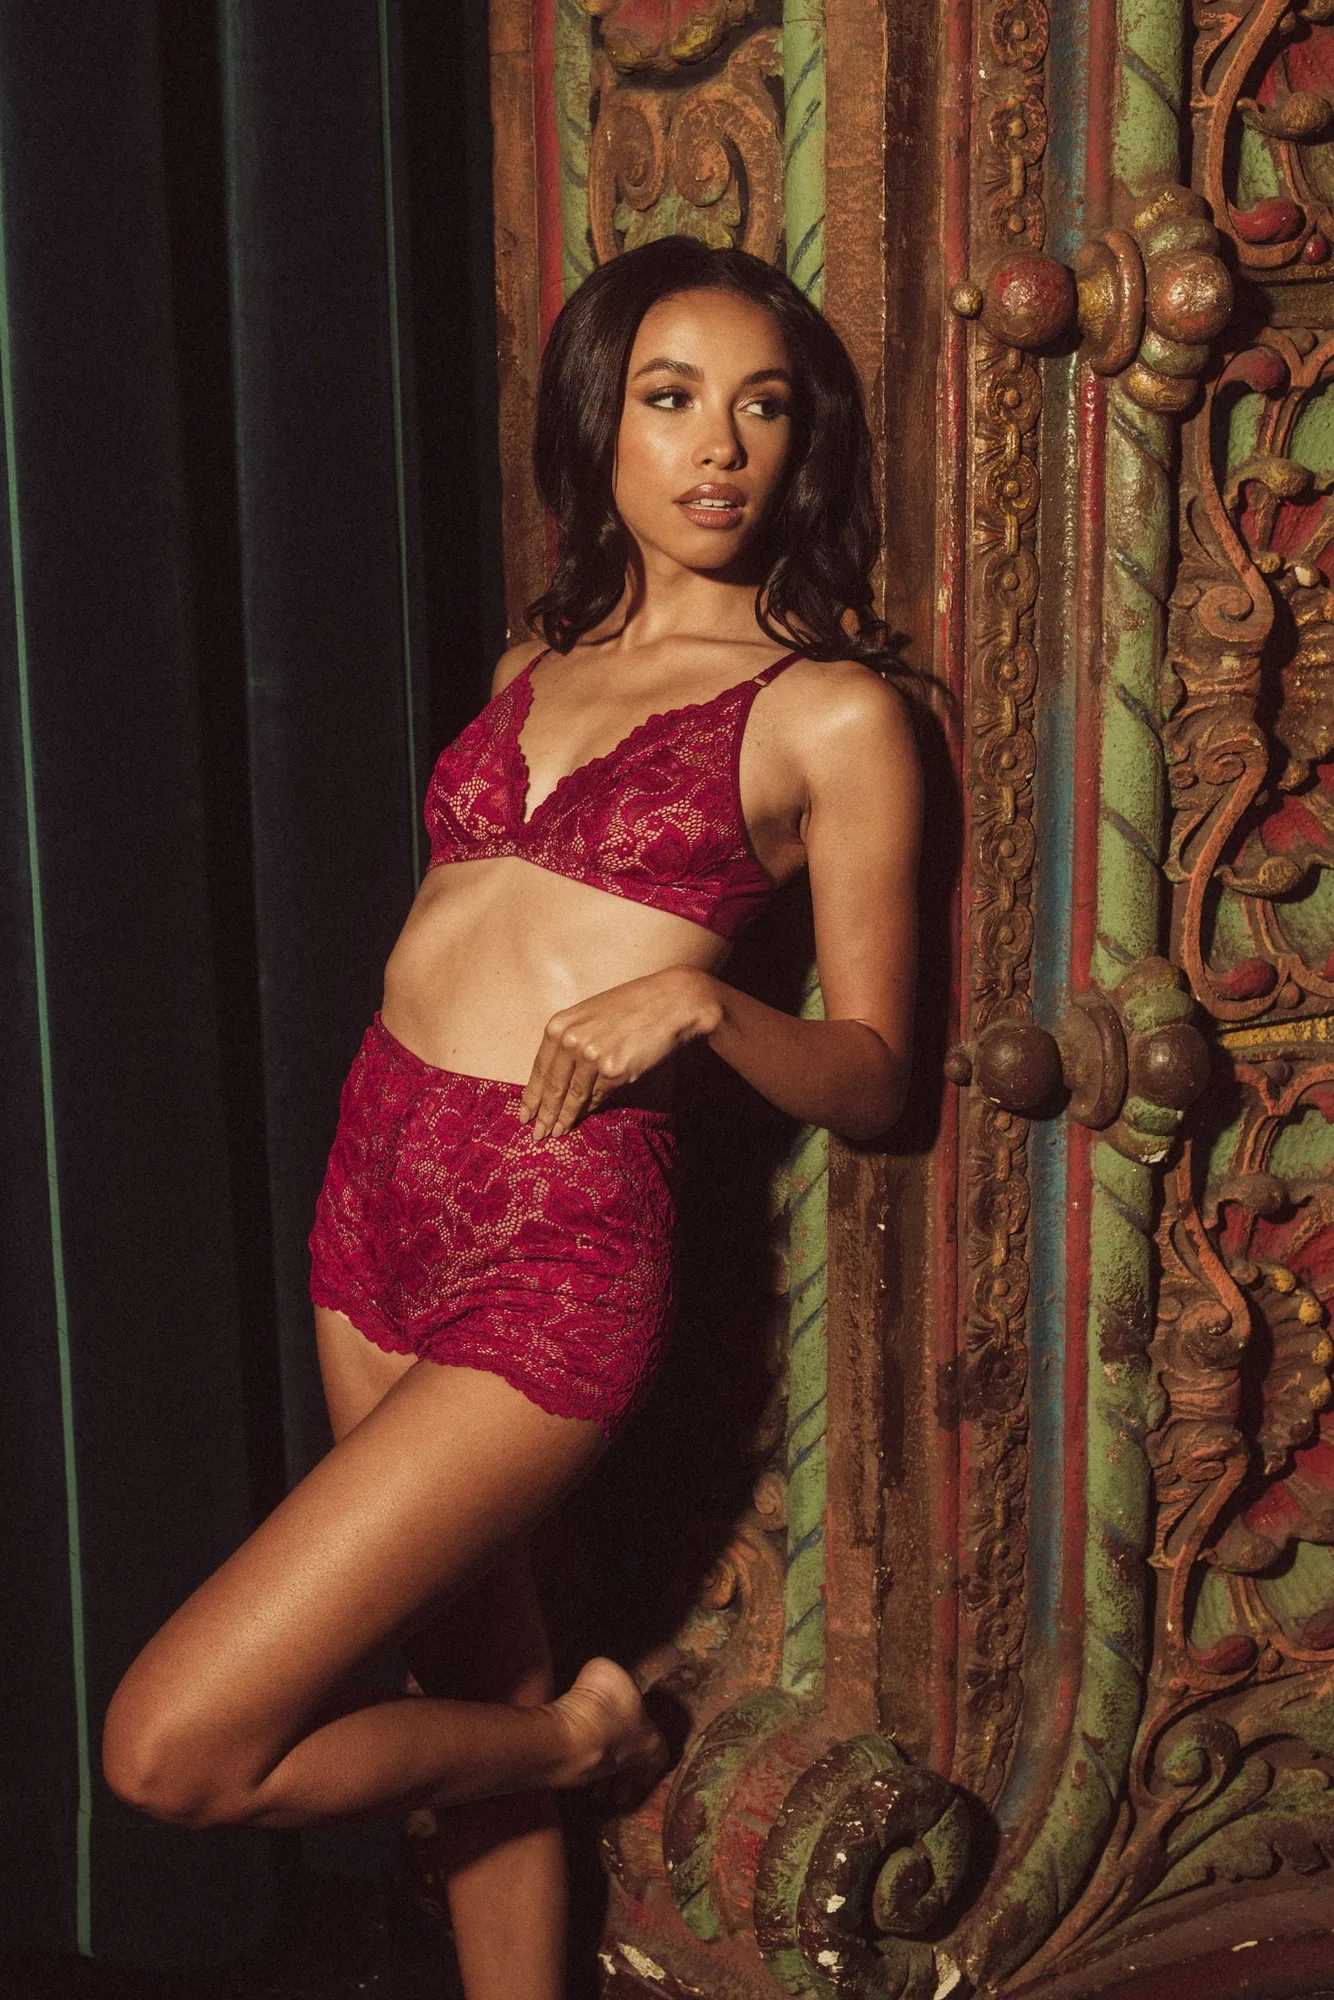
- KILO BRAVA LACE COLLECTION- BERRY- BRALETTE: Crafted from sheer printed lace with light support, adjustable straps, and a hook-and-eye back closure. A wire-free bralette like this relies on the band for support, so your underbust measurement matters more than your cup calculation.
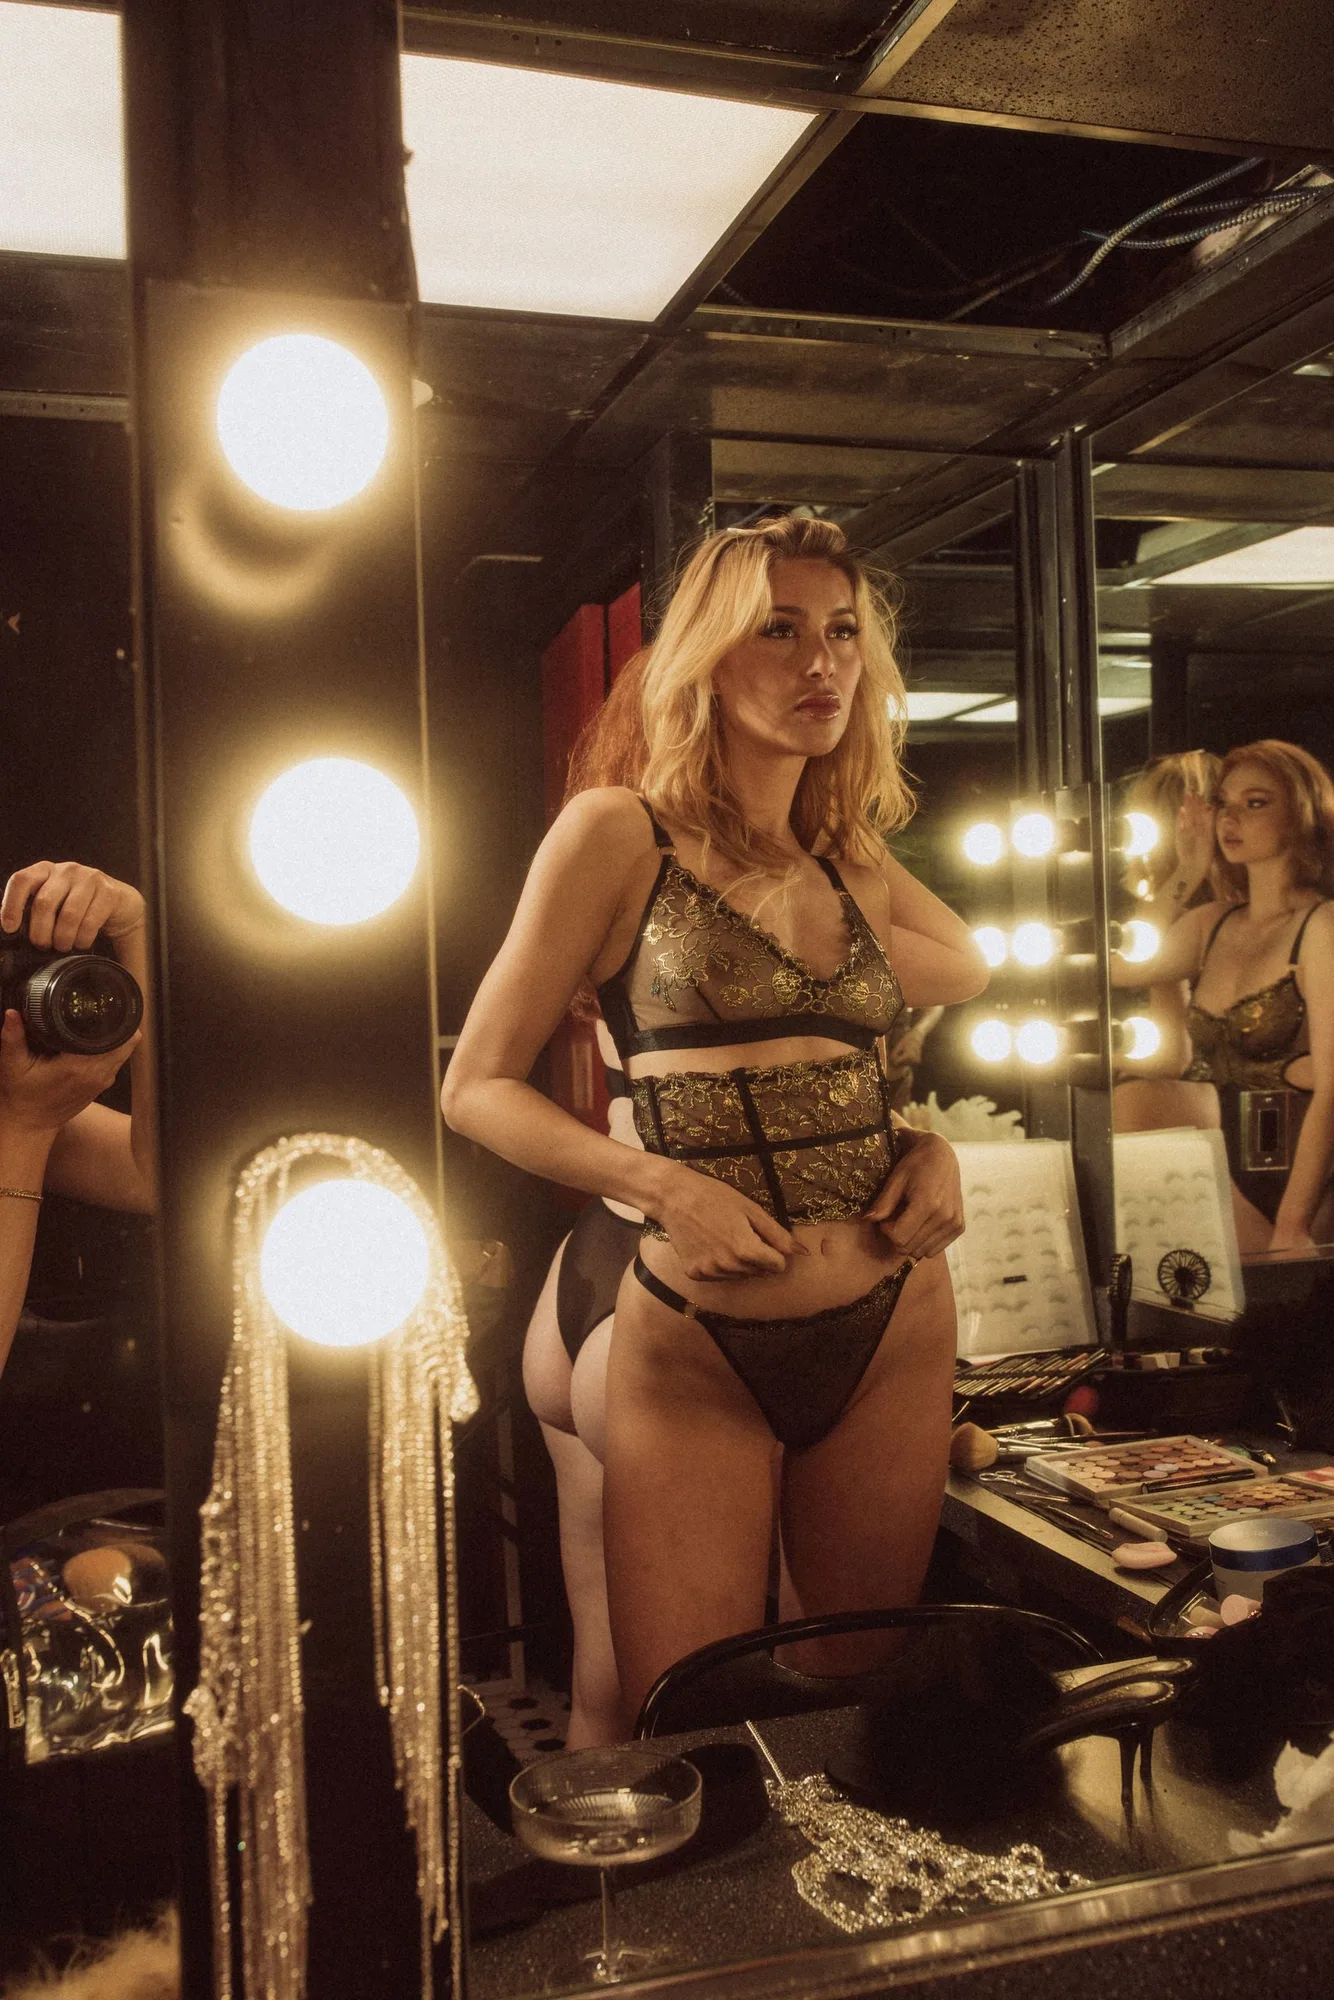
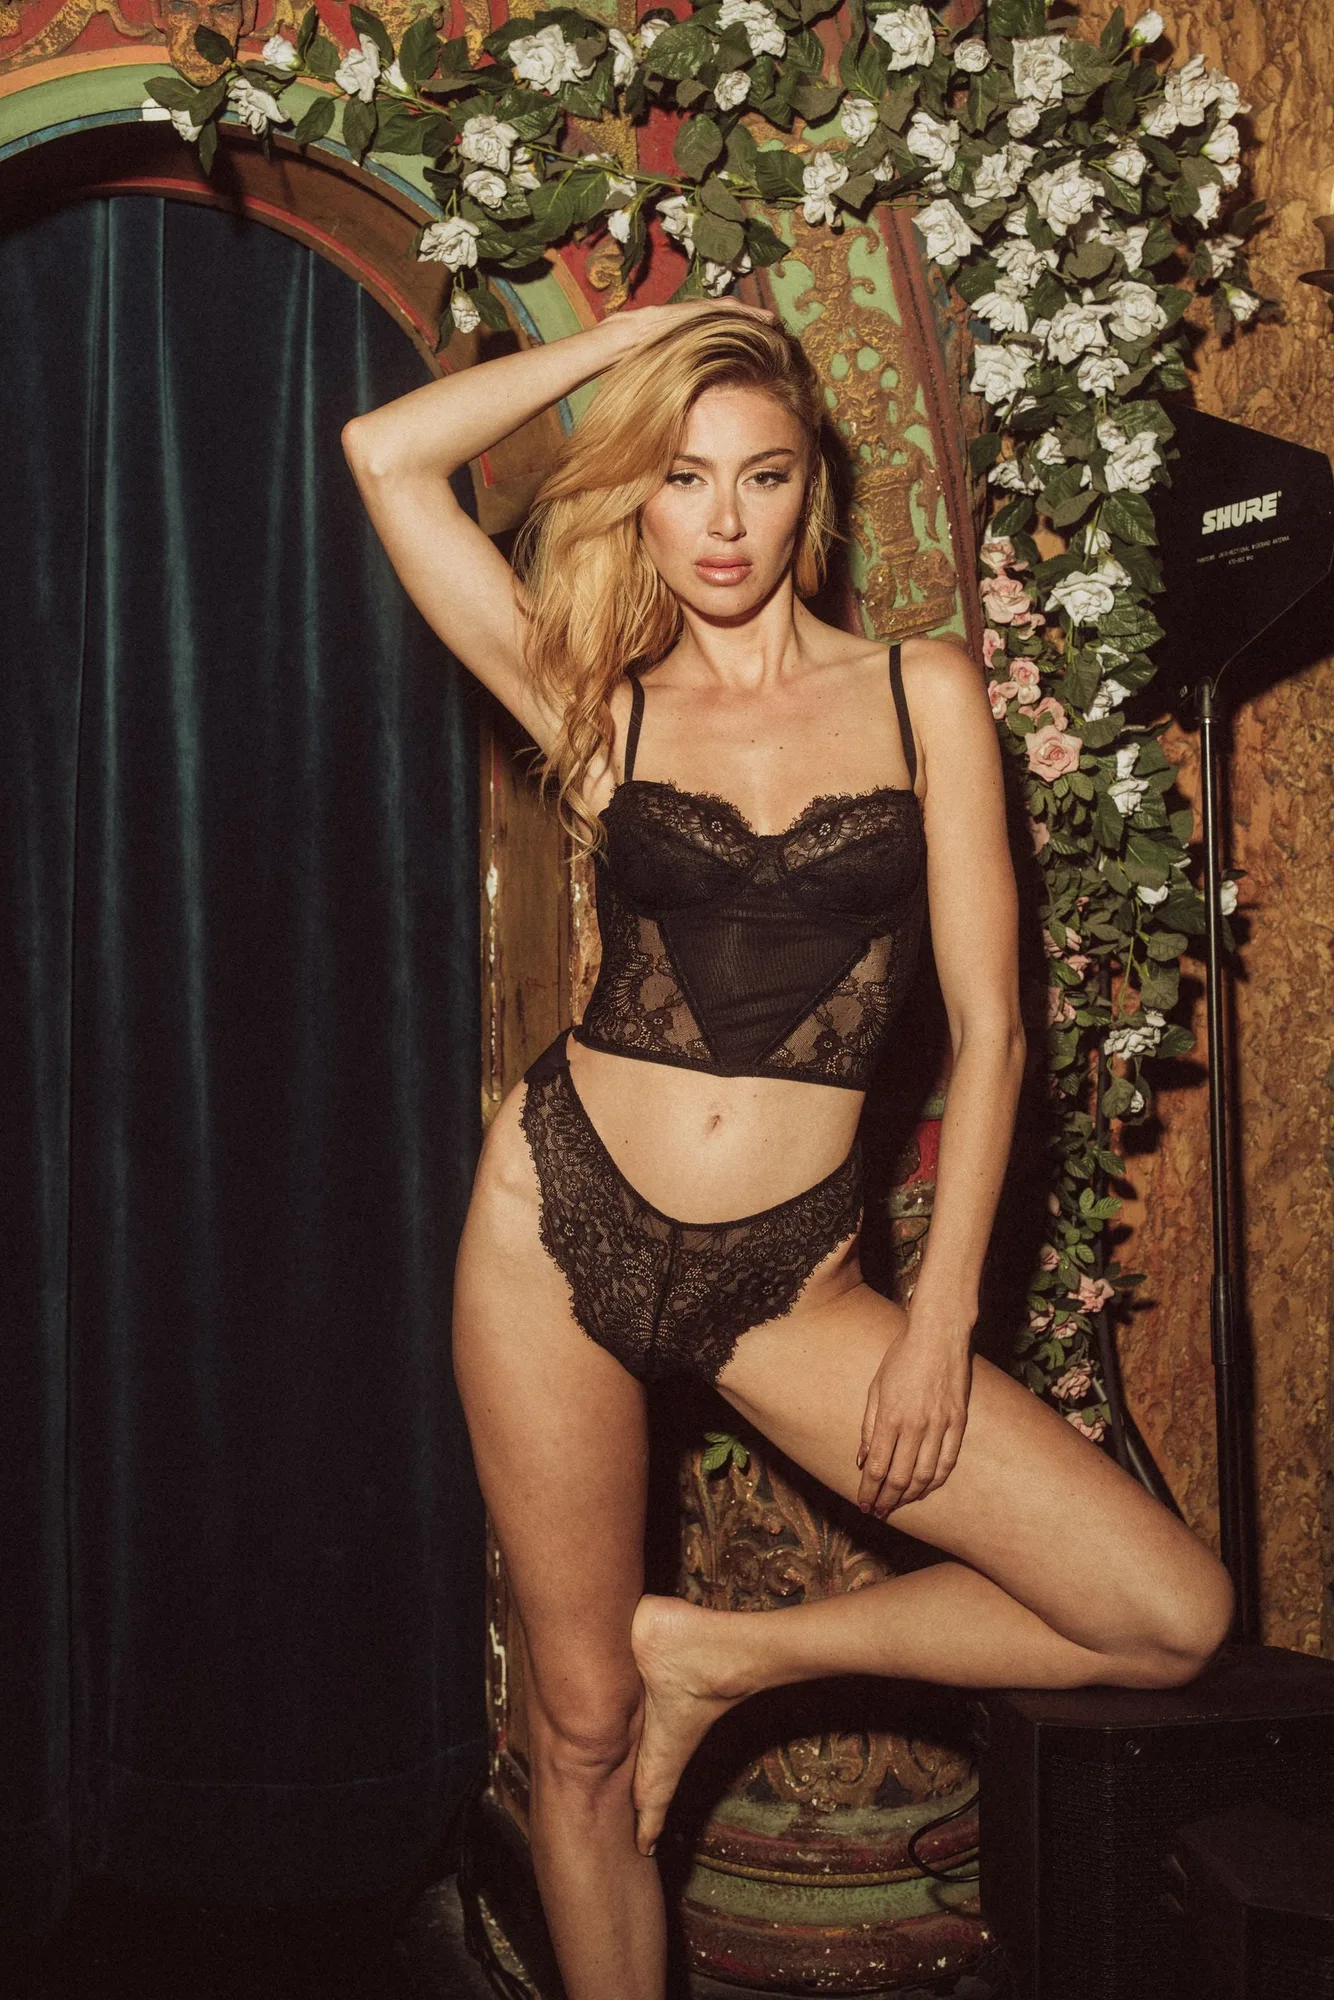
- KILO BRAVA LACE COLLECTION- BLACK- BUSTIER: Features underwire cups, strategic boning, a hook-and-eye back closure, and adjustable straps. Structured styles with underwire and boning fit closer to a traditional bra, so your band and cup measurements both matter here.
- KILO BRAVA EMBROIDERY COLLECTION- BLACK/GOLD- TRIANGLE BRALETTE: Features black floral embroidery with gold foil details, adjustable straps, and a hook-and-eye back closure. Triangle bralettes have less coverage than a full cup, so if you are between cup sizes, the band fit is the better guide.
Measuring your bra size at home comes down to three numbers: band, bust, and the difference between them. Get those right, then let the fit check tell you whether to adjust the band or the cup. A soft tape measure and a few minutes are all you need to shop with more confidence.