Quick answer
To find your correct bra size at home, measure your band size snugly around your ribcage just under the bust, then measure your bust size around the fullest part of your chest. The difference between those two numbers gives you a starting cup size. Treat the result as a starting point, not a final verdict, because band and cup sizes shift between brands and even between styles.
Most people wear a bra size they settled on years ago, then wonder why the straps slip or the band rides up. The good news is you do not need a fitting room to fix that. With a soft measuring tape and a mirror, you can measure band size and bust size in about five minutes and walk away with a realistic starting point.
This bra size guide walks through the process in order, flags the mistakes that throw measurements off, and explains how to test a size once you have it. It is a starting point, not a final verdict, because cup fit varies by style and brand. Use it to narrow your options, then let the fit check confirm the rest.
What you need before you start
A flexible soft tape is the only real tool you need. If you do not have one, a piece of string or a charging cable works as a stand-in, as long as you can mark it and measure that length against a ruler. A mirror helps you keep the tape level at the back, which is the single most common source of wrong numbers.
Wear a non-padded bra or a light top rather than measuring over a padded or push-up style, which adds volume that is not yours. Stand relaxed, breathe normally, and keep your arms down for the band measurement. Measuring while holding your breath or pulling the tape tight will give you a band that feels too small in real life.
- Soft tape or string plus a ruler
- Mirror to check the tape is level
- Non-padded bra or a thin top
Step 1: Measure your band size
Wrap the tape around your ribcage directly under your bust, keeping it parallel to the floor all the way around. Pull it snug, but not tight enough to dig in. Write down the number in inches. If it lands on an odd number, round to the nearest even number to get a conventional band size.
The common mistake here is measuring too high, across the bottom of the bust instead of under it, which adds inches and pushes you into a band that is too large. Check the mirror: the tape should sit level at the back, not riding up toward your shoulder blades.
- Keep the tape level at the back, not angled upward
- Round odd numbers to the nearest even band size
Step 2: Measure your bust size
Wrap the tape around the fullest part of your bust, usually across the nipple line, and keep it level. Do not compress the tissue. Let the tape rest against you without pulling. Breathe out normally and note the number in inches.
The mistake to avoid is measuring over a padded bra or letting the tape dip at the back, both of which inflate the number and send you toward a cup that gapes. If your bust measurement is smaller than your band measurement, that is a signal to recheck the band rather than to assume the numbers are wrong.
- Measure over unpadded fabric only
- Keep the tape level and do not pull it tight
Step 3: Work out your starting cup size
Subtract your band measurement from your bust measurement. The difference in inches maps to a starting cup: roughly one inch for an A, two for a B, three for a C, four for a D, and so on up the alphabet. For example, a 34 band with a 37 bust points to a 34C as a starting point.
The common mistake is treating that letter as fixed. Cup volume changes with band size, so a 34C and a 36B hold similar volume in different proportions. If the band feels right but the cup does not, adjust the cup first before changing the band.
- Difference of 1 inch = A, 2 = B, 3 = C, 4 = D
- Change one variable at a time when you test sizes
Step 4: Test the fit before you commit
Put the bra on and fasten it on the loosest hook, since a new band should have room to tighten as it relaxes over time. Check the band first: it should sit level and stay put when you lift your arms. Then check the cups for gaping or spillage, and adjust the straps so they sit flat without digging.
The mistake that ruins an otherwise good fit is judging a bra by the straps. Straps should carry only a small share of the support; the band does the work. If you are constantly tightening straps to feel supported, the band is likely too loose.
- Fasten on the loosest hook for a new bra
- Band should stay level when you raise your arms
- Straps should not dig in or fall off the shoulder
How style changes what size you need
Two bras in the same size can fit differently depending on cut and construction. A plunge style with a lower neckline sits differently than a full-coverage shape, and a seamless cup behaves differently again. This is why the same person can comfortably wear more than one size across a drawer.
If you are between sizes, choose based on the style you are buying. A bra built for a smooth, no-show finish under clothing will have different cup geometry than a push-up style, so the fit check matters more than the label. Buy one, test it, then repeat the size that worked.
- Expect some size variation between cuts and brands
- Recheck fit whenever you switch bra style
Your five-step measuring routine
- 1. Measure under the bust: Wrap a soft tape snugly around your ribcage, level all the way around, and note the number in inches. Checkpoint: the tape should be level at the back, not riding up.
- 2. Round to an even band size: If the number is odd, round to the nearest even number to get a conventional band size. Checkpoint: do not round down just because you prefer a smaller number.
- 3. Measure the fullest part of the bust: Keep the tape level and resting against you, over unpadded fabric only. Checkpoint: no pulling, no compressing, no padded bra.
- 4. Subtract to find your starting cup: Band from bust gives the difference that maps to a starting cup letter. Checkpoint: treat the result as a starting point, not a final size.
- 5. Try it on and check the band first: Fasten on the loosest hook, raise your arms, and see whether the band stays level and in place. Next step: if the band is right but the cup is not, change the cup size only.
Real styles to test your new size in
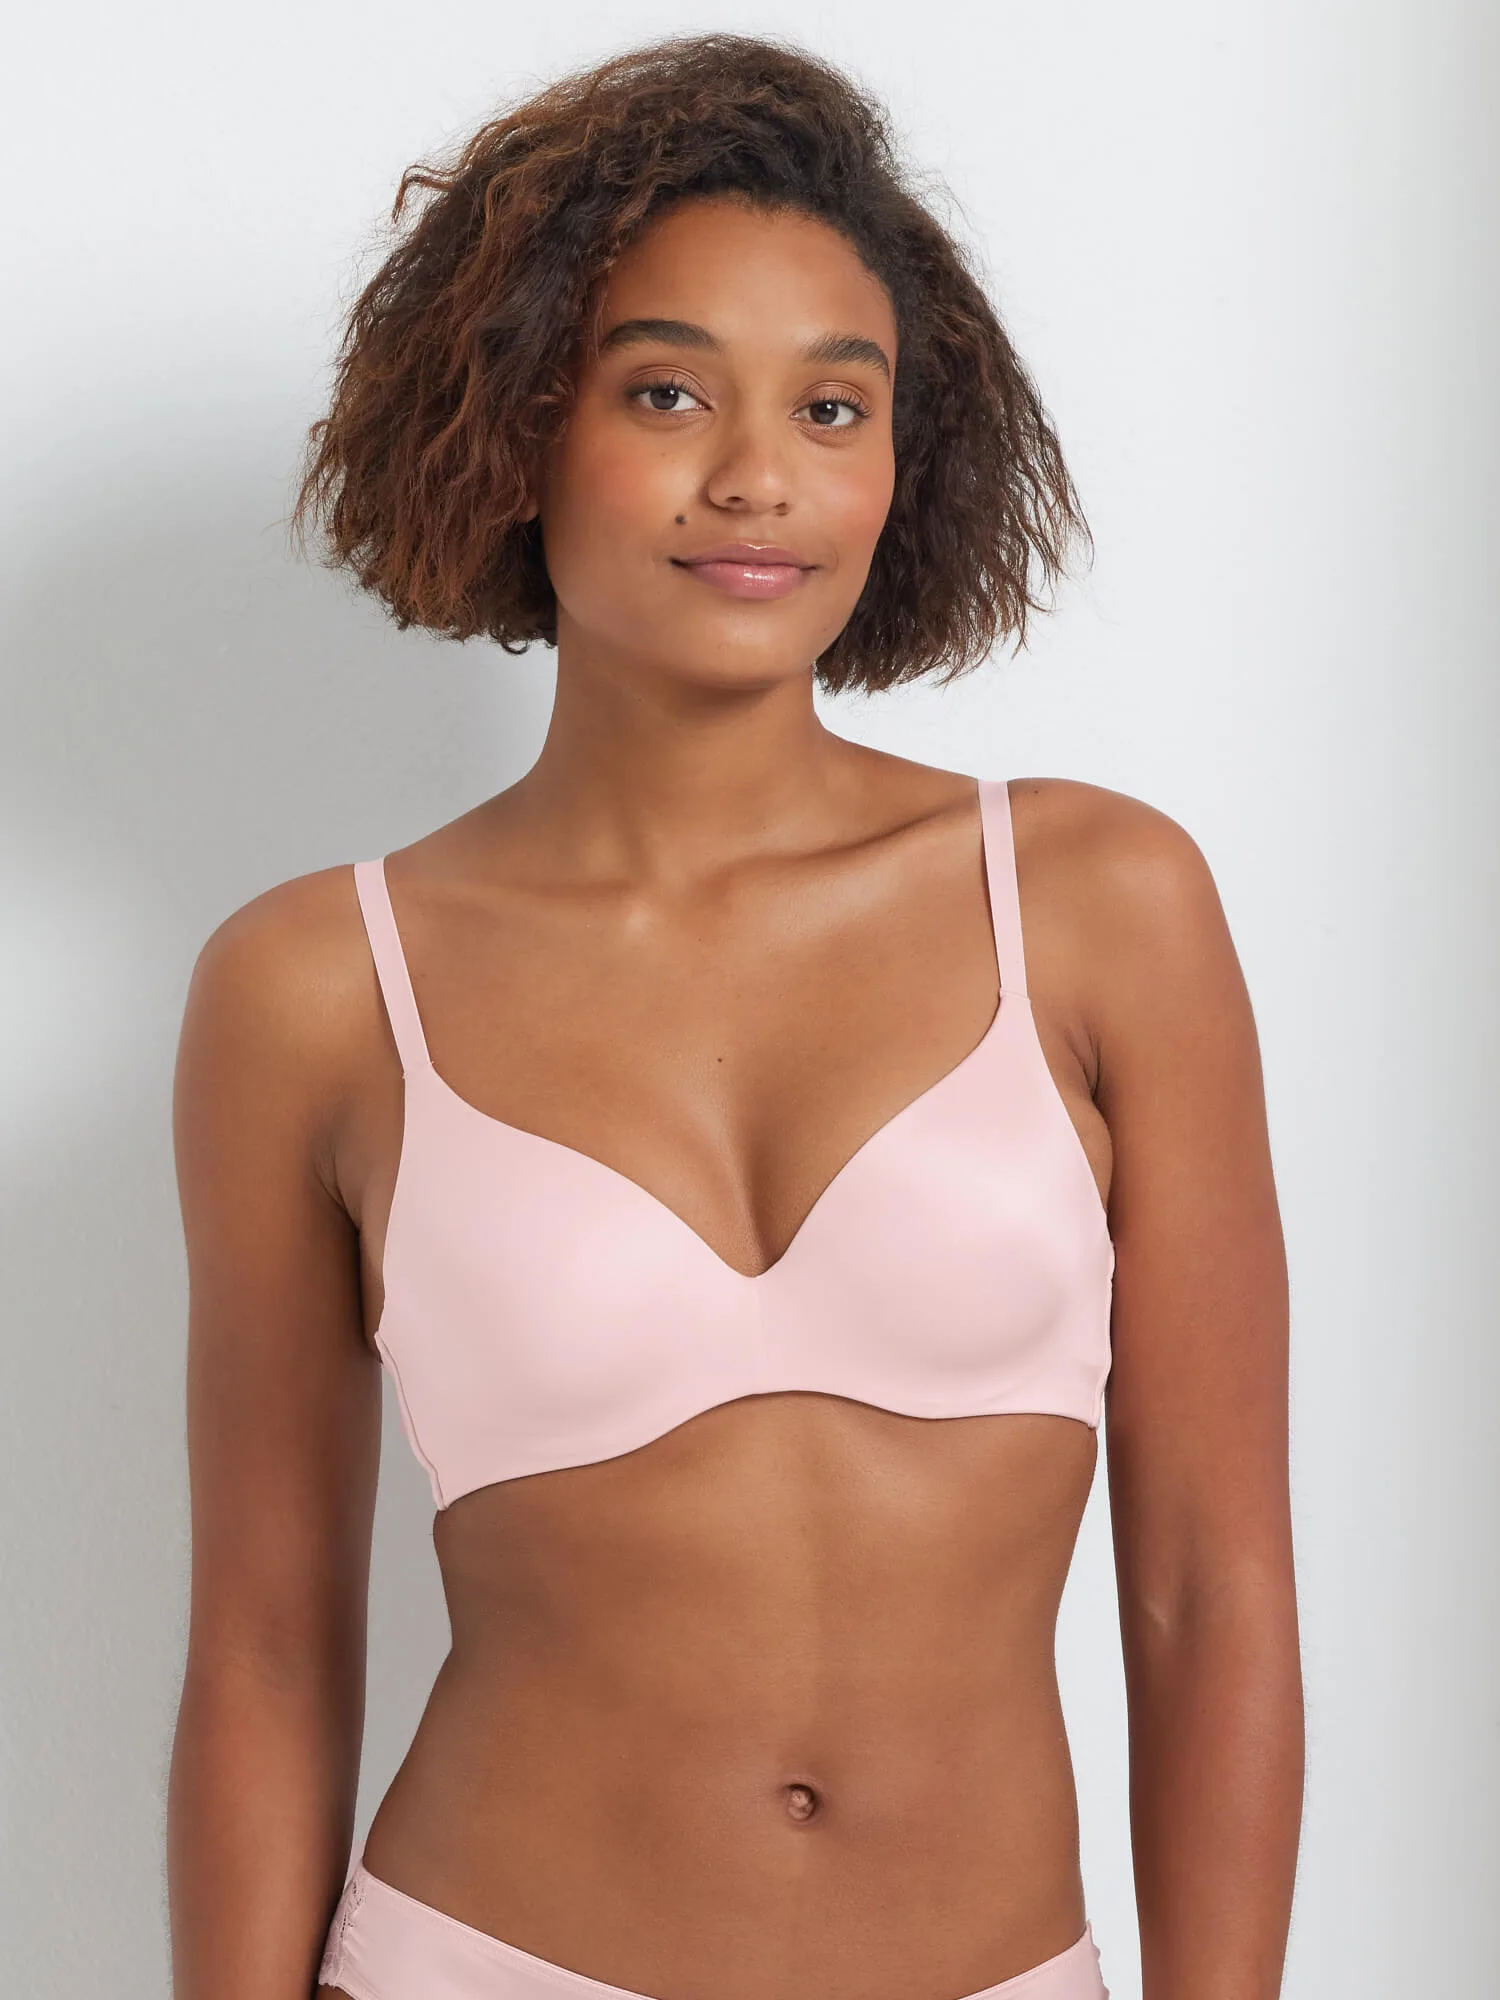
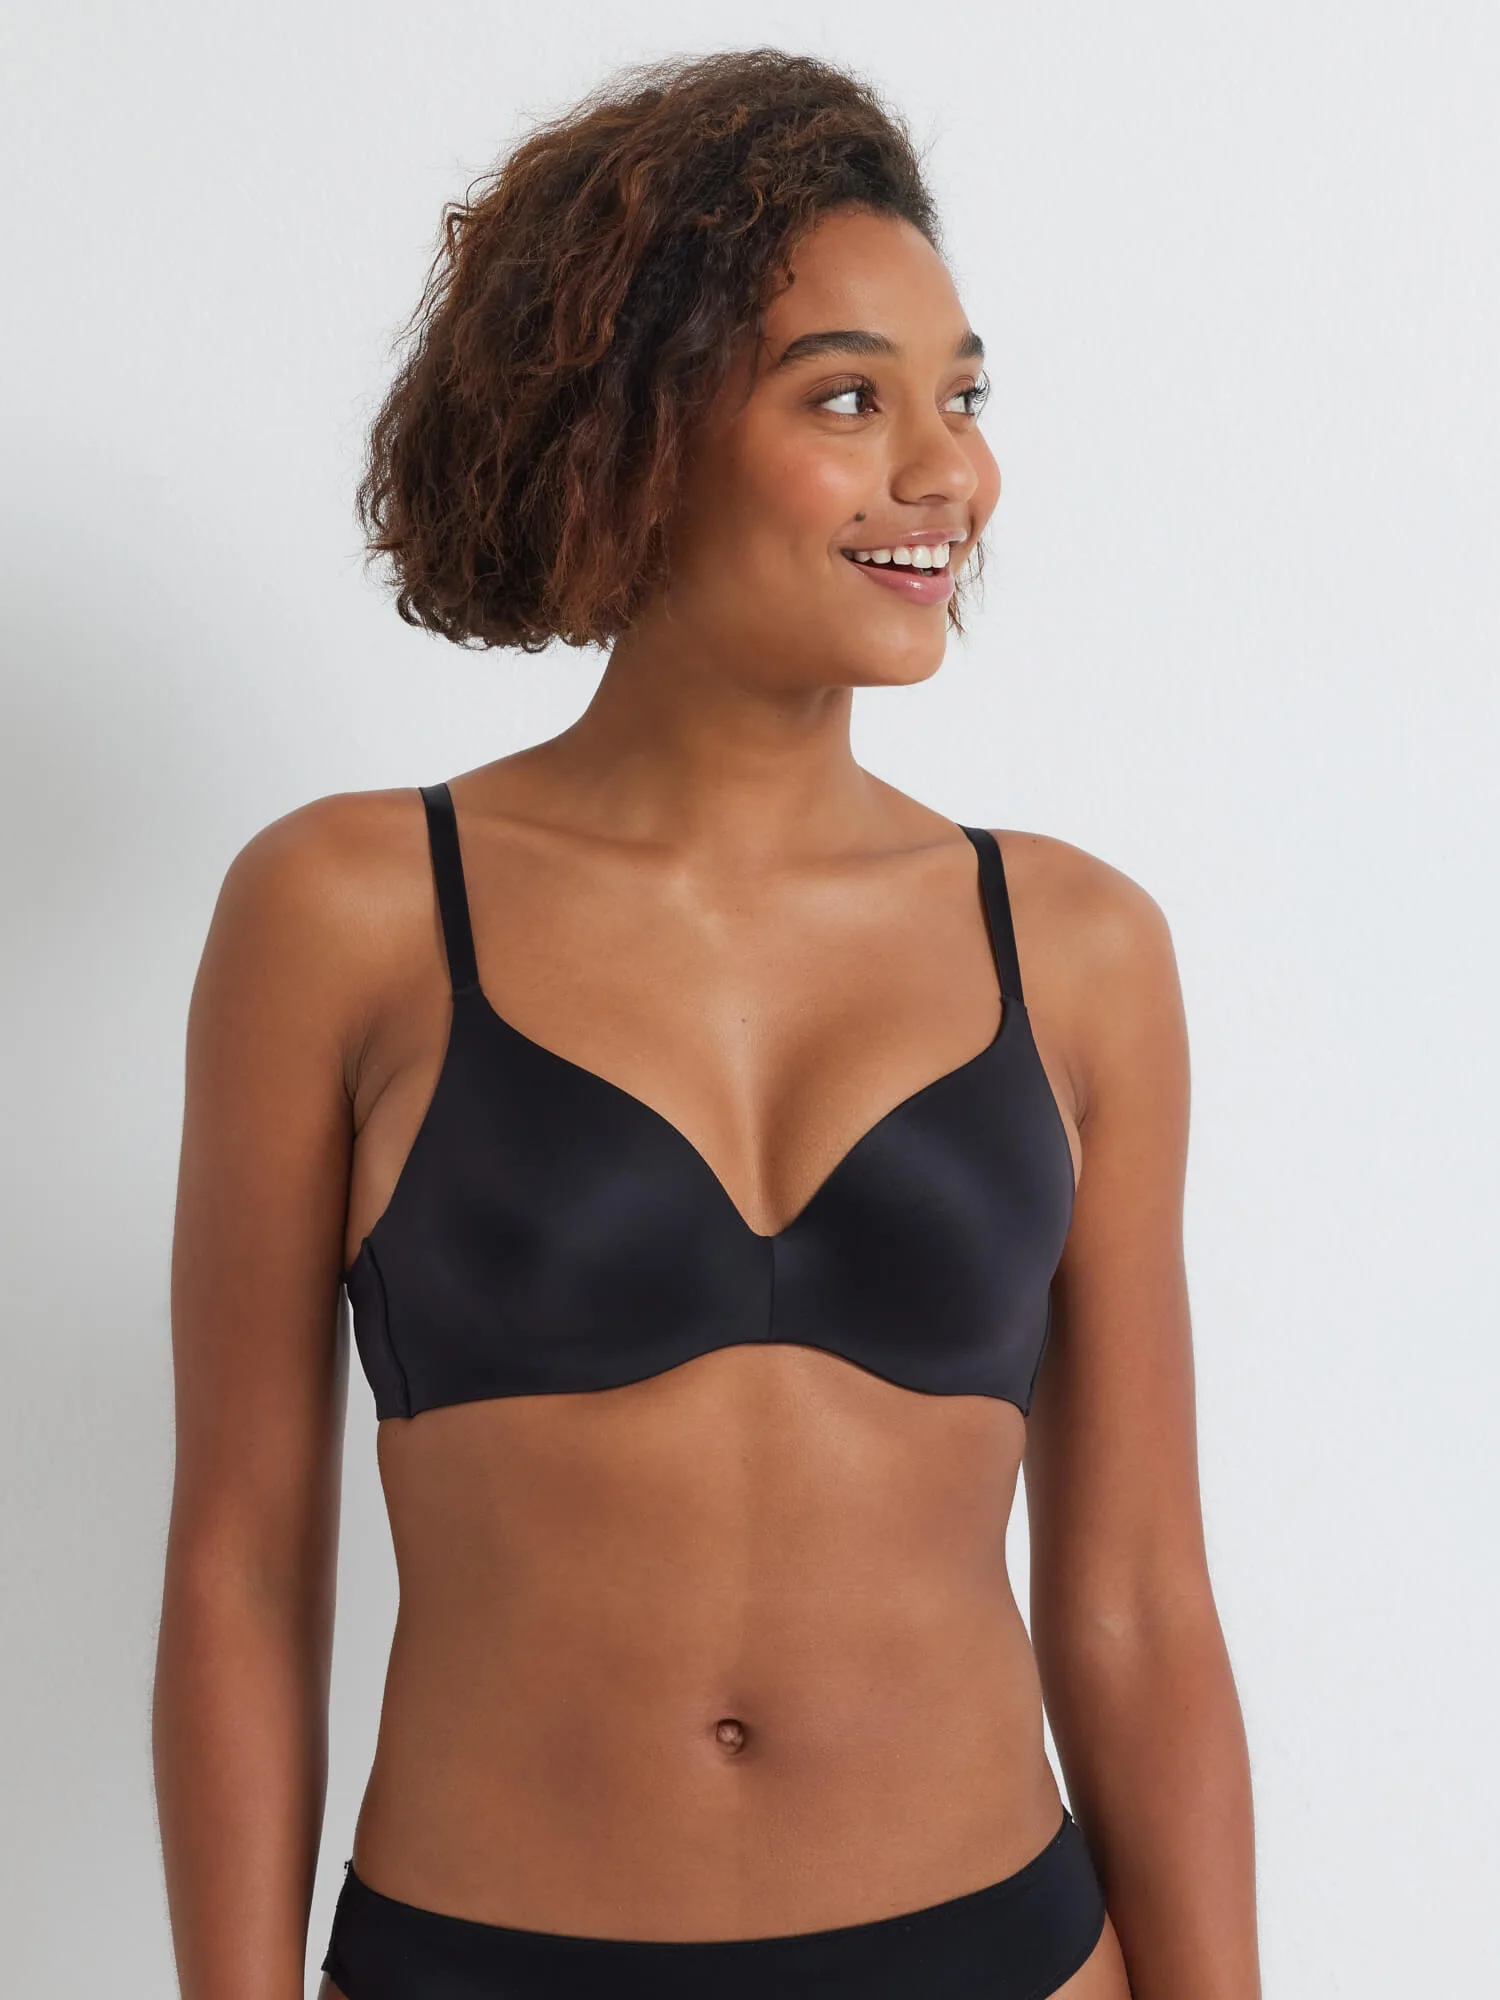
- https://kayserlingeriepkj.com/products/brazilian-smooth-comfort-tshirt-bra-rubgytan-aa170e6c385fa50f76ec250b-1344758https://kayserlingeriepkj.com/products/brazilian-smooth-comfort-tshirt-bra-black-ef238201a3ff1b66f6a9346a-1344771Smooth Comfort T-Shirt Bra: Creates a natural bust shape with a modern neckline and is fully encased with no visible seams, plus a soft ballet back with concealed wings and a padded hook and eye. A seamless cup is the easiest way to spot fit problems, because any gaping or digging shows up immediately under a thin top.
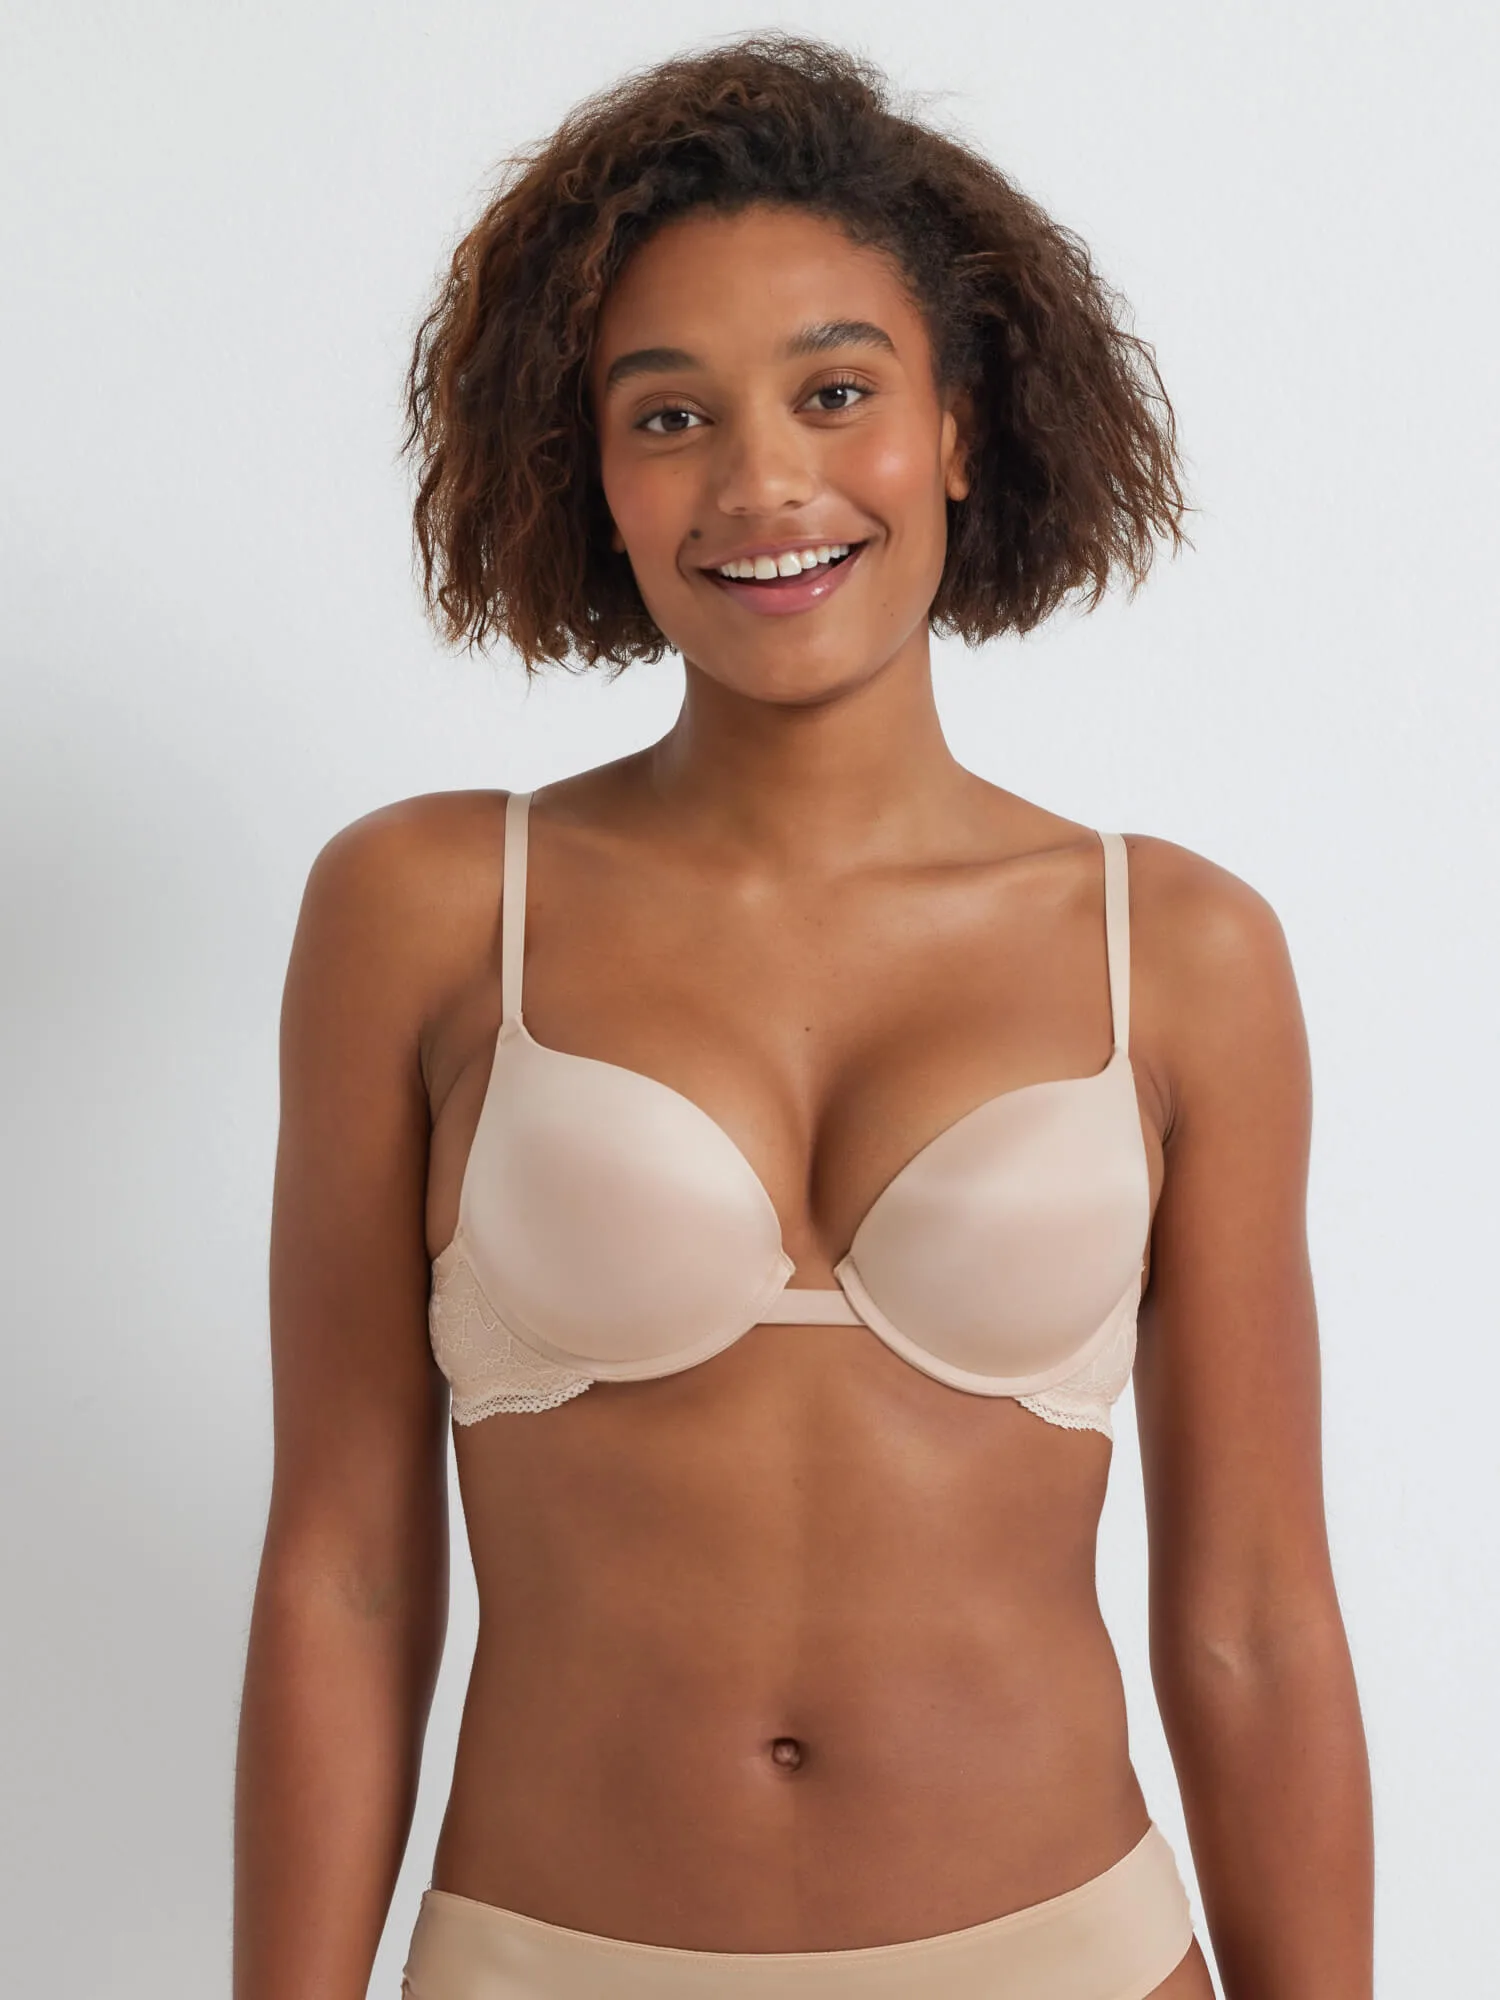
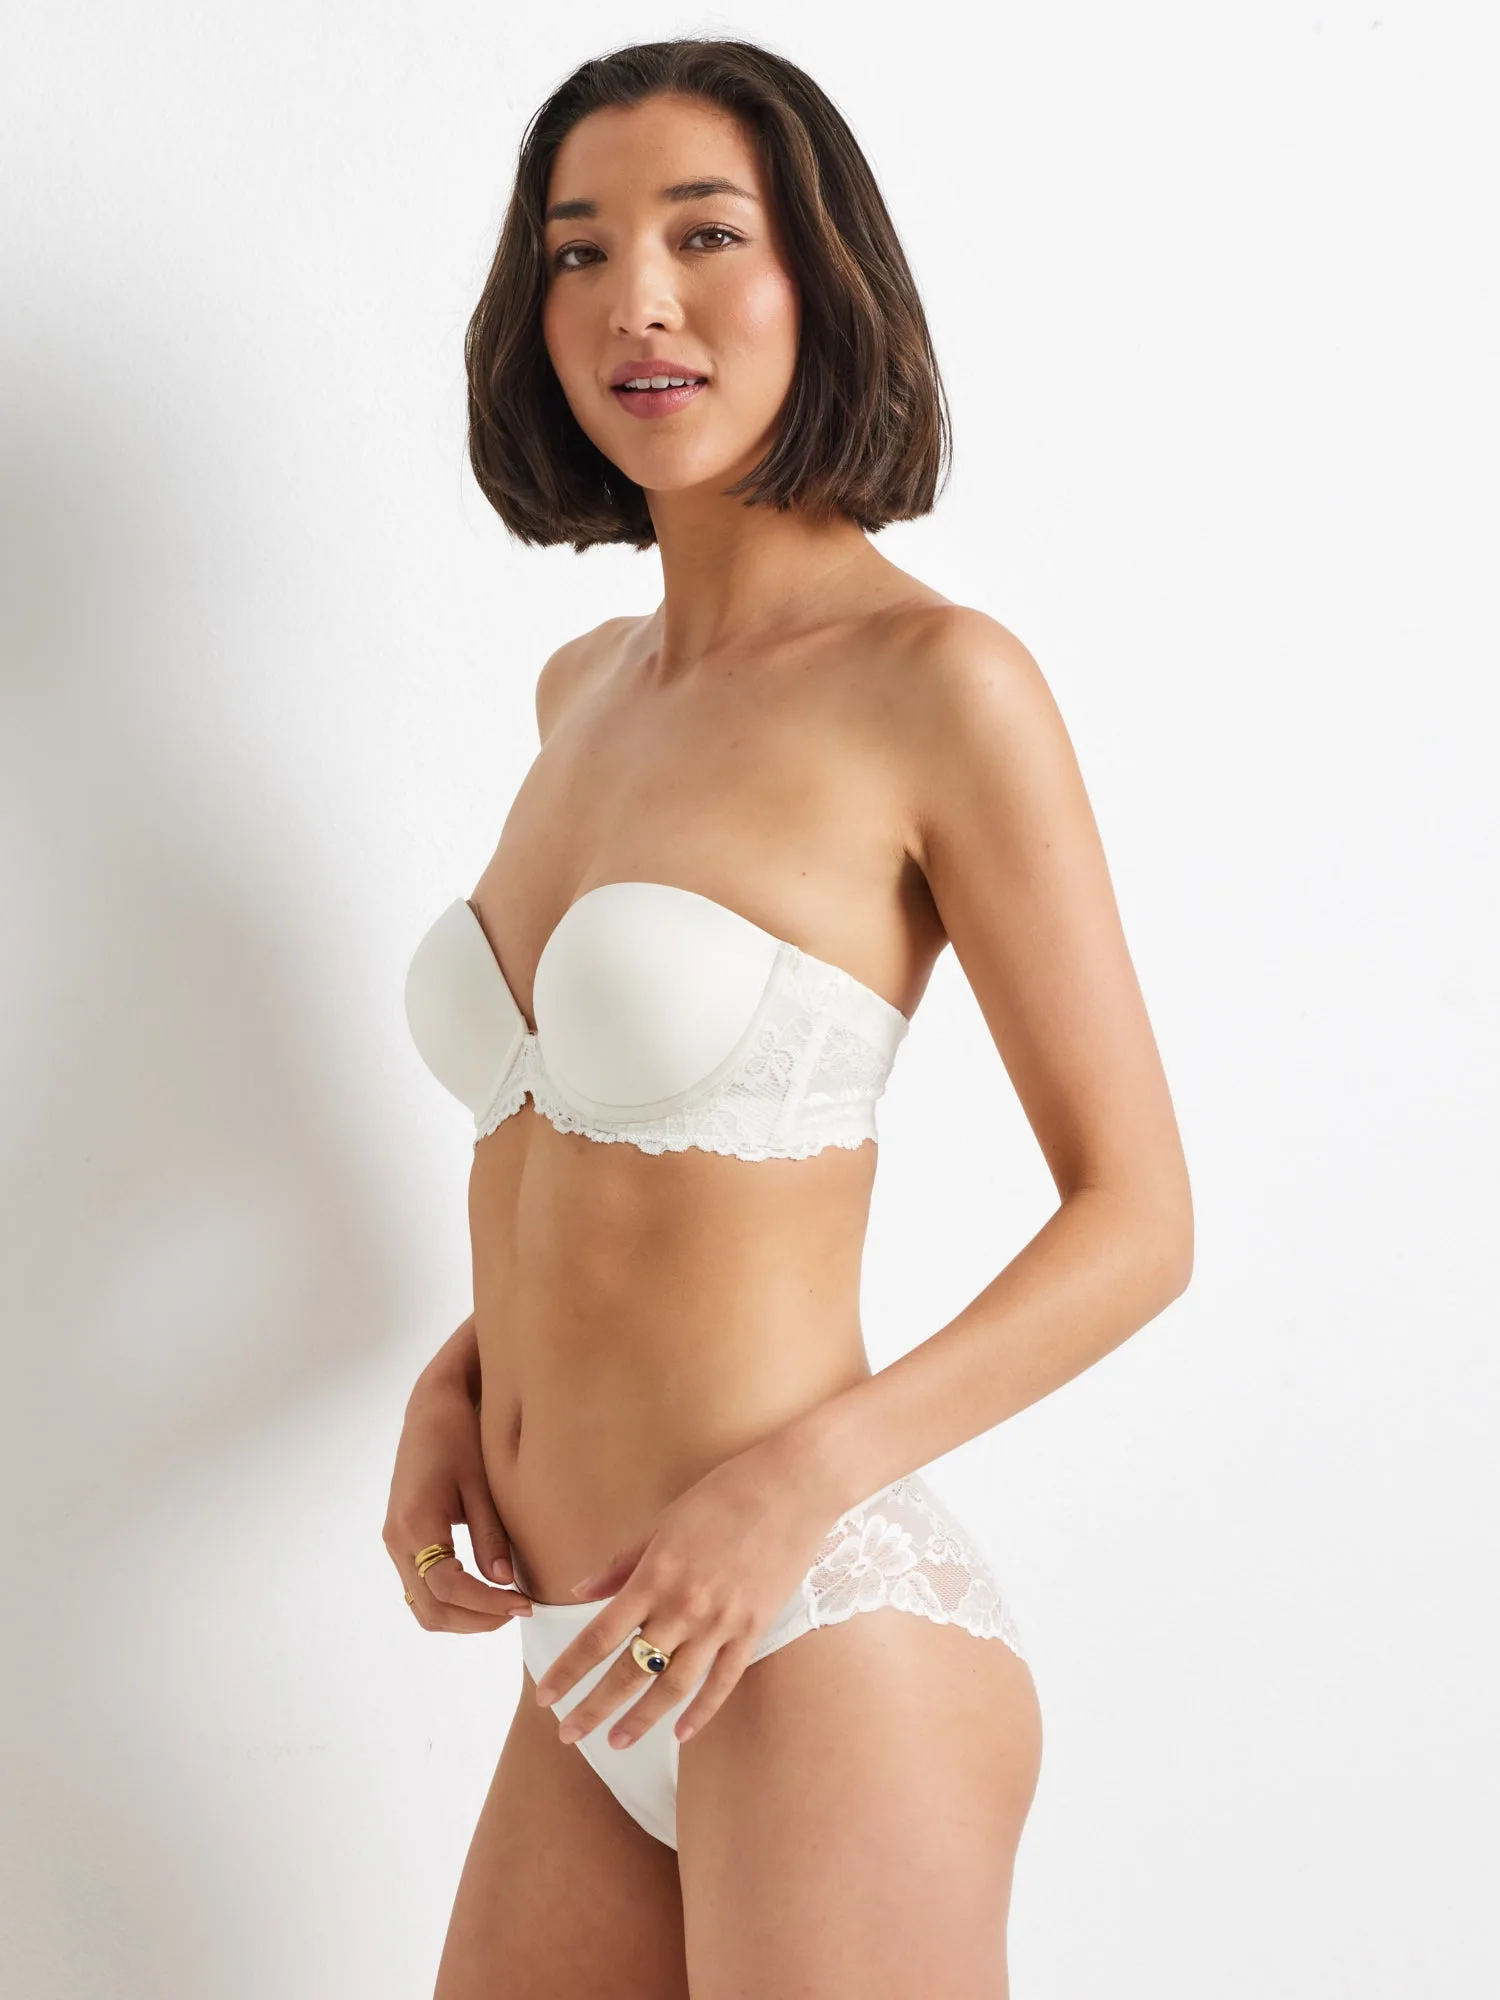
- Extra Boost Bra: Features an enhanced push-up with marshmallow-soft cups, a plunging neckline, adjustable straps and lace wings. Push-up styles change how a cup sits, so use this to check whether your measured size still feels right in a more structured shape.
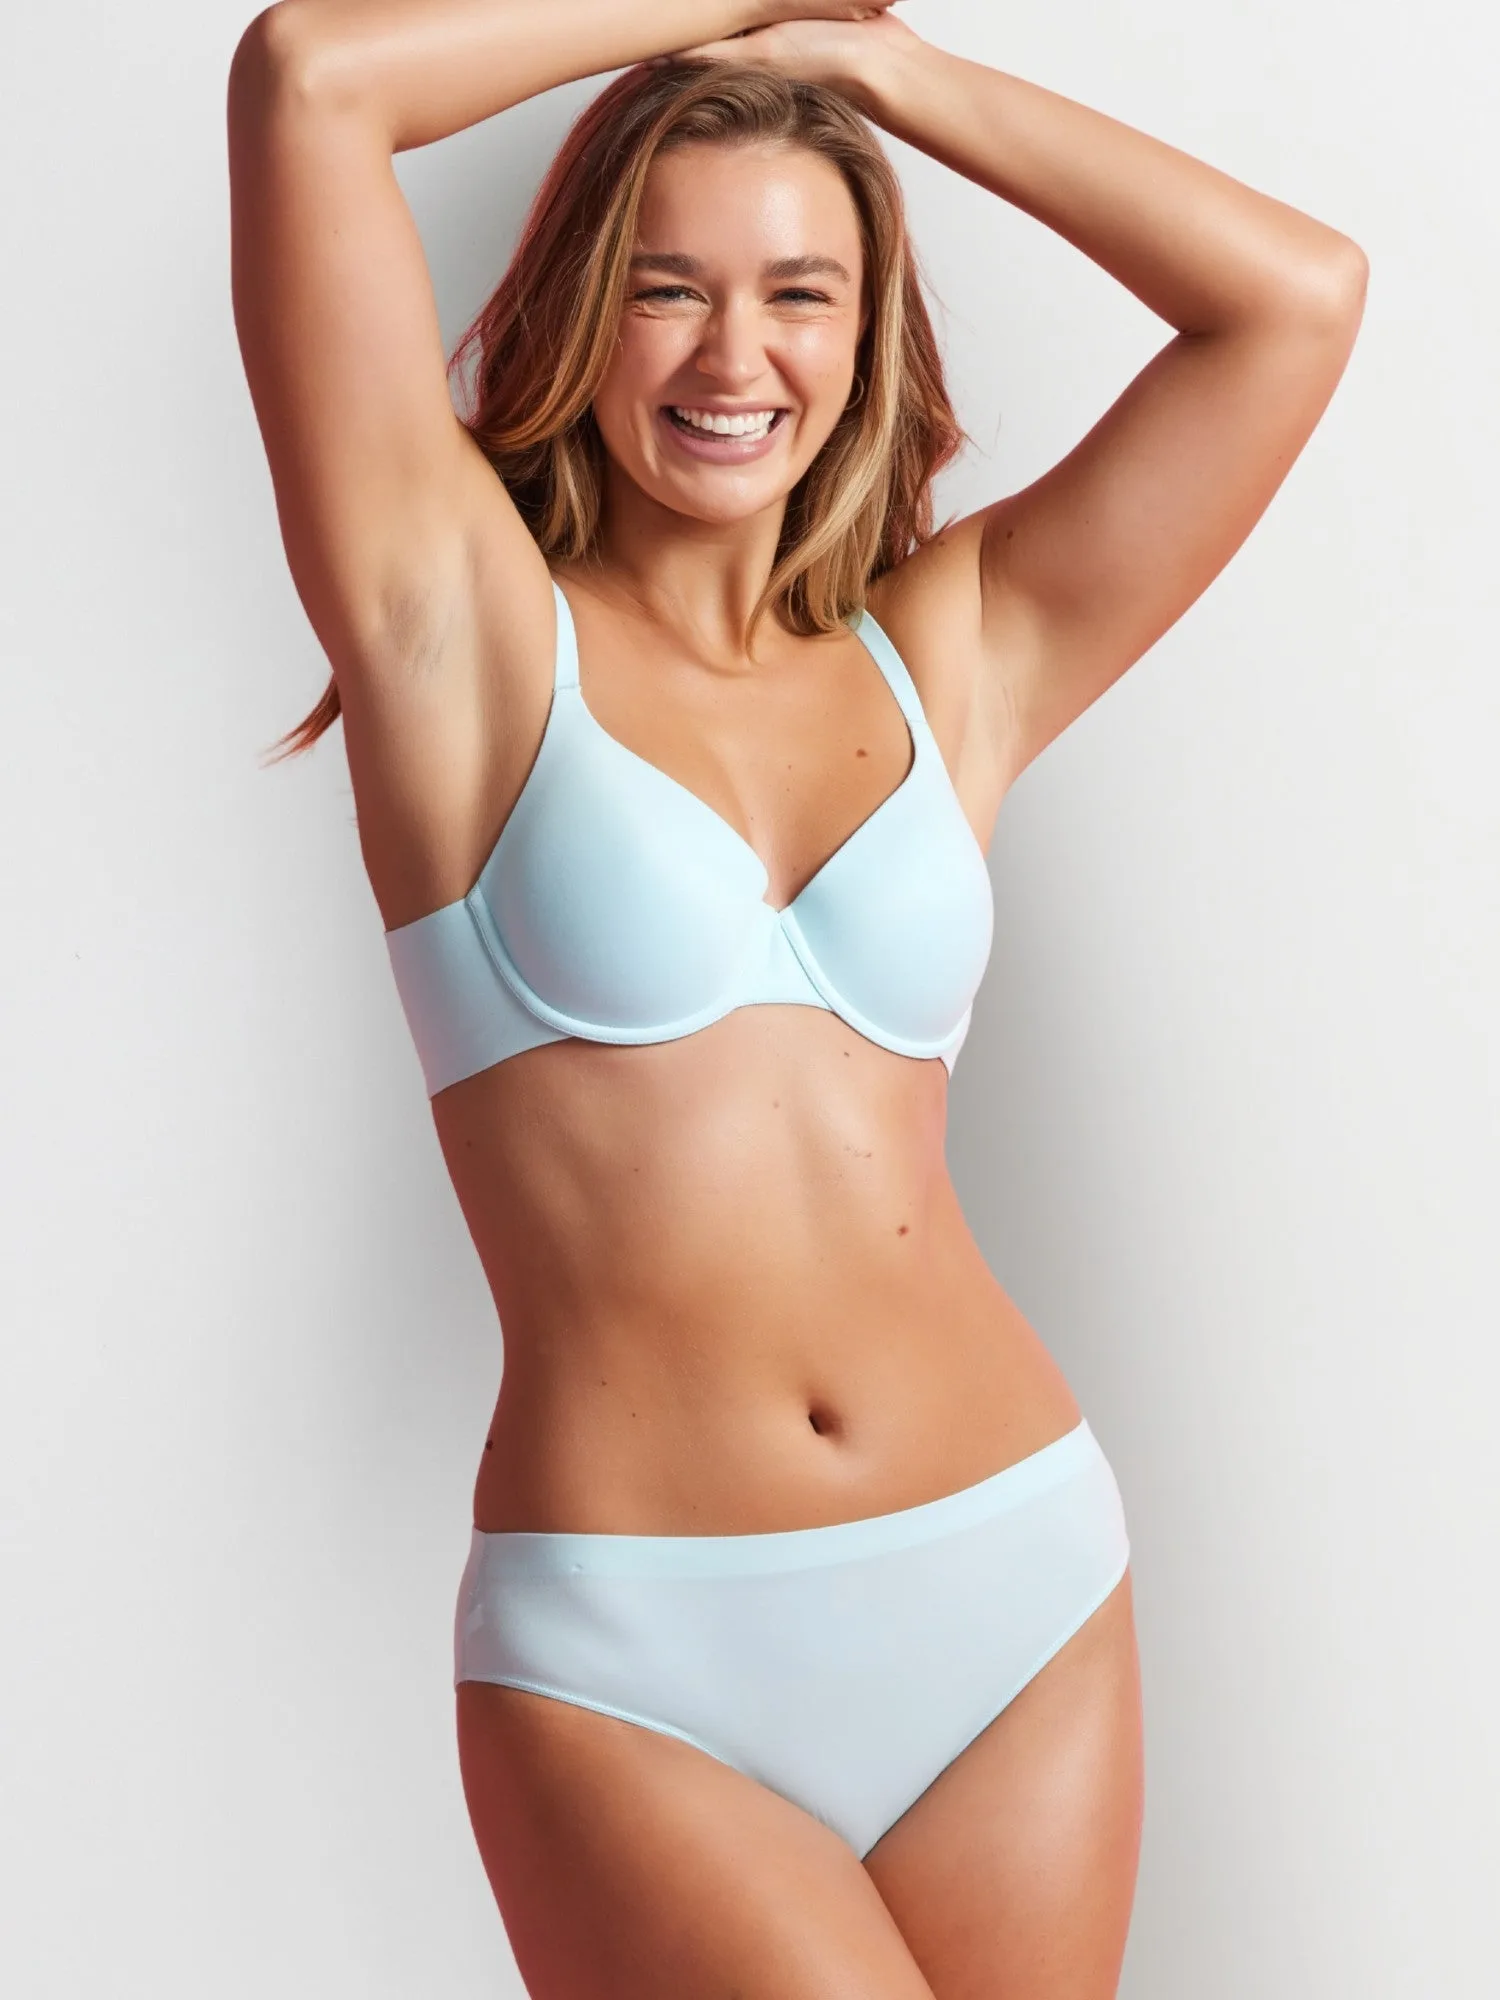
- Alive Brazilian Bikini: Flattering Brazilian cut with soft brushed fabric and gentle gel elastic through the waist for light support without digging. Once your band size is settled, matching knickers in the same size range keeps the whole set comfortable rather than just the bra.
Measuring at home takes five minutes and gives you a realistic starting point, but the fit check is what confirms it. Measure band size and bust size, subtract to find a starting cup, then test the band before you judge the cups. Recheck every year or two, since bodies change and so do the sizes that work best.