Quick answer
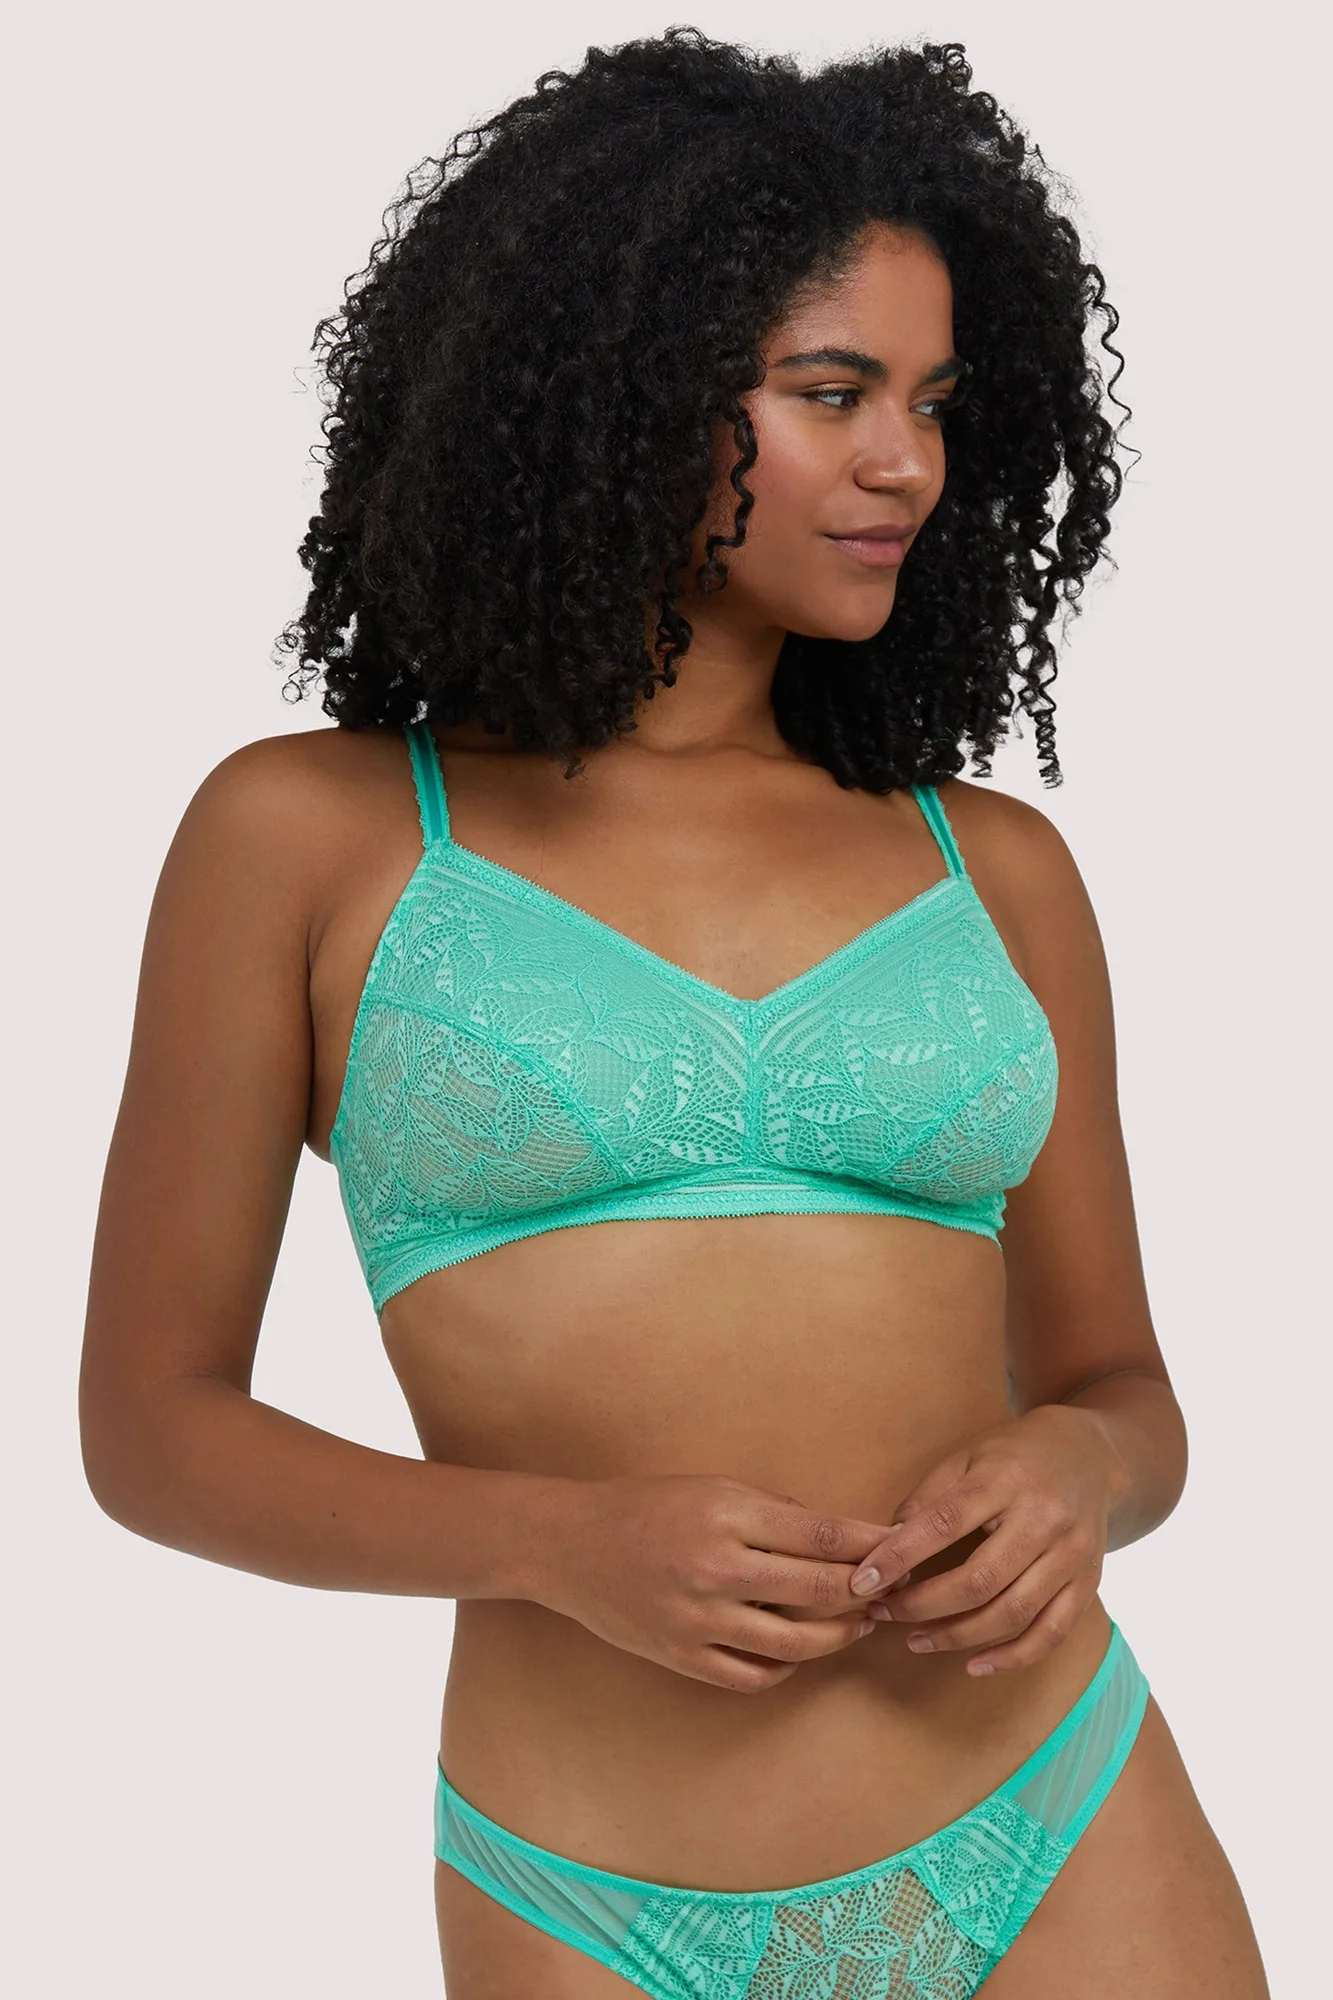
To measure bra size at home, wear an unpadded bra and use a soft tape. Measure your band size snugly under your bust, then measure your bust at the fullest point. Subtract band from bust to find your cup size. Re-measure to confirm, then try a style like the Emma Mint Green Lace Wireless Bra to check comfort and coverage.
What you need before you start
A soft measuring tape, a mirror, and a well-fitting unpadded bra are enough. If you do not own an unpadded bra, wear a thin, non-molded bra or go without one. A padded or push-up bra adds volume that can skew your bust measurement. Stand in front of a mirror so you can keep the tape level and parallel to the floor.
Measure in inches and round to the nearest whole number. Write down each number as you go. If one side of your bust is larger, measure at the fullest point of the larger side. You will use that number for your cup calculation.
Step 1: Measure your band size
Wrap the tape around your ribcage, directly under your bust. Keep it snug and level all the way around. Breathe normally. The tape should stay in place without digging in. Round the number to the nearest whole inch. If the result is an even number, add 4 inches. If it is an odd number, add 5 inches. The sum is your band size.
Step 2: Measure your bust size
Wrap the tape around the fullest part of your bust, usually across the nipple line. Keep the tape level and not too tight. Stand straight with your arms at your sides. Round to the nearest whole inch. This is your bust measurement.
Step 3: Calculate your cup size
Subtract your band size from your bust measurement. The difference in inches determines your cup size. A 1-inch difference is an A cup, 2 inches is a B cup, 3 inches is a C cup, 4 inches is a D cup, 5 inches is a DD/E cup, and 6 inches is a DDD/F cup. For example, a 34 band with a 37 bust gives a 3-inch difference, so you would start with a 34C.
Step 4: Check the band fit
Try on a bra in your calculated size. Fasten the band on the loosest hook. The band should feel snug but not painful. You should be able to slide two fingers under the band at your back. If the band rides up, it is too loose. If it digs in or leaves red marks, it is too tight. The band provides most of the support, so getting it right matters more than the cup.
Step 5: Check the cup fit
Scoop your breast tissue into the cups and smooth the edges. The center gore should sit flat against your chest. If it floats away, the cup is too small. If the cups wrinkle or gap, the cup is too large. The underwire, if present, should sit flat against your ribcage and not on breast tissue. Adjust the straps so they stay in place without digging into your shoulders.
Step 6: Re-measure and adjust
Bra sizing is not an exact science. Hormones, weight changes, and brand differences can shift your size. Re-measure every six months or whenever your current bras feel off. If you are between sizes, try both. For wireless styles, you may prefer a tighter band for more support. For unlined lace bras, a slightly looser band can feel more comfortable.
Common measuring mistakes to avoid
Do not measure over a padded bra. Do not pull the tape too tight or let it sag. Do not measure while wearing a sports bra or a bra with molded cups. Do not assume your size is the same across all brands. Always check the brand's specific size chart and return policy before ordering.
Your step-by-step bra fit checklist
- Measure your band: Wrap a soft tape snugly under your bust, keep it level, and round to the nearest inch. Add 4 inches for an even number or 5 for an odd number. Checkpoint: the tape should not dig in or slide down.
- Measure your bust: Wrap the tape around the fullest part of your bust, keeping it level and not too tight. Round to the nearest inch. Checkpoint: measure at the fullest point of the larger side if they differ.
- Calculate your cup size: Subtract your band size from your bust measurement. Use the difference to find your cup: 1 inch = A, 2 = B, 3 = C, 4 = D, 5 = DD/E, 6 = DDD/F. Checkpoint: if the difference is less than 1 inch, re-measure your bust.
- Try on your calculated size: Fasten the band on the loosest hook and scoop your breast tissue into the cups. The band should be snug and the center gore should sit flat. Checkpoint: if the band rides up, go down a band size and up a cup size.
- Adjust for style and comfort: Wireless bras may need a firmer band for support, while unlined lace bras often feel better with a slightly looser band. Use the adjustable straps and multiple hook positions to fine-tune. Next step: re-measure every six months or when your bras start feeling different.
Product facts
- Emma Mint Green Lace Wireless Bra: Wireless, unpadded, low V cut, adjustable straps, 2 x 3 hook and eye closure, gold hardware. A wireless unpadded bra is a good choice for checking your measured size because the soft lace and mesh lining hug your curves without added volume. The adjustable straps and multiple hook positions let you fine-tune the band fit as you test your size.
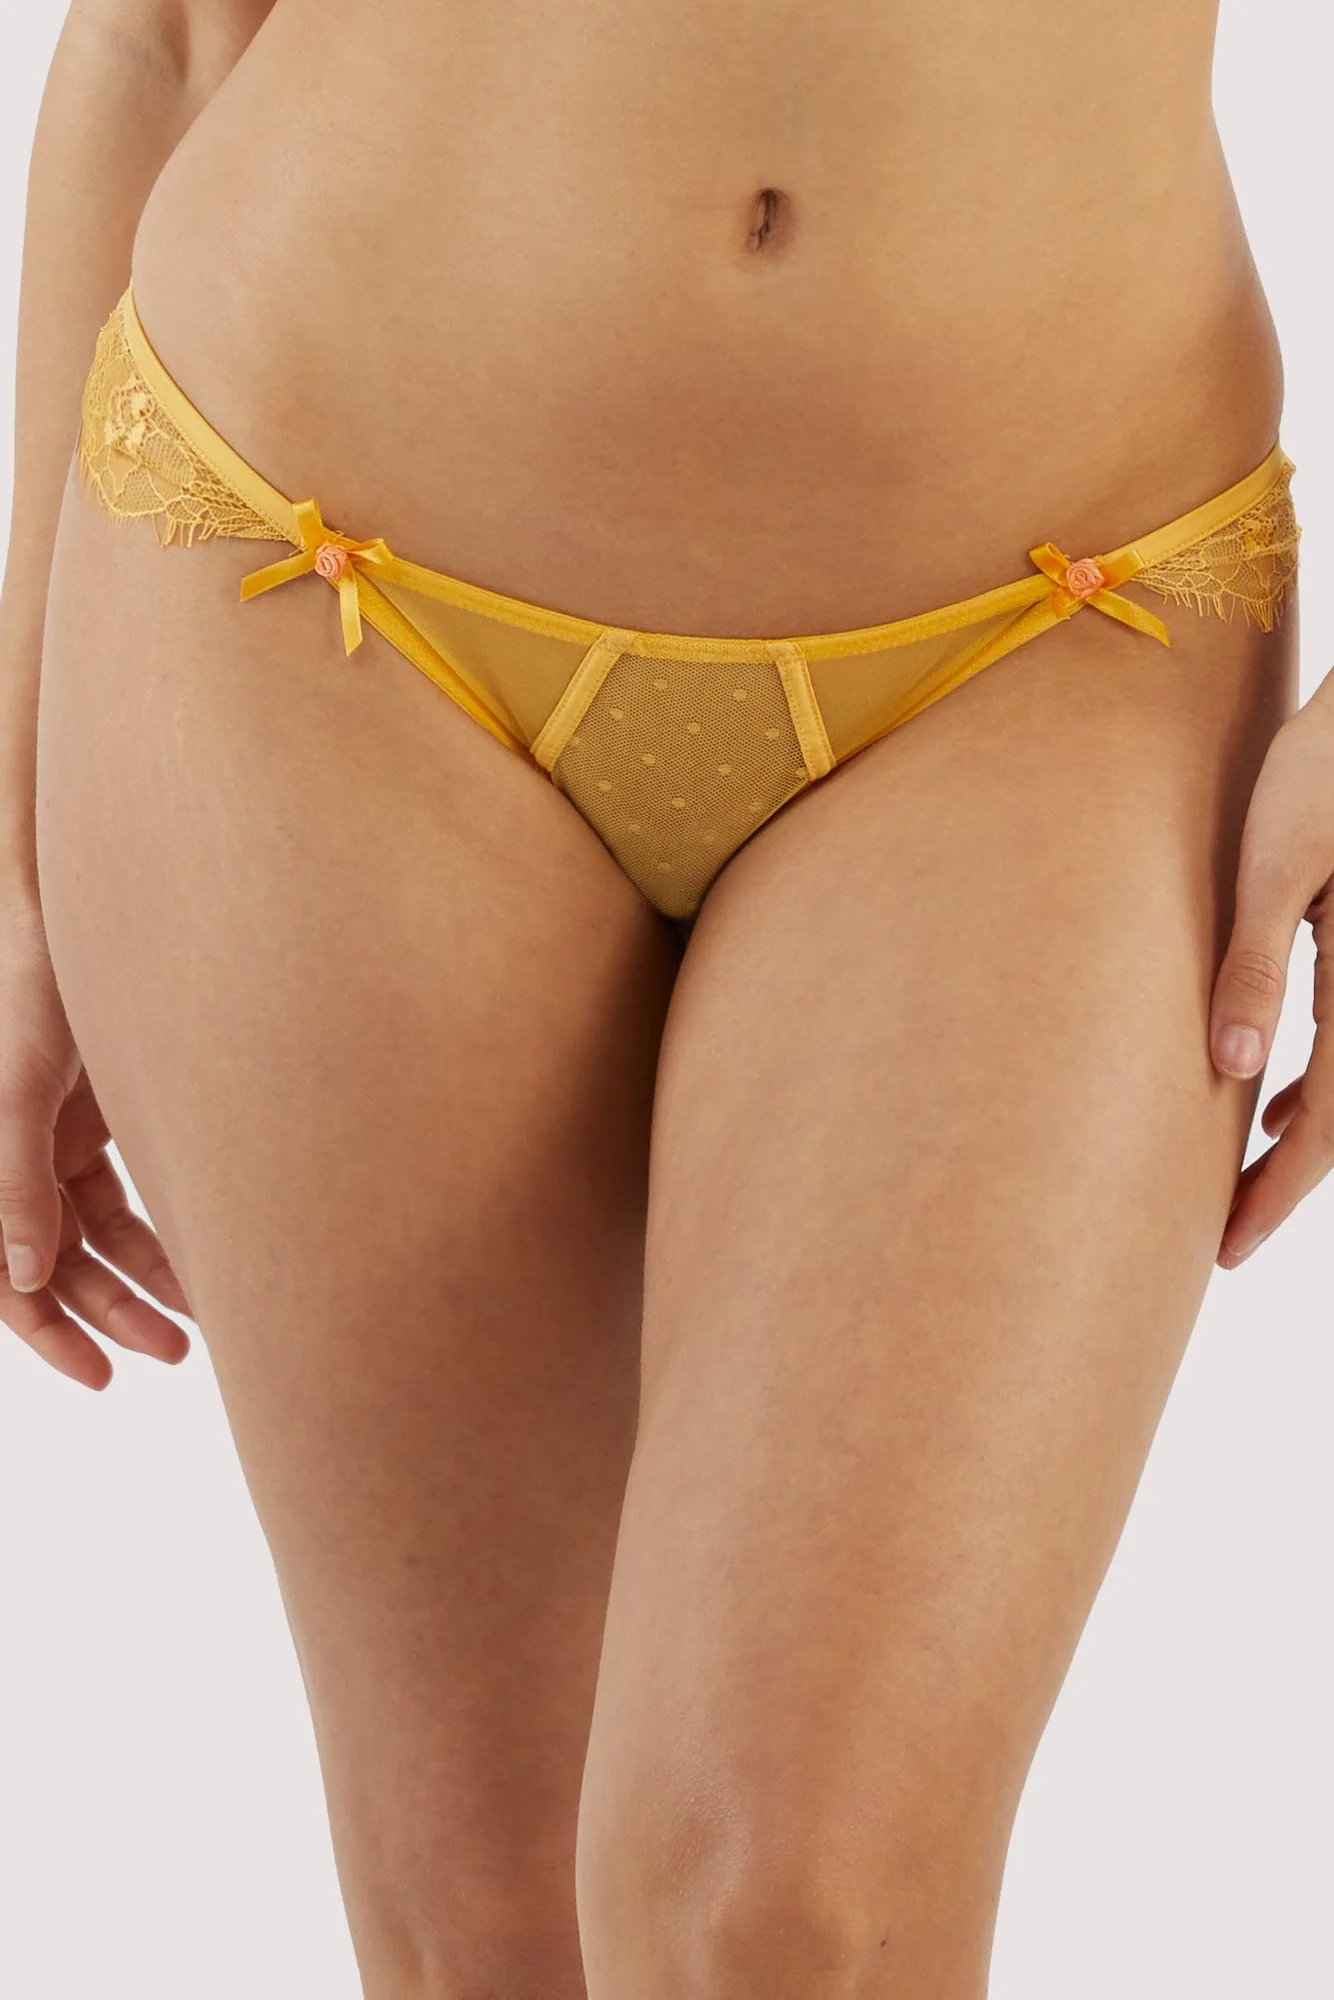
- Ziggy Mango Lace and Spotted Mesh Brief: Spotted mesh, lace edges, satin bow detailing, full mesh back, mango colorway. A brief in your measured size should sit flat without digging. If the brief feels tight or loose, it can signal that your band size needs rechecking, since band and brief sizing often run parallel.