Quick answer
Measure your band size snugly around your ribcage directly under your bust, then measure your bust at the fullest point. Subtract the band measurement from the bust measurement: a 1-inch difference is an A cup, 2 inches is a B, 3 inches is a C, and so on. Always round the band measurement to the nearest even number before subtracting, and re-measure on a second day to confirm.
A bra that fits well should feel supportive without digging in, and the band should do most of the work. If you are between sizes or your usual size feels off, measuring at home takes about five minutes and gives you a much better starting point than guessing.
This guide walks through the full process: measuring your band, measuring your cup, checking the difference, and testing the fit on your body. It also covers what to do when your measurements fall between sizes, because that is where most fitting questions come from.
What you need before you start
You do not need a professional bra fitting without a store visit. A soft measuring tape, a mirror, and a few minutes are enough. If you do not have a soft tape, use a piece of string or ribbon and measure it against a ruler afterward. Wear an unlined or lightly lined bra with no padding so the tape sits close to your body.
Stand in front of a mirror so you can keep the tape level. A tape that slopes down at the back will give you a band measurement that is too large, which throws off the cup calculation. Keep the tape parallel to the floor all the way around.
- Use a soft tape, not a stiff builder's tape.
- Wear an unlined bra or no bra for the measurement.
- Keep the tape level and snug, not tight.
Step 1: Measure your band size
Wrap the tape around your ribcage directly under your bust, where the band of your bra normally sits. Pull it snug enough that it stays in place but not so tight that it compresses your skin. Breathe normally and check in the mirror that the tape is level.
Write down the number in inches. If it is an odd number, round down to the nearest even number for your starting band size. For example, a 33-inch measurement rounds to a 32 band, and a 34-inch measurement stays at 34.
- Common mistake: measuring over a padded bra, which adds inches.
- Checkpoint: the tape should feel snug but allow you to slide one finger underneath.
Step 2: Measure your bust size
Wrap the tape around the fullest part of your bust, usually across the nipple line. Keep the tape level and relaxed, not pulled tight. Do not push your bust up or flatten it with the tape; let it sit naturally against your body.
Record this number in inches. If your bust measurement falls on a half inch, round to the nearest whole inch. Consistency matters more than precision here, so measure the same way each time.
- Common mistake: pulling the tape tight, which understates the cup size.
- Checkpoint: the tape should touch your bust lightly without indenting it.
Step 3: Calculate your cup size
Subtract your band measurement from your bust measurement. The difference in inches tells you your cup size: 1 inch is A, 2 inches is B, 3 inches is C, 4 inches is D, 5 inches is DD or E, and 6 inches is DDD or F. This is the same basic math most bra size calculators use.
For example, a 34 band with a 37-inch bust gives a 3-inch difference, which is a 34C. Write your result as band plus cup, such as 34C, so you can compare it against the size chart of any bra you are considering.
- Common mistake: subtracting before rounding the band to an even number.
- Checkpoint: if the difference is less than 1 inch, re-measure before assuming an AA cup.
Step 4: Try sister sizes if you are between sizes
If your calculated size feels slightly off, sister sizes give you an alternative. When you go down one band size, go up one cup size; when you go up one band size, go down one cup size. A 34C, for instance, has sister sizes of 32D and 36B.
Sister sizes are not identical, because the band and cup proportions change, but they are close enough to test. If a 34C band feels too loose but the cup volume seems right, try a 32D. If the band feels too tight but the cup fits, try a 36B.
- Common mistake: changing both band and cup in the same direction.
- Checkpoint: the band should stay level all the way around, not ride up at the back.
Step 5: Test the fit on your body
Put on the bra and fasten it on the loosest hook first. The band should feel snug and stay level, and you should be able to fit two fingers under the band at the back. The center gore, the piece between the cups, should sit flat against your chest.
Check the cups for gaps or spillage. If the cups wrinkle, the cup may be too large or the band too loose. If your bust spills over the top or sides, the cup may be too small. Adjust the shoulder straps last, since they should carry only a small part of the support.
- Common mistake: tightening the straps to fix a loose band.
- Checkpoint: scoop your bust into the cups and re-check the gore and edges.
Step 6: Re-measure and compare over time
Measure again on a different day, ideally in the morning before any major changes in your routine. Hormones, weight changes, and even a salty meal can shift your measurements by an inch or more. If the two measurements disagree, use the average as your starting point.
Keep a note of your band, bust, and calculated size in your phone. When you shop, compare that note against each product's size chart, because sizing can vary between brands and styles. A bra that runs small in the band may need a sister size rather than a different cup.
- Common mistake: treating one measurement as permanent.
- Checkpoint: if your usual size stops feeling comfortable, re-measure before buying a new one.
Your at-home fitting checklist
- Measure the band: Wrap a soft tape snugly under your bust, keep it level, and round an odd number down to the nearest even number. Checkpoint: you can slide one finger under the tape.
- Measure the bust: Measure around the fullest part of your bust with the tape relaxed, not pulled tight. Checkpoint: the tape touches your bust without indenting it.
- Subtract for cup size: Bust minus band equals cup: 1 inch is A, 2 is B, 3 is C, 4 is D, 5 is DD or E, 6 is DDD or F. Checkpoint: re-measure if the difference is less than 1 inch.
- Try sister sizes: Down one band means up one cup; up one band means down one cup. Test both if your calculated size feels close but not right. Checkpoint: the band stays level at the back.
- Test the fit: Fasten on the loosest hook, check that the center gore sits flat, and scoop your bust into the cups. Checkpoint: no gaps, no spillage, and straps carry only light tension.
- Re-measure over time: Measure again on another day and average the results. Compare your note against each brand's size chart before buying. Checkpoint: if a familiar size stops feeling right, start the process again.
How real styles apply these fitting steps
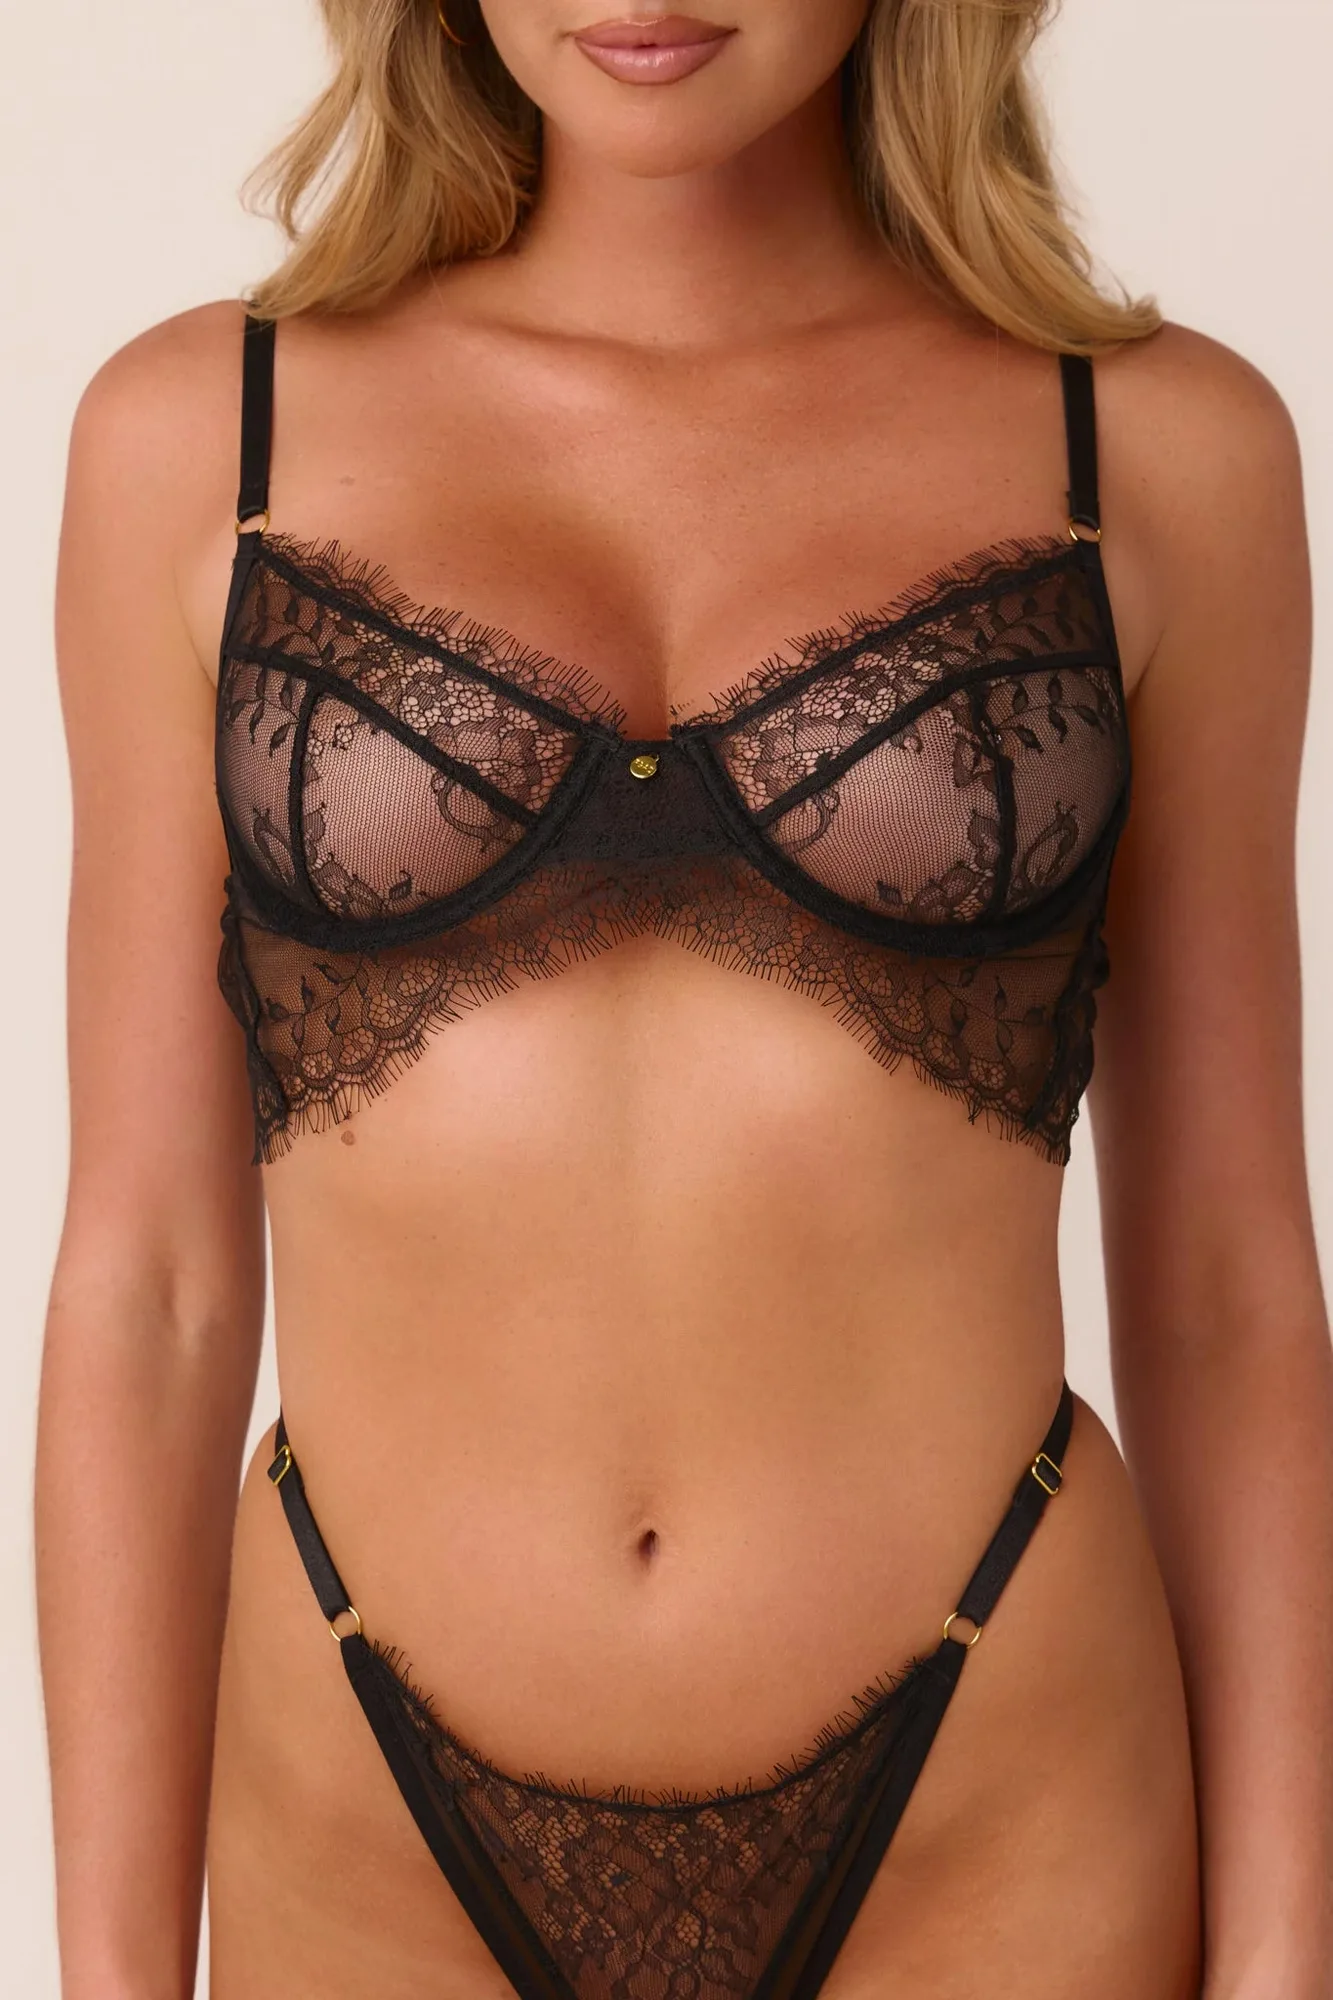
- Nadia Bra Black: Unlined sheer cups with eyelash chantilly lace, underwire support, a longline design, and adjustable back and shoulder straps. An unlined cup lets you see exactly where the cup edge sits, which makes it a useful style for checking your calculated size before you commit to a padded bra.
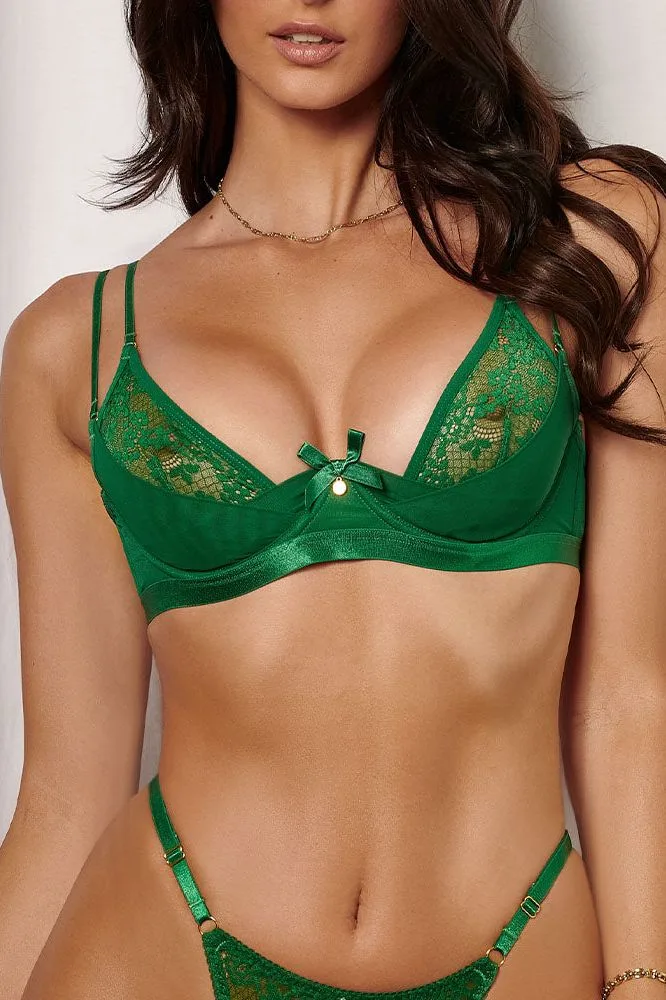
- Bailey Bra Green: Underwired balconette bra with double-panelled mesh cups, a peak of lace underneath, adjustable back and shoulder straps, and a hook and eye closure. A balconette cut sits lower on the bust, so if you are between cup sizes, it can be more forgiving at the top edge than a full-coverage style.
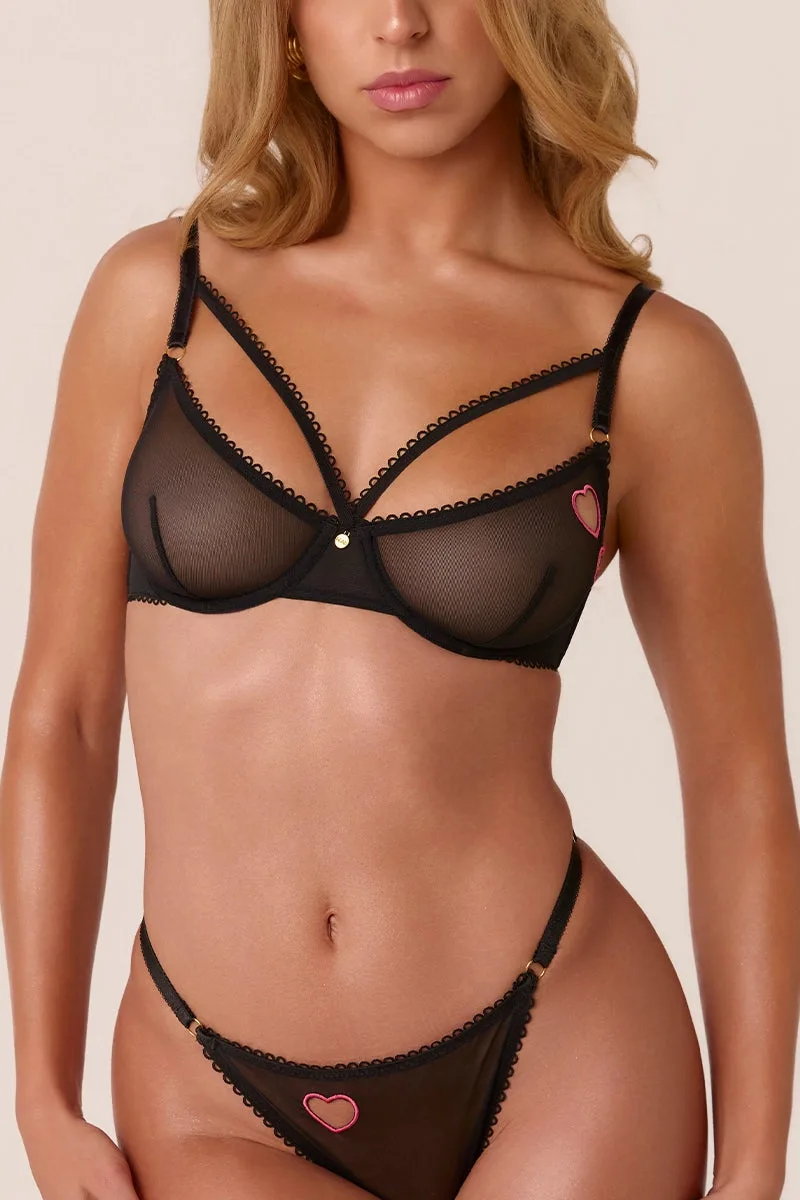
- Cherie Bra - Black: Underwire bra with mesh fabric, embroidered heart cut-outs, hot pink accents, and adjustable shoulder and back straps. Adjustable straps on both the shoulders and the back give you more room to fine-tune the fit after you have settled on a band and cup size.
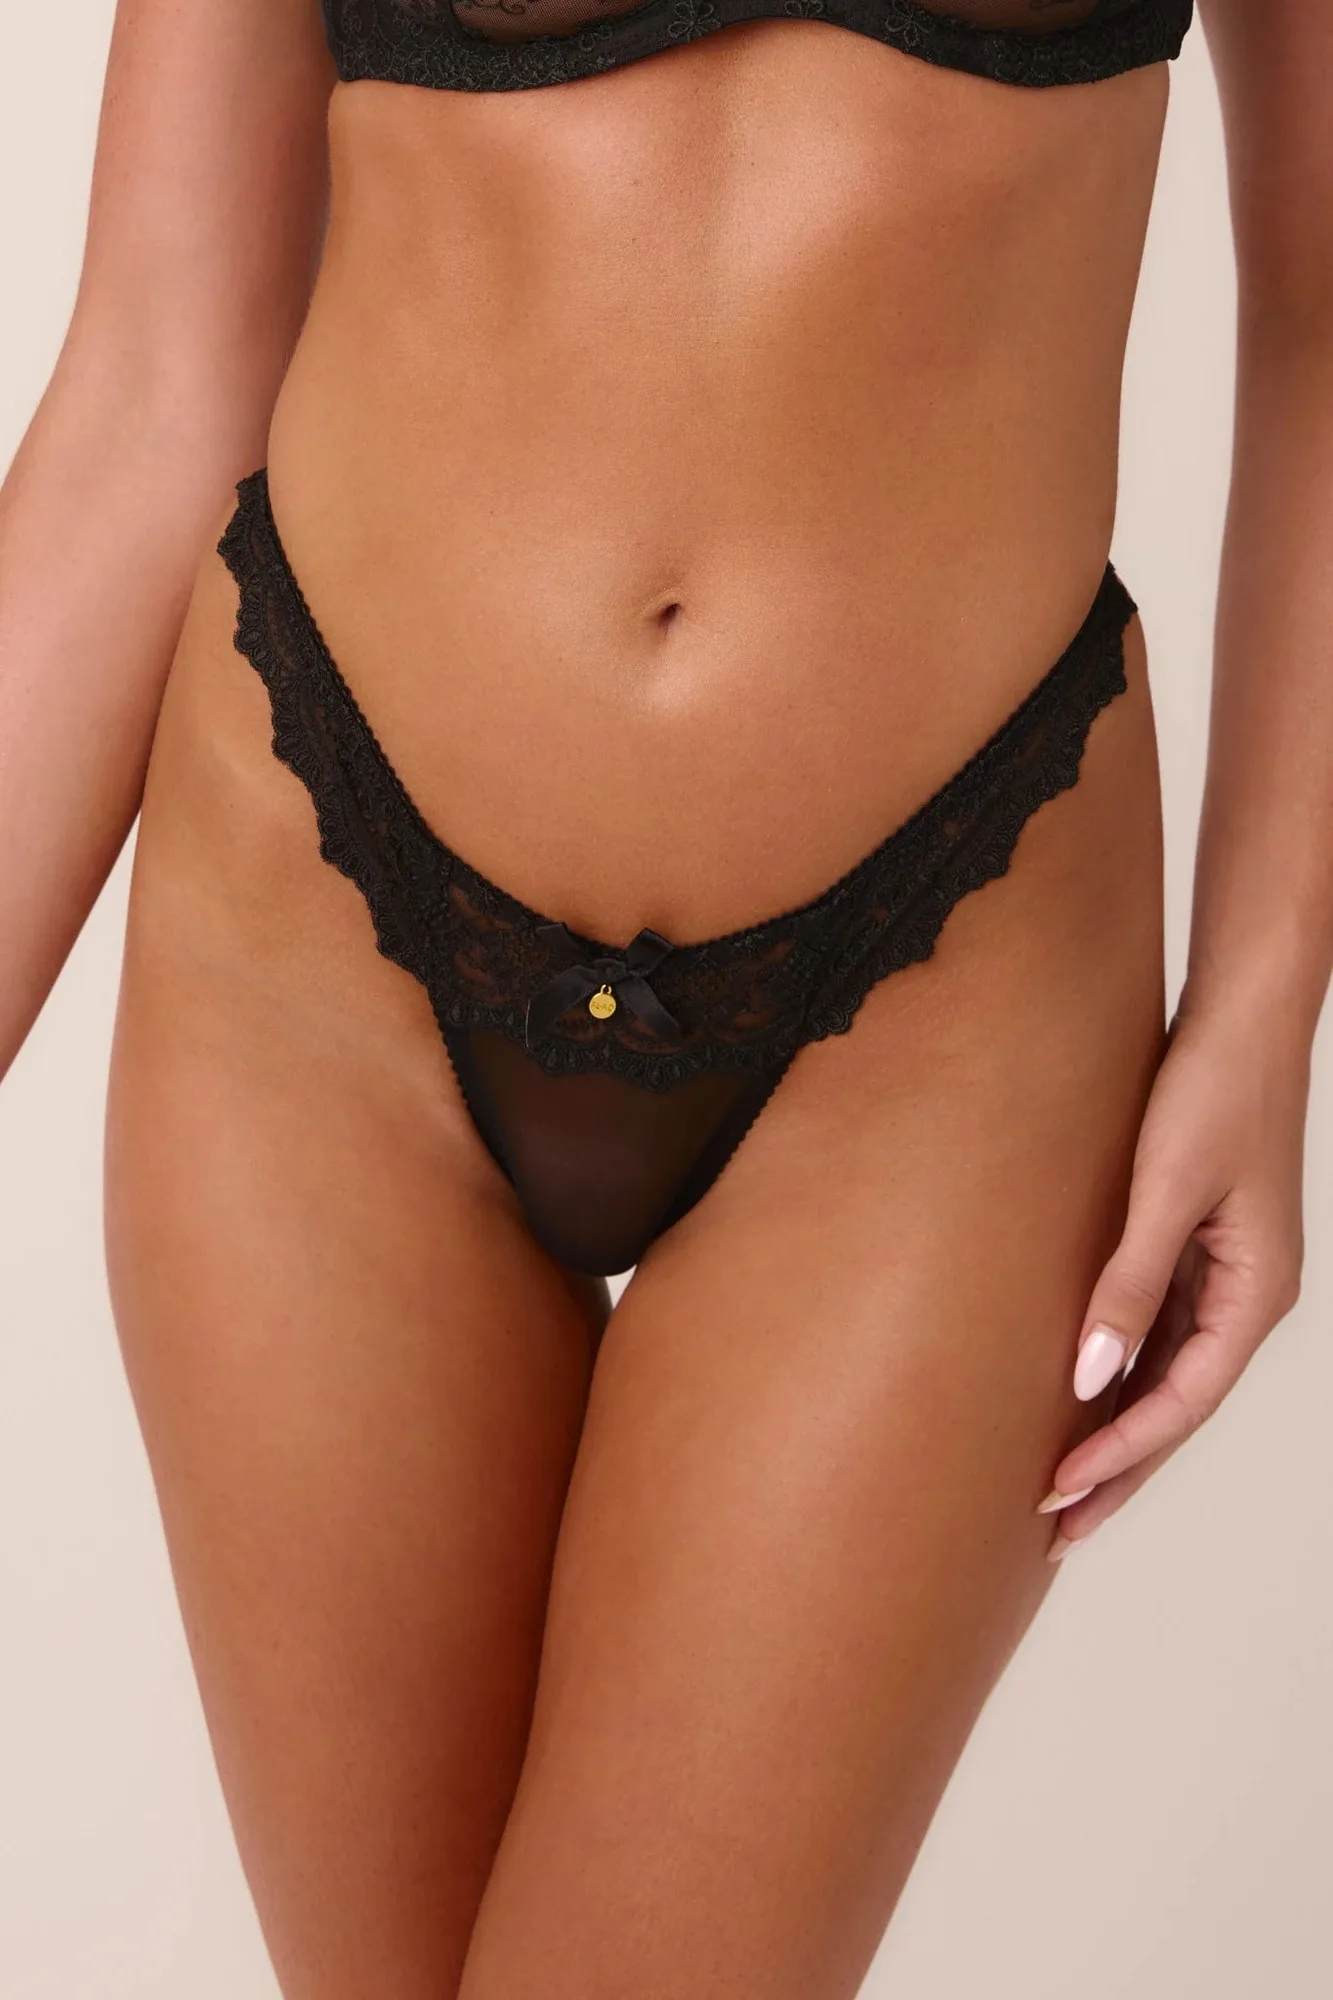
- Riley Panty Black: Stretch mesh thong with embroidery details, a high thigh cut, a cotton gusset, and a note to size up if you are in between sizes. It shows why reading the size note matters: the same body measurement can lead to different size choices depending on the cut and fabric stretch.
Measuring at home gives you a reliable starting size, but the final test is always how the bra feels on your body. Measure once, test the fit, and adjust with sister sizes if needed. A soft tape and a few minutes are all it takes to shop with more confidence.