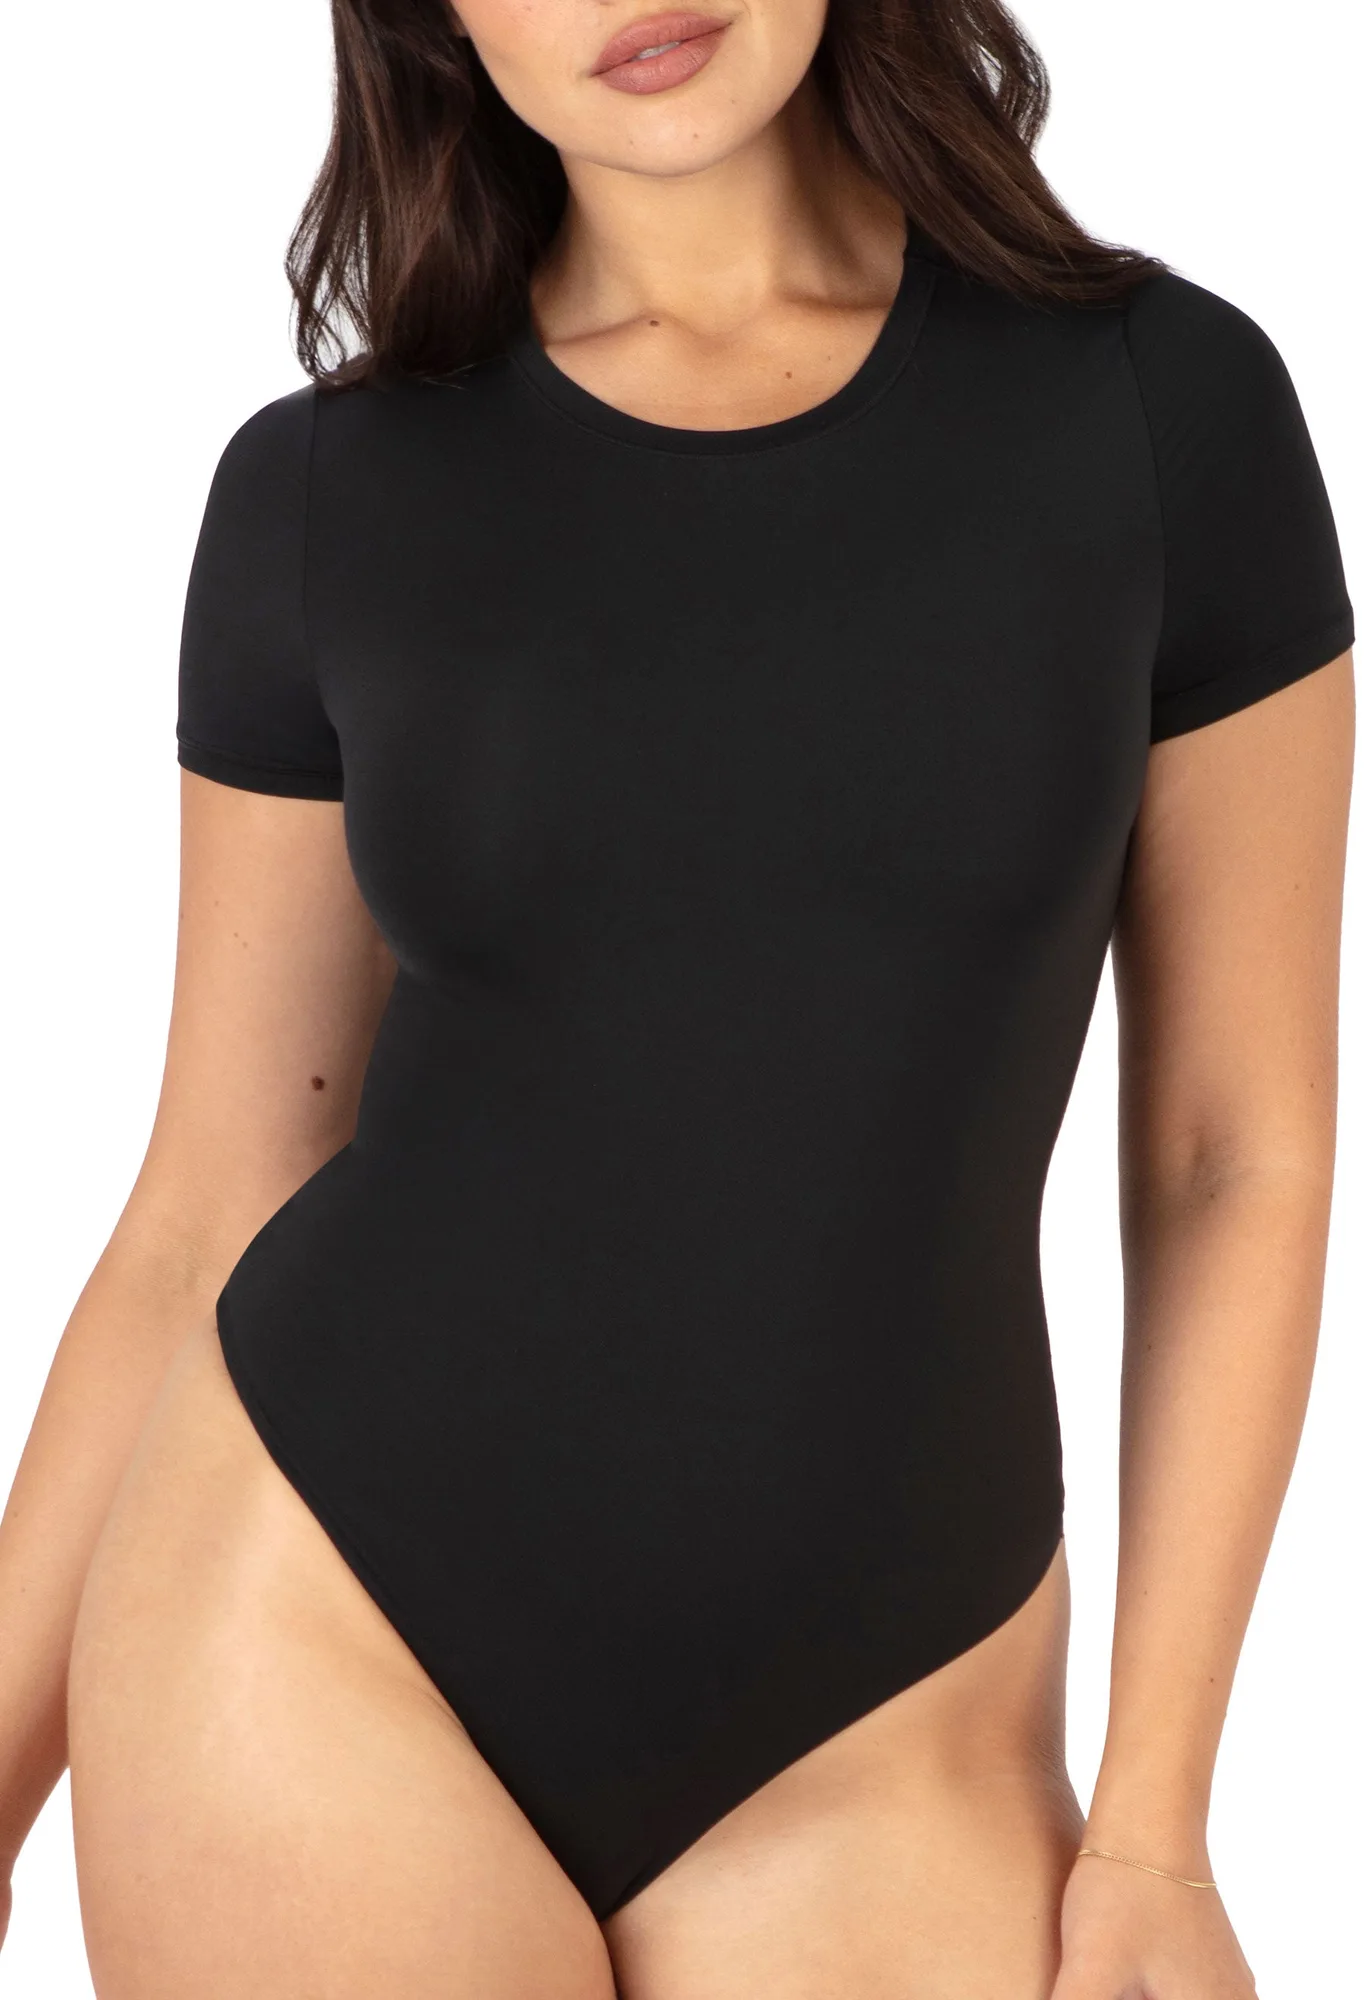
Quick Answer
Measure for lingerie with a soft tape over a thin, unlined bra or bare skin, keeping the tape level and snug but not tight. You need five numbers: underbust, full bust, natural waist, low hip, and torso length from shoulder to crotch. Write them down in inches or centimeters, then compare each number to the size chart for the specific style you want, because a teddy, bra set, and bustier can each fit differently.
Most lingerie fit problems start with one wrong number. A tape that slips down your back, a breath you hold in, or a measurement taken over a padded bra can push you into the wrong size before you even open a product page. The fix is a five-minute measuring session you do once, then reuse for every bra set, teddy, or bustier you shop.
This lingerie fit guide walks through the exact steps for accurate lingerie measurements at home. You will measure your underbust, full bust, natural waist, low hip, and torso length, then learn how to read those numbers against a size chart without guessing. Grab a soft measuring tape, a mirror, and a piece of paper.
What You Need Before You Start
A flexible cloth or vinyl tape is the only tool that matters. A metal tape measure or a piece of string will not follow your curves and will give you a false reading. If you do not own a soft tape, use a string and then lay it flat against a ruler, but expect slightly less precision. A mirror helps you check that the tape is level around your back.
Wear a thin, unlined bra or nothing at all. A padded or push-up bra adds volume that is not part of your body measurement, so your band and cup numbers will come out too large. If you are measuring for a bra set, the bra you wear during measuring should be as close to unlined as possible.
- Soft measuring tape, not a metal one
- A mirror to check tape level at the back
- Paper and pen to record each number
- Thin unlined bra or bare skin
Step 1: Measure Your Underbust
Wrap the tape around your ribcage directly under your bust, where the bra band sits. Keep the tape horizontal and snug. Breathe out normally, then read the number. This is your band size starting point. If the number is even, that is usually your band size. If it is odd, round down to the nearest even number for a snugger band or up for a looser one.
The common mistake here is letting the tape ride up at the back. If the back of the tape sits higher than the front, your underbust number will be too small and you will order a band that feels tight. Check the mirror before you read the number.
- Keep the tape level all the way around
- Breathe out before reading the number
- Round odd numbers down for a snug band, up for a relaxed one
Step 2: Measure Your Full Bust
Wrap the tape around the fullest part of your bust, usually across the nipple line. Keep the tape level and relaxed, not pulled tight. Do not compress the breast tissue. This number, combined with your underbust, gives you your cup size. The difference between the two numbers determines the cup: roughly one inch per cup letter, starting with A.
The common mistake is measuring over a padded bra or pulling the tape so tight that it flattens the bust. Both errors shrink your bust number and push you into a cup that is too small. Stand straight, arms down, and let the tape rest on the surface of your skin.
- Measure across the fullest point, not the top of the bust
- Keep the tape relaxed, not compressing
- Subtract underbust from full bust to estimate cup size
Step 3: Measure Your Natural Waist
Find your natural waist by bending sideways. The crease that forms is your natural waist, usually above the belly button and below the ribcage. Wrap the tape around that crease, keep it level, and breathe out before reading. Do not suck in. This number matters most for teddies, babydolls, and any one-piece lingerie that has a defined waist.
The common mistake is measuring at the belly button or the narrowest point you can create by pulling the tape tight. A waist measurement that is too small will make a fitted teddy or high-waisted panty feel restrictive. Measure the crease, not the smallest number you can force.
- Bend sideways to find the natural waist crease
- Breathe out, do not suck in
- Use this number for teddies, babydolls, and fitted one-pieces
Step 4: Measure Your Low Hip
Stand with feet together. Wrap the tape around the fullest part of your hips and seat, usually about seven to nine inches below your natural waist. Keep the tape level and snug, not tight. This is your low hip measurement. It determines the fit of G-strings, panties, and the bottom half of any bra set or teddy.
The common mistake is measuring across the hip bones instead of the fullest part of the seat. That gives a smaller number and a panty that cuts in. Check in the mirror that the tape crosses the fullest point at the back.
- Feet together for a stable measurement
- Measure the fullest part of hips and seat
- Use this number for G-strings, panties, and teddy bottoms
Step 5: Measure Torso Length for One-Piece Lingerie
For teddies, bodystockings, and fitted babydolls, you also need torso length. Place the end of the tape at the top of your shoulder, just beside your neck. Run it down the front of your body, through the crotch, and up to the same point on your back. This loop tells you whether a one-piece will be long enough through the torso.
The common mistake is measuring only the front or only the back. A one-piece has to cover both. If your torso length is longer than the size chart allows, size up even if your bust and waist suggest a smaller size. A teddy that pulls at the shoulder or cuts at the crotch will not stay comfortable.
- Measure shoulder to crotch and back up to shoulder
- Size up if your torso is longer than the chart allows
- Torso length matters most for teddies and bodystockings
How to Read a Size Chart With Your Numbers
Once you have your five numbers, compare each one to the size chart for the specific style. Most charts list bust, waist, and hip ranges. Your size is the one where all three numbers fall inside the range, not the one where only one number matches. If you are between sizes, look at the fabric. Sheer lace and mesh have more give than vinyl or structured satin.
For bra sets, match your underbust to the band and your bust difference to the cup. For teddies and bodystockings, match your torso length first, then your bust and hip. For bustiers, match your underbust and waist, because the structure does the shaping. Write your size next to each style type so you do not have to remeasure every time.
- Match all numbers, not just one
- Between sizes, choose based on fabric stretch
- Keep a note of your size per style type
Your Five-Step Measuring Routine
- Measure underbust with tape level and snug: Wrap the tape under your bust, breathe out, and check in the mirror that the back of the tape is not riding up. This is your band size starting point. Checkpoint: the tape should feel snug but not leave a deep mark.
- Measure full bust without compressing: Wrap the tape across the fullest part of your bust, keep it relaxed, and do not pull tight. Subtract your underbust number to estimate your cup size. Checkpoint: if the tape flattens your bust, you are pulling too hard.
- Measure natural waist at the side bend crease: Bend sideways to find the crease, wrap the tape around it, and breathe out before reading. Do not suck in or measure at the belly button. Checkpoint: the tape should sit in the crease, not above or below it.
- Measure low hip at the fullest point: Stand with feet together and wrap the tape around the fullest part of your hips and seat, keeping it level. This number fits G-strings, panties, and teddy bottoms. Checkpoint: the tape should cross the fullest point at the back, not the hip bones.
- Measure torso length for one-piece styles: Run the tape from the top of your shoulder, down through the crotch, and back up to the same point. Use this number for teddies and bodystockings. Checkpoint: if your torso is longer than the chart, size up even if your bust and waist match a smaller size.
How Real Styles Use Your Measurements
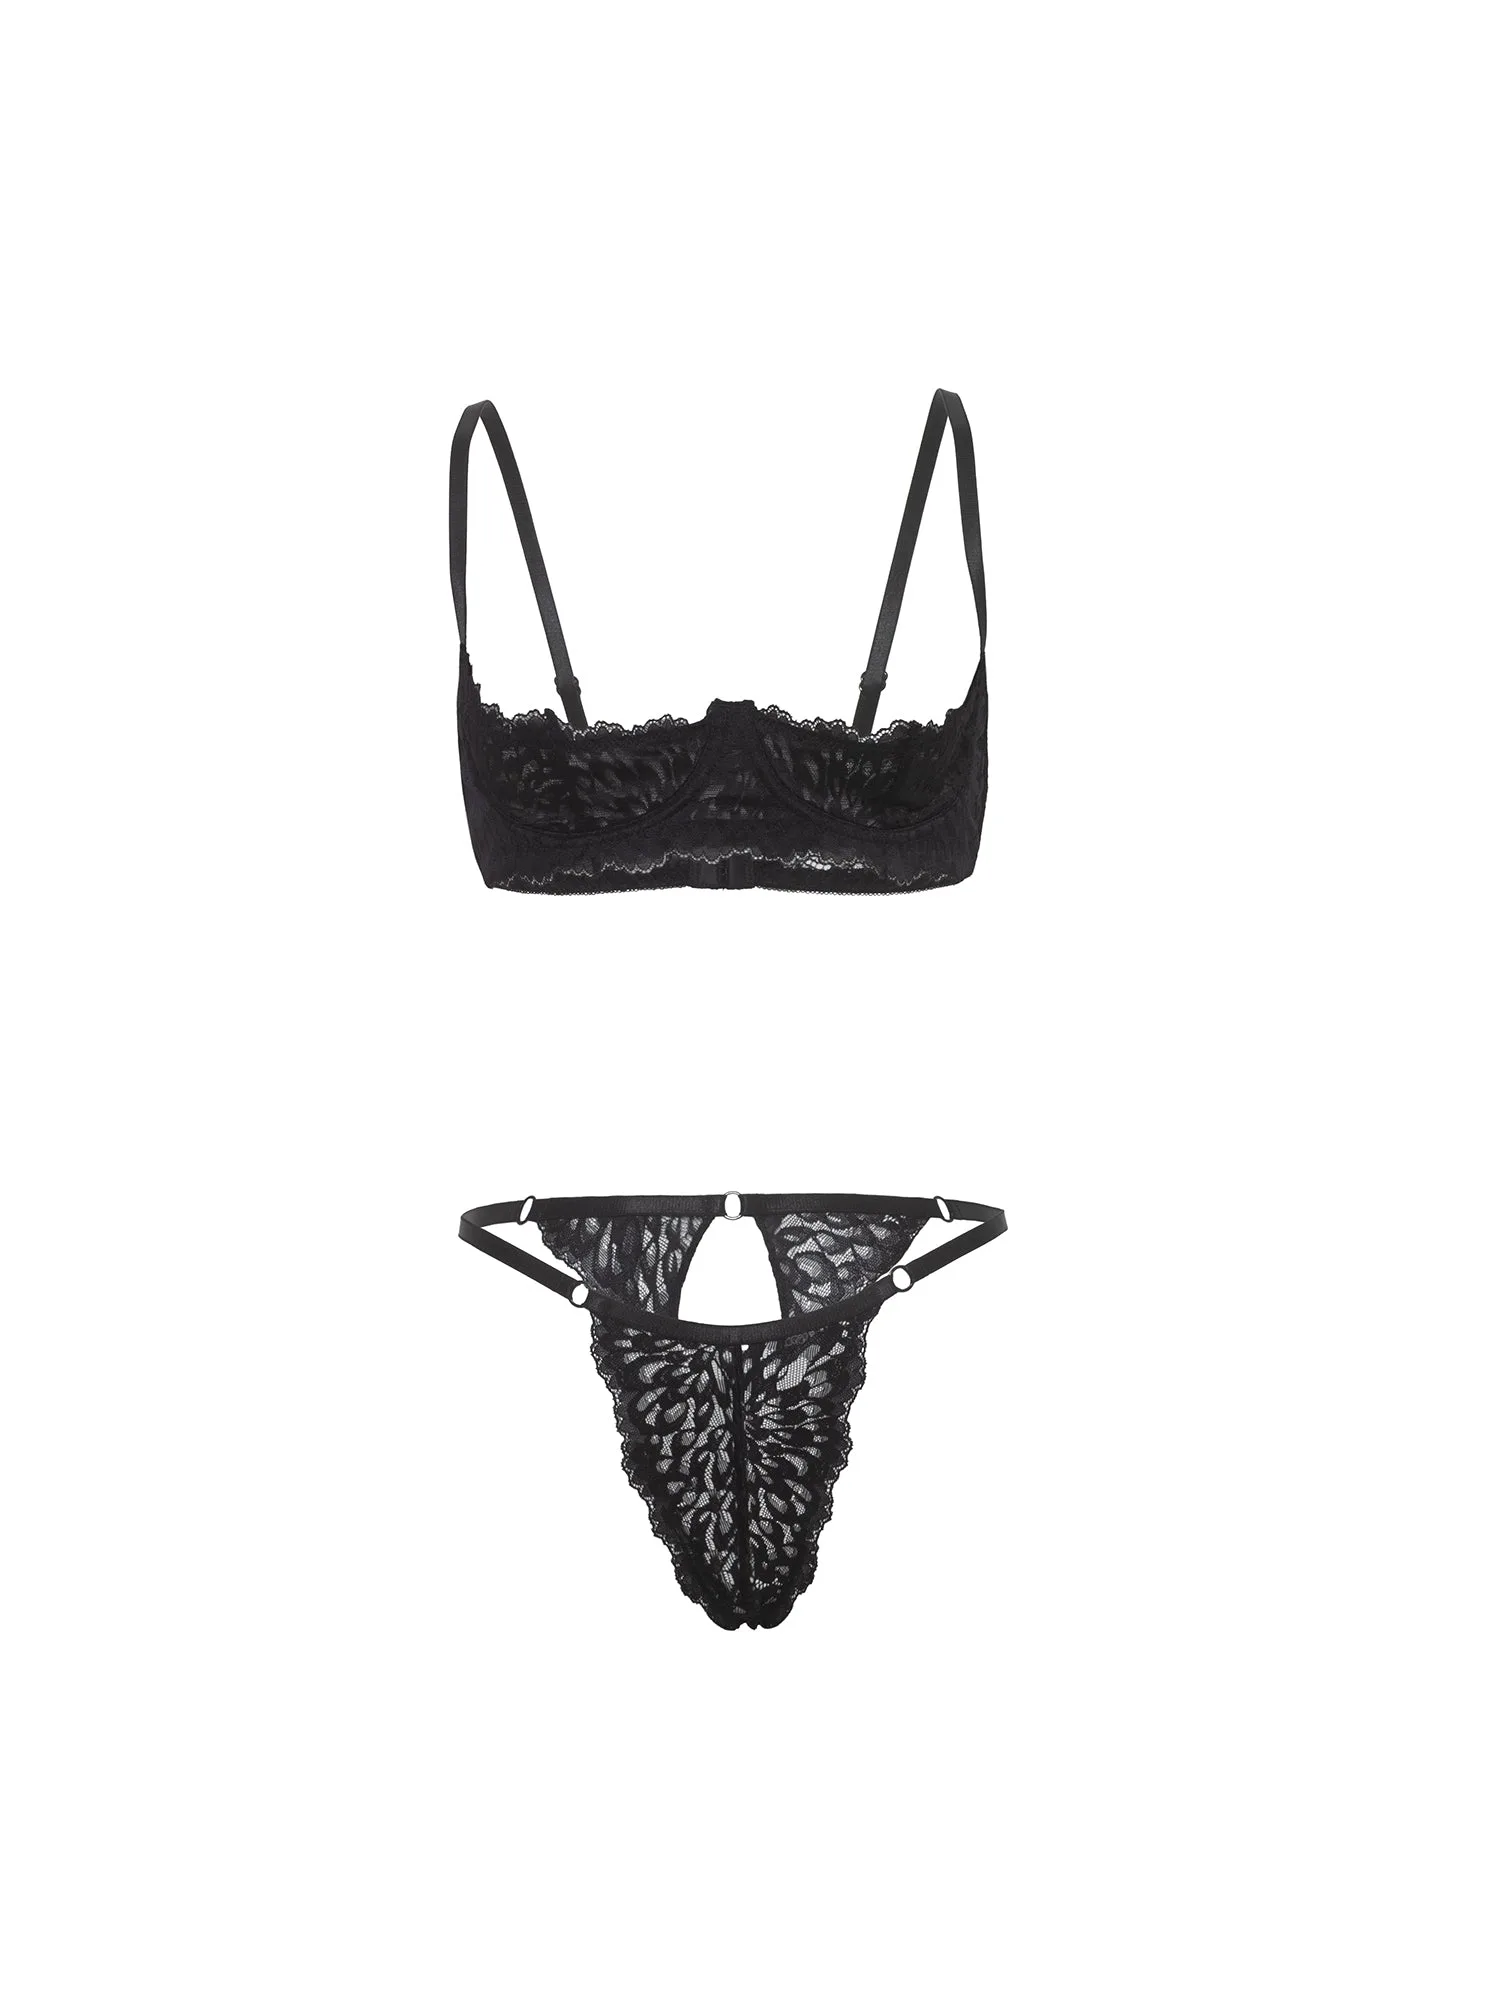
- Kara Open Cup Bra Set: Features underwire open cups, adjustable shoulder straps, a lace body, and an open back panty. The adjustable straps let you fine-tune the fit around your underbust and bust numbers, while the open back panty means your low hip measurement is the key number for the bottom half.
- Beatriz Lace Underwire Bra Set: A sheer two-piece set with unlined underwire lace cups, a bow detail, and an open-back matching panty. Unlined cups follow your natural bust measurement rather than adding volume, so the cup size you calculate from your underbust and full bust numbers will be more accurate.
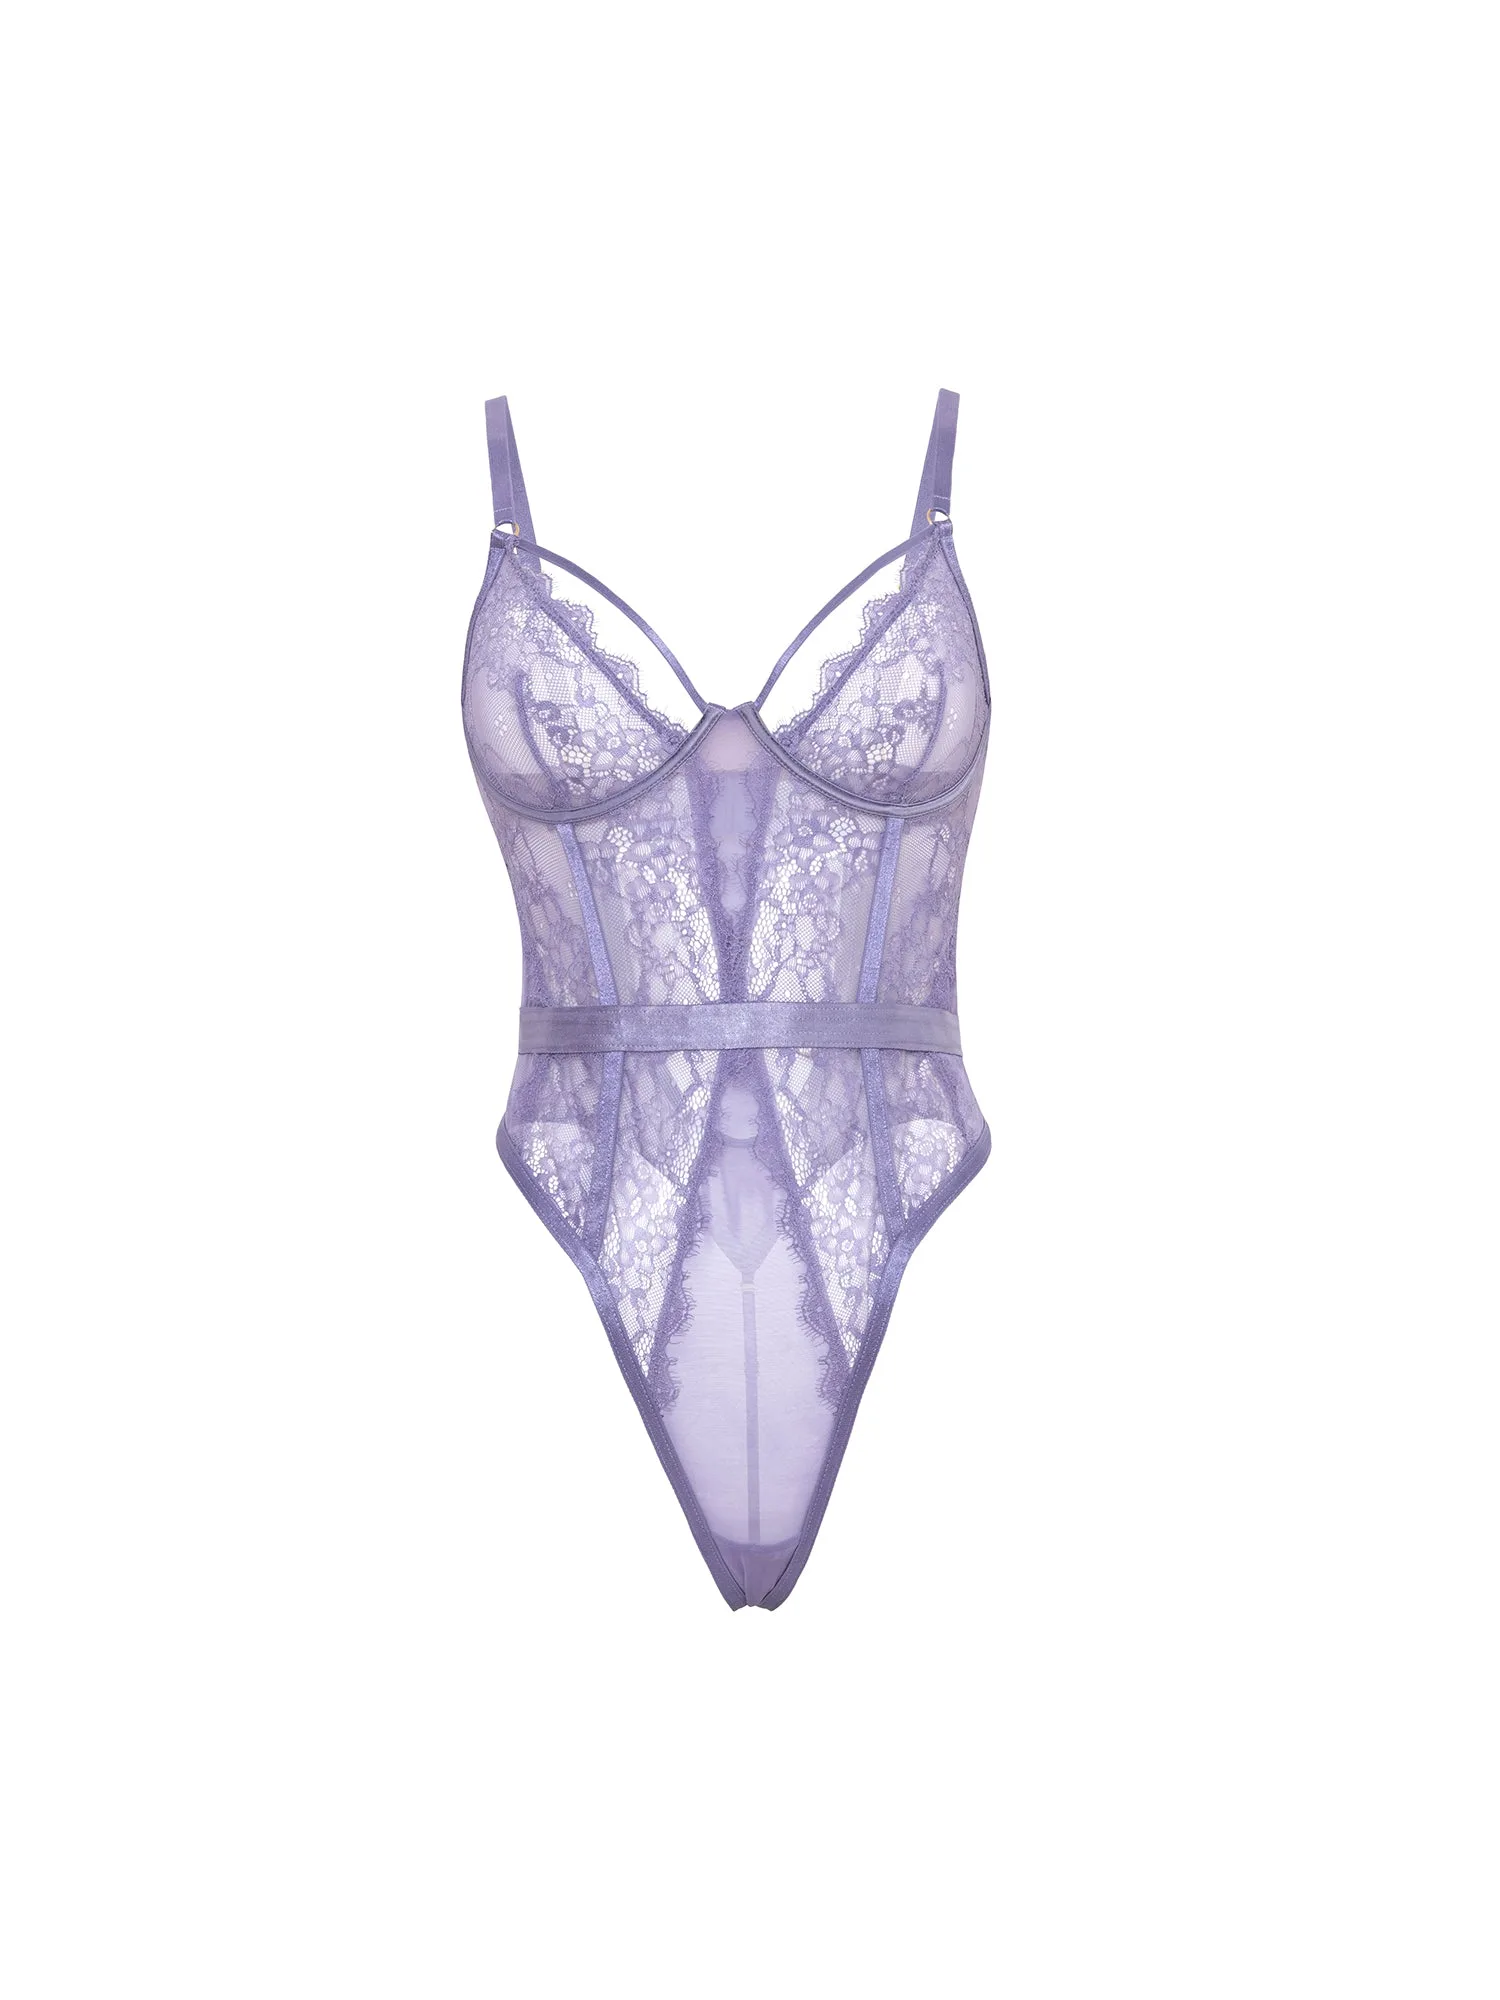
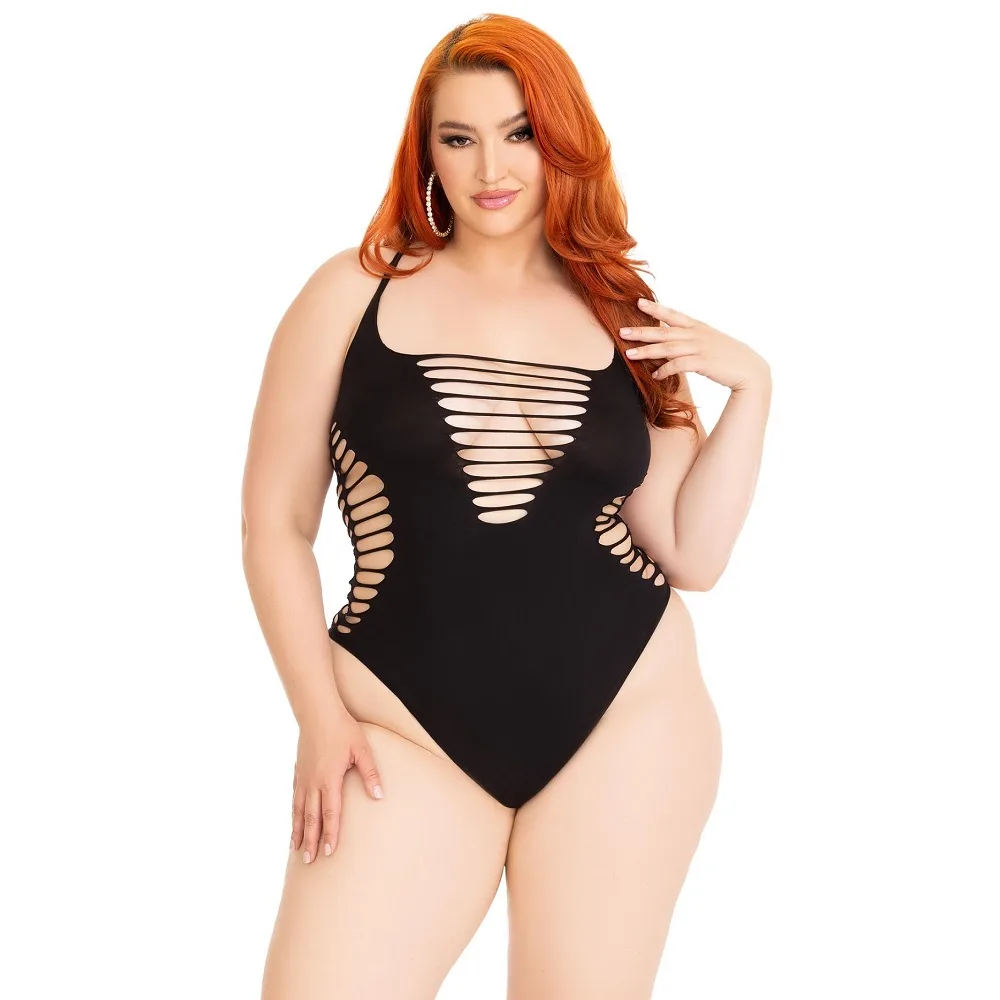
- Curvy Martina Strappy Lace Teddy: Combines sheer lace, airy mesh, and strap details, with bold strapping and sheer fabric. As a one-piece teddy, it depends on your torso length as much as your bust and hip numbers. If your torso is long, size up so the straps and sheer fabric sit where they are meant to.
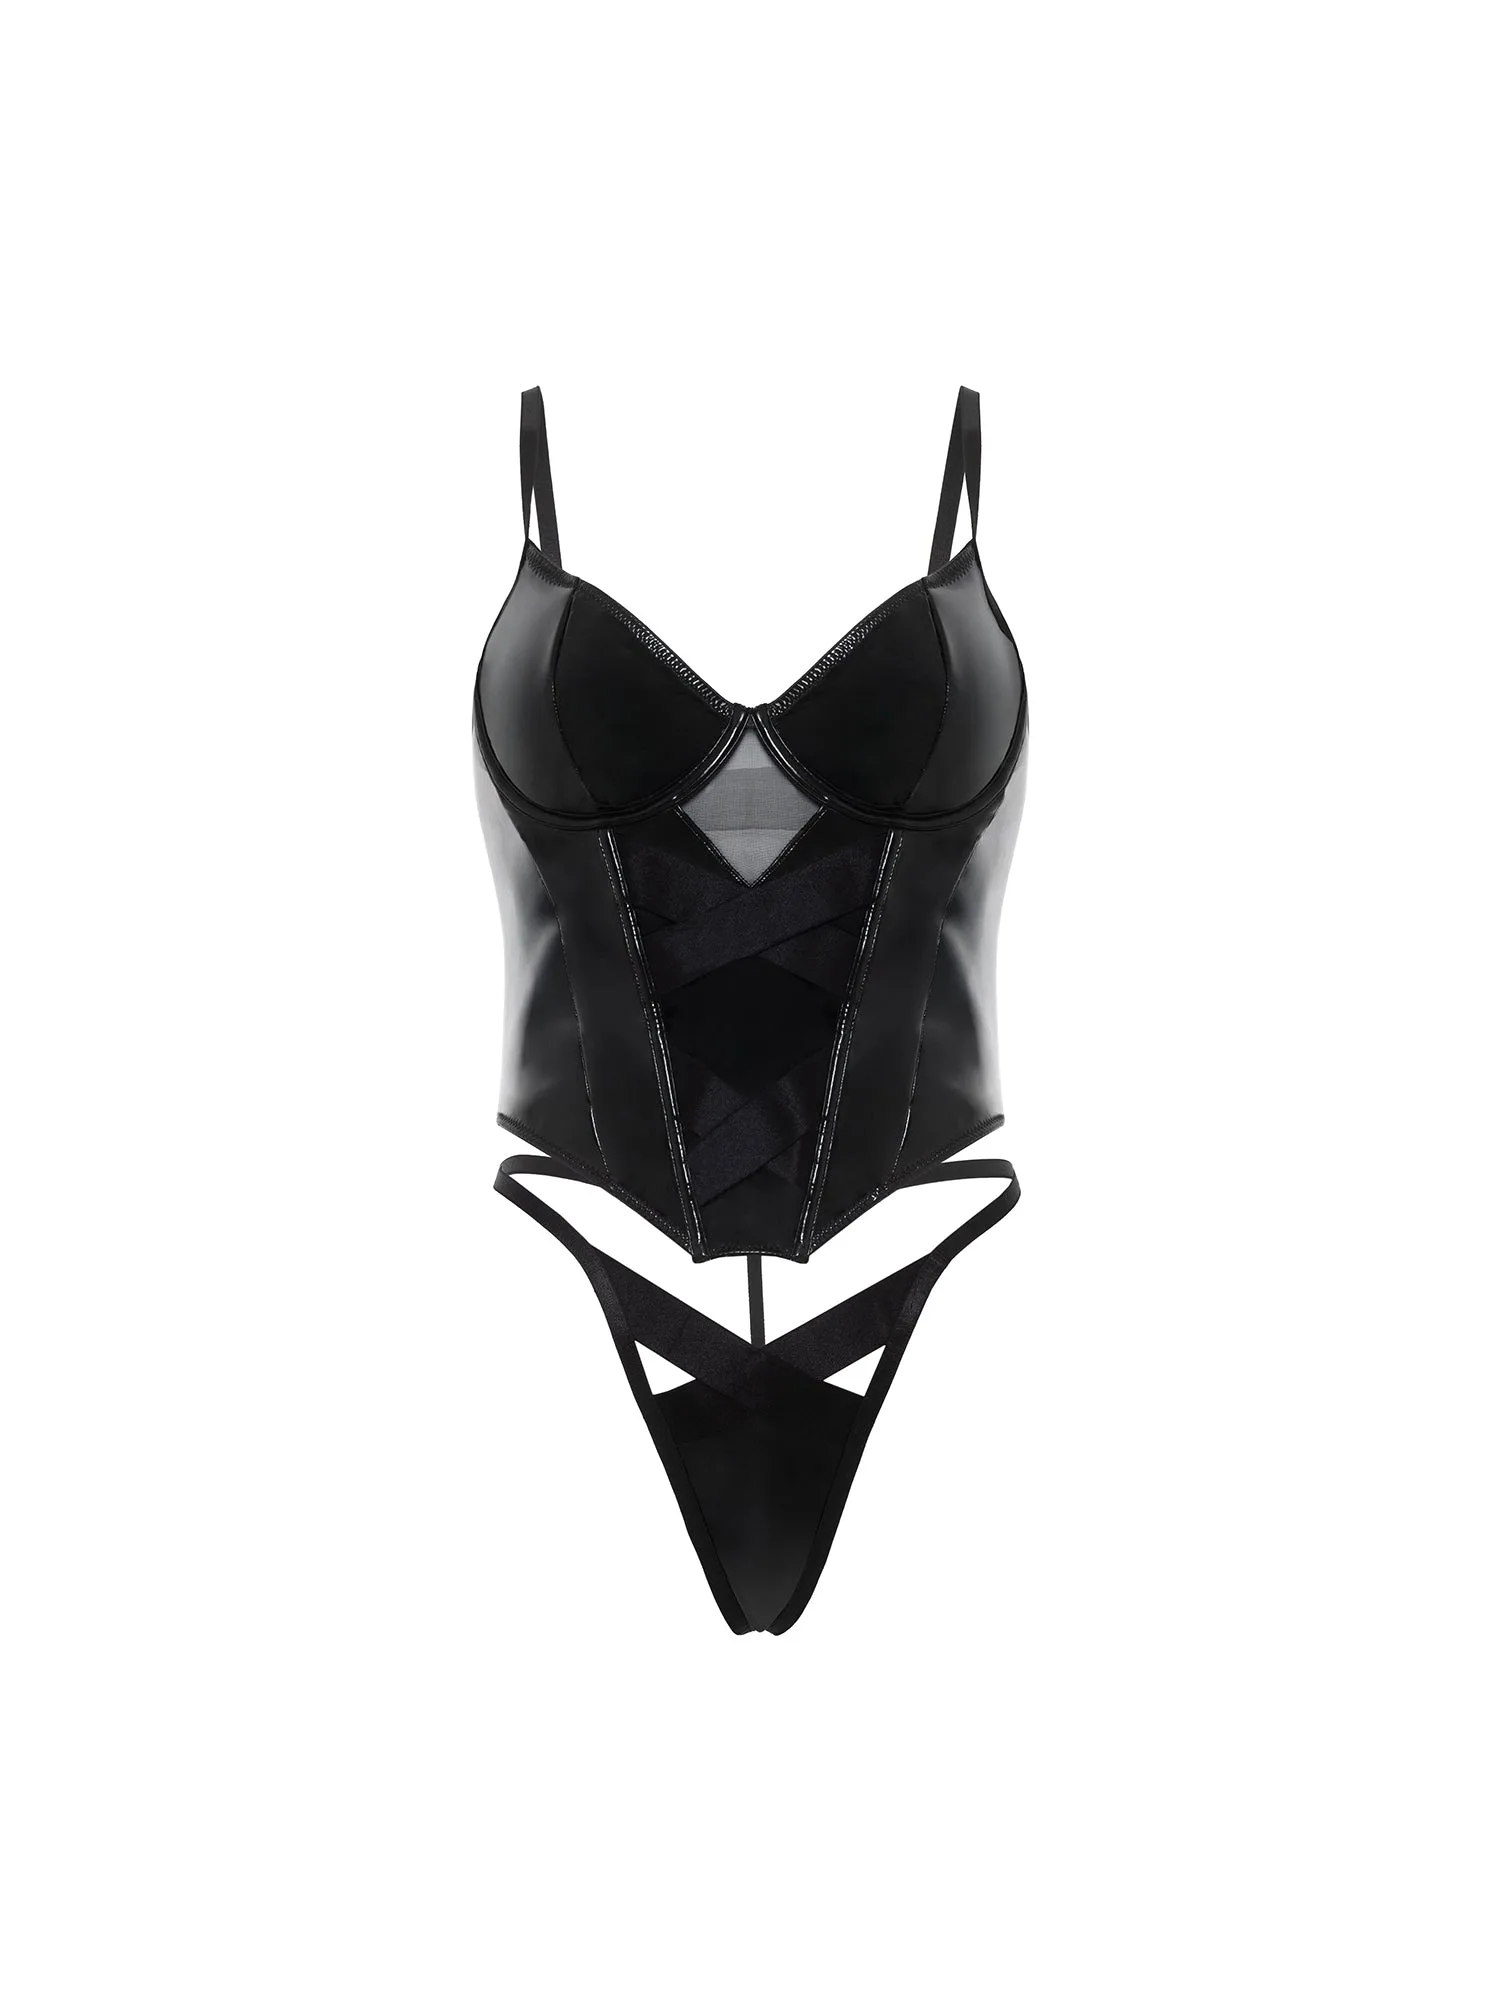
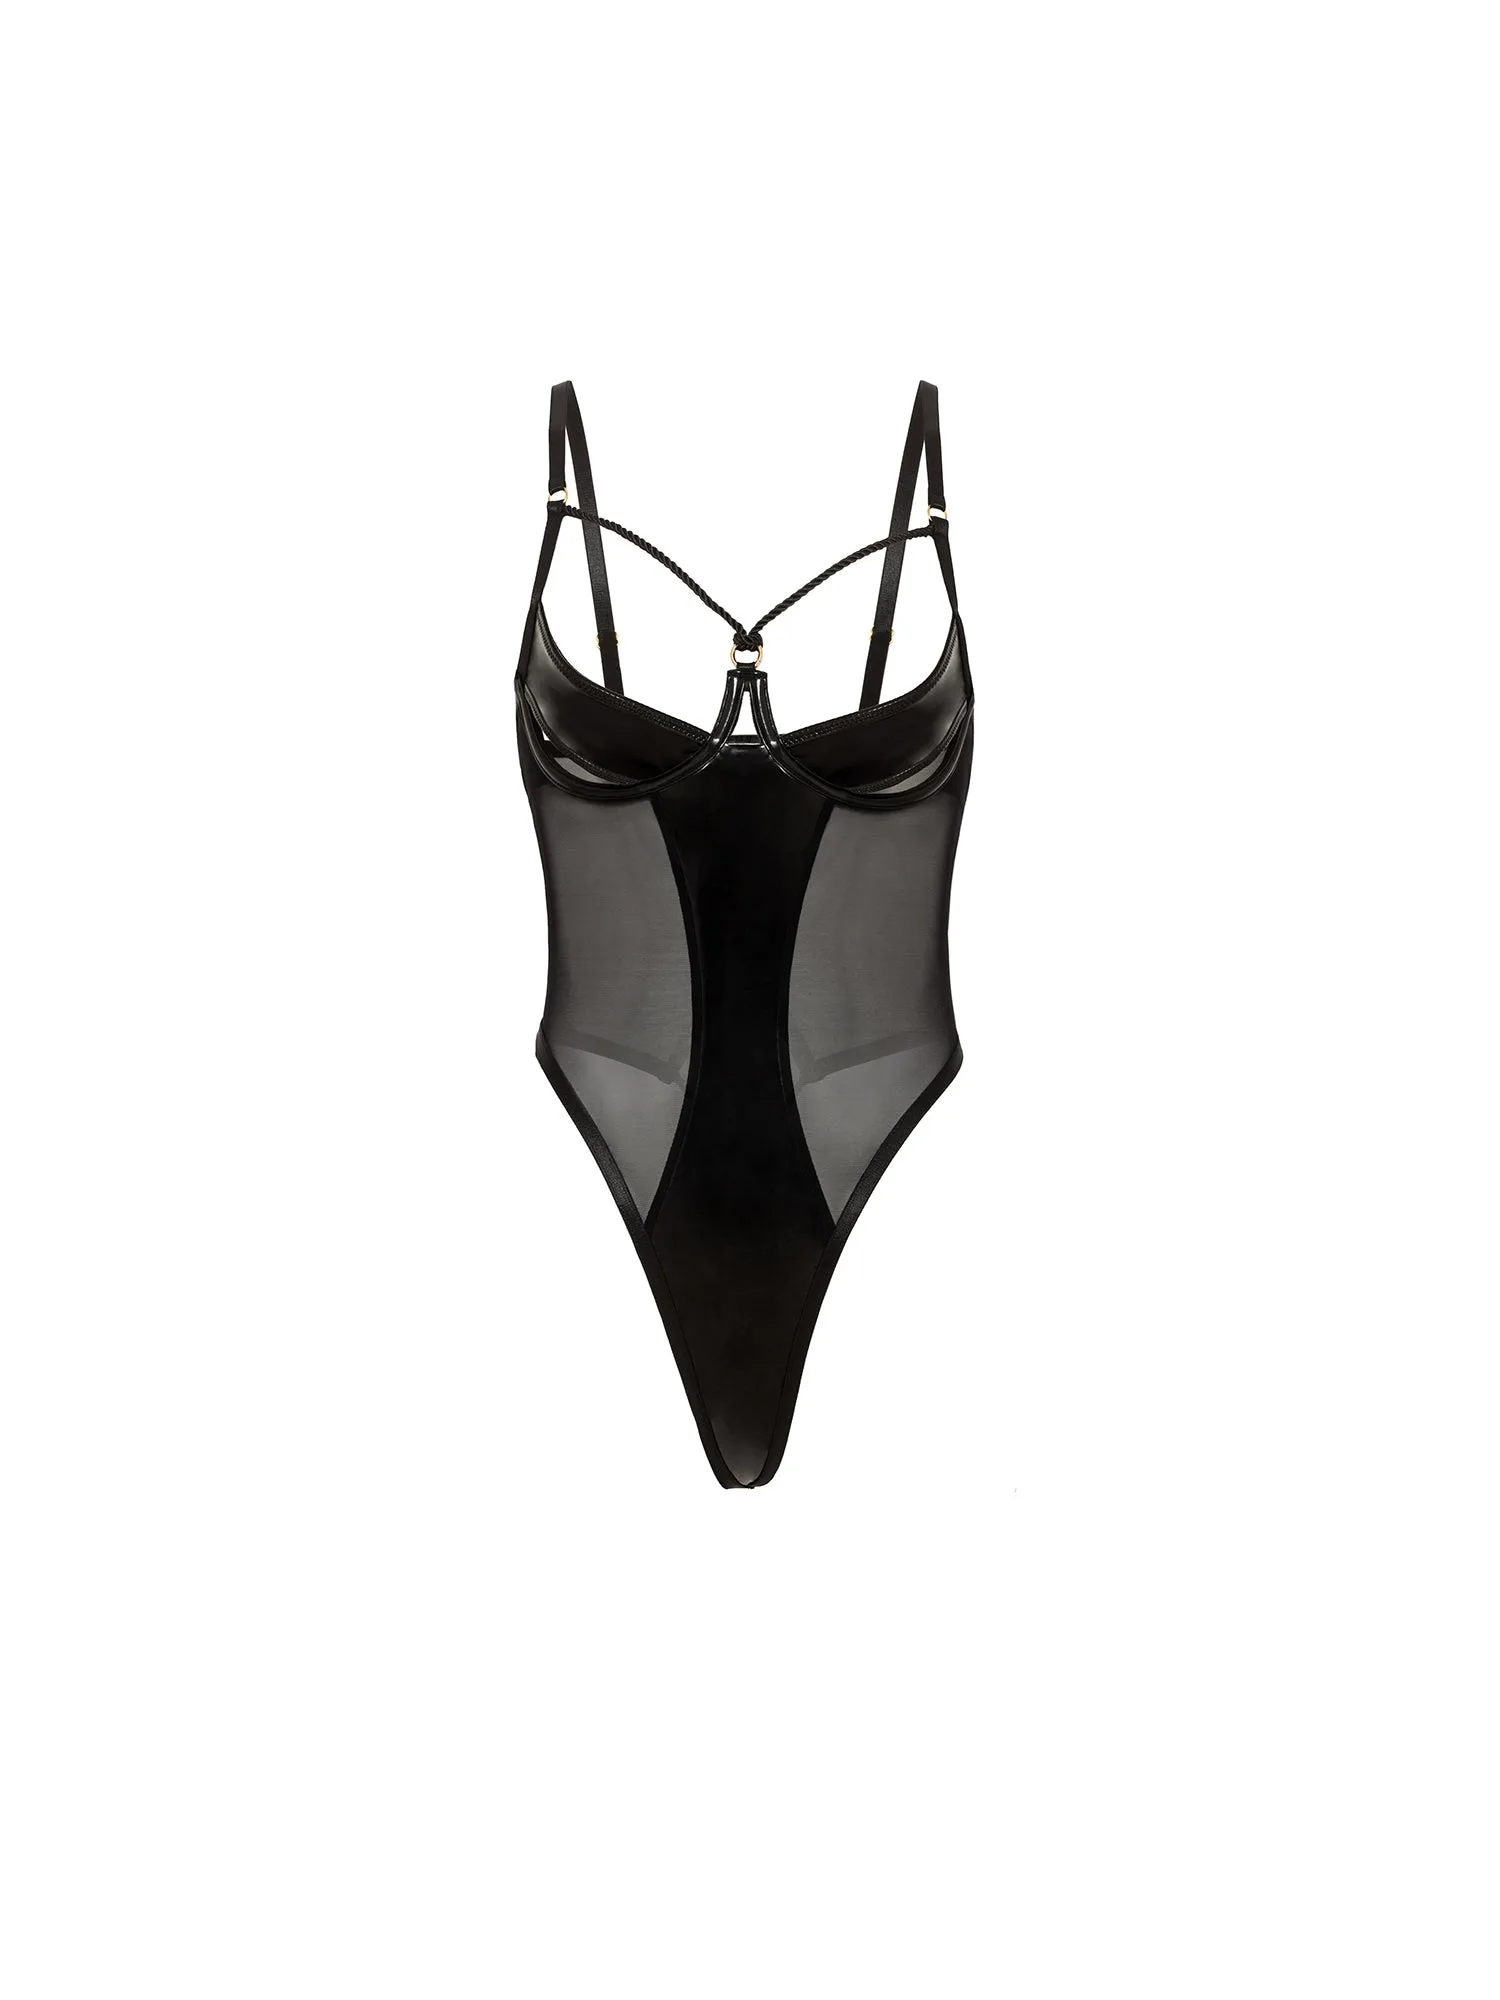
- Fetish Curvy Thorne Vinyl Bustier Set: Crafted from sleek vinyl with sheer mesh accents, structured silhouette, underwire cups, bold strap details, and a matching G-string. Vinyl has very little stretch, so your underbust and waist measurements need to be accurate. A structured bustier will not forgive a band that is too small the way lace or mesh might.
Measuring yourself for lingerie is a five-minute habit that saves you from returns and uncomfortable fits. Write down your underbust, full bust, natural waist, low hip, and torso length, then match all five numbers to the size chart for the specific style. Lace and mesh forgive a little; vinyl and structured bustiers do not. When you shop, start with the styles that match your numbers and your comfort level, and remeasure every six months or after any significant weight change.