Quick Answer
To pack a tent stuff sack efficiently, roll the tent body loosely, place the poles on one side, and insert the rainfly last. This keeps everything organized, reduces wear, and makes setup faster.
Why Proper Stuff Sack Packing Matters
Stuffing a tent haphazardly can cause fabric creases, pole stress, and longer setup times. A deliberate packing order protects the tent fabric and keeps the poles from poking through the stuff sack. It also makes it easier to find each component when you arrive at camp.
Tent-Specific Stuff Sacks vs. Generic Sacks
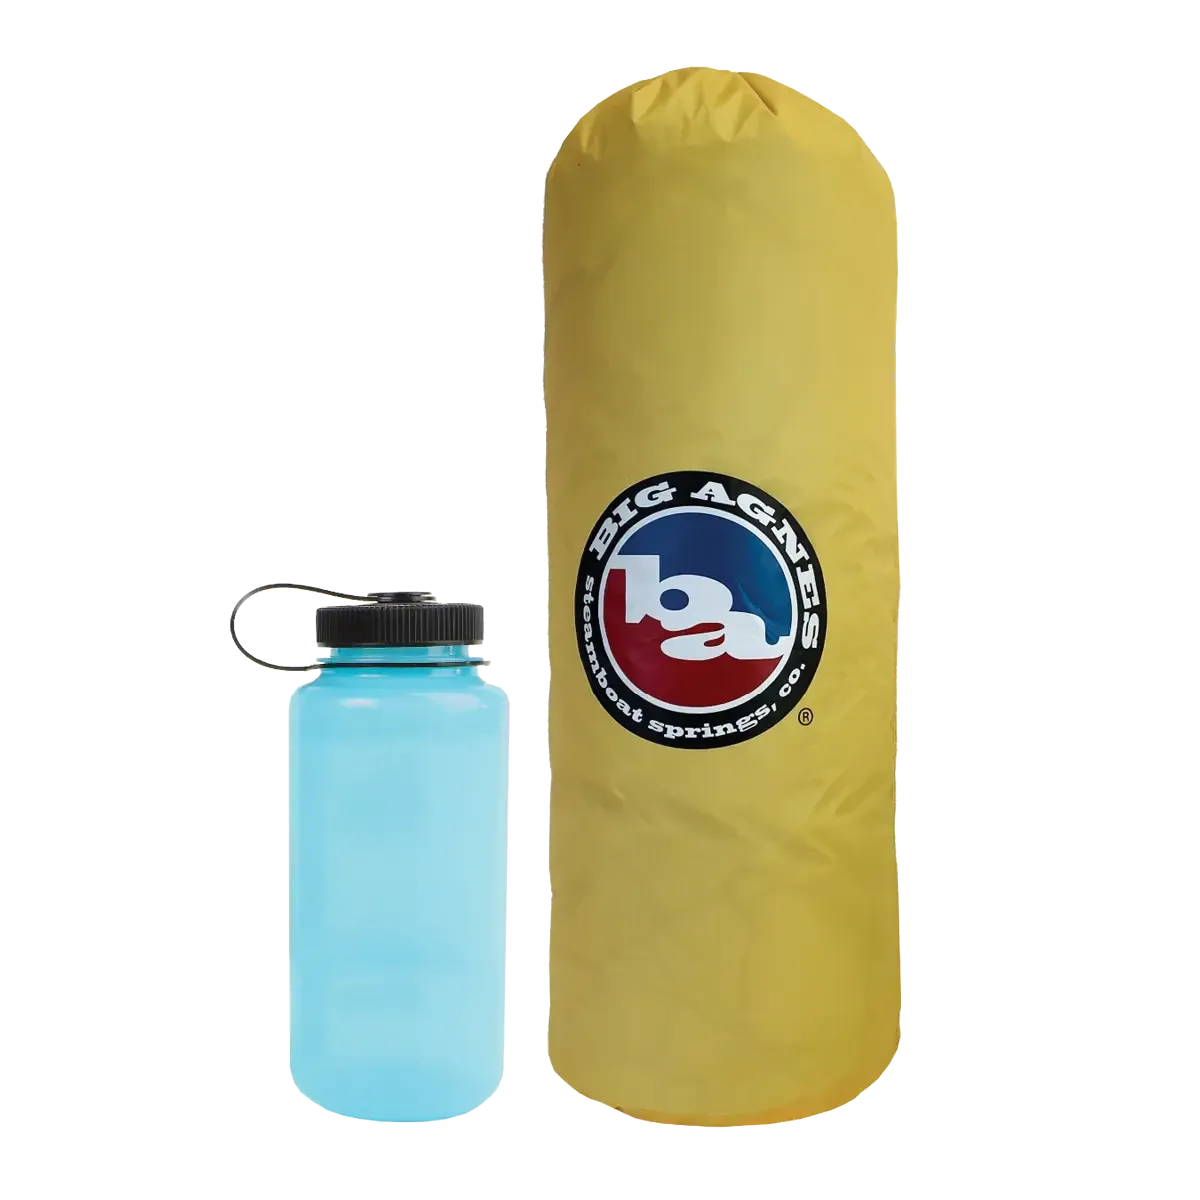
Using the original stuff sack designed for your tent model ensures a proper fit. Generic sacks may be too tight, forcing you to over-compress the tent, or too loose, allowing components to shift and tangle. Replacement sacks are available for popular models like the Fly Creek HV UL1, Copper Spur HV UL1, and Tiger Wall UL3.
Step-by-Step Guide to Packing Your Tent Stuff Sack
- Step 1: Shake Out Debris and Air Dry: Before packing, shake out any dirt, leaves, or moisture from the tent body, rainfly, and footprint. If the tent is damp, let it air dry or wipe it down with a cloth. Packing a wet tent can lead to mildew and fabric degradation. Always pack a dry tent to avoid odors and damage.
- Step 2: Fold or Roll the Tent Body Loosely: Lay the tent body flat and fold it into a rectangle that fits the width of your stuff sack. Roll it loosely from one end—tight rolling creates creases that weaken the fabric over time. Leave the poles and rainfly separate for now. A loose roll prevents stress points and makes the tent easier to set up.
- Step 3: Place the Poles on One Side: Insert the pole set into the stuff sack first, positioning it along one side of the sack. This keeps the poles from pressing into the center of the tent fabric and reduces the chance of punctures. If your sack has a separate pole sleeve, use it. Poles on the edge distribute pressure evenly and protect the tent body.
- Step 4: Insert the Tent Body and Rainfly: Slide the rolled tent body into the sack next to the poles. Then place the rainfly on top, folding it to match the shape. The rainfly is often the last piece you need at camp, so putting it on top makes it easy to grab first. Rainfly on top saves time if you need to set up quickly in rain.
- Step 5: Compress and Close the Sack: Push out excess air by pressing down on the sack from the top, then roll the top of the sack down to the compression straps. Cinch the straps evenly—not too tight. Over-compressing can damage zippers and fabric coatings. Moderate compression is better than extreme tightness for long-term gear life.
Replacement Stuff Sacks for Popular Tents
-
Fly Creek HV UL1 Stuff Sack: This stuff sack is identical to the sack that shipped with the Fly Creek HV UL1 (2021 or newer model). If your original sack is worn or lost, this exact replacement keeps your tent protected and organized without guessing the fit.
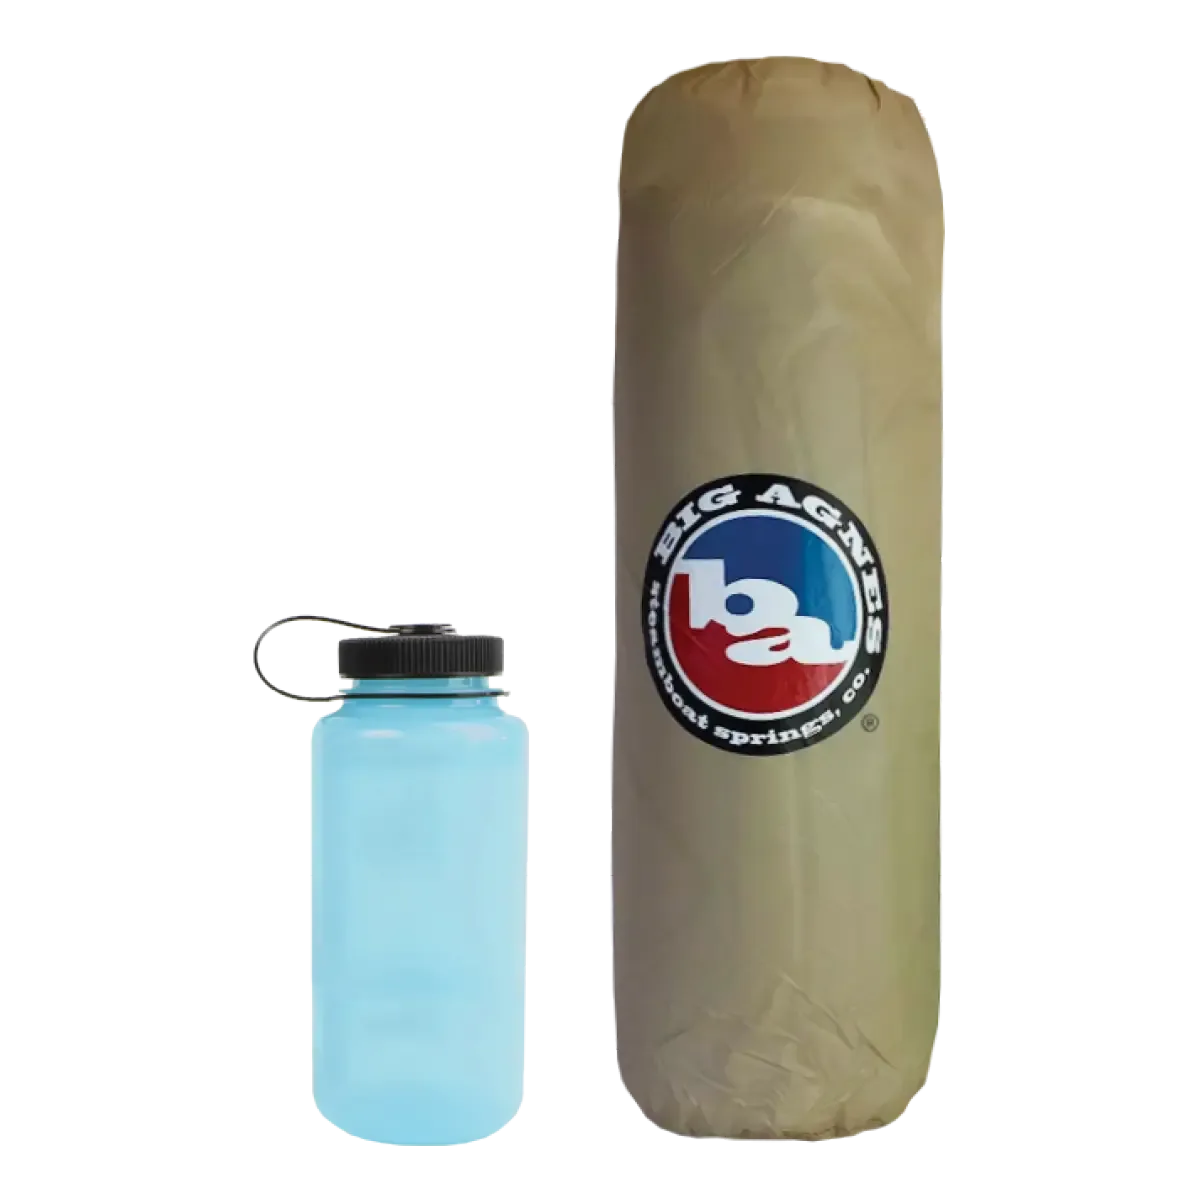
Fly Creek HV UL1 Stuff Sack
-
Copper Spur HV UL1 Stuff Sack: This stuff sack is identical to the sack that shipped with the Copper Spur HV UL1 (2020 or newer model). A proper fit prevents the poles from shifting and the fabric from bunching, making setup faster and reducing stress on the tent.
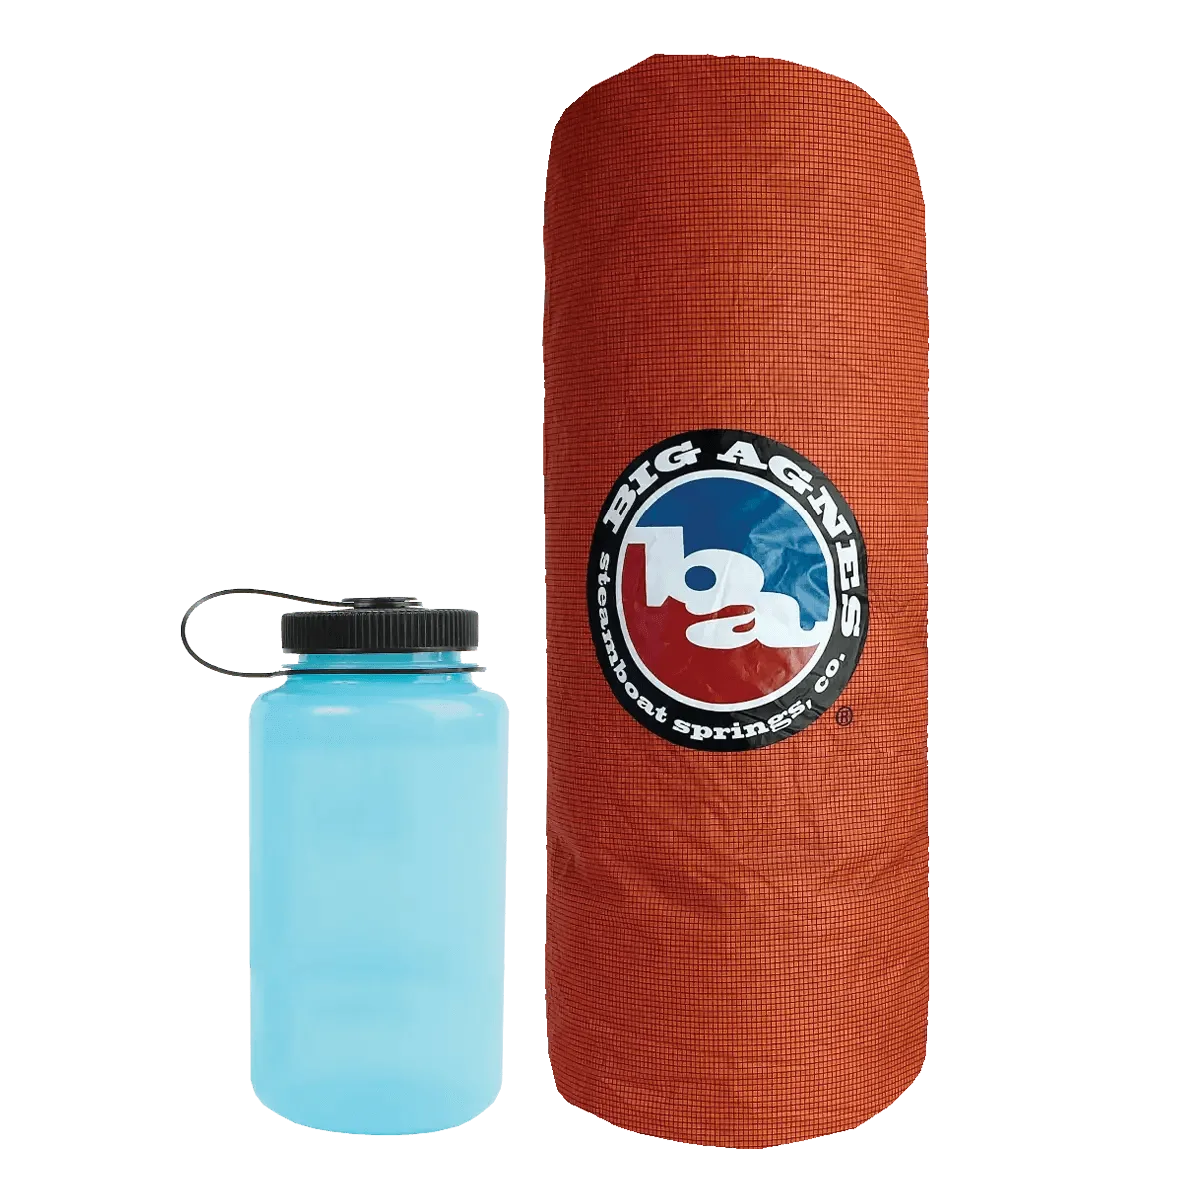
Copper Spur HV UL1 Stuff Sack
-
Tiger Wall UL3 Stuff Sack: This stuff sack is identical to the sack that shipped with the Tiger Wall UL3 (2021 or newer model). Having the correct sack for a three-person tent ensures all components fit without over-stuffing, which can damage the fabric and zippers.