Quick Answer
To put in contact lenses for the first time, wash your hands, inspect the lens, and place it on your fingertip. Use your non-dominant hand to hold your eyelid open, then gently place the lens on your eye. Blink to settle it, and always check for comfort and proper placement.
Putting in contact lenses for the first time can feel fiddly, but with the right technique, you'll be a pro in no time. Whether you're switching from glasses or trying colored contacts for a new look, the basics are the same. This guide walks you through each step, with practical tips to make insertion smoother and safer.
Remember: your optometrist is your best resource for personalized advice, especially for your first fitting. Always follow their instructions and the lens packaging. If you feel any discomfort or persistent redness, remove the lens and consult a professional.
Prepare Your Hands and Workspace
Before you touch your lenses, wash your hands thoroughly with mild, non-cosmetic soap. Rinse well to remove any soap residue, then dry with a lint-free towel. Avoid oily lotions or creams before handling lenses, as they can smear the lens and make it harder to grip.
Set up a clean, well-lit area with a mirror. Keep your lens case, solution, and a backup pair of glasses nearby. It's also a good idea to close the drain in the sink—just in case a lens slips.
- Use fragrance-free soap to avoid irritating your eyes.
- Never use tap water to rinse or store your lenses.
Inspect and Prepare the Lens
Remove the lens from its case using the tips of your fingers, never your nails. Place it on your index finger and check that it forms a perfect bowl shape. If the edges flare out like a saucer, it's inside out. Some lenses have a laser marking or a tint to help you tell—look for the '123' or similar indicator.
Rinse the lens with fresh solution (not the old solution in the case) to remove any debris. Then, place it on your dominant hand's index finger, making sure the lens is centered and stable.
- If the lens sticks to your finger, it might be too wet—dry your fingertip slightly.
Hold Your Eye Open and Insert
Use the middle finger of your non-dominant hand to pull down your lower eyelid. With the same hand's index finger, hold your upper eyelid open by pressing gently on your lashes or brow bone. This prevents blinking and keeps the eye wide.
Look slightly upward or straight into the mirror, depending on what's comfortable. Bring the lens toward your eye steadily, and gently place it on the lower part of your eye. Avoid jabbing—let the lens touch the eye's surface naturally.
- If you blink, don't panic—just try again with a steady hand.
Release and Blink to Settle
Once the lens is on your eye, slowly release your eyelids and close your eye for a moment. Blink a few times to help the lens center itself. You should feel minimal to no discomfort. If it feels like something is in your eye, the lens might be off-center or inside out.
To check if it's centered, look in the mirror. The lens should sit over your iris, not on the white of your eye. If it's off, gently close your eye and massage your eyelid to move the lens into place. If it's inside out, remove it, flip it, and try again.
- A well-placed lens feels comfortable within a few seconds.
Repeat for the Second Eye
Now that the first lens is in, repeat the process for the other eye. Always start with the same eye each time to build a routine. Some people find it easier to insert the same eye first every day, which helps you remember which lens is which.
After both lenses are in, check your vision. Everything should look clear and sharp. If one eye feels blurry, the lens might be dirty or not seated properly. Remove, clean, and reinsert if needed.
- Keep a lens case labeled 'R' and 'L' to avoid mix-ups.
Step-by-Step Insertion Checklist
- Wash and dry your hands: Use mild soap, rinse thoroughly, and dry with a lint-free towel. Checkpoint: Your hands should be completely dry before handling lenses.
- Inspect the lens: Check that the lens is not inside out and is free of tears or debris. Checkpoint: The lens should hold a perfect bowl shape.
- Position the lens on your fingertip: Place the lens on your dominant index finger, centered and stable. Checkpoint: The lens should not be too wet or too dry.
- Hold your eyelids open: Use your non-dominant hand to pull down the lower lid and hold the upper lid. Checkpoint: You should be able to see your eye without blinking.
- Insert the lens: Look slightly up and gently place the lens on the lower part of your eye. Checkpoint: Do not press hard; let the lens adhere naturally.
- Release and blink: Close your eye slowly, then blink a few times to center the lens. Checkpoint: The lens should feel comfortable and your vision clear.
Lens Options for Beginners
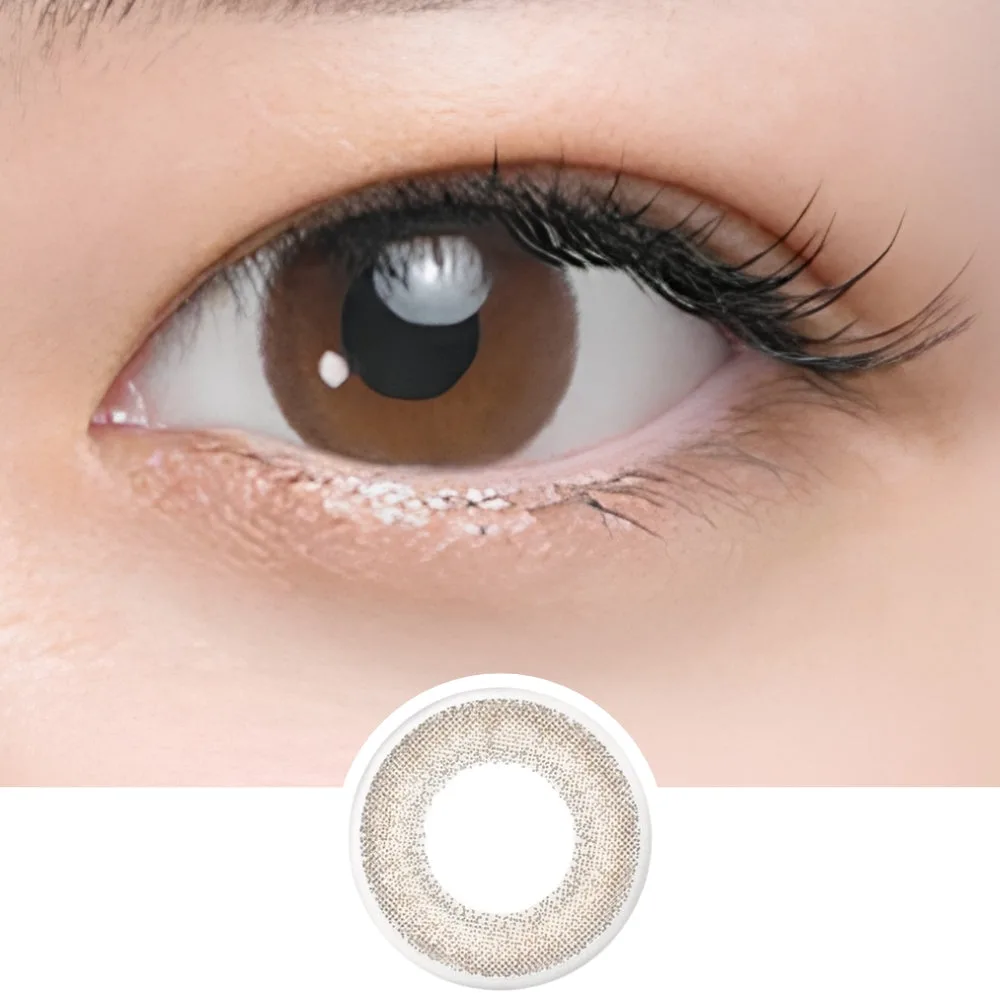
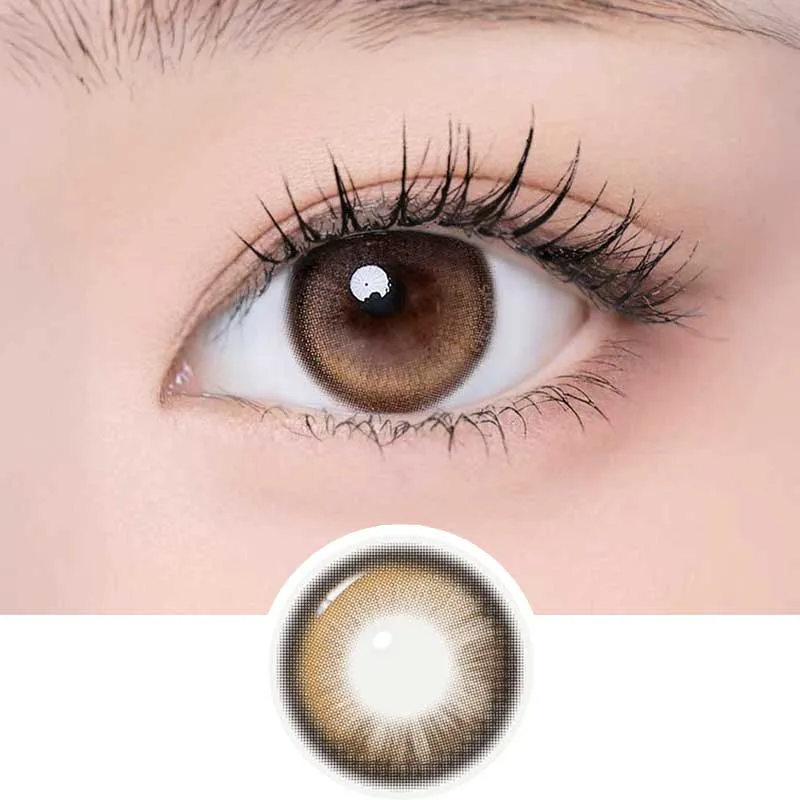
- Seed Coffret First Make Brown (10pk): Meet Seed Coffret First Make: your first step into color contacts, minus the commitment. A soft dual-tone brown that reads as a slightly richer version of your natural eye, with a subtle sheen that catches the light. If you're new to contacts and want a natural boost, this daily disposable gives you a fresh lens every time, so you don't have to worry about cleaning. The subtle brown is forgiving for first-time users.
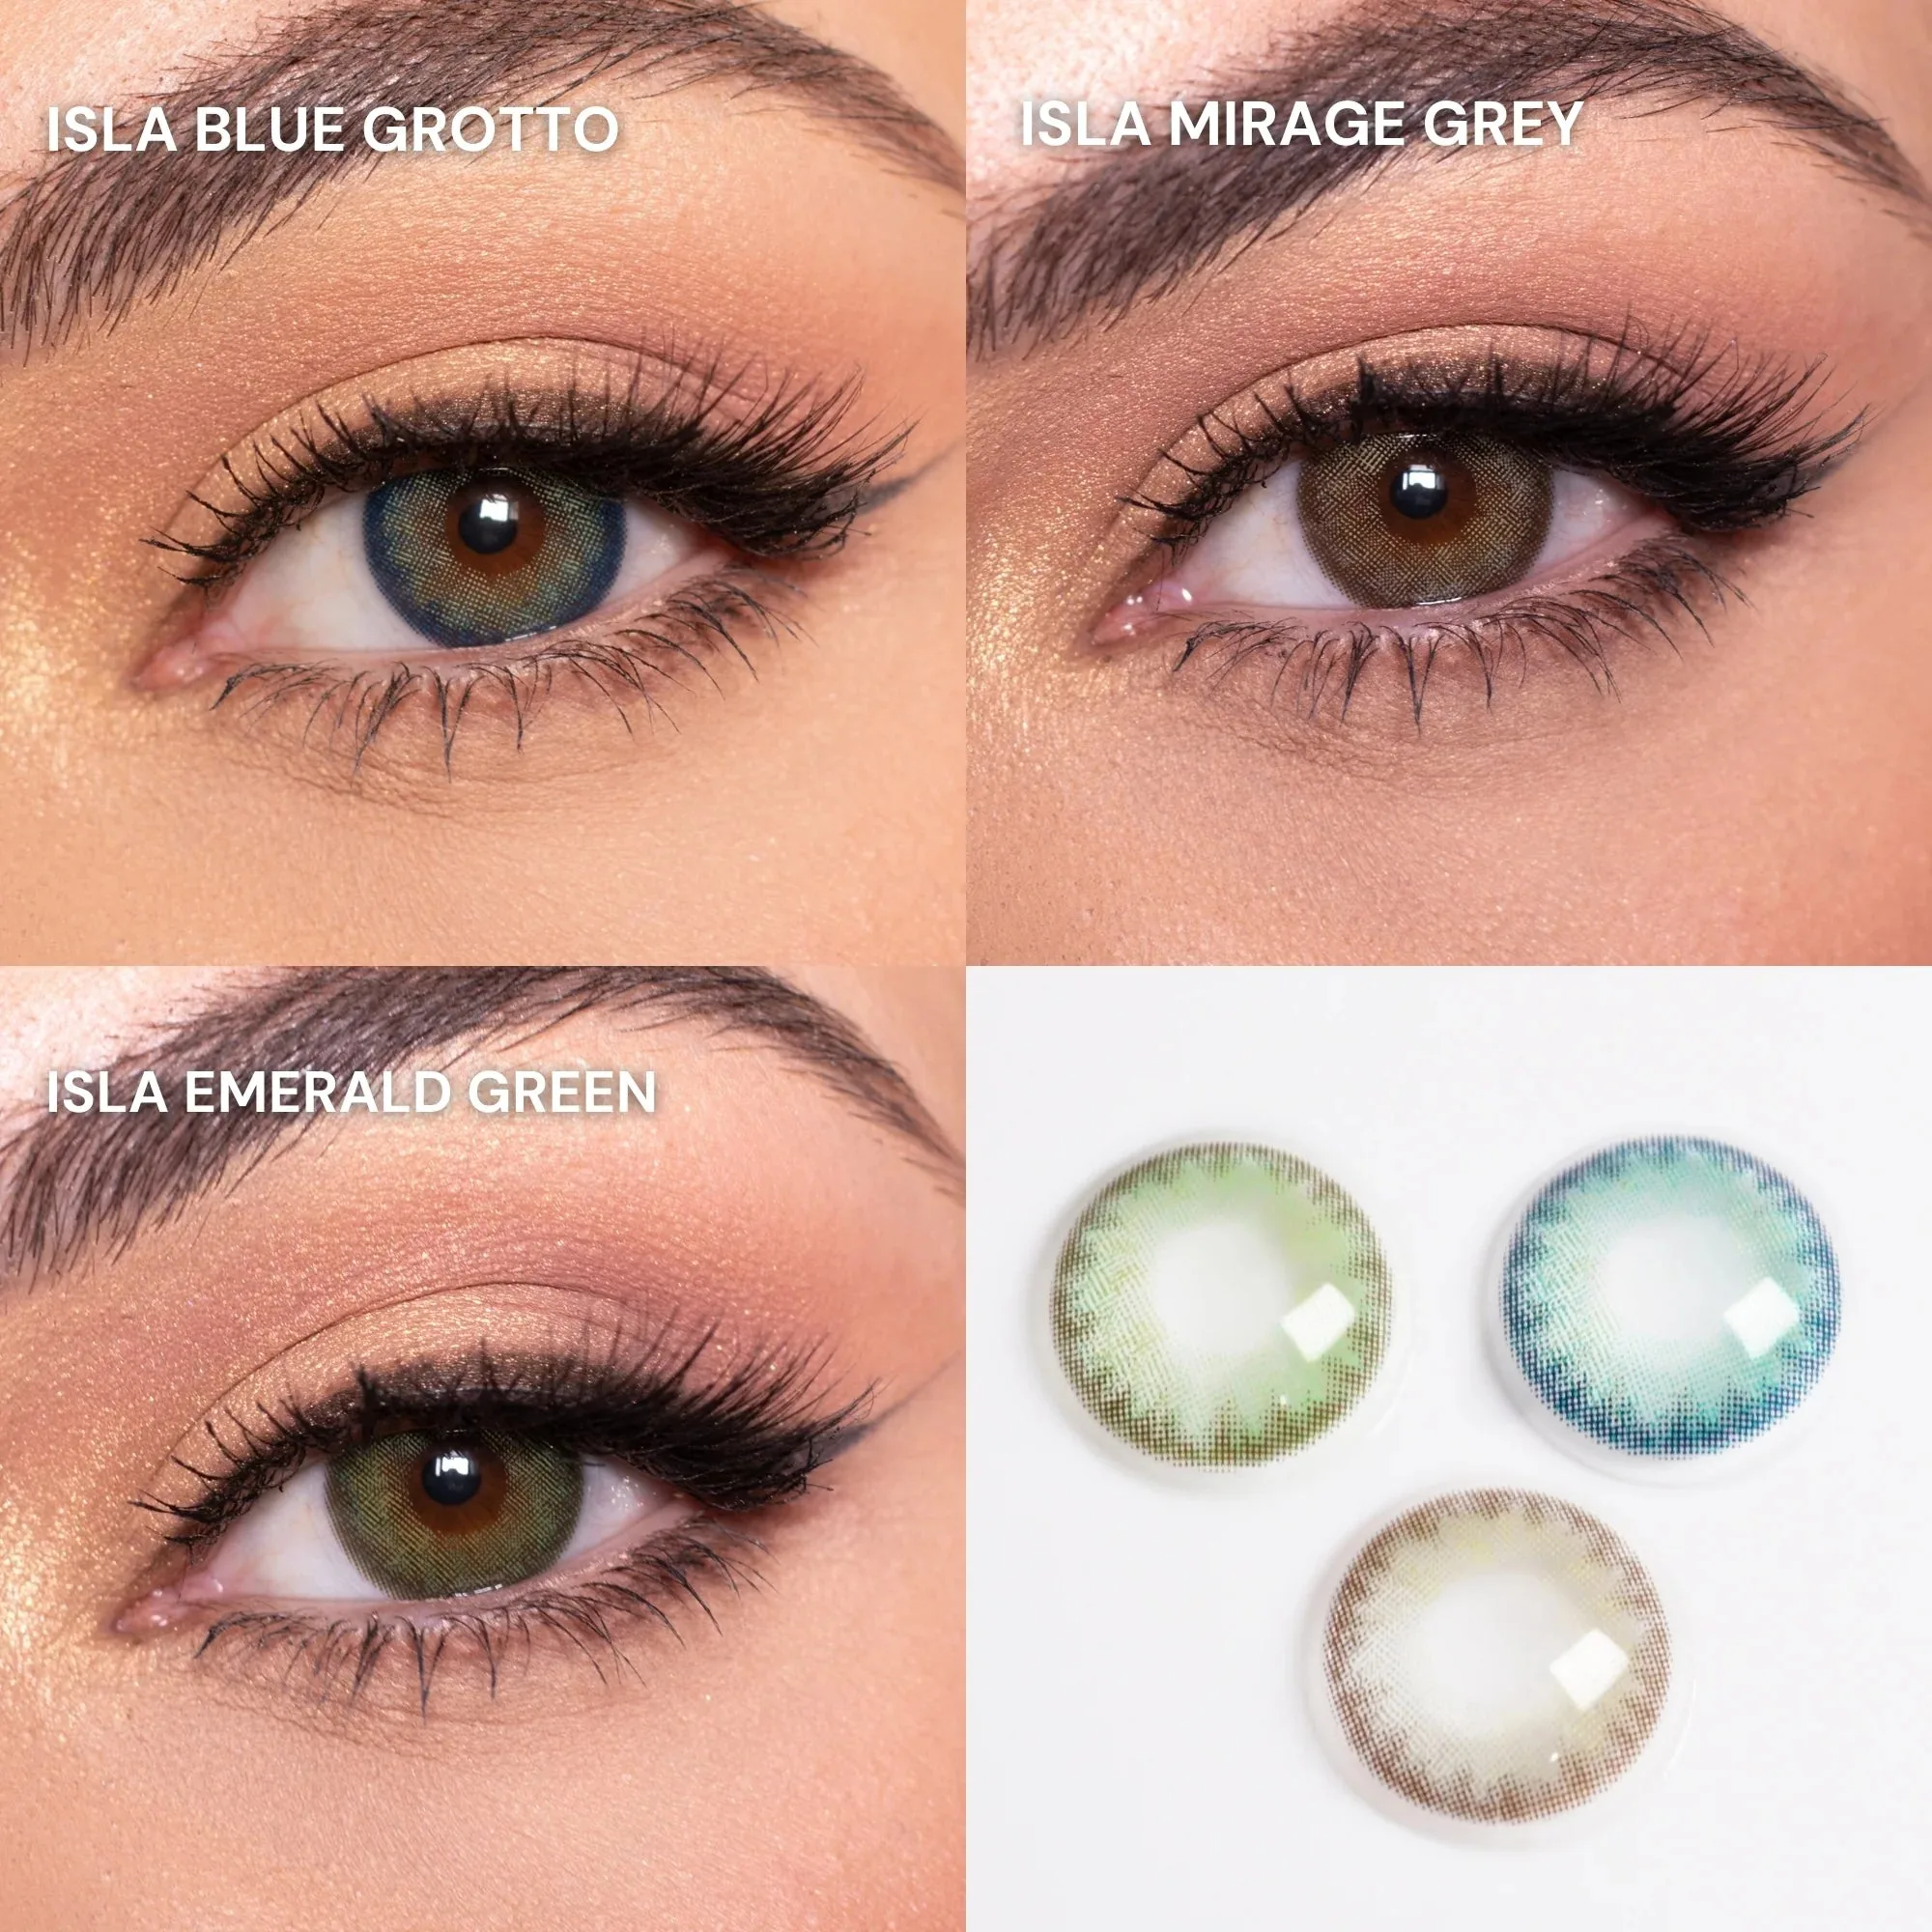
- EyeCandys Isla Color Contact Lens (1 PAIR): The Isla Series is designed for subtle, natural-looking colour contact lenses that brighten dark eyes without dramatic contrast. Each shade focuses on smooth pigment, clean blending, and an easy finish that feels refined and wearable for everyday use. For beginners who want to experiment with color, the Isla series offers a gentle shift that's less intimidating than bold shades. The smooth blending helps the lens look natural even if your placement isn't perfect on the first try.
With practice, inserting contact lenses becomes second nature. Start slowly, follow these steps, and don't get discouraged if it takes a few tries. For colored lens beginners, consider a natural-looking daily disposable to ease into the routine. And if you ever feel stuck, your eye care professional is always there to help.