Quick Answer
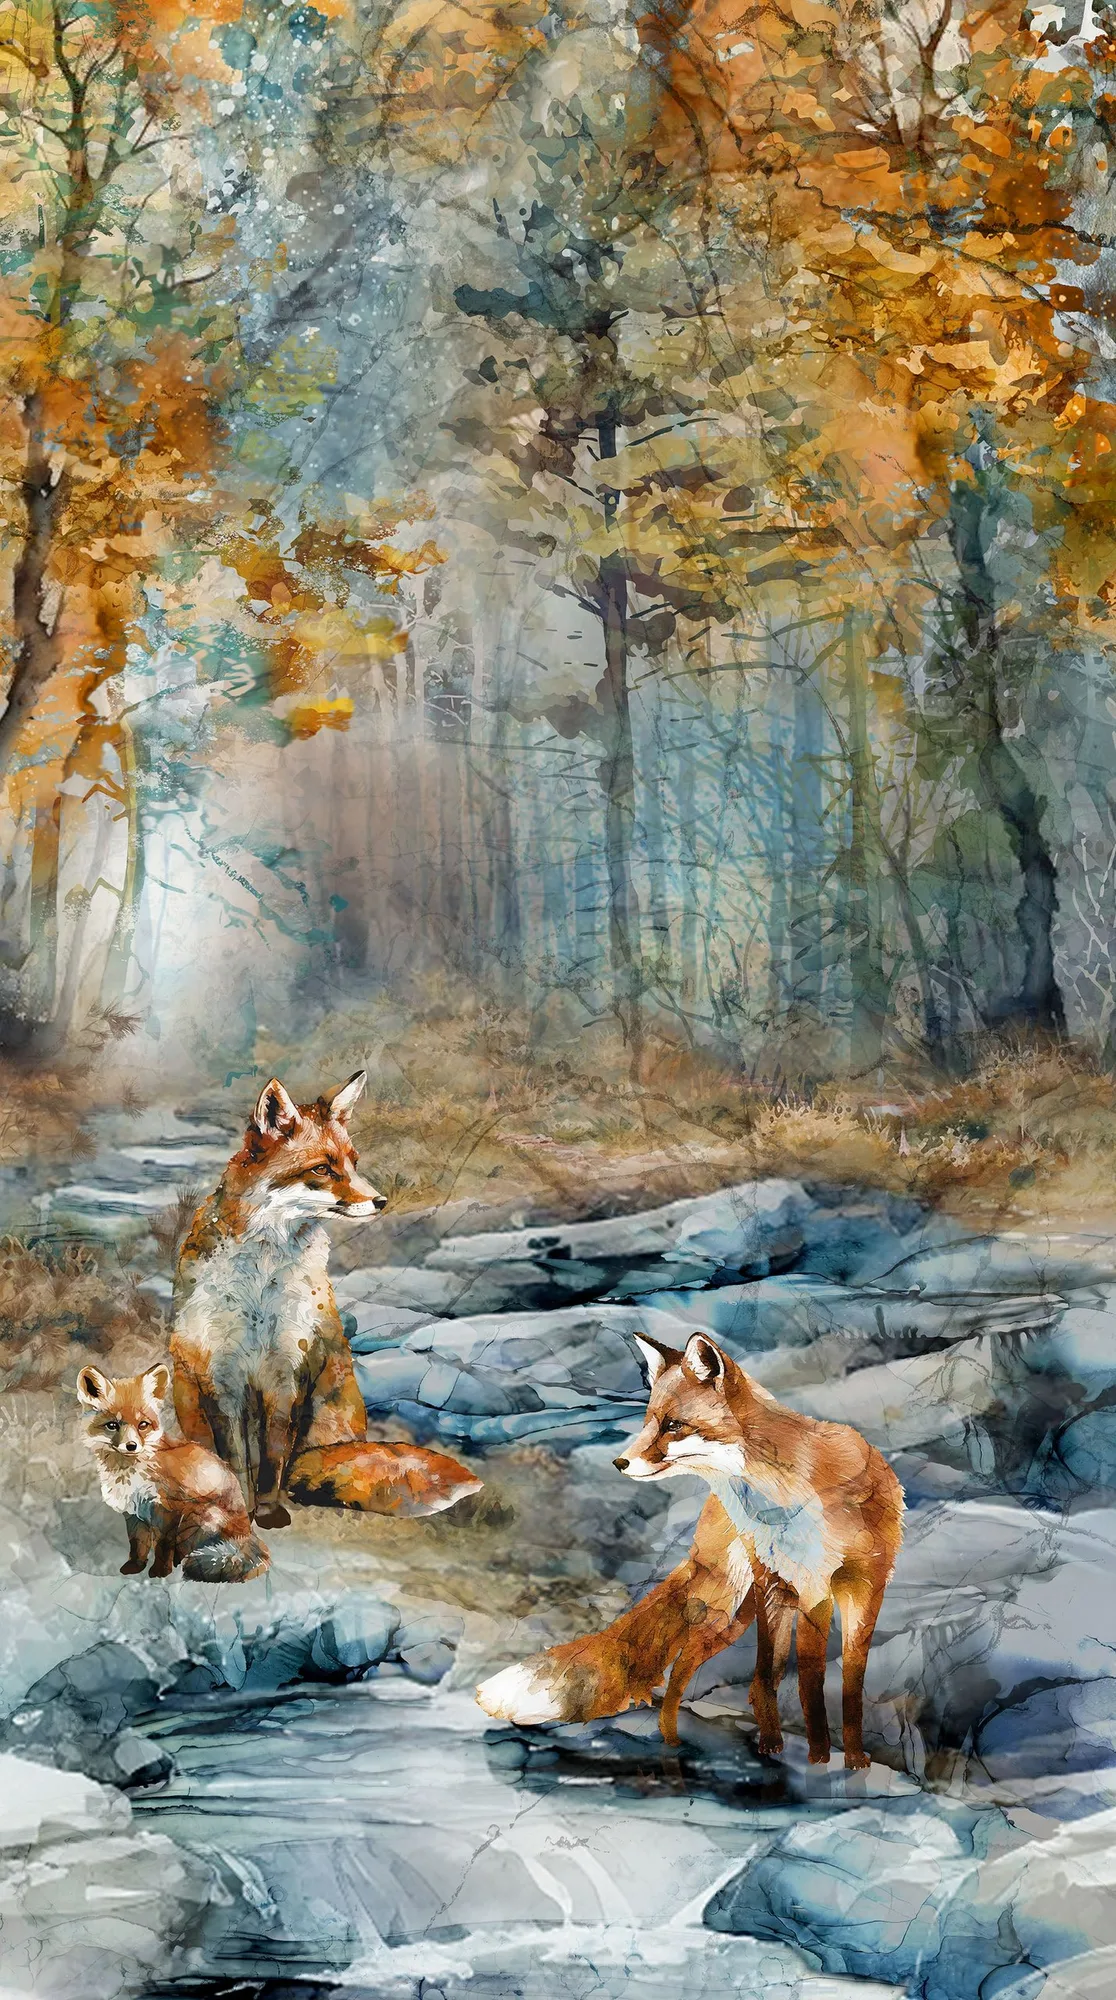
Treat a fabric panel as a finished center medallion: square it first, then add borders or sashing to reach the size you want, quilt it, and bind it. For the Northcott Fox Den panel, its 24" x 43" size gives you a strong starting rectangle, so measure before you cut and choose borders that repeat the panel's colors.
Start with the Panel's Real Measurements
Panels are printed on fabric, so the printed image can shift slightly from the listed size. Measure the Fox Den panel at its widest and tallest points after pressing, not just along one edge. If the printed area is not perfectly rectangular, trim to the largest square or rectangle you can get while keeping the design centered.
A common mistake is cutting the panel to a perfect square before checking whether the artwork still looks balanced. Lay it on a large mat or floor and step back. If trimming removes part of a fox or tree, adjust your cut line to preserve the scene.
Choose Borders That Support the Scene
The Fox Den panel uses a woodland scene, so borders in the same green, rust, and cream family will frame it without competing. A narrow inner border in a solid or tone-on-tone fabric separates the panel from a wider outer border. If you want a larger quilt, add a second border rather than making one border very wide, which can look heavy.
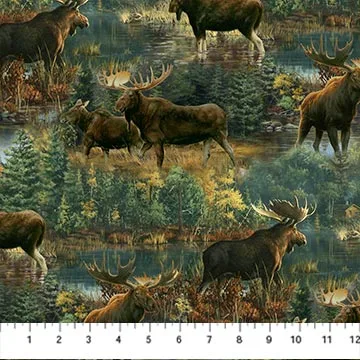
For a coordinated border fabric, the Northwood Naturescapes scenic print in Green/Multi can echo the panel's outdoor colors. Cut border strips along the fabric's lengthwise grain when possible; that reduces stretch and keeps long edges straight.
Add Sashing or Cornerstones for a Different Look
Sashing turns a single panel into a larger quilt without hiding the artwork. Sew vertical sashing strips to the panel sides, then horizontal strips across the top and bottom. Cornerstones, small squares at the intersections, help align the rows and add a secondary color.
Checkpoint: measure the panel's side length and cut both vertical sashing strips to that exact measurement, not to the pattern's listed size. Panels are often slightly off from the pattern, and matching the real measurement prevents wavy borders.
Layer, Quilt, and Bind the Panel Quilt
For a panel quilt, simple quilting often works best. Stitch in the ditch around the panel's printed border, then add free-motion or walking-foot lines in the border areas. If you quilt over the panel image, choose a thread color that blends or use it as a deliberate design element.
After quilting, square the quilt again before binding. Panels can shift during quilting, so trim the edges to your final measurement. Bind with a fabric that matches the outer border or use a contrasting color to frame the whole piece.
Panel Quilt Steps: From Panel to Finished Quilt
- Press and measure the panel: Press the Fox Den panel from the wrong side, then measure its printed width and height. Write down the numbers; you will use them for borders and sashing. Checkpoint: if the panel is not square, trim to the largest centered rectangle rather than forcing a square.
- Trim to a straight edge: Use a long ruler and rotary cutter to straighten all four sides. Cut only as much as needed to remove the unprinted selvage and any uneven edges. Mistake to avoid: trimming too much off one side and shifting the design off-center.
- Sew inner and outer borders: Cut border strips to the measured panel length, pin carefully, and sew with a consistent seam. Add a narrow inner border first, then a wider outer border if you want more size. Checkpoint: measure the quilt top after each border and cut the next border to that measurement, not to the pattern.
- Add sashing if using cornerstones: If you choose sashing, cut vertical strips to the panel height and horizontal strips to the new width. Add cornerstones at the intersections to keep rows aligned. Mistake to avoid: sewing sashing without measuring the panel first, which causes puckers or wavy edges.
- Layer and quilt: Make a quilt sandwich with batting and backing, baste, then quilt in the ditch around the panel and add simple lines or free-motion designs in the borders. Checkpoint: if you quilt over the panel image, test your thread color on a scrap first.
- Square and bind: Trim the quilted piece to a clean rectangle, then bind with double-fold binding. Hand or machine stitch the binding to finish. Next step: label the quilt with the panel name and date before using or gifting it.
Panel and Pattern Facts
- NORTHCOTT - Fox Den by Deborah Edwards and Melanie Samra - Fox Den Panel - PL1231: The Fox Den Panel is 100% cotton quilting fabric and measures 24" x 43". That size makes it a ready-made center for a wall hanging or crib quilt; add borders to reach a larger size.
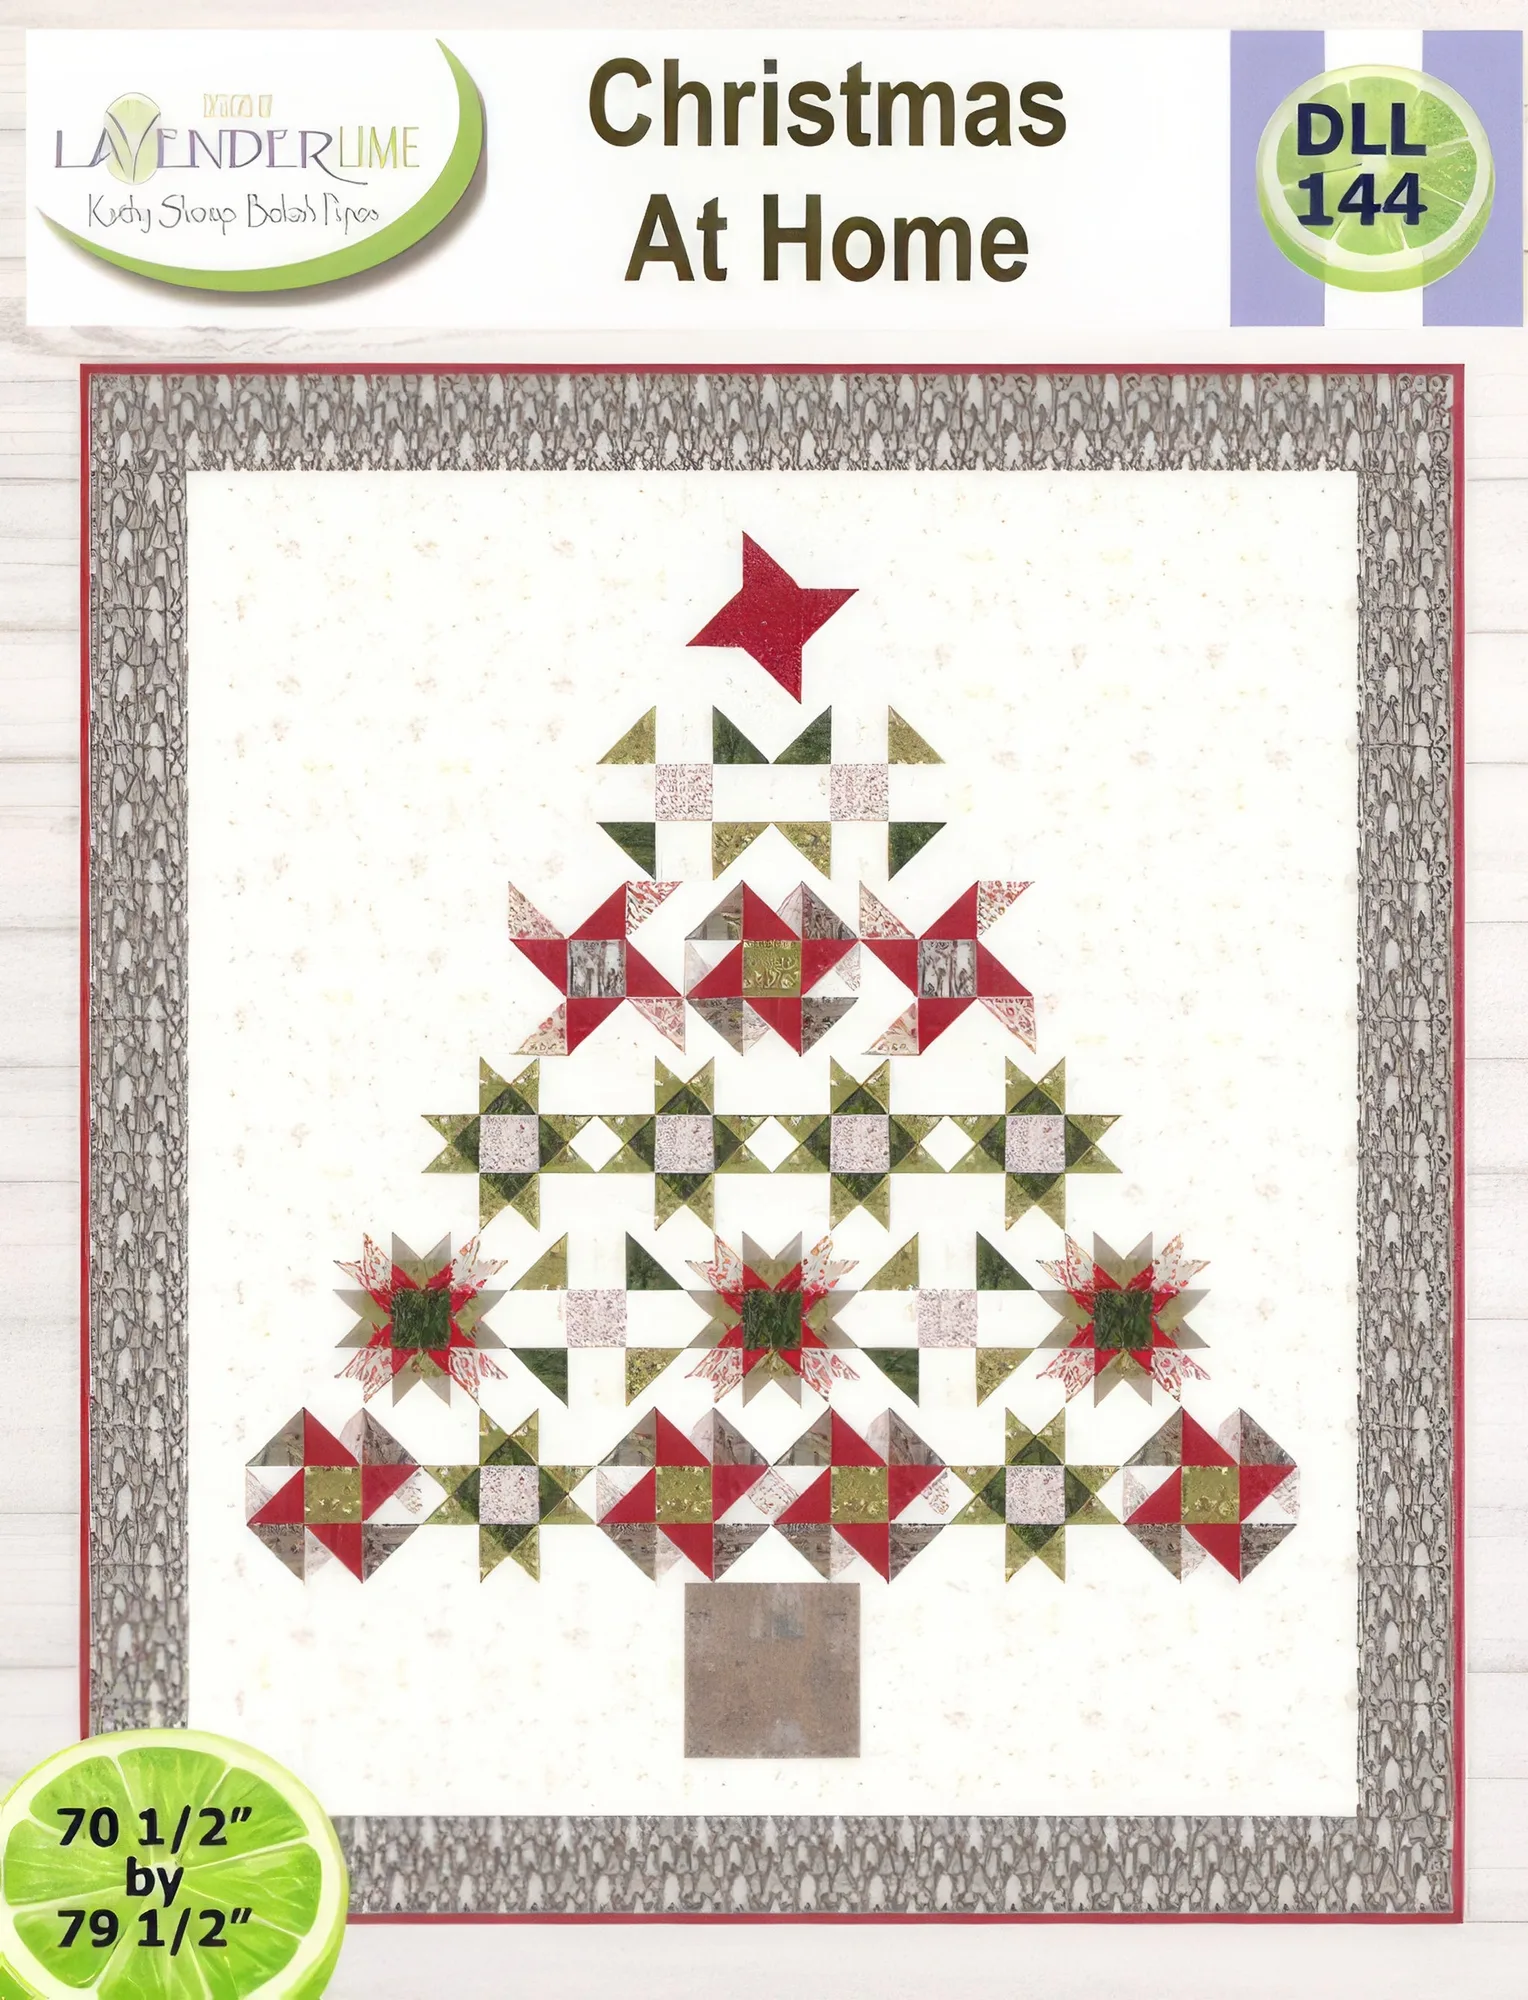
- Christmas at Home Quilt Pattern by Lavender Lime Quilting: Christmas at Home Quilt Pattern by Lavender Lime Quilting uses a variety of blocks and can be made as a gift or Christmas decor. If you want a block-based project alongside your panel quilt, this pattern gives you a seasonal option with varied piecing.
- NORTHCOTT - Northwood Naturescapes by Hautman Brothers - Scenic - Green/Multi: Northwood Naturescapes by Hautman Brothers is a scenic print in Green/Multi. Its outdoor color range can coordinate with the Fox Den panel for borders or sashing without matching the panel exactly.