Quick answer
Most NZXT case fan noise comes from three fixable sources: a fan curve that spins fans faster than the workload needs, restricted airflow that forces fans to work harder, or a fan that is simply the wrong type for the spot it sits in. Start by identifying whether the noise is a whoosh, a rattle, or a whine, then adjust your fan curve and airflow before buying replacement fans. If the noise persists after those steps, the fan itself is the problem.
Fan noise in an NZXT case is rarely one single problem. It is usually a mix of how fast the fans spin, how much air they have to move, and what kind of fan is doing the work. The good news is that most of it can be reduced without replacing your whole cooling setup.
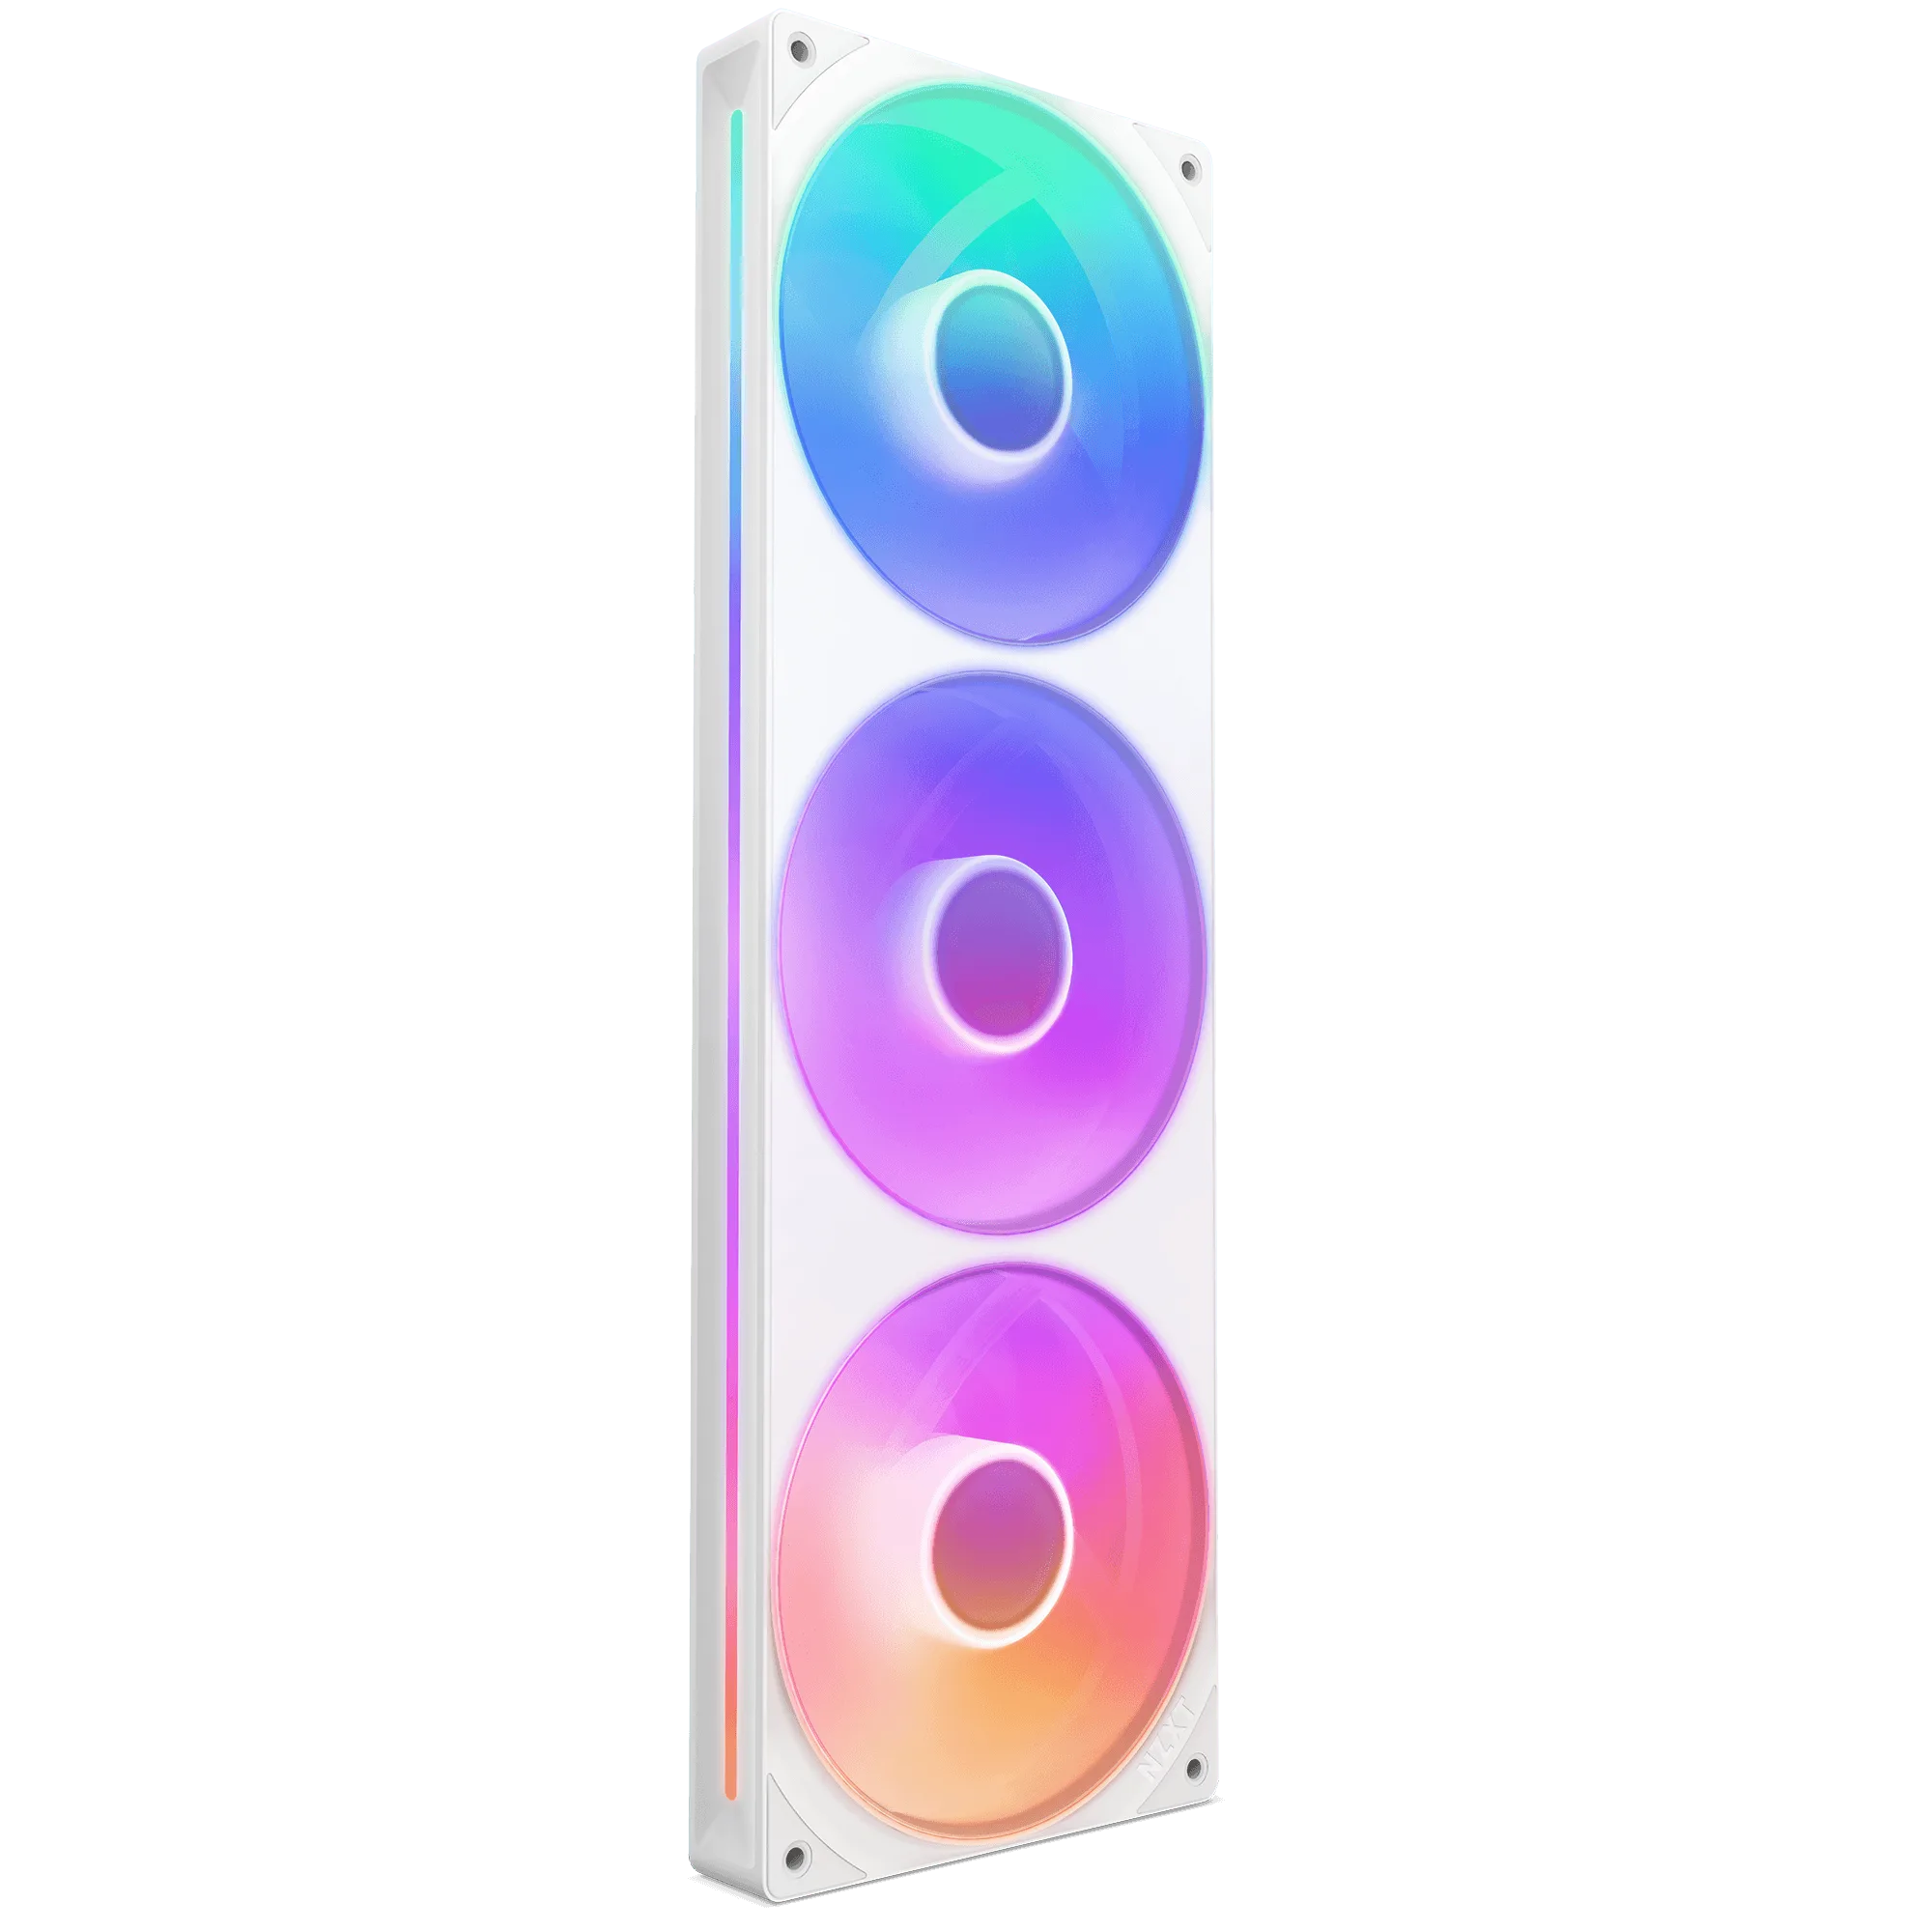
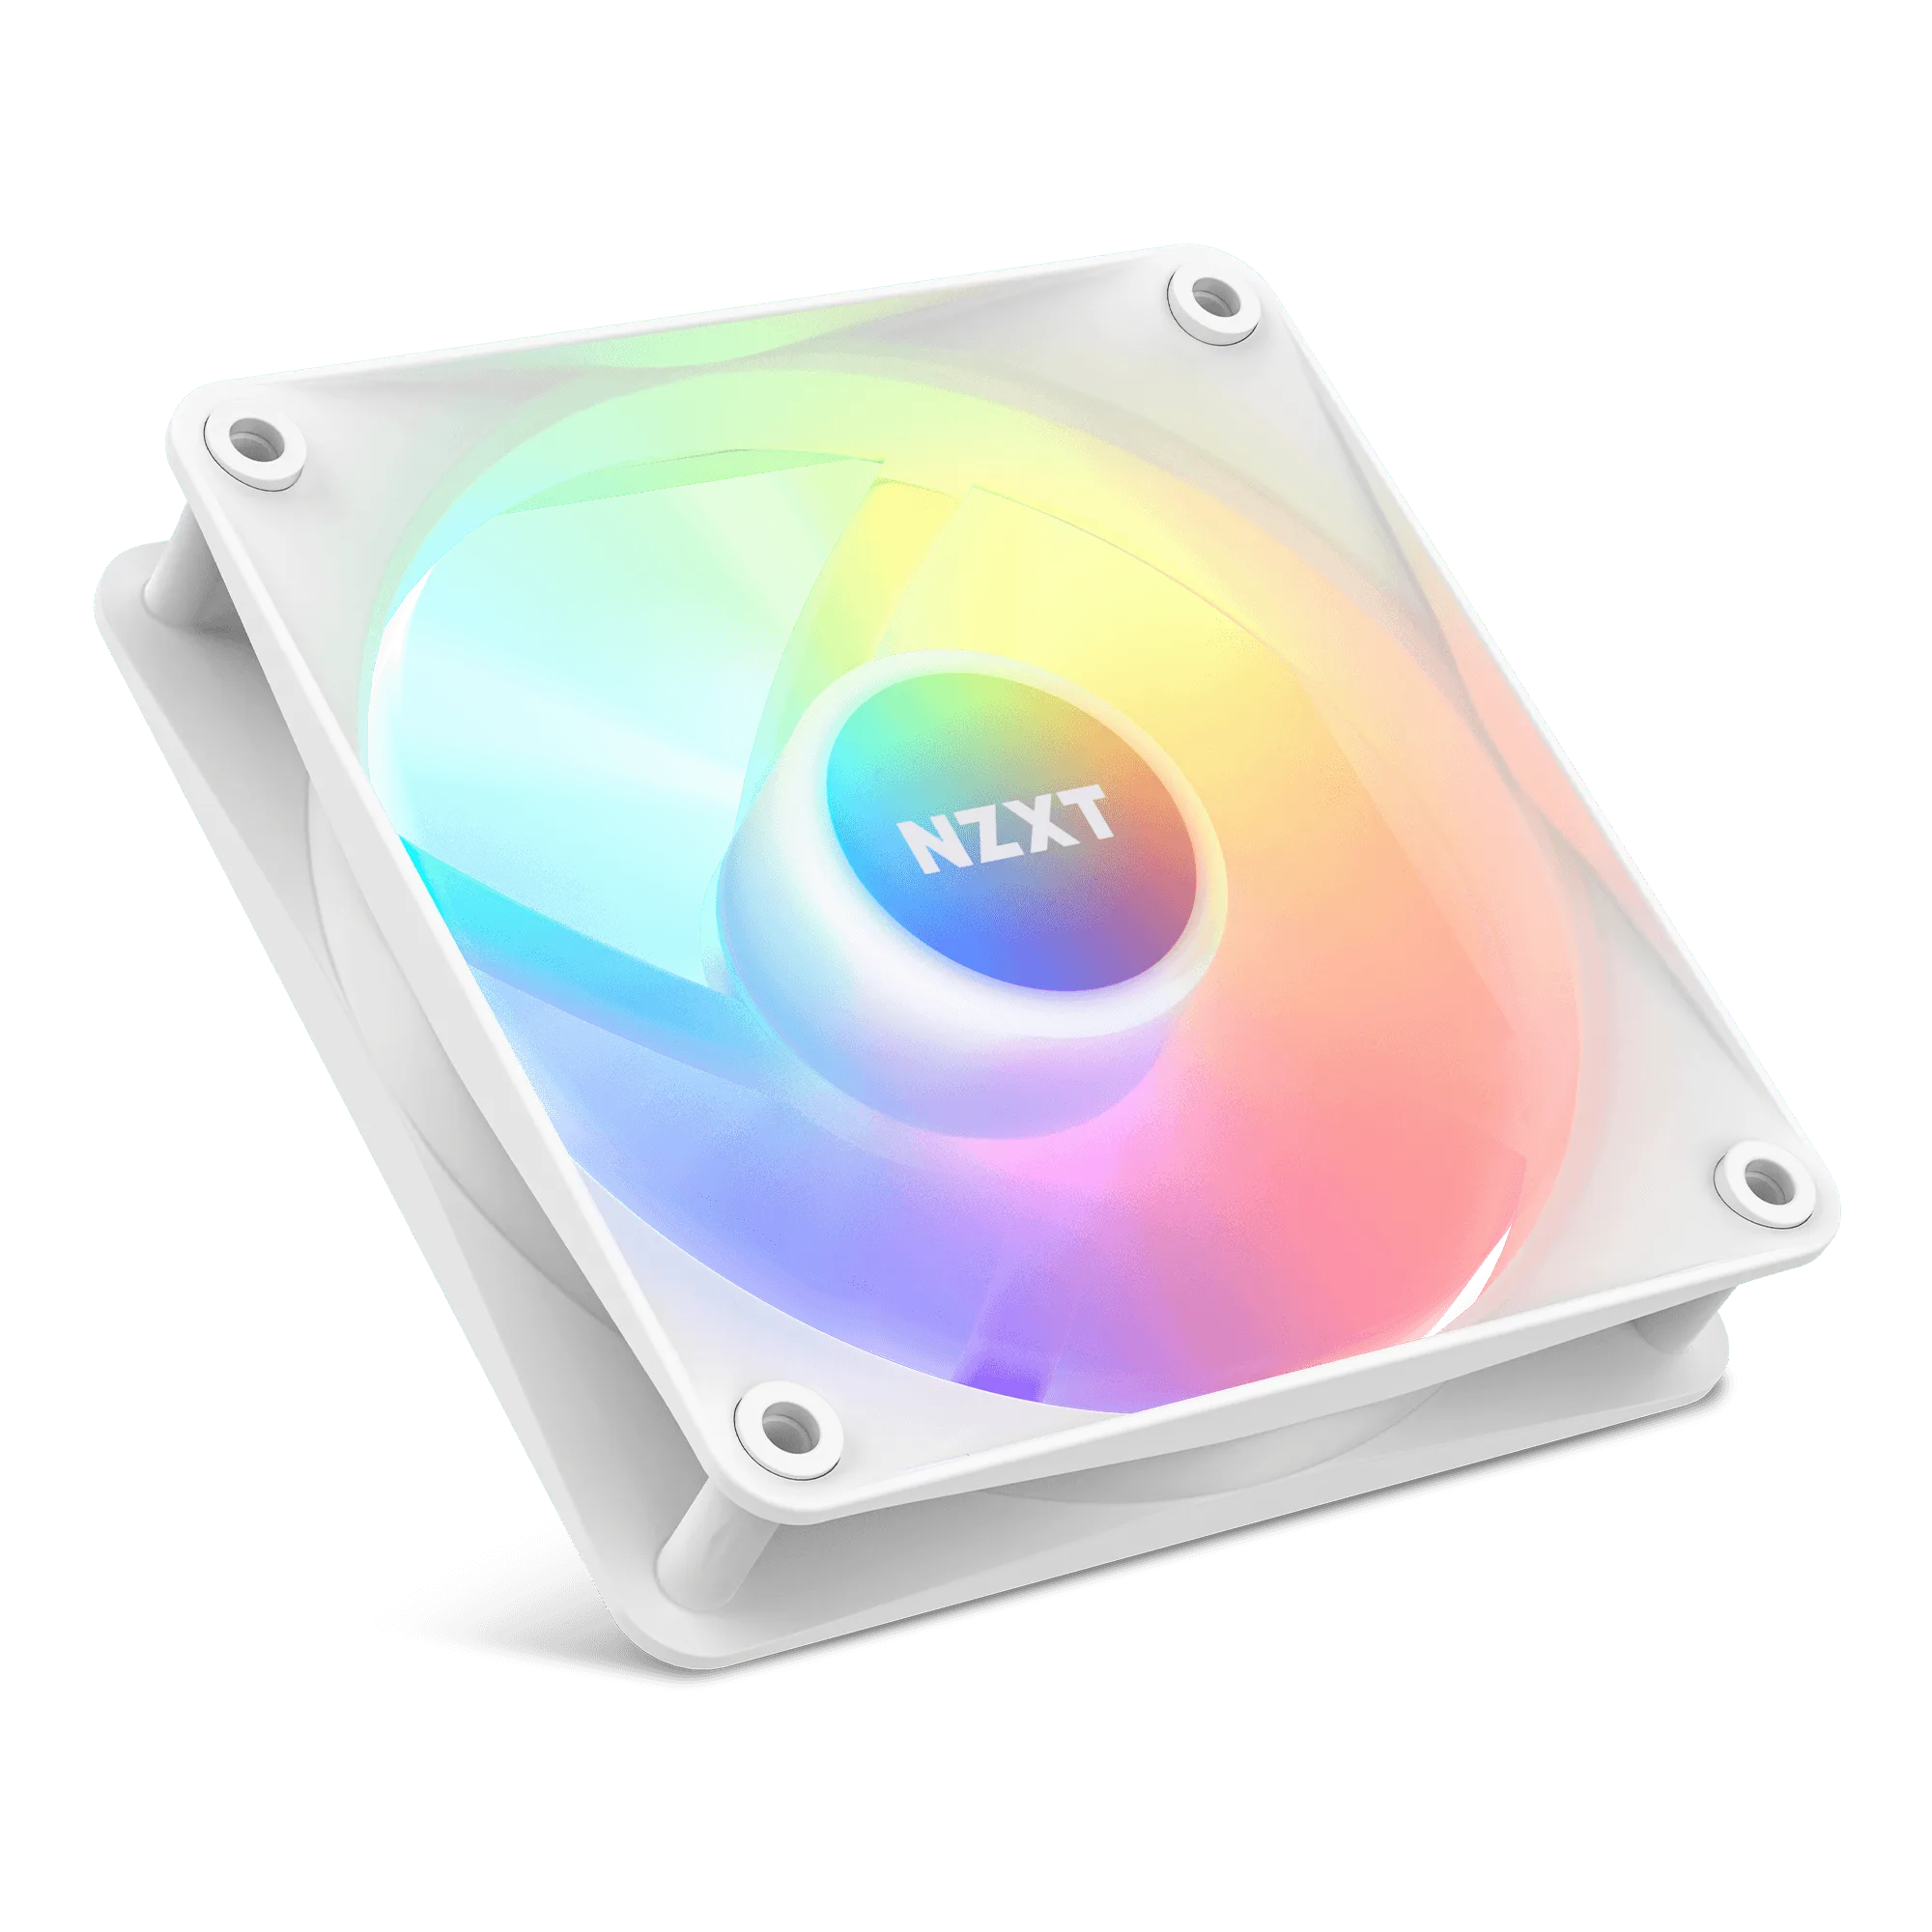
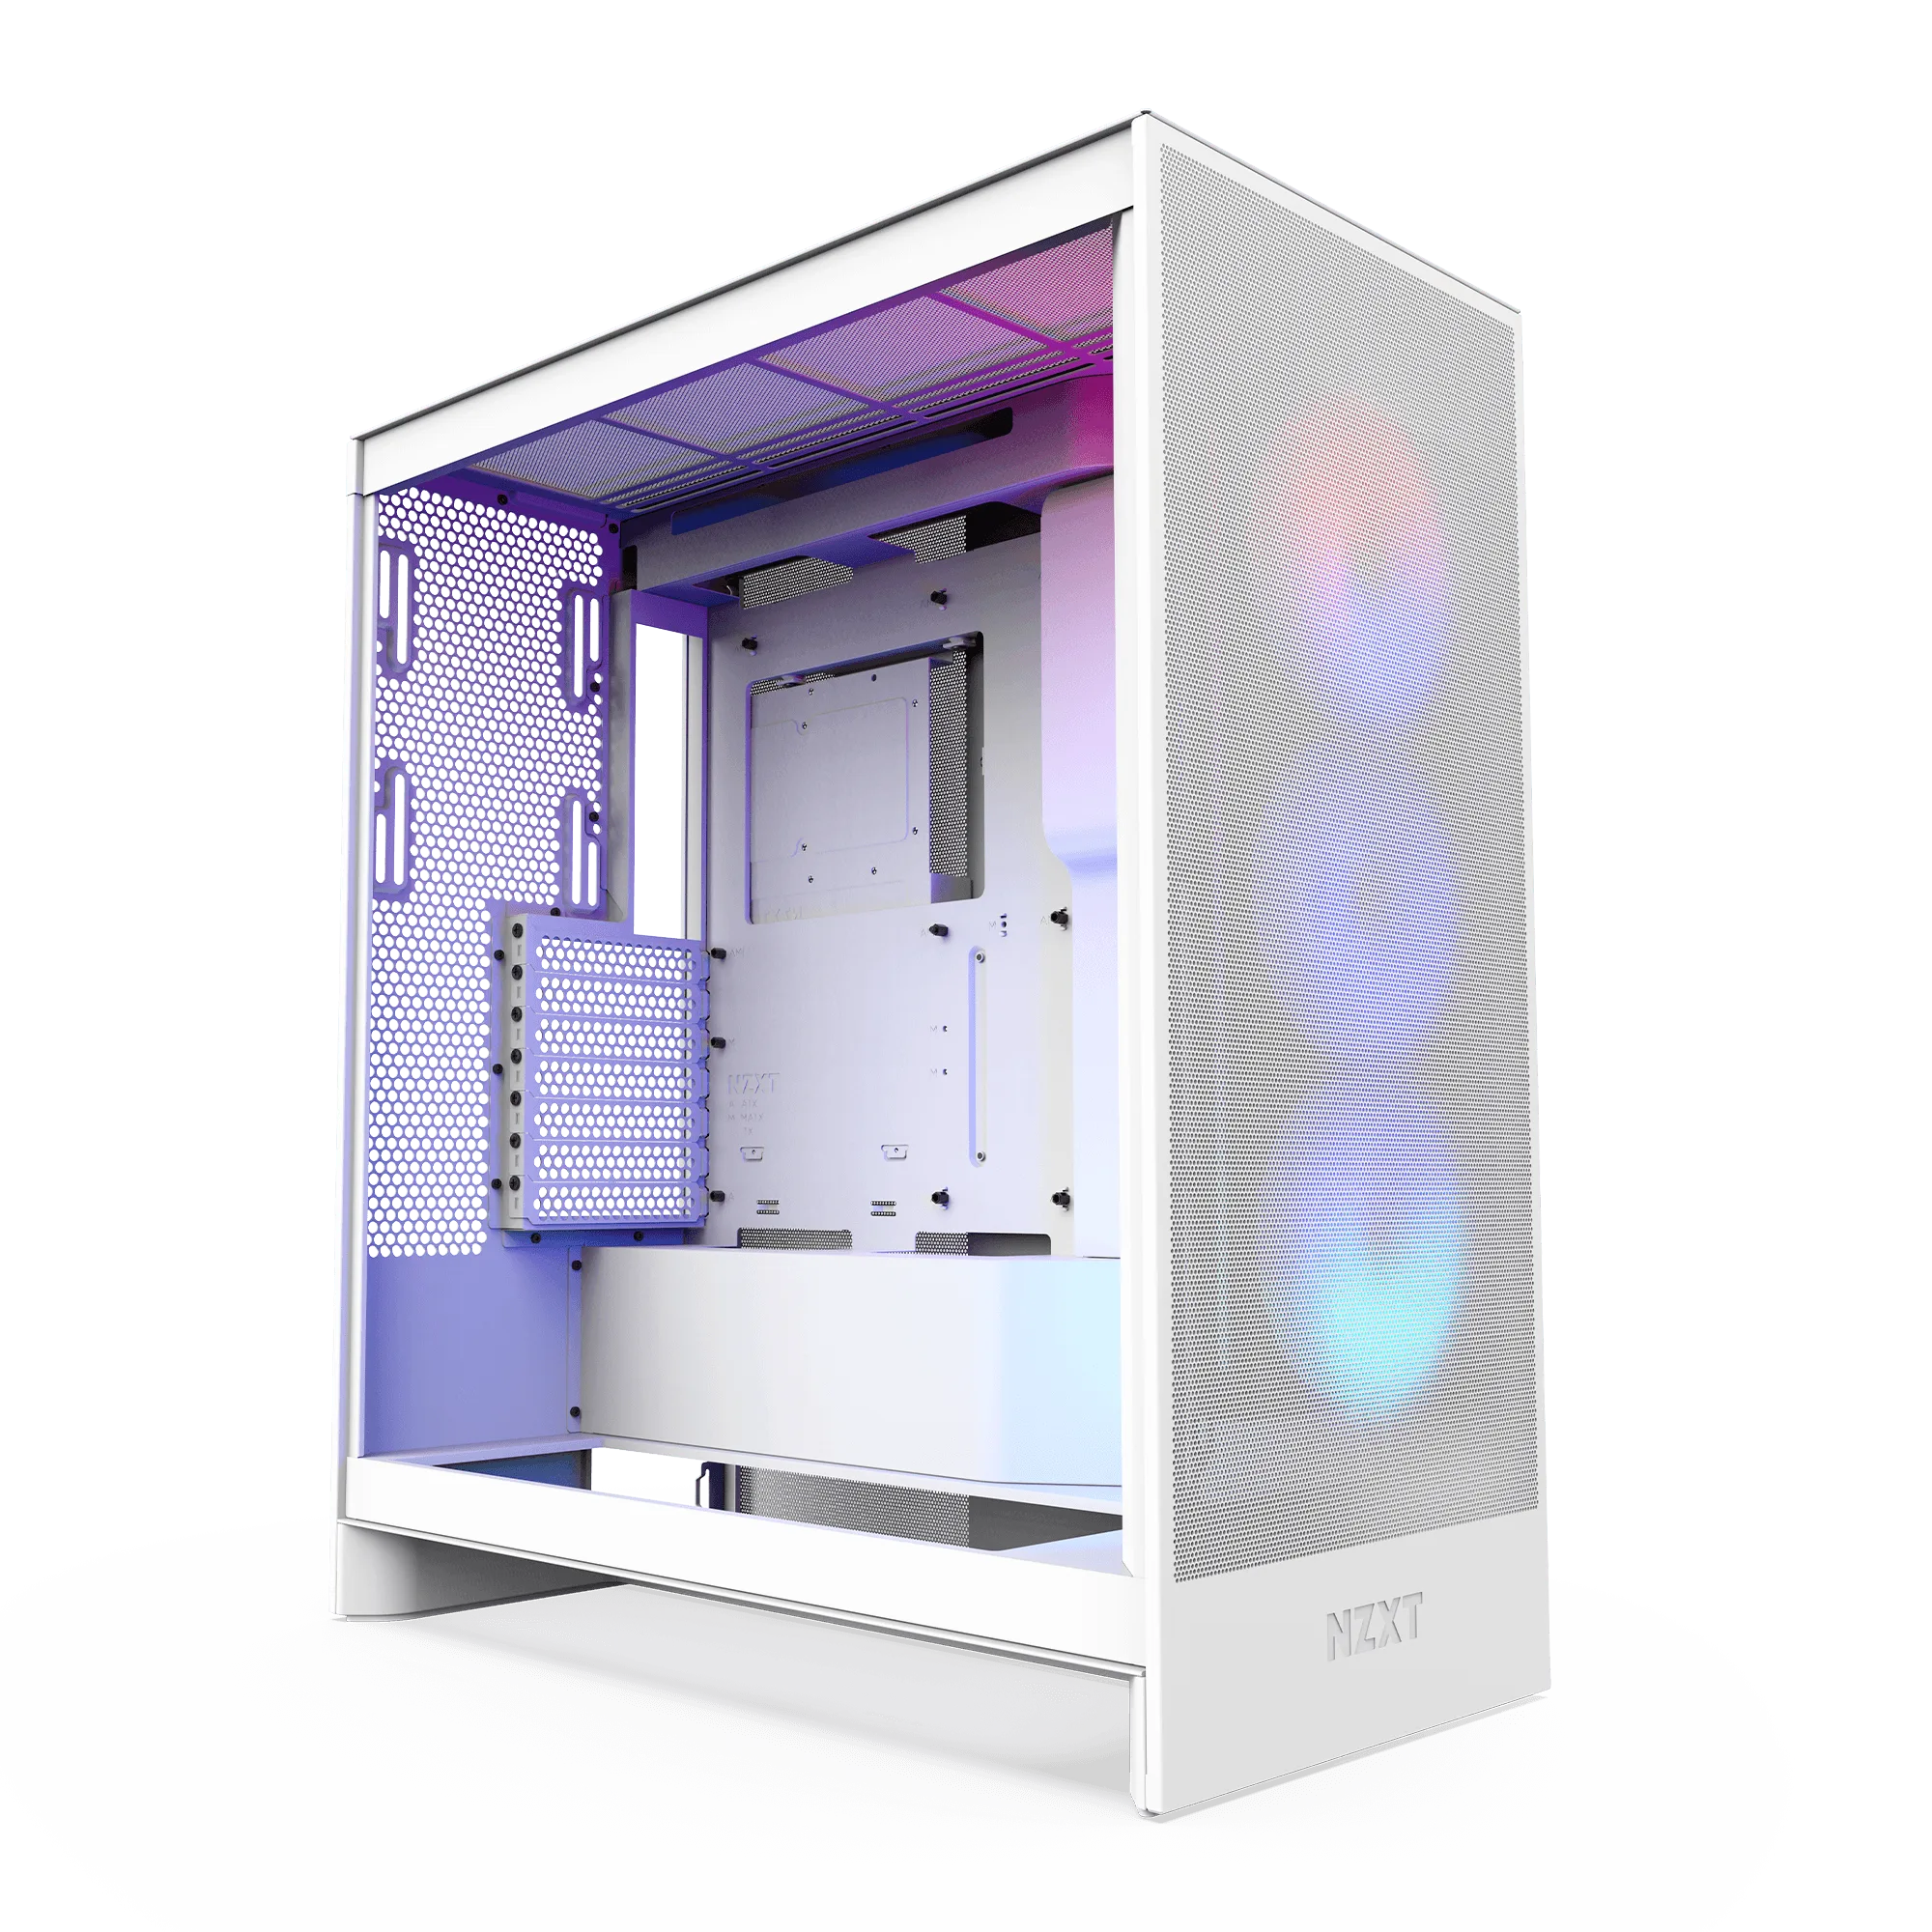
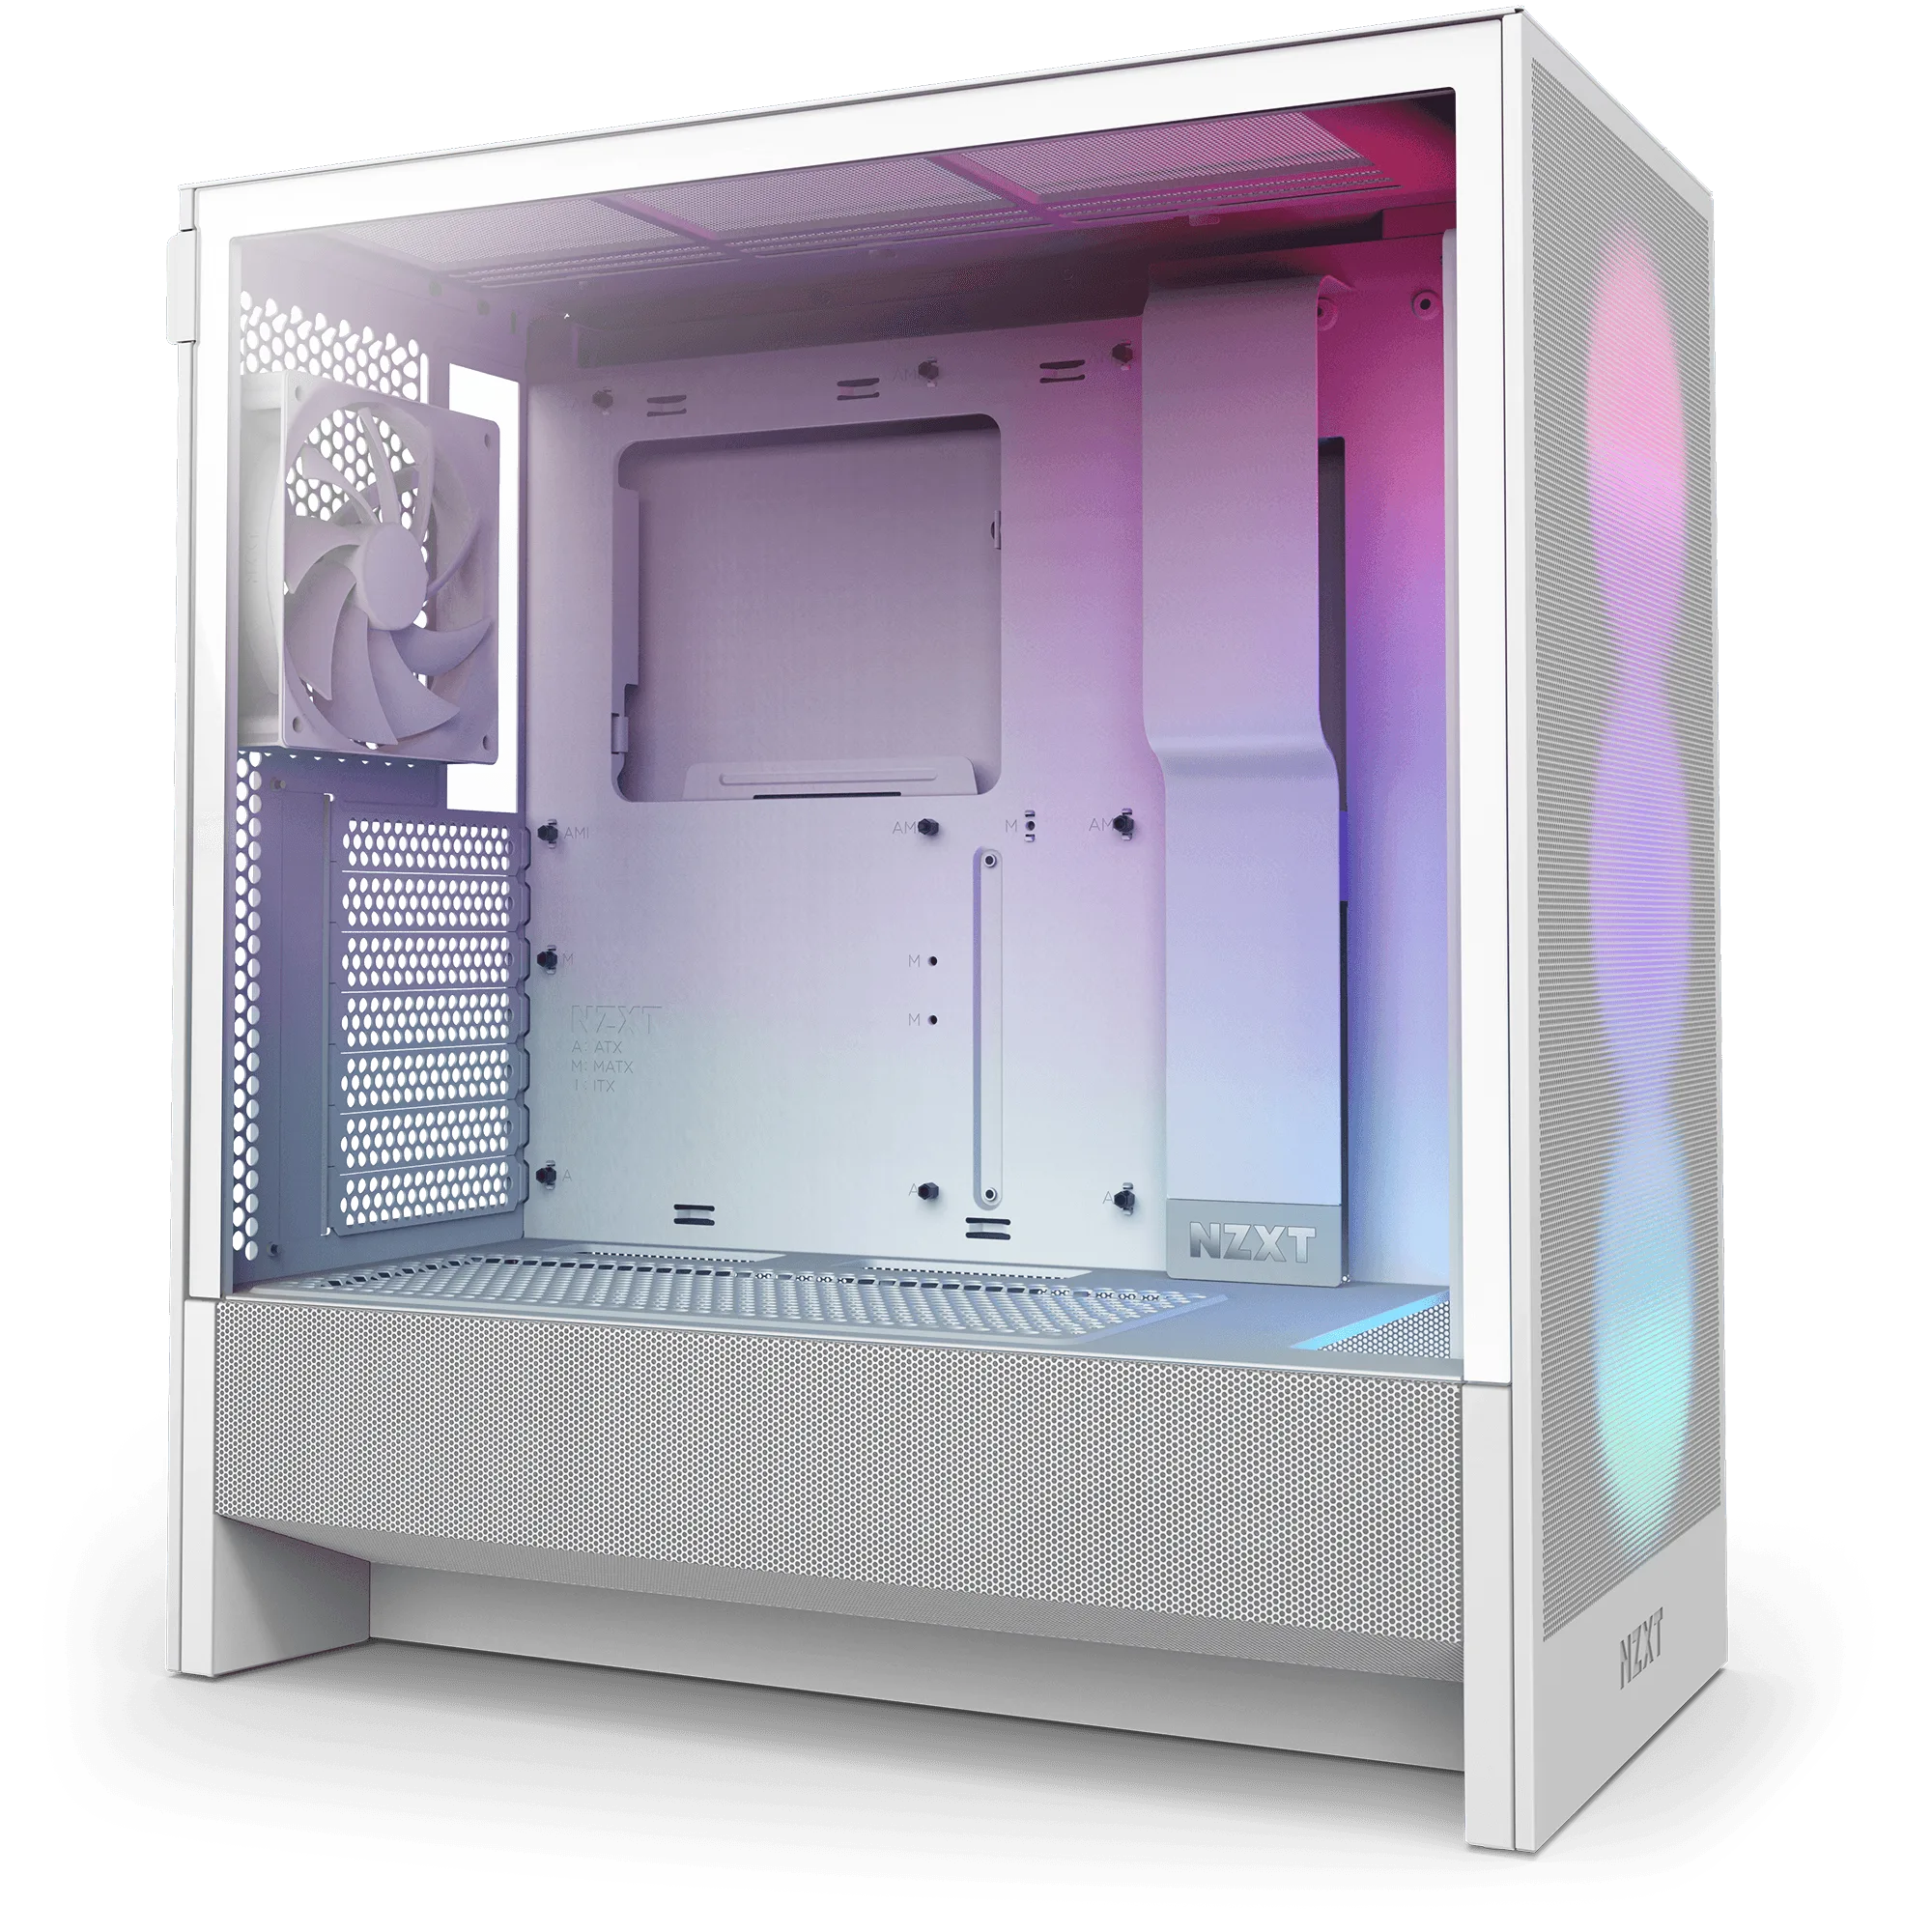
This guide walks through a simple diagnosis: what the noise sounds like, what likely causes it, what to do about it, and the point where further tuning will not help. It covers airflow-focused cases like the H5 Flow RGB and H7 Flow RGB, plus fan options including the F140X, F120X, F140Q, and F120 RGB Core Fans.
Start by identifying the type of noise
Before you change any settings, listen closely and decide which category the noise falls into. A steady whoosh that rises and falls with load is normal airflow noise. A rhythmic rattle or buzz often points to vibration, a cable touching a blade, or a fan mounted loosely. A high-pitched whine or click usually means a bearing issue or a fan running at an RPM it was not designed to hold quietly.
This distinction matters because each type has a different fix. Turning down fan speed will quiet a whoosh, but it will not stop a rattle caused by a loose screw or a cable brushing a fan. Chasing the wrong cause wastes time and can lead you to buy fans you did not need.
- Whoosh or hum that scales with load: usually airflow and fan curve related.
- Rattle or buzz at specific RPMs: check mounting, screws, and cable clearance.
- Whine, click, or grinding: often a bearing or motor issue, not a tuning issue.
Check airflow before you touch fan curves
Restricted airflow makes fans work harder and spin faster for the same cooling result. In an NZXT case, that often means dust buildup on mesh panels and filters, or a case sitting against a wall or on carpet where intake air is limited. Clean the mesh and filters first, then make sure the case has clear space in front and underneath for intake.
Case design also plays a role. The H5 Flow RGB uses perforated mesh panels and a perforated PSU shroud to feed air to the GPU, while the H7 Flow RGB adds a vertical PSU layout with room for three bottom-mounted 120 mm fans for direct GPU cooling. If your case supports bottom intake and you are not using it, adding fans there can lower GPU temperatures and let the rest of your fans run slower.
- Clean mesh panels and filters before adjusting anything else.
- Keep at least a few inches of clearance in front of and below the case.
- Use available bottom intake positions to feed the GPU directly.
Tune your fan curve to match your workload
A fan curve that ramps aggressively at low temperatures is the most common cause of unnecessary noise. If your fans jump to high RPM the moment the CPU hits 60°C, you will hear them during everyday tasks that do not need that much cooling. Set a gentler slope so fans stay at low RPM until temperatures actually climb, and add a short delay so brief spikes do not trigger a ramp-up.
PWM control helps here. Fans like the F140Q use fluid dynamic bearings and PWM control to keep things quiet and efficient, which makes them easier to tune for low-noise operation. If your fans are running at a fixed voltage or a very steep curve, smoothing that curve is often the single biggest noise reduction you can make.
- Set a flat low-RPM zone for idle and light loads.
- Add a ramp delay of a few seconds so short temperature spikes do not spin up fans.
- Use PWM control where available for finer speed adjustment.
Match the fan to the job it is doing
Not every fan position needs the same fan. Radiators and dense filters benefit from high static pressure, while open intake and exhaust spots favor airflow. Putting an airflow-optimized fan on a radiator can force it to spin faster to push air through the fins, which increases noise. Putting a high-static-pressure fan in an open spot may be unnecessary but is rarely harmful.
The F120 RGB Core Fans are designed with high static pressure to push air through a radiator while providing diffused RGB lighting. The F140Q uses nine sickle-style blades and a chamfered frame to move large amounts of air with concentrated flow, which suits intake or exhaust. Matching fan type to position lets you run lower RPM for the same cooling.
- Use high static pressure fans on radiators and dense filters.
- Use airflow-focused fans for open intake and exhaust positions.
- Do not assume a bigger fan is always quieter; blade design and bearing matter more.
Reduce vibration and mechanical noise
If the noise is a rattle or buzz rather than a whoosh, the fix is mechanical. Check that every fan screw is snug, that no cable is touching a blade, and that the case is not sitting on a hard surface that amplifies vibration. Rubber mounting grommets or soft washers can help if your case and fans support them.
Fan construction also affects vibration. The F140X and F120X use liquid-crystal polymer blades and frames that maintain their shape at high speeds, resisting flex and vibration, along with a hybrid bearing system for durability. That does not make them silent, but it can reduce the buzzing that comes from blades flexing at high RPM.
- Tighten fan screws and check for cables touching blades.
- Move the case off hard floors or add soft feet if vibration is amplified.
- Consider LCP-constructed fans if you run high RPM often.
When to stop tuning and change hardware
There is a point where more tuning will not help. If you have cleaned the case, set a sensible fan curve, matched fan types to positions, and checked for vibration, and the noise is still a whine or click, the fan is likely failing or is simply not the right model for your noise target. At that point, replacing the noisy fan is more effective than further curve adjustments.
Similarly, if your case is small and densely packed, no fan curve will make it as quiet as a larger airflow-focused case with more room for slow-moving fans. The H7 Flow RGB, for example, supports three bottom-mounted 120 mm fans and comes with an F360 RGB Core single-frame fan, which can move a lot of air at lower RPM than a single smaller fan working alone. If quiet operation is the priority and you have already tuned everything, a case with more fan positions may be the better long-term answer.
- Stop tuning when the noise is a whine or click that persists at low RPM.
- Replace a failing fan rather than trying to quiet it.
- If space is tight, a case with more fan positions can be quieter than a small case at high RPM.
Fan noise diagnosis: symptom, cause, action, stop point
- Symptom: steady whoosh that rises with load: Likely cause is an aggressive fan curve or restricted airflow making fans spin faster than needed. Action: clean mesh and filters, clear intake space, and set a gentler fan curve with a ramp delay. If the whoosh drops to an acceptable level at idle and light load, you are done tuning.
- Symptom: rattle or buzz at specific RPMs: Likely cause is vibration from loose screws, a cable touching a blade, or a hard mounting surface. Action: tighten fan screws, reroute cables, and move the case off hard floors or add soft feet. If the rattle stops after tightening and rerouting, no fan replacement is needed.
- Symptom: whine, click, or grinding that persists at low RPM: Likely cause is a bearing or motor issue, or a fan model that is not suited to quiet operation. Action: replace the noisy fan with one designed for lower noise, such as the F140Q for airflow positions or F120 RGB Core Fans for radiators. Stop tuning and replace the fan; further curve adjustments will not fix a mechanical fault.
- Symptom: noise returns after cleaning and tuning: Likely cause is a case that is too small or too densely packed for the cooling load, forcing fans to run at high RPM. Action: consider a case with more fan positions, like the H7 Flow RGB with three bottom 120 mm fan mounts and an included F360 RGB Core fan. If a larger airflow case is not an option, accept a higher noise floor or reduce your component power draw.
NZXT products that help with fan noise
- H5 Flow RGB: The H5 Flow RGB boosts airflow and GPU cooling with its perforated PSU shroud, mesh panels, and large radiator support in a compact mid-tower form factor. The PSU shroud is perforated on the side and bottom, enabling optimal air intake from two 120 mm fans (not included). Better airflow from the shroud and mesh means your fans do not have to spin as fast to keep the GPU cool, which directly reduces noise.
- H7 Flow RGB: The H7 Flow RGB revolutionizes GPU cooling in a classic mid-tower form factor. Its vertical PSU layout allows space for 3 x 120 mm bottom fans, offering efficient cooling without expanding the case footprint. It comes equipped with a F360 RGB Core single-frame fan. Three bottom fans can cool the GPU at lower RPM than a single fan working harder, and the included F360 RGB Core fan gives you a quiet starting point.
- F140Q: NZXT Quiet Airflow Fans offer high-performance, low-noise cooling for heat-prone PCs. Optimized blades and a chamfered frame provide powerful concentrated air, while fluid dynamic bearings and PWM control keep things quiet and efficient. Fluid dynamic bearings and PWM control make the F140Q easier to tune for low-noise operation, especially in intake or exhaust positions.
- F120 RGB Core Fans: The F Series RGB Core Fans offer brilliant lighting with eight individually addressable RGB LEDs and premium cooling with high static pressure. A refined hub and blade design offer enhanced static pressure by pushing air through your radiator. High static pressure means these fans can push air through a radiator without needing to spin as fast, which helps keep radiator noise down.
Fan noise in NZXT cases is usually a tuning and airflow problem before it is a hardware problem. Work through the diagnosis in order: identify the sound, clean and clear the airflow, smooth the fan curve, and match fan type to position. Only replace fans when the noise is mechanical or when your case simply cannot move enough air quietly. That approach saves money and gets you a quieter build faster.