Quick answer
Install Incision Motor Plate Caphead Washers under each M3 caphead screw that fastens the motor plate, with the washer sitting flat against the plate face. Snug the screws in a cross pattern, then stop at firm contact, because these washers spread load and protect the plate rather than adding clamping force. If a screw bottoms out before the washer seats, you have the wrong hardware or a stripped hole.
A motor plate takes constant vibration from the motor and drivetrain, and that load travels straight through the screw heads into the plate. Caphead washers give those screws a wider bearing surface, which keeps the plate face from deforming around each hole and helps the motor stay put. The Incision Motor Plate Caphead Washer (4) is made for exactly this job on a VS4-10 motor plate.
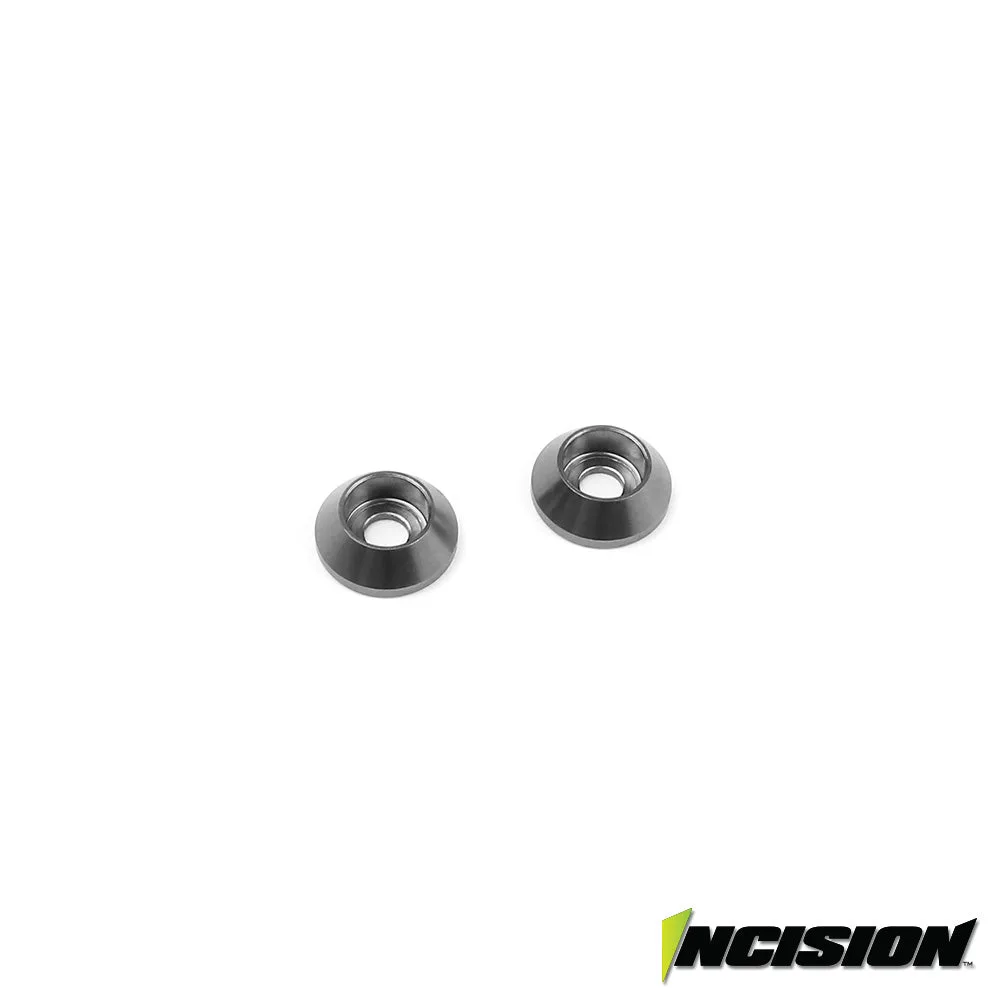
Incision Motor Plate Caphead Washer (4)
This guide walks through the install in order, from checking hardware to the final torque pass. Each step includes the mistake that causes most problems, so you can catch it before it costs you a plate or a stripped screw.
What the washers do and when to use them
The Incision Motor Plate Caphead Washer (4) is a machined aluminum washer, grey anodized, sized at 10mm outer diameter by 3.5mm tall. It is intended for M3 caphead hardware and recommended for use with the VS4-10 motor plate. The four-pack covers the typical motor plate screw pattern, so you are not buying more than you need for one plate.
Use them anywhere an M3 caphead screw clamps the motor plate to the chassis or gearbox. The wider face spreads screw load across the plate instead of concentrating it at the screw head. That matters most on repeated teardowns, where a bare screw head can chew into the plate and loosen its grip over time.
- Check that your motor plate screws are M3 caphead before ordering; these washers are sized for that hardware.
- Keep the four washers together for one plate rather than mixing them into general hardware, so you always have a full set.
Prep the plate and hardware before you install
Clean the motor plate face and the screw holes before assembly. Grease, threadlocker residue, or grit under a washer keeps it from sitting flat, and a tilted washer loads one edge of the plate. Wipe the plate with a clean cloth and run a toothpick or small pick through each hole to clear old threadlocker.
Lay out your M3 caphead screws and the four Incision washers. Confirm each screw threads in freely by hand before adding the washer, because a screw that binds without a washer will bind worse with one. If a hole is stripped, fix that first; a washer cannot rescue damaged threads.
- Do not add threadlocker to the washer itself; apply it to the screw threads only, and sparingly.
- If you are reusing screws, replace any with rounded hex sockets before they round out completely.
Seat the washers and run the screws in order
Slide one washer onto each M3 caphead screw, then start all screws by hand until the washer contacts the plate. The washer should sit flat with its full face against the plate, not tilted on a burr or trapped over a chamfer. If a washer rocks, back the screw out and check the plate face for debris or damage.
Once all screws are started, tighten in a cross pattern rather than going around the plate in a circle. Alternating opposite screws keeps the plate from cocking to one side as it seats. Bring each screw down in small increments until the washer is held firmly and the plate no longer moves.
- A washer that spins freely under a snug screw is not seated; remove it and inspect the plate face.
- If one screw feels soft or keeps turning, stop and inspect the threads instead of adding force.
Torque, check, and avoid the common mistakes
These washers are aluminum, so treat the final tighten as a feel step, not a strength test. Stop when the screw head contacts the washer and the washer contacts the plate with no gap. Going further compresses the washer into the plate and can strip the M3 threads in the gearbox or motor mount.
After the first pass, spin the motor by hand and check for any plate movement or rubbing. Run the truck gently for a few minutes, then recheck each screw. A screw that has loosened usually means the washer was not flat or the threadlocker was applied too heavily and never cured.
- Common mistake: overtightening to stop a vibration that is actually coming from a worn bearing or loose pinion.
- Common mistake: leaving a washer out because a screw seemed long enough; the missing washer changes how that corner of the plate loads.
Motor plate washer install steps
- Confirm the hardware: Check that your motor plate screws are M3 caphead and that you have four Incision Motor Plate Caphead Washers. Checkpoint: a screw that will not start by hand needs thread repair, not a washer.
- Clean the plate and holes: Wipe the plate face and clear old threadlocker or grit from each hole so the washers can sit flat. Checkpoint: any washer that rocks on the plate means the face is not clean or is damaged.
- Start all screws by hand: Slide one washer onto each screw and thread them in by hand until the washer contacts the plate. Checkpoint: all four screws should start easily before you tighten any of them.
- Tighten in a cross pattern: Snug the screws in small increments, alternating opposite corners, until the plate is held firmly. Checkpoint: the plate should not cock or shift as you tighten.
- Stop at firm contact: Tighten only until the screw head meets the washer and the washer meets the plate with no gap. Checkpoint: if the washer starts to compress or the screw spins, back off and inspect the threads.
- Recheck after a short run: Run the truck gently, then recheck each screw for looseness and look for plate movement. Next step: if a screw keeps loosening, replace the screw and recheck the plate face.
Product facts that affect this install
- Incision Motor Plate Caphead Washer (4): Machined aluminum grey anodized washers for M3 caphead hardware, recommended for use with the VS4-10 motor plate, 10mm OD x 3.5mm tall, includes 4 washers. The 10mm outer diameter gives each M3 screw a wider bearing surface on the plate, and the 3.5mm height means you should check screw engagement before final tightening.
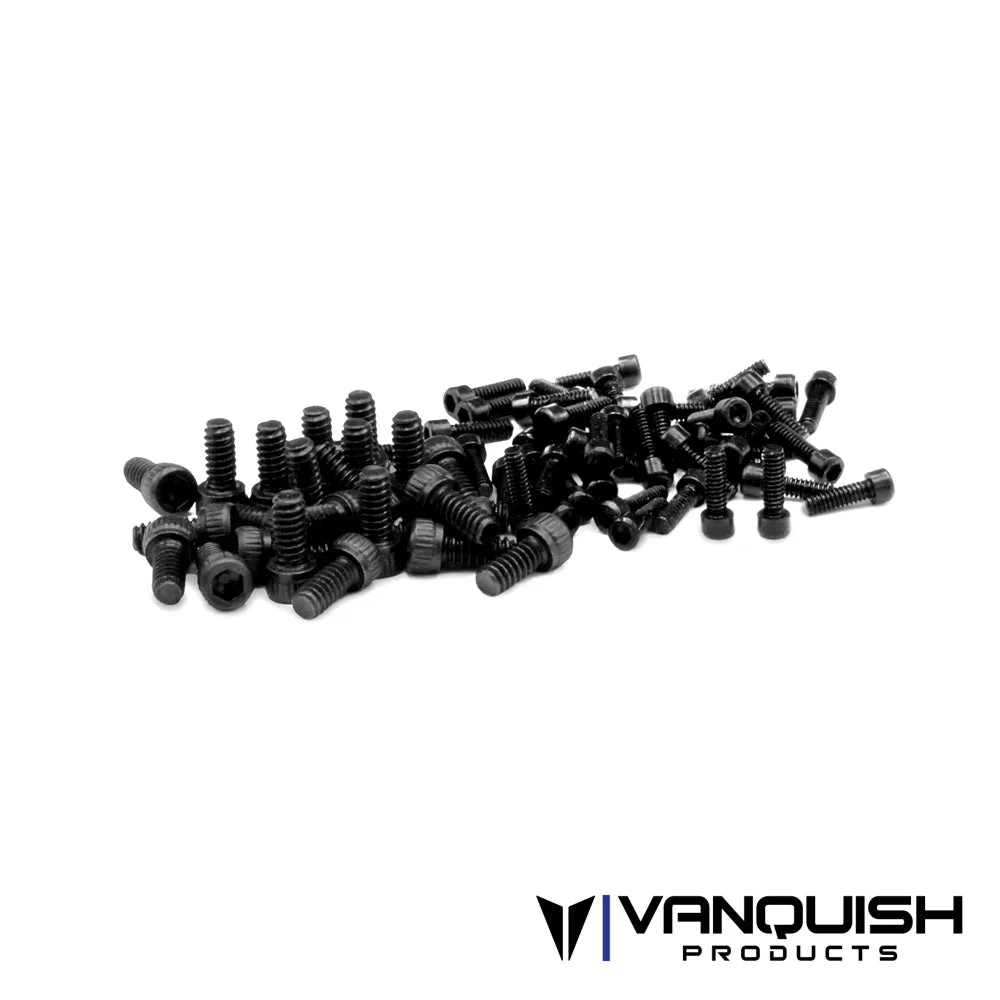
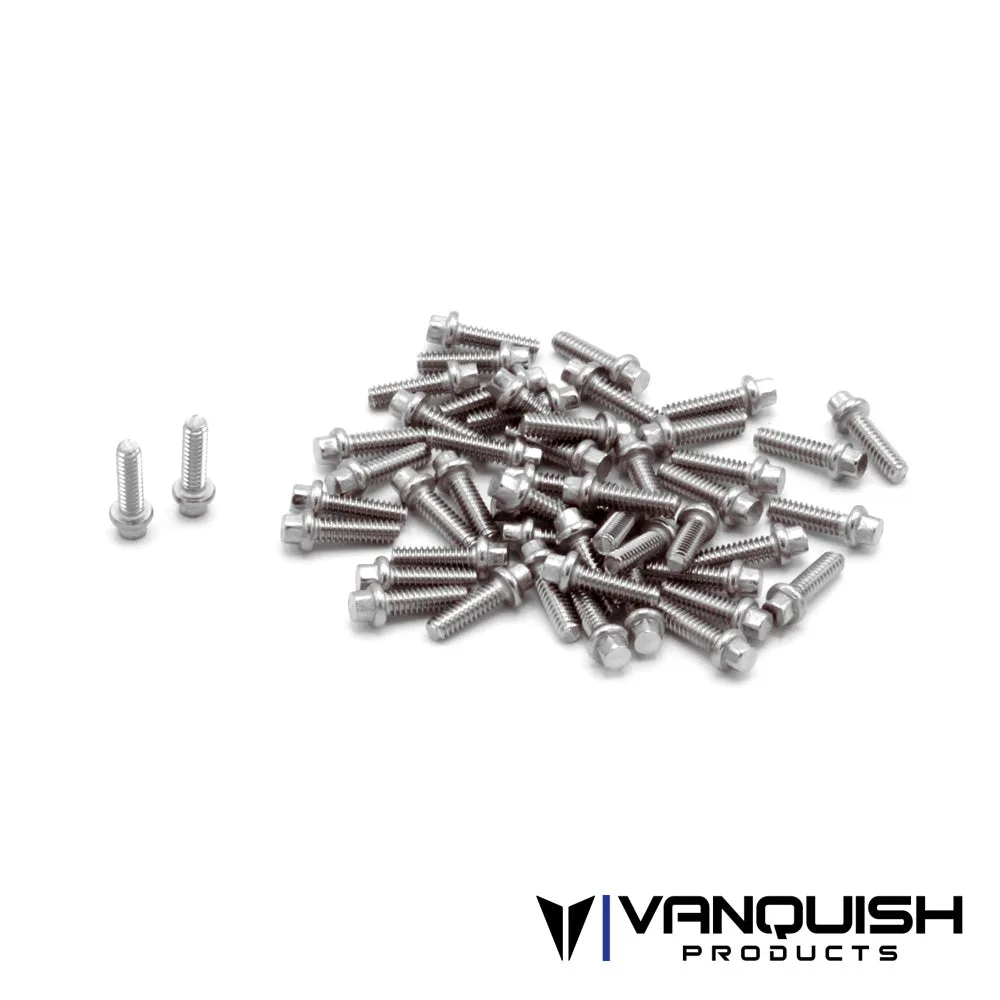
- Hex Scale Wheel Screw Kit: Vanquish Products Scale Hardware for beadlock wheels using 1-64 hardware, 50 pieces, with a maximized 2mm hex. If you are already placing a hardware order for a build, this kit covers beadlock wheel screws, but it is not a substitute for the M3 caphead hardware your motor plate needs.
Caphead washers are a small part that solves a specific problem: keeping M3 screw load spread across the motor plate instead of digging into it. Install the Incision set flat, tighten in a cross pattern, and stop at firm contact. Then recheck after the first run, and the plate will stay put through normal trail vibration.