Quick answer
Finish a needlepoint ornament by blocking the stitched canvas flat, trimming it with a seam allowance, and sewing a backing fabric to the front with a hanging loop tucked inside. Small canvases like a 3.5" x 2.25" design are ideal because they finish quickly and hold their shape well. Work slowly at the corners and clip curves before turning.
A finished ornament is one of the most satisfying ways to use a small needlepoint canvas. The stitching is done, the design is charming, and now you need to turn that flat piece of canvas into something you can hang, gift, or pack away with the holiday decorations. The good news is that ornament finishing does not require a sewing machine or advanced skills; a needle, thread, backing fabric, and a little patience are enough.
This guide walks through the process in order, from preparing the stitched canvas to adding the final hanging loop. It focuses on small projects, including seasonal designs like the Scarecrow Angel, which is sized at 3.5" x 2.25" on 13 mesh and works beautifully as an ornament or small keepsake. Each step includes a common mistake to watch for so your finished piece looks clean and holds up over time.
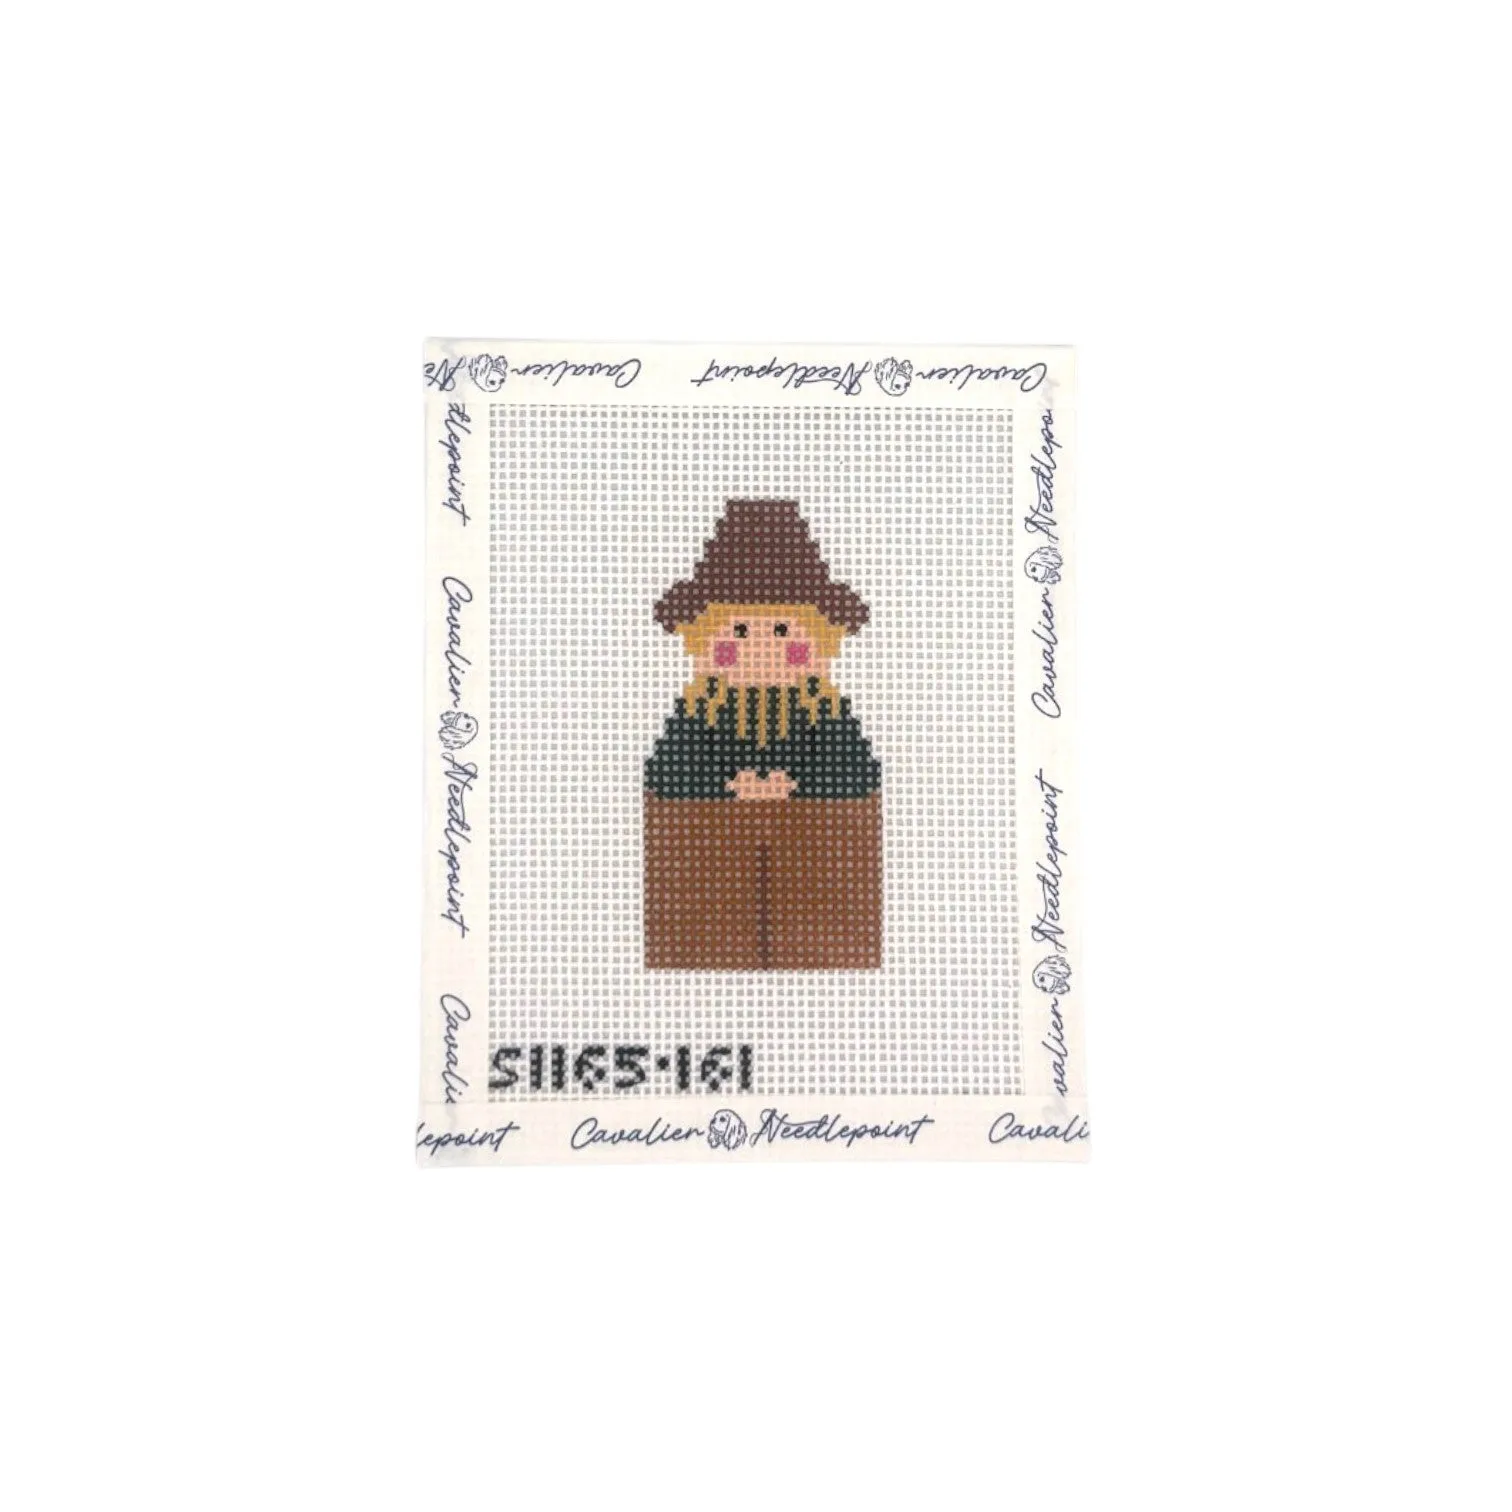
Scarecrow Angel
What you need before you start
Gather your supplies first so you are not hunting for a needle mid-project. You will need your stitched canvas, a backing fabric such as cotton or felt, a piece of thin batting or fusible fleece if you want a little loft, matching sewing thread, a hand-sewing needle, sharp scissors, and a ribbon or cord for the hanging loop. A needle minder is genuinely useful here because it keeps your needle secure while you switch between tasks.
For the backing, choose a fabric that complements the canvas without competing with it. A solid color that picks up one of the threads in your design usually looks best. If your canvas is hand-painted, the colors are already decided; if you stitched from a chart, you have more freedom. Pre-wash and press the backing fabric so it does not shrink or pucker later.
- Press the backing fabric before cutting so the grain is straight.
- Use a fine hand-sewing needle that passes through canvas without forcing.
- Keep a needle minder nearby so you do not lose your needle between steps.
Step 1: Block the stitched canvas flat
Blocking is the step most stitchers skip, and it is the one that makes the biggest difference in the final look. Needlepoint canvas can distort while you stitch, especially on 13 mesh where the stitches are larger relative to the canvas. To block, dampen the canvas slightly, pin it square on a blocking board or foam core, and let it dry completely. Do not stretch it out of shape; just ease it back to a rectangle.
Once dry, check that the design sits straight and the canvas edges are square. If the canvas is still wavy, repeat the process. This is also the time to deal with any fraying edges. If your canvas is already fraying, a thin line of fray check along the raw edge will stop it from shedding while you work.
- Common mistake: pinning the canvas while it is soaking wet, which can leave rust marks or stretch the mesh.
- Checkpoint: the canvas should lie flat on its own before you move on.
Step 2: Trim the canvas with a seam allowance
Decide on your finished shape first. A rectangle or square is easiest for a beginner, while a round or oval ornament needs more careful trimming. Leave a seam allowance of about 1/2 inch beyond your stitching on all sides. This allowance is what you will sew through, and it also gives the canvas enough body to hold the ornament shape.
Cut slowly and keep your scissors parallel to the canvas threads so you do not snip through stitches. If you are making a round ornament, cut a circle that is slightly larger than the design, then plan to clip the curves after sewing. Mark the center of the top edge where the hanging loop will go.
- Common mistake: cutting too close to the stitching, which leaves no room for a seam and causes the canvas to unravel.
- Checkpoint: measure the seam allowance on all four sides before cutting.
Step 3: Cut and prepare the backing
Use your trimmed canvas as a template to cut the backing fabric to the same size and shape. If you want a lightly padded ornament, cut a piece of thin batting or fusible fleece slightly smaller than the backing and fuse or baste it to the wrong side of the backing. This adds a soft finish without making the ornament bulky.
Place the backing and the canvas right sides together. Pin around the edges, leaving a gap of about 2 inches along one side for turning. If your ornament is round, use more pins to keep the curves from shifting. This is the point where a needle minder earns its keep, holding your needle while you adjust pins.
- Common mistake: forgetting to leave a turning gap, which forces you to unpick stitches later.
- Checkpoint: the backing and canvas edges should line up all the way around.
Step 4: Sew the seam and add the hanging loop
Sew around the edges with a backstitch or a small running stitch, using a 1/2-inch seam allowance. Before you sew the top edge, tuck the hanging loop between the canvas and the backing so the ends point outward and the loop sits inside. Sew over the loop ends a few times to secure them. A ribbon, cord, or a folded strip of fabric all work well.
If you are making a round ornament, clip small notches into the seam allowance around the curves after sewing. Do not clip through your stitching. These clips let the fabric turn smoothly without puckering. For rectangular ornaments, trim the corners diagonally close to the seam to reduce bulk.
- Common mistake: sewing the loop on the outside of the seam, which makes it floppy and likely to pull out.
- Checkpoint: give the loop a gentle tug to confirm it is caught securely in the seam.
Step 5: Turn, stuff, and close the opening
Turn the ornament right side out through the gap you left. Use a blunt tool like a chopstick or the eraser end of a pencil to push out the corners gently. If you added batting, the ornament will already have some body; if not, you can add a small amount of polyester fiberfill through the gap to give it a soft shape. Do not overstuff, or the seams will strain.
Close the gap with a ladder stitch, which hides the thread inside the fold. Match your thread to the backing fabric so the stitches disappear. Once closed, press the ornament lightly with your fingers or a cool iron, avoiding the loop. Your ornament is now ready to hang or gift.
- Common mistake: overstuffing, which distorts the shape and can pull the seam.
- Checkpoint: the opening should be invisible from the front.
Step 6: Add optional finishing touches
If you want a more polished look, add a decorative border. A simple cord, a row of beads, or a thin ribbon stitched around the edge can frame the design. For a canvas like the Scarecrow Angel, a narrow gold cord echoes the harvest theme without overwhelming the small design. Keep embellishments light so the ornament still hangs flat.
You can also add a small label or date on the back, especially if the ornament is a gift or a yearly tradition. A fabric pen works well for this. If you plan to make several ornaments, consider batching the steps: block all the canvases at once, then cut, sew, and turn them assembly-line style. It saves time and keeps your tools out.
- Common mistake: adding heavy embellishments that make the ornament hang crooked.
- Checkpoint: hang the ornament and check that it lies flat against a wall or tree.
Ornament finishing steps at a glance
- Block the canvas: Dampen, pin square, and let dry completely before cutting. Checkpoint: canvas lies flat and edges are square.
- Trim with seam allowance: Leave about 1/2 inch beyond the stitching on all sides. Checkpoint: measure before you cut.
- Cut and pin the backing: Use the canvas as a template and leave a turning gap. Checkpoint: edges align all the way around.
- Sew seam and insert loop: Tuck the hanging loop inside the top edge before sewing. Checkpoint: tug the loop to test it is secure.
- Turn, stuff, and close: Turn right side out, add light stuffing, and ladder-stitch the gap. Checkpoint: opening is invisible from the front.
- Add finishing touches: Optional cord, beads, or a dated label on the back. Checkpoint: ornament hangs flat.
Small canvases that finish beautifully
- Scarecrow Angel: 13 mesh, design size 3.5" x 2.25", canvas only, designer Stitch-Its. Its small size means it finishes quickly as an ornament, and the 13 mesh gives good coverage for a keepsake that will be handled each season. Because it is canvas only, you will need to supply your own threads and backing.
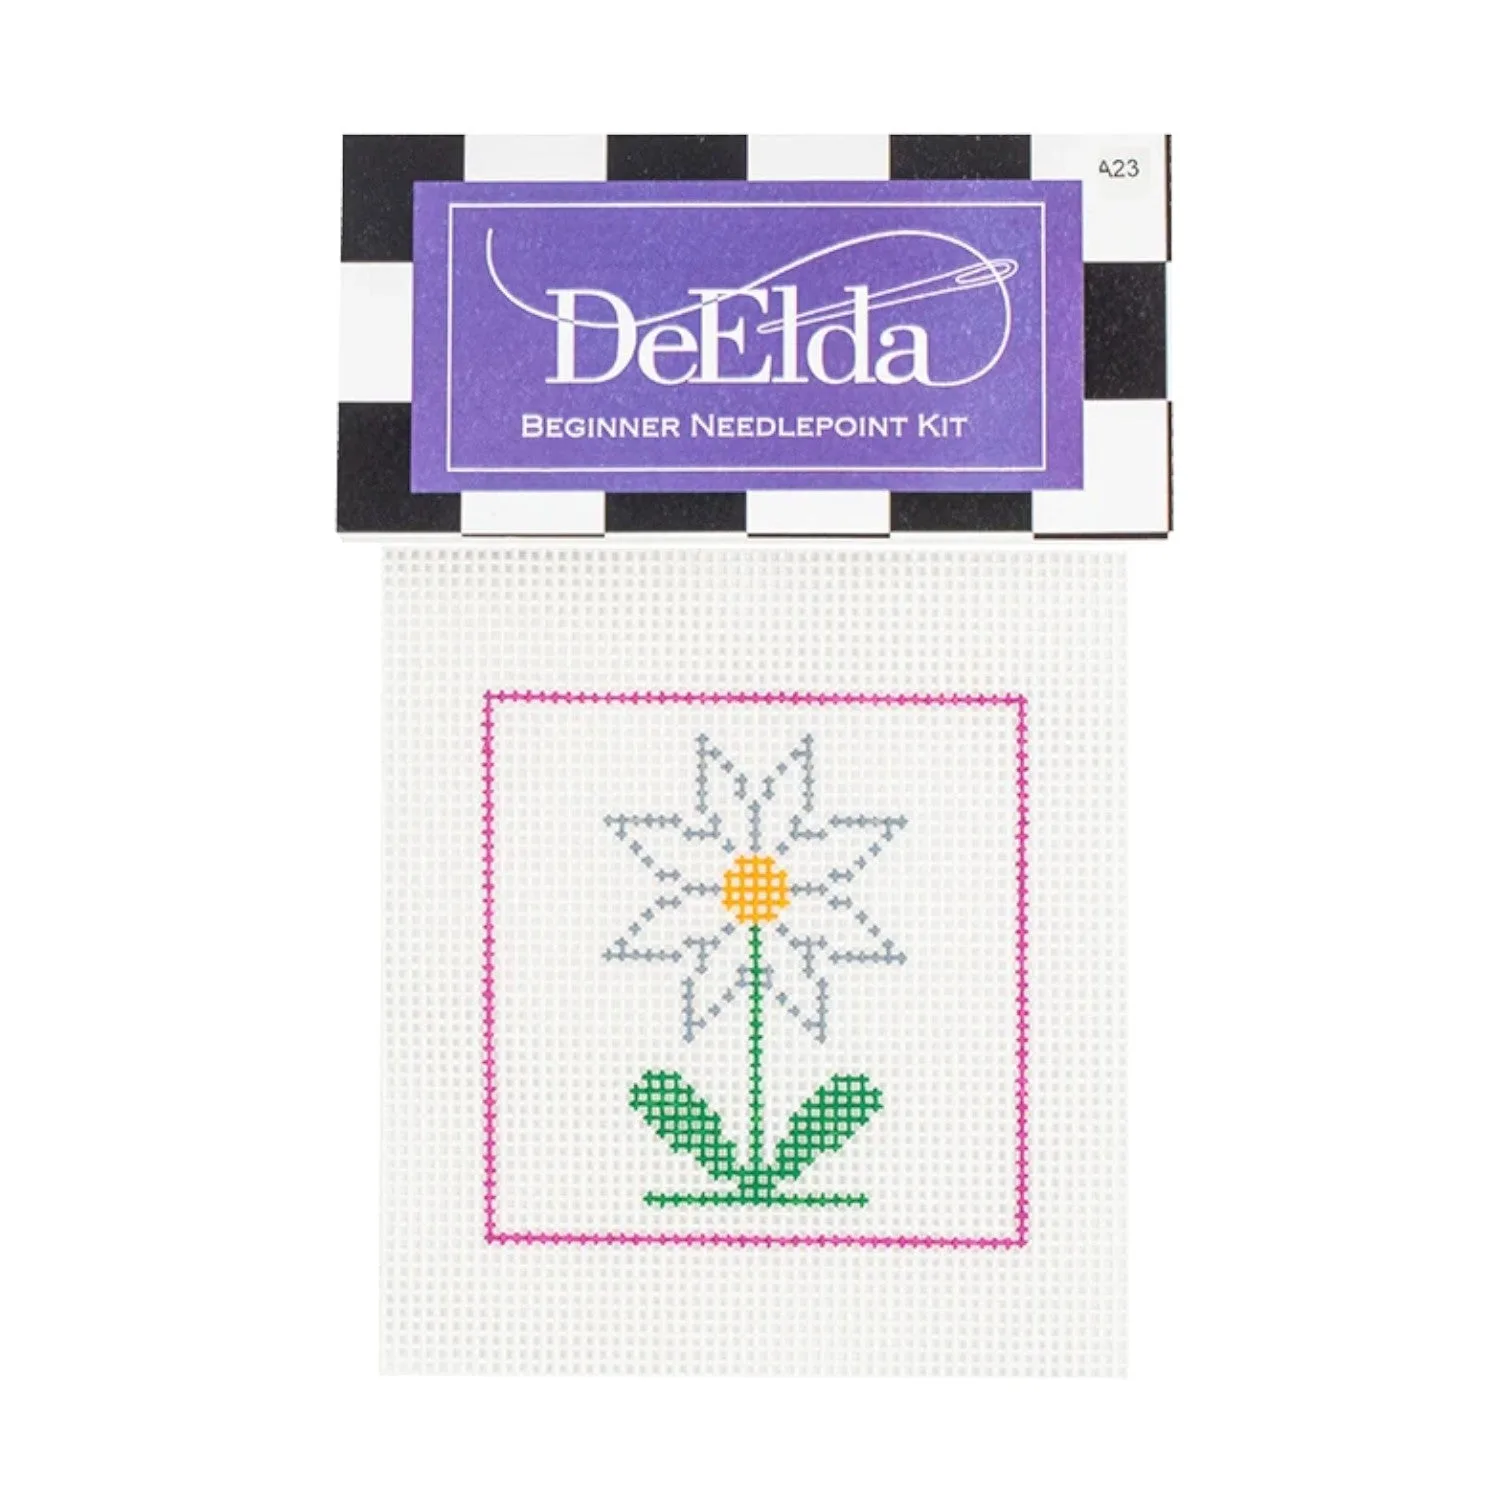
- Daisy Beginner Needlepoint Kit: 10 mesh, design size 5.5" x 6", hand-painted, includes hand-painted canvas and Colonial needlepoint supplies. A larger beginner kit is a good practice piece before you try ornament finishing on a tiny canvas. The 10 mesh is easy to see and stitch, which helps you build confidence with tension and blocking.
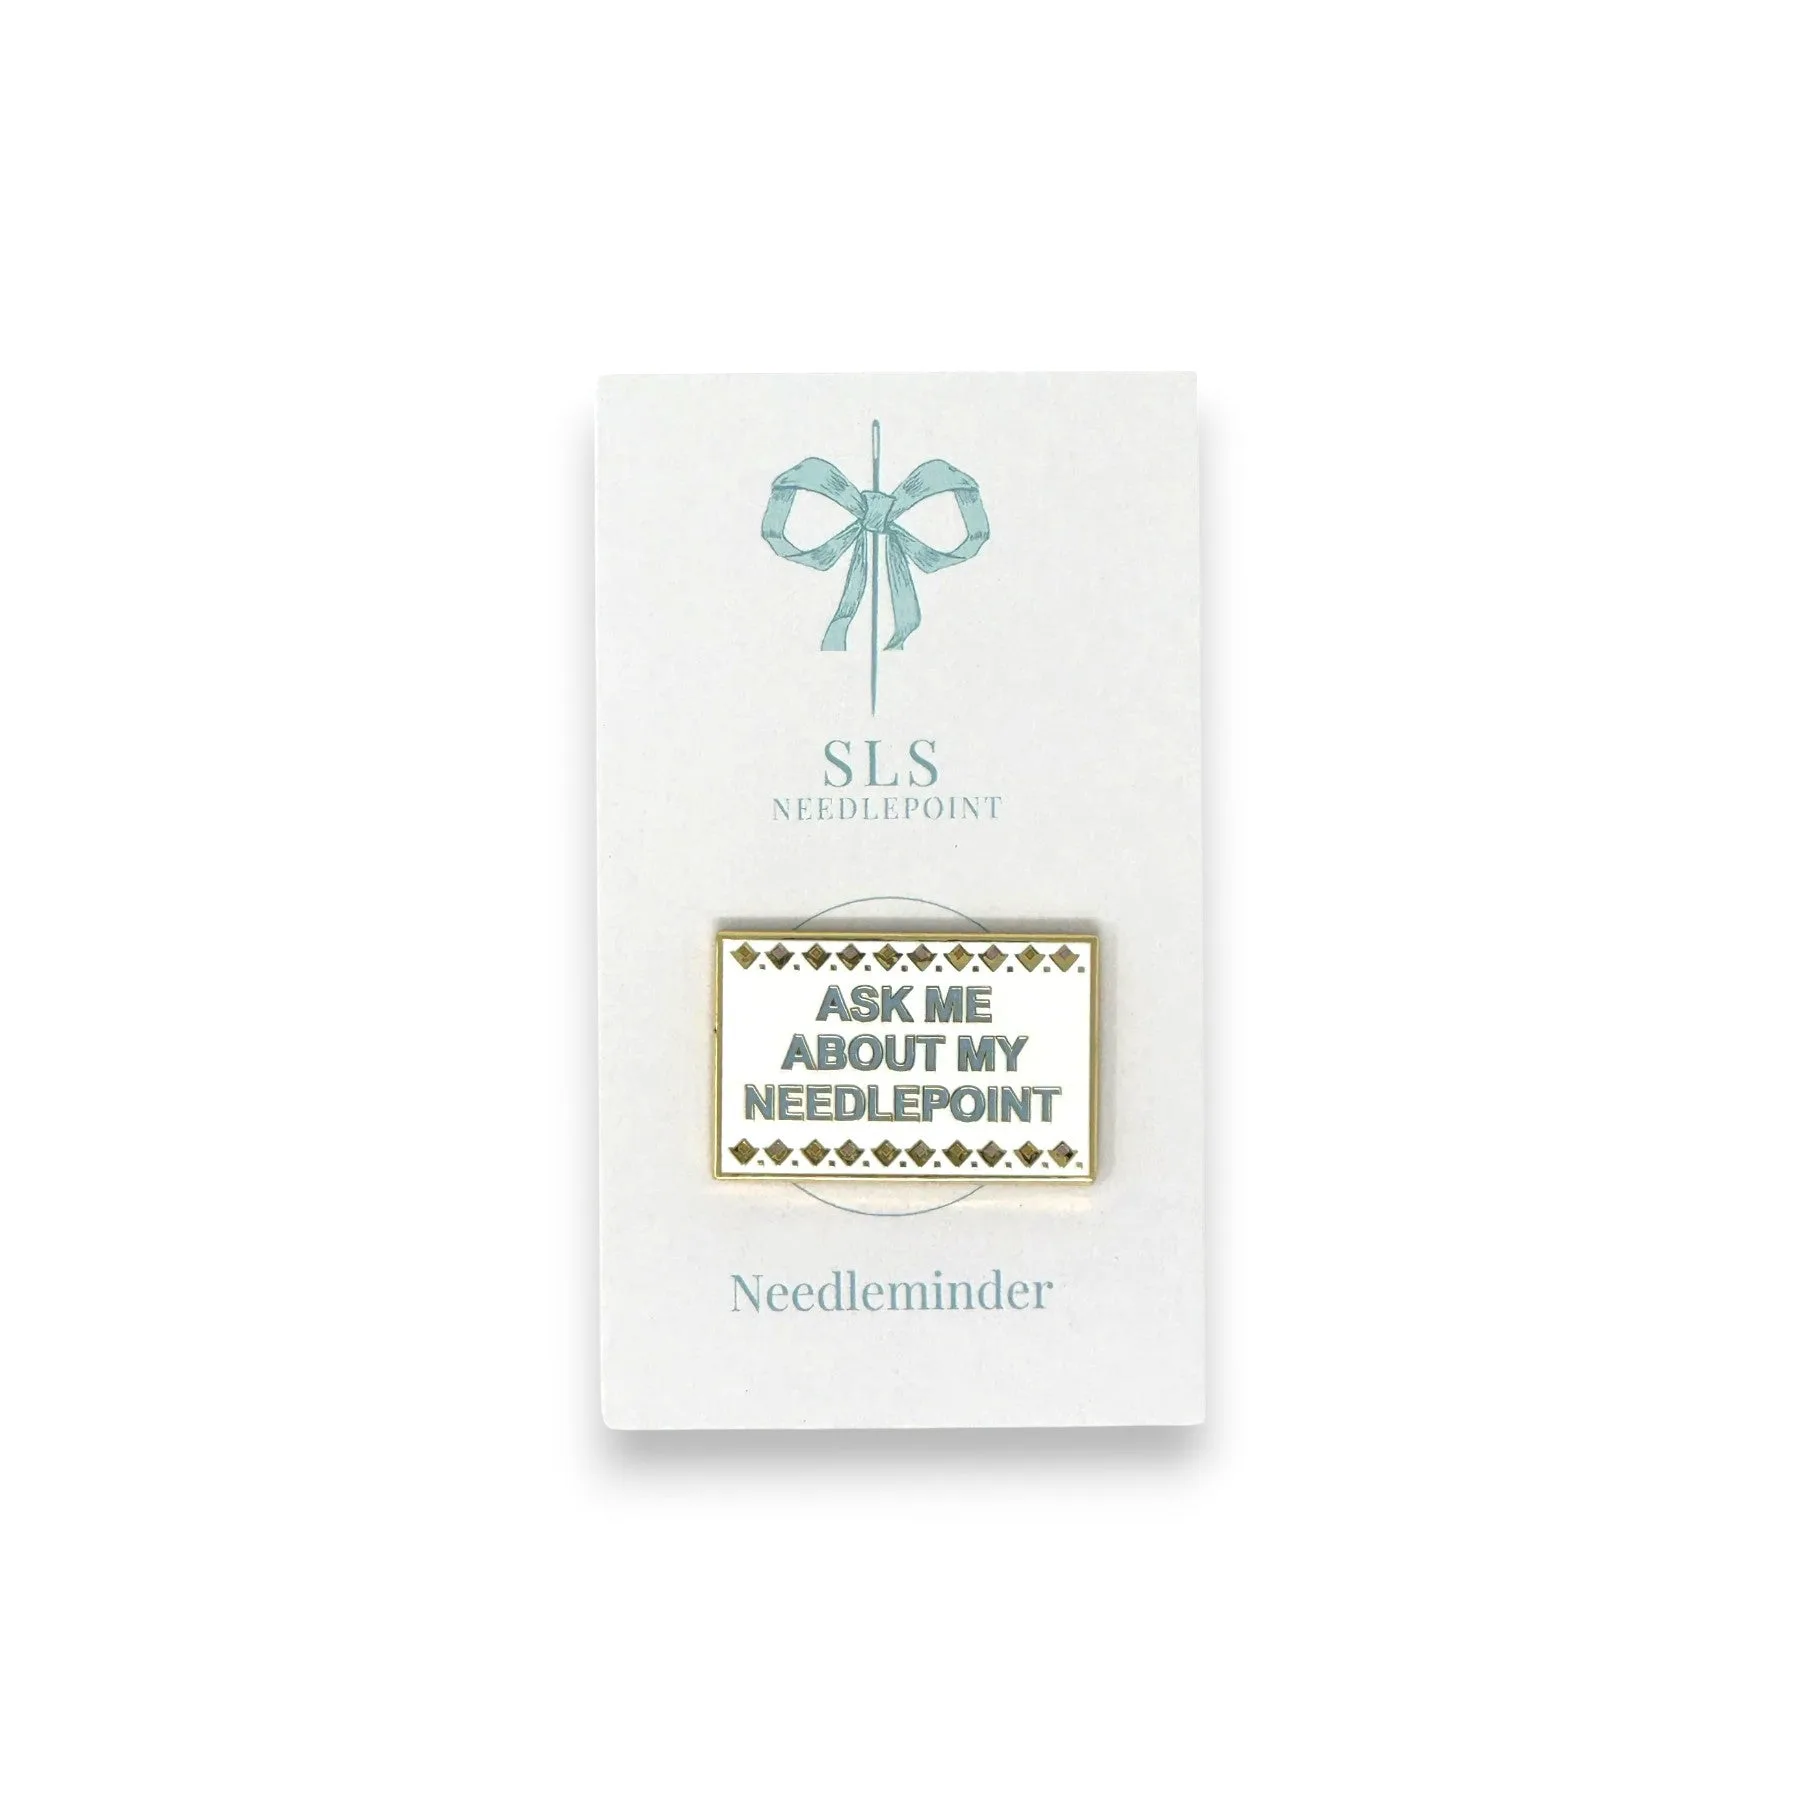
- Ask Me About My Needlepoint Needle Minder: 7/8" x 1.25", magnetic needle minder with a cheeky message. A needle minder keeps your needle secure while you switch between sewing the canvas and the backing, so you spend less time searching and more time finishing.
Finishing a needlepoint ornament is a small project with a big payoff. Once you have blocked, trimmed, and sewn one, the next one goes faster. Start with a simple shape and a canvas you love, and you will have a keepsake that lasts for years.