There's nothing quite like a warm, freshly baked scone. But if you're gluten-free, achieving that perfect balance of flaky exterior and tender crumb can feel like a baking mystery. Many gluten-free flours turn out dry, crumbly, or dense, leaving you with hockey pucks instead of scones. Fortunately, with the right mix and a few key techniques, you can bake scones that rival any bakery.
In this guide, we'll walk through how to make perfect gluten-free scones using a high-quality sweet scone mix. We'll cover everything from measuring and mixing to shaping and baking, plus tips for customizing your scones with fruits, nuts, or chocolate. Whether you're a seasoned baker or new to gluten-free, these steps will help you achieve scone success every time.
Why Use a Sweet Scone Mix?
Creating gluten-free baked goods from scratch can be challenging because gluten provides structure and elasticity. Without it, you have to combine multiple flours, starches, and binders like xanthan gum to mimic those properties. A pre-made sweet scone mix simplifies the process by blending the right flours and leavening agents in the correct proportions. This ensures consistent results and saves you time and guesswork.
When you use a dedicated scone mix, you eliminate the risk of overmixing or undermixing your flour blend. The mix is formulated to produce scones that are light, tender, and slightly sweet. Plus, it's a versatile base for endless flavor variations. You can add fresh berries, dried fruit, chocolate chips, or savory herbs, depending on your mood.
- Consistent results every time
- No need to stock multiple gluten-free flours
- Designed specifically for scones, so texture is optimized
Ingredients and Tools You'll Need
To make gluten-free scones with a sweet scone mix, you'll need the mix itself, cold butter (or a dairy-free alternative), an egg, and milk or a non-dairy milk. The butter should be very cold and cut into small cubes. You'll also want a mixing bowl, a pastry cutter or your fingertips, and a baking sheet lined with parchment paper. A bench scraper and a sharp knife are helpful for cutting the dough.
For best results, use a kitchen scale to measure ingredients if the mix requires it, but most mixes provide cup measurements. If you're using a mix like Gluten-Free Soft Pretzel Bites with Sea Salt Mix, the instructions may differ, but for scones, follow the package directions. Here, we'll assume a standard sweet scone mix that calls for butter, egg, and liquid.
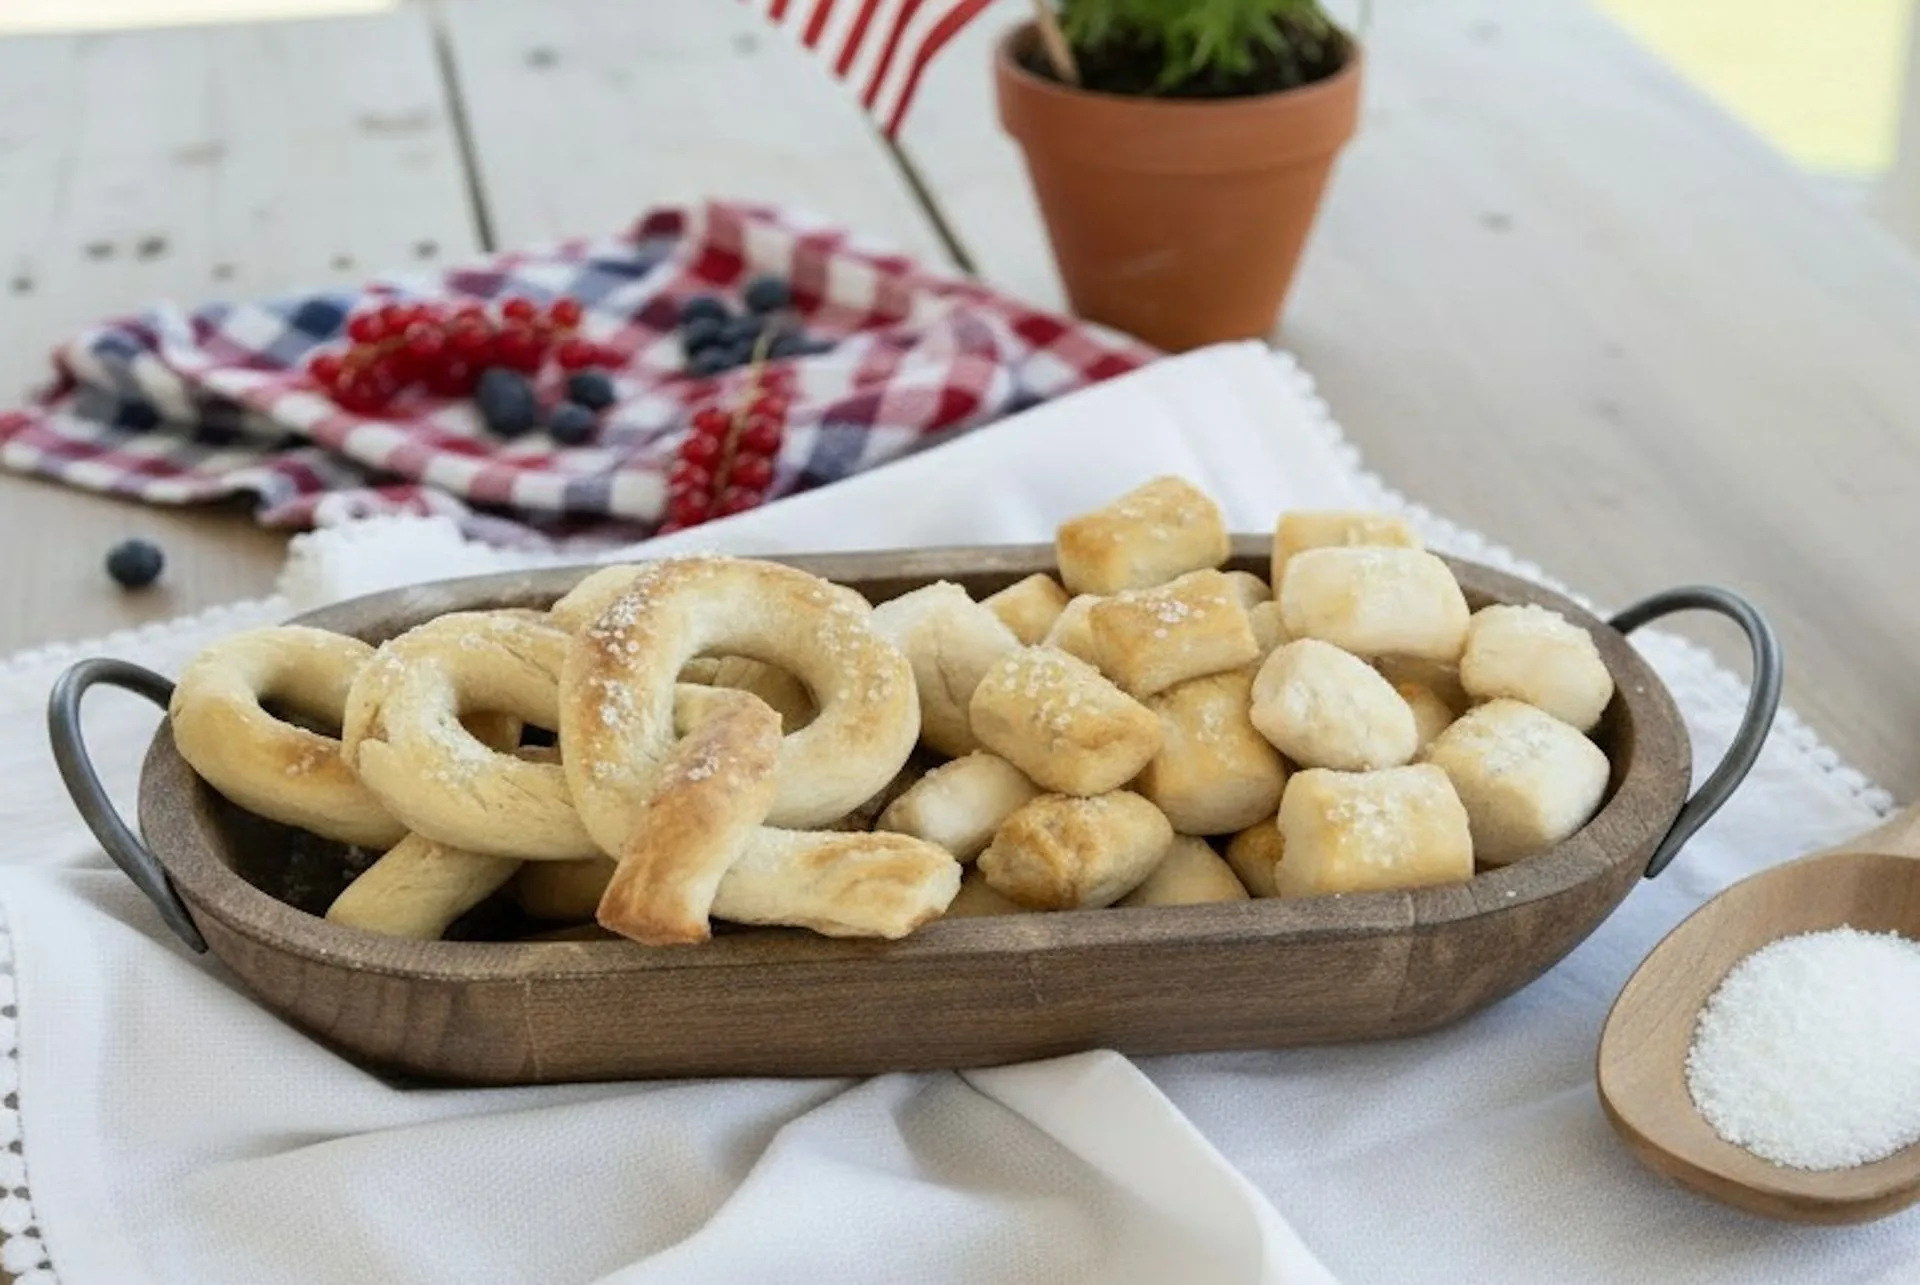
Gluten-Free Soft Pretzel Bites with Sea Salt Mix
- Cold butter is essential for flaky layers
- Use a light hand when mixing to avoid tough scones
- Chill the dough before baking to prevent spreading
Step-by-Step Instructions for Perfect Scones
Start by preheating your oven to 400°F (200°C). In a large bowl, combine the sweet scone mix with the cold butter. Use a pastry cutter or your fingertips to work the butter into the mix until it resembles coarse crumbs. This step is crucial because the tiny pieces of butter create steam during baking, which lifts the dough and creates flaky layers.
In a separate small bowl, whisk together the egg and milk. Add the wet ingredients to the dry mixture and stir just until the dough comes together. Be careful not to overmix, as that can make the scones tough. Turn the dough onto a lightly floured surface (use some extra mix or a gluten-free flour blend like Mom's Best Gluten-Free Flour Blend 2lb) and gently knead a few times until it holds together.
Pat the dough into a circle about 1 inch thick. Use a sharp knife or a bench scraper to cut it into wedges, or use a biscuit cutter for round scones. Place the scones on the prepared baking sheet, leaving about 2 inches between them. For a golden top, brush with a little milk or cream and sprinkle with coarse sugar if desired. Bake for 12-15 minutes, until lightly golden. Let them cool for a few minutes before serving.
- Do not twist the cutter when cutting scones, as it seals the edges and prevents rising
- For extra tenderness, rest the cut scones in the fridge for 15 minutes before baking
- If adding fruit, fold it in gently after the dough comes together
Flavor Variations and Add-Ins
One of the joys of making scones is customizing them. For a classic treat, fold in a cup of fresh blueberries or raspberries. If you prefer a spiced flavor, add a teaspoon of cinnamon or nutmeg to the dry mix. Chocolate chips, dried cranberries, or chopped nuts are also delicious. For a tropical twist, try coconut flakes and macadamia nuts.
If you want a more savory scone, reduce the sugar in the mix (if possible) and add shredded cheese, herbs, and maybe some crumbled bacon. However, since we're using a sweet scone mix, it's best to stick with sweet add-ins unless the mix is neutral. Remember to adjust the baking time slightly if you add wet ingredients like fresh fruit, as they add moisture.
- Add frozen fruit without thawing to prevent discoloration
- For a lemon glaze, mix powdered sugar with lemon juice and drizzle over cooled scones
- Use a cookie scoop for uniform mini scones
Troubleshooting Common Scone Problems
Even with a mix, scones can sometimes be less than perfect. If your scones are too dry, you may have added too much flour when kneading or baked them too long. Next time, add a little extra milk or reduce baking time. If they spread into flat disks, your butter may have been too warm or you didn't chill the dough long enough. Pop the shaped scones in the fridge for 20 minutes before baking.
If your scones are tough, you likely overmixed the dough. Gluten-free dough doesn't develop gluten, but overworking it can make it dense. Handle it as little as possible. If they're not browning, brush with milk or cream and increase the oven temperature slightly. And if they're doughy in the center, they may need a few more minutes; just check them at the minimum time.
- Always measure liquids accurately; too much liquid makes scones spread
- Use a toothpick to test doneness – it should come out clean
- Store leftover scones in an airtight container for up to 2 days, or freeze them
Serving and Storing Your Gluten-Free Scones
Freshly baked scones are best enjoyed warm, but they're also delicious at room temperature. Serve them with clotted cream, jam, lemon curd, or simply with a pat of butter. For a special breakfast, pair them with scrambled eggs and fruit. Scones also make great gifts or additions to brunch spreads.
To store, keep them in an airtight container at room temperature for up to two days. For longer storage, wrap them individually and freeze for up to three months. To reheat, pop them in a toaster oven or microwave for a few seconds until warm. If you have a gluten-free flour blend like Mom's Best Gluten-Free Flour Blend 2lb, you can also use it to make other baked goods.
- Reheat scones in a 350°F oven for 5-7 minutes to refresh them
- Freeze unbaked scones for a quick treat; bake from frozen, adding a few minutes
- Dust with powdered sugar just before serving for a pretty finish
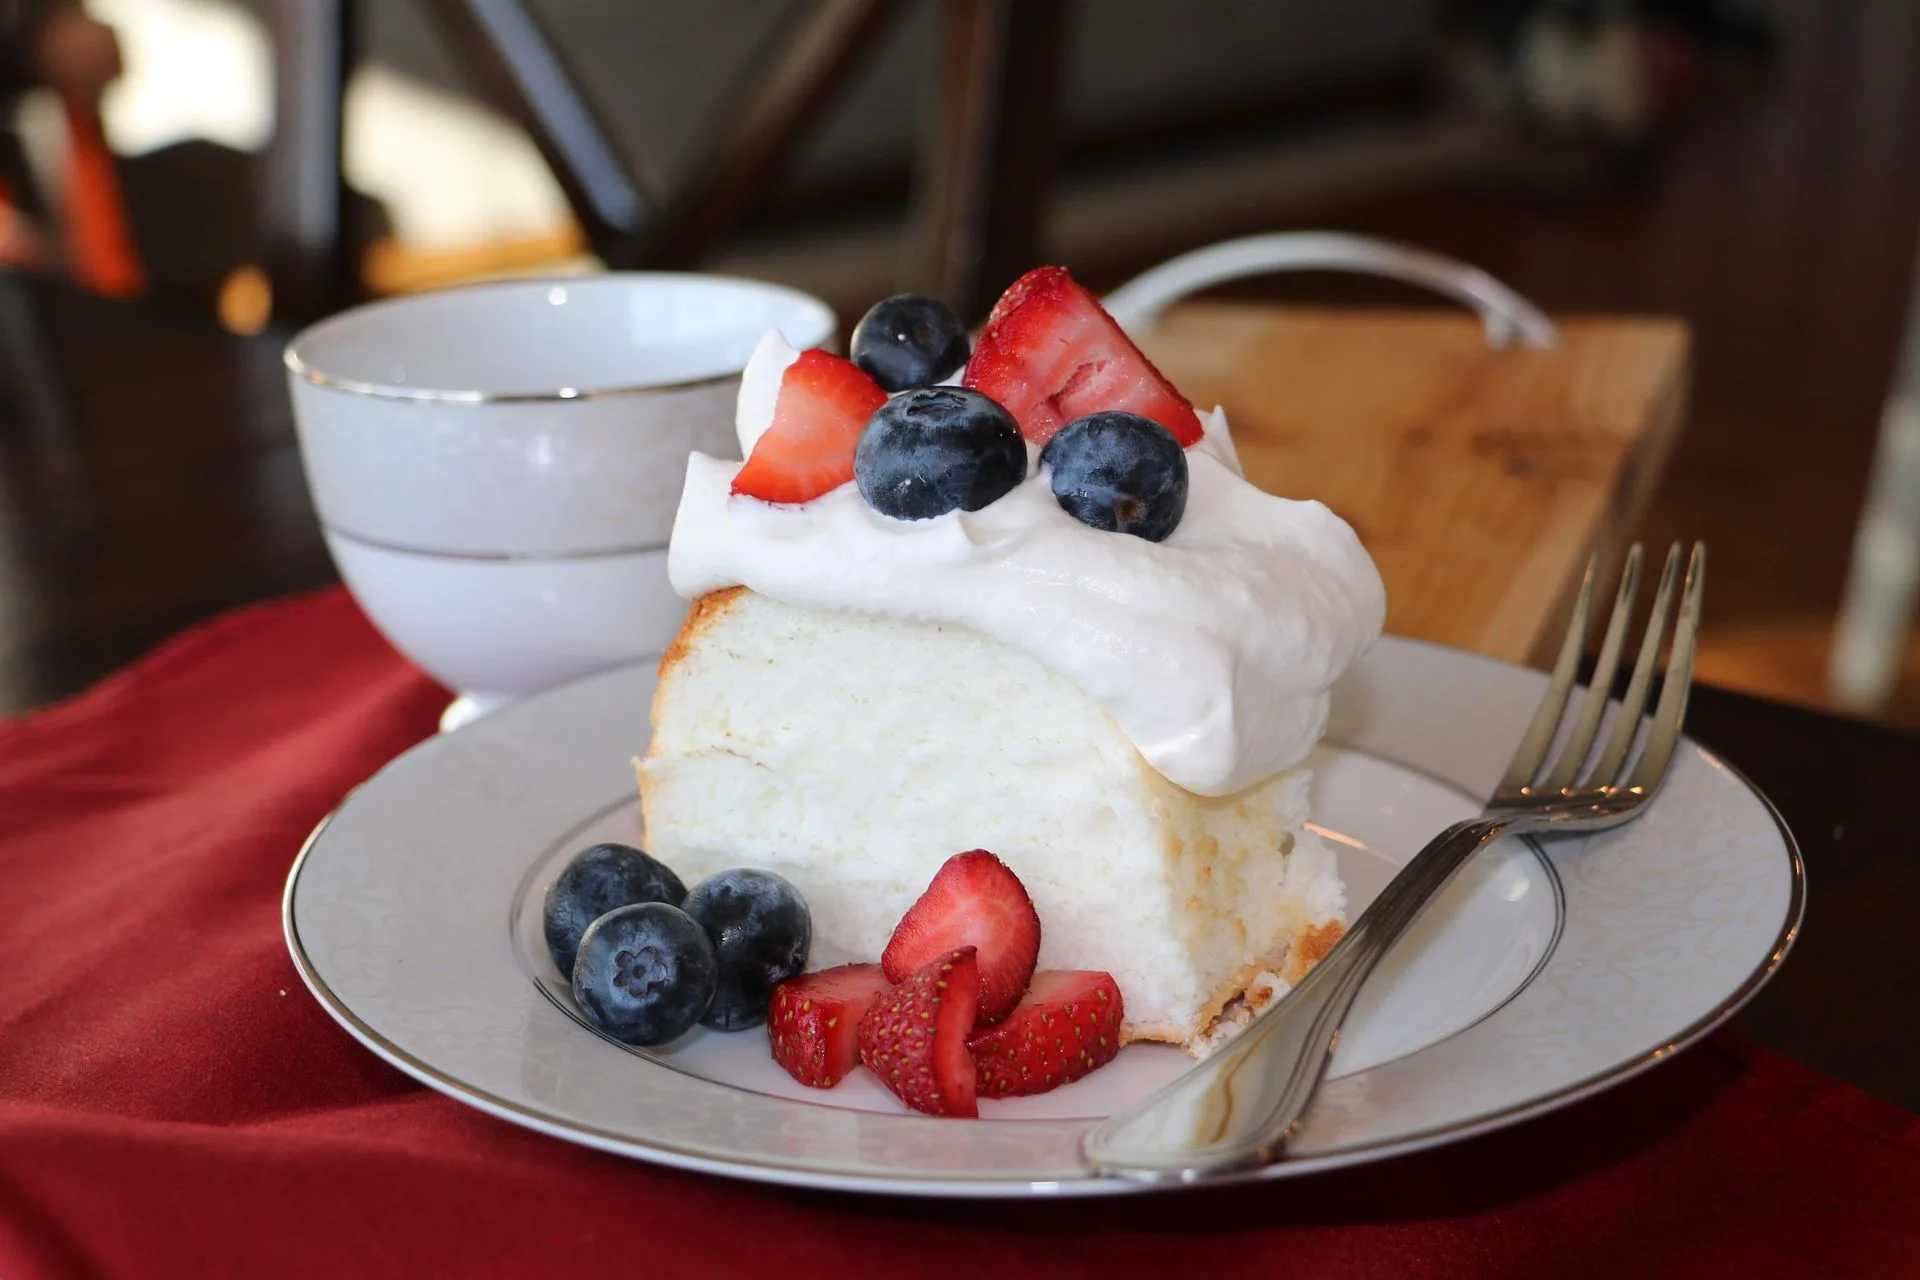
With a reliable sweet scone mix and these tips, you can bake perfect gluten-free scones every time. Whether you enjoy them plain or loaded with berries and chocolate, they're sure to become a favorite. For more baking inspiration, explore our other gluten-free mixes like Gluten-Free Angel Food Cake Mix or Gluten-Free Crepes Mix to expand your repertoire.