Quick Answer
Assembling 1.9 Holy Beadlock rings requires a clean work surface, even bolt torque, and careful tire bead seating. Use the supplied clamp rings and screw kit (VPS05000) but note that the outer beadlock ring itself does not include hardware. Work in a cross-torque pattern and avoid over-tightening to prevent ring warping or tire damage.
What You Need Before Starting
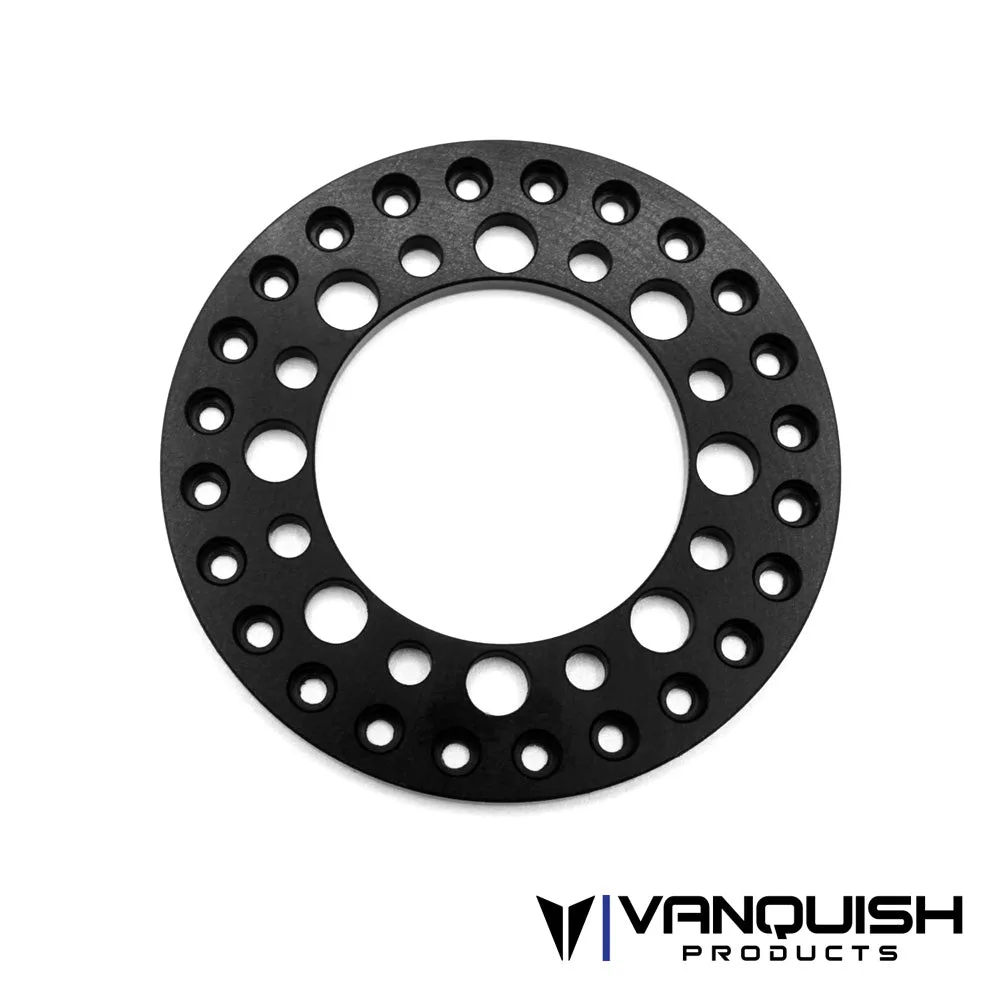
The 1.9 Holy Beadlock ring is a replacement or upgrade outer ring for Vanquish Method, KMC, and OMF Vanquish wheels that use a bolt-on outer beadlock design. It is not compatible with Method Roost or Incision wheels. Each package contains one ring, so you will need four rings for a complete set of two wheels. The ring does not include mounting hardware — you will reuse the screws from your existing beadlock wheel or purchase the VPS05000 screw kit separately.
For tire mounting, choose a soft foam insert that matches your tire size and terrain. A standard 1.9 crawler tire with a soft or medium foam works well. Have a small Phillips or hex driver (depending on your wheel's hardware), a clean rag, and optionally a small amount of tire glue for the inner bead if you plan to run low tire pressure.
Common Assembly Mistakes to Avoid
One frequent error is tightening the beadlock screws in a circular pattern. This can cause the ring to seat unevenly, leading to tire wobble or air leaks. Always tighten in a star or cross pattern, just like lug nuts on a full-size vehicle. Another mistake is using too much torque — the aluminum ring can distort, and the screws can strip. Snug is sufficient; you do not need to crank them down.
Also, make sure the tire bead is fully seated inside the clamp ring before you install the outer Holy Beadlock ring. If the bead is pinched or folded, the tire will not hold air (if foamed) or will bulge unevenly. A quick visual check around the entire circumference before final tightening saves rework.
Step-by-Step Assembly and Tire Mounting
- 1. Clean and Prepare the Wheel Base: Remove the existing outer beadlock ring from your Vanquish wheel (Method, KMC, or OMF). Clean the mounting surface of the wheel base and the inner clamp ring with a dry rag to remove dirt or old tire residue. Lay out the Holy Beadlock ring, the molded clamp ring, and the screw kit. Checkpoint: Confirm your wheel base is compatible with the Holy Beadlock ring — it must use a bolt-on outer ring design, not the Method Roost or Incision style.
- 2. Mount the Tire and Foam: Place the foam insert inside the tire, then stretch the tire bead over the wheel base. Ensure the bead sits evenly in the channel of the wheel base. If the tire is stiff, use a tire iron or warm the rubber slightly with a heat gun on low to make it more pliable. Common mistake: A folded or pinched bead causes wobble. Run your finger around the entire bead channel to verify it is seated before adding the clamp ring.
- 3. Install the Clamp Ring: Place the 0.8-inch molded clamp ring over the tire bead, aligning the screw holes with the wheel base. The clamp ring holds the tire bead in place while you install the outer Holy Beadlock ring. Checkpoint: Make sure the clamp ring is oriented correctly — the flat side faces the tire, the contoured side faces the outer ring.
- 4. Attach the Holy Beadlock Ring: Position the 1.9 Holy Beadlock ring on top of the clamp ring. Insert the screws (from your existing hardware or VPS05000 kit) through the outer ring, clamp ring, and into the wheel base. Hand-start all screws before tightening any of them. Common mistake: Tightening screws one by one in a circle. Always hand-start all screws first to avoid cross-threading.
- 5. Torque in a Star Pattern: Using a screwdriver or hex driver, tighten the screws in a star or cross pattern — opposite corners first, then the next pair, and so on. Apply firm but gentle pressure; the screws should be snug, not torqued hard. Over-tightening can warp the aluminum ring or strip the threads. Checkpoint: After the first pass, go around again in the same star pattern to ensure even pressure. The ring should sit flush against the wheel with no gaps.
- 6. Final Check and Test Fit: Spin the wheel by hand and look for any wobble in the tire or ring. If you see a wobble, loosen all screws slightly, re-seat the tire bead, and repeat the star-pattern tightening. For foam-filled tires, a slight wobble may be acceptable; for air-filled tires, ensure the bead is fully sealed. Next step: Mount the wheel on your rig and test crawl over an obstacle. A true-running wheel improves traction and reduces drivetrain wear.
Product Facts
- 1.9 Holy Beadlock: Vanquish Products 1.9 Aluminum Beadlock Ring. Can be used in combination with Vanquish Products Method, KMC and OMF Vanquish wheels that utilize a bolt on outer beadlock ring. One per package. Does not include hardware. Not compatible with Vanquish Products Method Roost, or Incision wheels. You need to verify your wheel compatibility before purchasing. Since hardware is not included, plan to reuse existing screws or buy the VPS05000 screw kit. Order four rings for a full set of two wheels.
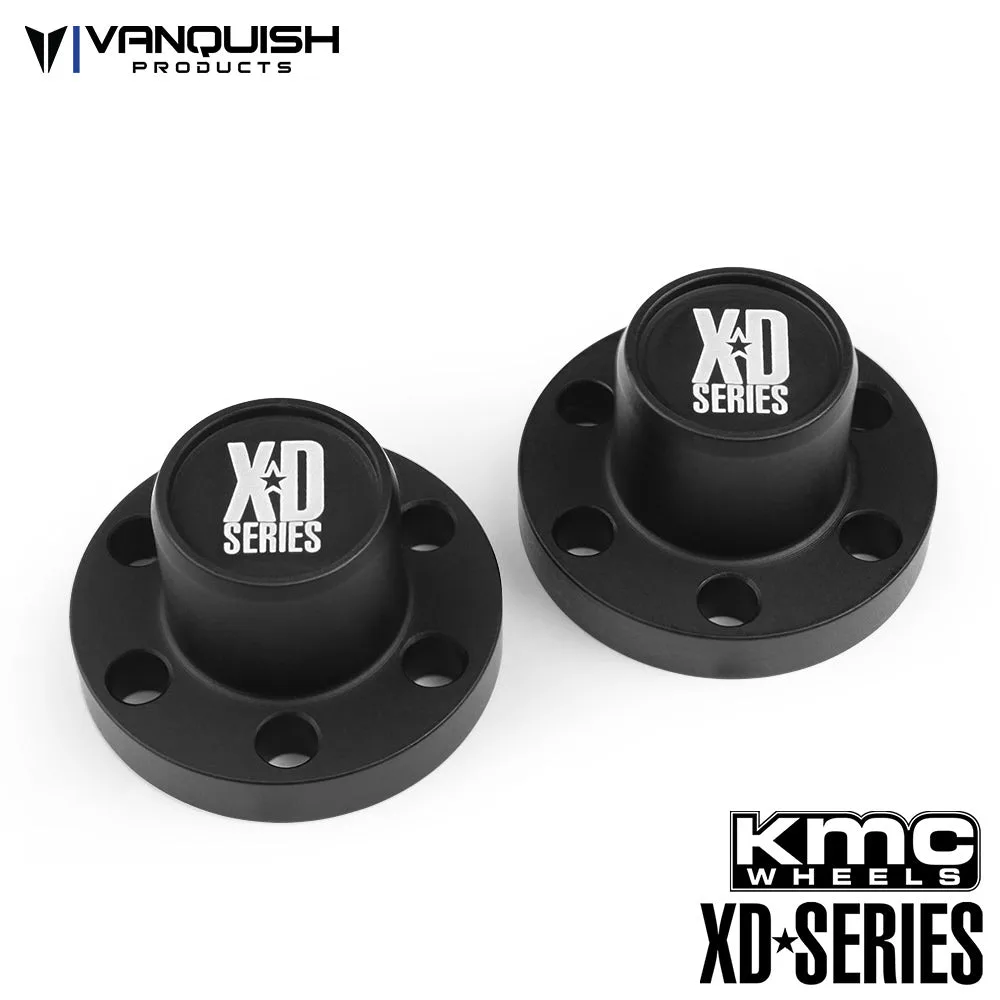
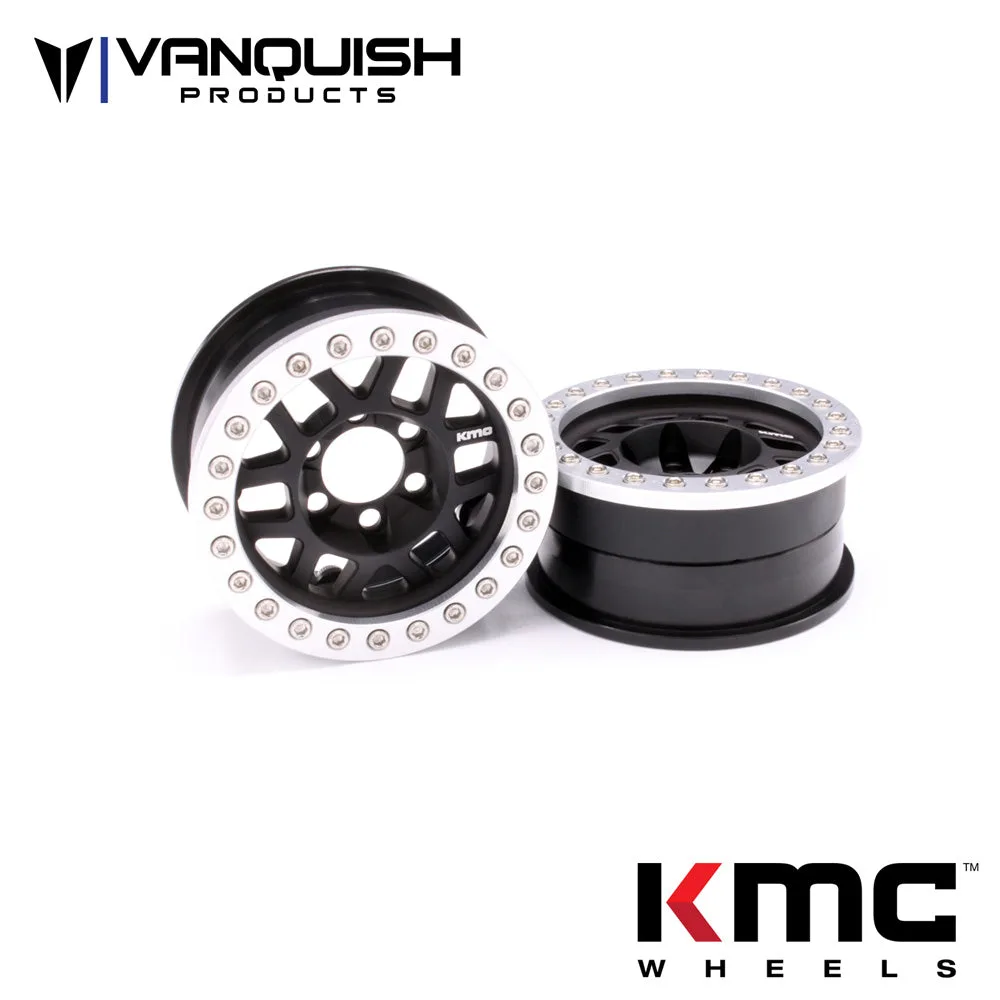
- KMC 1.9 XD229 Machete V2: Vanquish Products 1.9 Aluminum KMC XD229 Machete V2 Beadlock Wheels. Officially licensed KMC XD Series Wheels. These wheels pair well with Vanquish Products Center Hubs XD Series VPS07720 and VPS07721. Includes front rings, rear rings, anodized beadlock rings, molded clamp rings, screw kit VPS05000, and instructions sheet. Requires SLW Hubs. If you are starting from scratch, the KMC Machete V2 wheel set includes everything you need except the Holy Beadlock rings. The included clamp rings and screw kit work directly with the Holy Beadlock outer ring, simplifying assembly.