Quick answer
Test-fit every centering ring in its airframe and over its motor tube before mixing any epoxy. If the ring is too tight, sand the outer edge evenly until it slides with light hand pressure; if it is too loose, do not fill the gap with thickened glue alone. Choose a ring sized for the exact airframe and motor tube combination, and dry-assemble the full stack to check alignment before bonding.
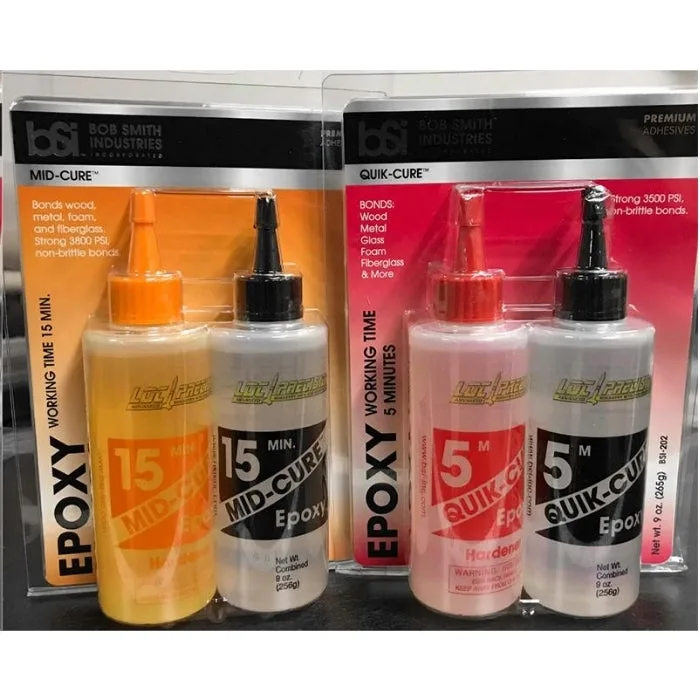
epoxy
Why centering rings decide whether your rocket flies straight
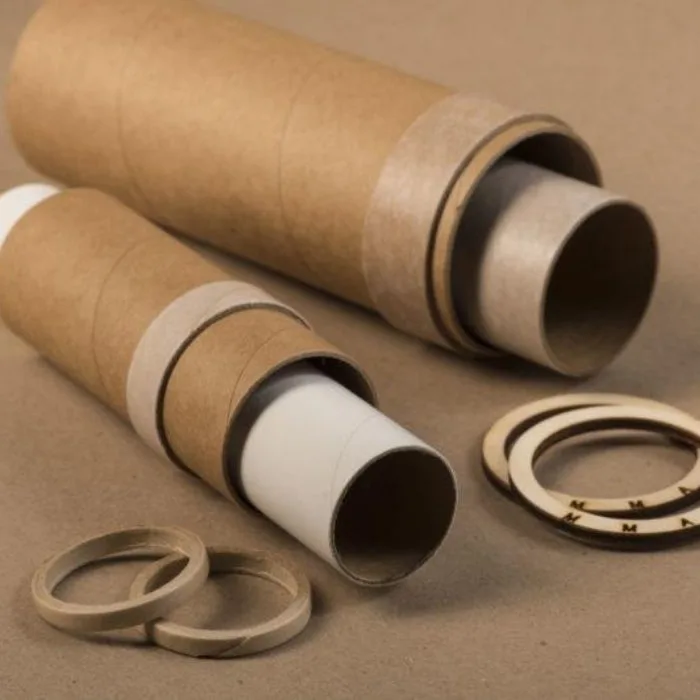
Centering rings do two jobs at once: they center the motor mount inside the airframe and they transfer thrust and fin loads into the airframe. If a ring is out of round, undersized, or glued in crooked, the motor tube sits off-axis. That misalignment shows up as a rocket that arcs off the pad, wears fin roots unevenly, or fails a post-flight inspection at the motor mount.
The rings themselves are simple parts, but the fit is not forgiving. A ring that drops in with no resistance can shift while the epoxy cures. A ring that needs a hammer will distort the airframe tube or crush the ring's inner hole, which then pinches the motor tube. The goal is a slip fit you can still turn by hand.
How to check centering ring sizing before you glue
Start with two dry measurements. Slide the ring into the airframe without the motor tube and note whether it sits square at the top of the tube. Then slide the ring over the motor tube and check that it seats without wobble. Repeat this for every ring in the kit, because laser-cut parts can vary slightly between sheets.
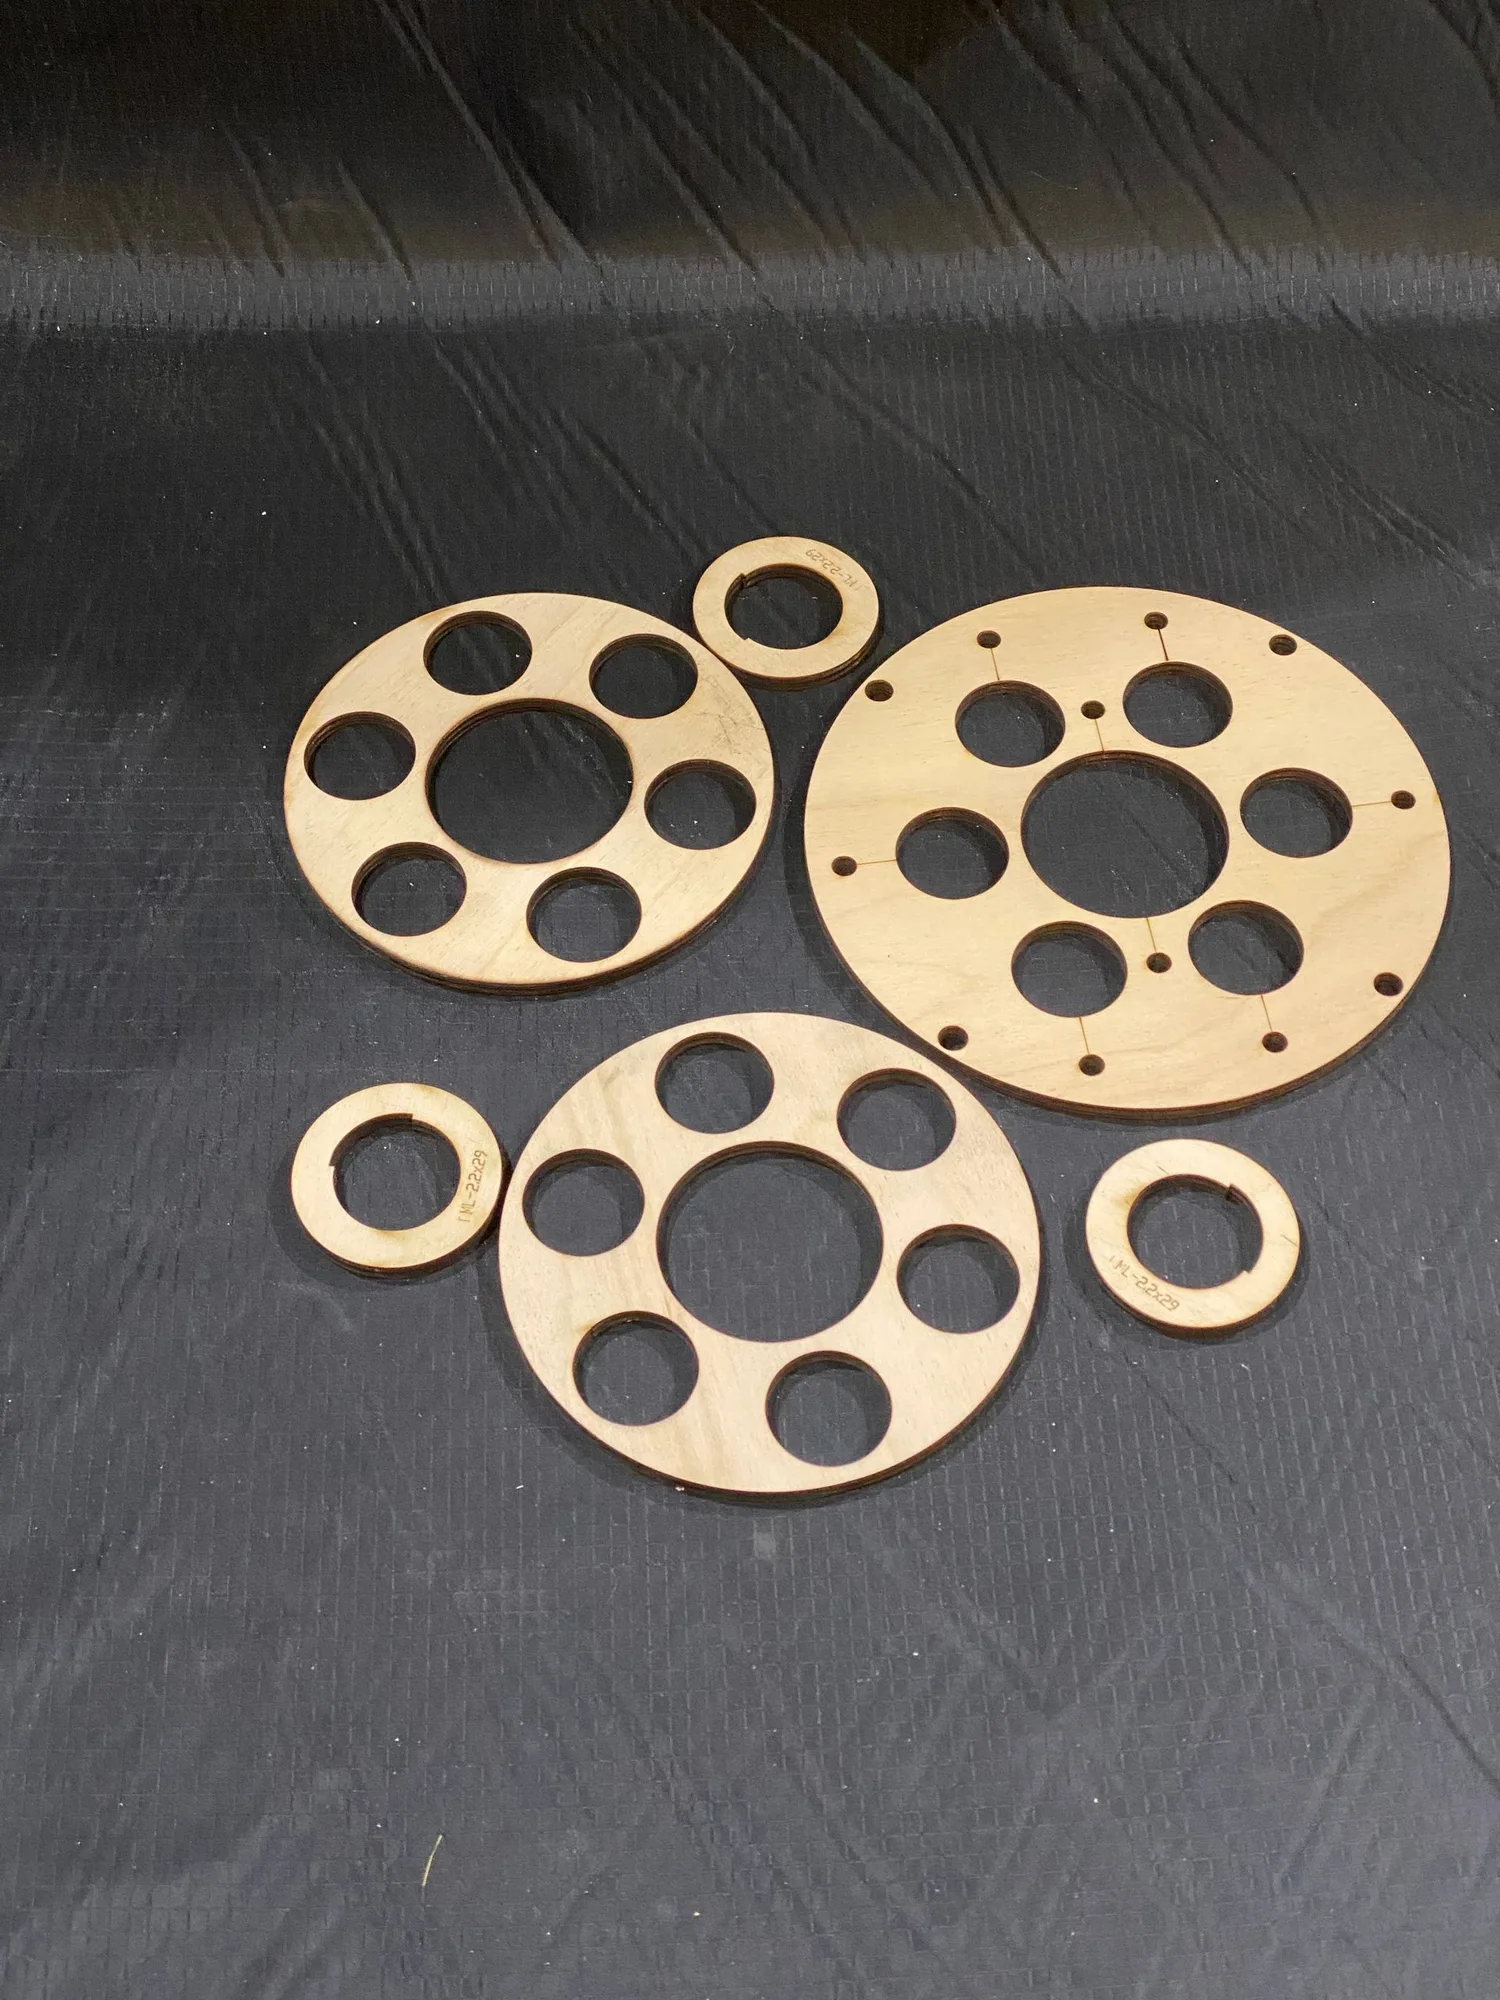
If the ring is marked with a size, confirm it matches your airframe inside diameter and motor tube outside diameter rather than the kit name alone. Centering rings and coupler centering rings are not interchangeable: a coupler ring fits inside coupler tubing, while an airframe ring fits inside the main airframe. Using the wrong one creates a gap that no amount of epoxy will fix safely.
Fixing a tight or loose ring without weakening the joint
For a tight ring, sand the outer circumference in small, even passes, rotating the ring as you go. Check the fit after every few passes so you do not remove too much material from one side. For a tight inner hole, wrap sandpaper around a dowel and work the inside evenly rather than forcing the motor tube through.
For a loose ring, do not rely on thickened epoxy to bridge a large gap. A ring that can rock in the tube will not hold the motor mount true. If the gap is more than a light clearance fit, step down to the correct ring size or add a thin shim of airframe-compatible material around the ring before bonding. Keep the shim continuous so it does not create a high spot.
Alignment steps that matter more than glue choice
Dry-assemble the motor tube, all centering rings, and the aft ring before any epoxy. Mark the ring positions on the motor tube with a pencil so you can return them to the same spot. Insert the stack into the airframe and sight down the tube to confirm the motor tube is centered, not touching one side.
Tack the rings with small epoxy fillets first, let them cure, then add the full internal fillets. This two-stage approach lets you correct a ring that shifted before it is locked in. If your kit uses through-the-wall fins, slide the fins in during the dry fit to confirm the rings do not block the fin tabs.
Centering ring fit diagnosis
- Ring drops in with no resistance and rocks side to side: The ring is undersized for the airframe or you have a coupler ring in an airframe tube. Measure the ring against the tube it is meant to sit in and compare with the part description. If the gap is more than a light clearance fit, stop and get the correct ring size before bonding.
- Ring will not enter the airframe without force: Laser-cut rings can be slightly oversized, or the airframe has a seam or burr. Sand the ring evenly in small passes and check the fit often. If sanding removes more than a thin surface layer, stop and check whether the ring is the wrong size.
- Motor tube sits off-center after the first fillet cures: The ring shifted because it was too loose or the stack was not supported during cure. Cut the tack fillet if possible, re-center the tube, and re-tack. If the tube cannot be re-centered without cutting the airframe, stop and treat the build as a display model or replace the mount section.
- Fin tabs will not pass the centering ring: The ring is positioned too high or too low on the motor tube, or the fin slot alignment is off. Mark the correct ring position from the fin tab depth before gluing. If the tabs and rings cannot both seat, stop and confirm the kit's intended ring placement before continuing.
Parts that affect centering ring fit
- Centering Ring: Centering rings fit inside airframe tubing, while coupler centering rings fit inside coupler tubing; bulkplates and coupler bulkplates follow the same airframe-versus-coupler distinction, and piston plates fit inside coupler tubing with a slot for a piston strap. Ordering the wrong ring type creates a gap or an interference fit that no epoxy fillet can correct, so match the ring to the tube it actually sits in.
- LOC Cardboard Motor Mount Adapters: LOC cardboard motor mount adapters MMA-1 through MMA-4 adapt kits with cardboard motor tubes using friction fitting, while MMA-5 and MMA-6 are for kits with a 75mm motor mount and bolt into existing T-nuts in the aft ring. If you plan to fly smaller motors in a larger mount, the adapter changes what the centering ring stack sees at the aft end, so confirm the aft ring hardware before bonding.
- Phoenix 4": The Phoenix 4 is 42.5 inches tall, includes custom laser-cut components, a factory pre-slotted airframe, through-the-wall fin construction, and a 38mm motor mount that accepts 29mm adapters sold separately. A pre-slotted airframe and through-the-wall fins mean the centering rings must align with existing fin slots, so dry-fit the rings and fins together before any epoxy.