Quick answer
Maintain your NZXT prebuild with a simple routine: power down and unplug, dust the intake filters and fans every 4–8 weeks, check that airflow paths stay clear, monitor temperatures occasionally, and keep the original packaging for safe shipping if you ever need warranty service. If you no longer have the original box, NZXT RMA packaging kits are available for H6, H7, and H9 series cases.
A prebuilt PC is tuned and tested before it ships, but it still lives in the real world—dust, pet hair, warm rooms, and long gaming sessions all take a toll. The good news is that NZXT prebuild maintenance is mostly low-effort and low-risk if you follow a consistent routine.
This guide walks through a practical upkeep process you can do in an afternoon, plus the one thing many owners overlook: keeping safe packaging on hand in case a warranty return is ever needed.
Why prebuilt PC maintenance matters more than you think
Dust is the quiet enemy of any gaming PC. It clogs intake filters, coats fan blades, and builds up on heatsinks, which forces fans to spin faster and louder to move the same air. Over months, that can raise temperatures and reduce boost headroom—especially in compact cases where every degree counts.
Your NZXT prebuild is designed with filtered intakes and directed airflow, but those features only work if you keep them clear. A 10-minute check every month or two is usually enough to catch buildup before it affects performance.
- Work in a well-lit, dry space away from carpet to avoid static and dust re-entry.
- Keep pets and drinks away from the work area while the side panel is off.
Step 1: Power down safely and prep your workspace
Shut down Windows completely, then flip the power supply switch to off and unplug the power cable. Press the case power button once more to discharge residual power. This is the single most important safety step—never clean internals with the system plugged in.
Set the PC on a stable, non-carpeted surface. If you have an anti-static wrist strap, use it; if not, touch a grounded metal object before handling components. Keep screws in a small cup or magnetic tray so they do not roll away.
- Common mistake: cleaning while the PC is in sleep mode—fans can still spin unexpectedly.
- Checkpoint: confirm the PSU switch is off and the cable is fully removed before removing any panel.
Step 2: Clear intake filters and case airflow paths
Most NZXT cases use removable front or bottom intake filters. Slide them out and rinse with lukewarm water if heavily soiled, then let them dry completely before reinstalling. For light dust, a vacuum on low suction or a soft brush works well.
While the filters are out, look into the intake area for larger debris like pet hair or dust bunnies. A clear intake means your fans can run at lower, quieter speeds for the same cooling.
- Never reinstall a damp filter—moisture near electronics is a real risk.
- If your case has a top exhaust filter, check it too; it often collects dust more slowly but still matters.
Step 3: Dust fans, heatsinks, and the GPU without damaging them
Use short bursts of compressed air held a few inches away, and prevent fan blades from spinning freely—hold them gently with a finger or a plastic zip tie. Spinning a fan with air can overspeed the bearing and shorten its life.
Pay attention to the CPU cooler fins, GPU fans, and power supply intake. For stubborn dust on heatsink fins, a soft anti-static brush helps loosen it before you blow it out. Work from the top of the case downward so dust falls toward the bottom rather than onto clean parts.
- Common mistake: blasting air directly into fan hubs or connectors—keep the nozzle angled and moving.
- Checkpoint: after dusting, spin each fan lightly by hand to confirm it moves freely and does not wobble.
Step 4: Check temperatures and fan behavior
After reassembling and powering on, let the system idle for a few minutes and then run a game or a light benchmark for 10–15 minutes. Watch CPU and GPU temperatures with a monitoring tool. If temperatures are noticeably higher than when the PC was new, dust buildup or a fan issue is the usual suspect.
Listen for rattles, ticking, or sudden ramp-ups. A fan that surges constantly may be struggling against restricted airflow or nearing the end of its life. Rechecking after cleaning is the easiest way to tell whether maintenance helped.
- Common mistake: judging temps in the first 30 seconds after boot—give the system time to stabilize.
- If temps stay high after cleaning, check that all fans are plugged in and spinning in the intended direction.
Step 5: Keep the original packaging or a proper RMA kit
This is the step most owners skip. If your prebuild ever needs warranty service, NZXT requires packaging similar to the original kit for warrantable RMA procedures. Without it, you may need to buy a replacement kit before shipping.
NZXT offers RMA packaging materials for several case series, including the Gaming PC RMA Packaging Materials (H6 Series), which holds up to 50 lbs and meets shipping carrier requirements. Kits for the H7 and H9 2023 series are also available, so match the kit to your case before you need it.

Gaming PC RMA Packaging Materials (H6 Series)
- Store the kit flat and dry—crushed foam does not protect as well.
- All sales on RMA packaging kits are final, so confirm your case series before ordering.
Your monthly NZXT prebuild upkeep checklist
- Power down and unplug: Shut down Windows, switch off the PSU, unplug the cable, and press the power button to discharge residual power. Checkpoint: no cables connected before any panel comes off.
- Clear intake filters: Remove front and bottom filters, rinse if needed, and let them dry fully before reinstalling. Common mistake: reinstalling a damp filter.
- Dust fans and heatsinks: Use short bursts of compressed air, hold fan blades still, and work from top to bottom. Checkpoint: fans spin freely by hand afterward.
- Verify temperatures: Run a game or benchmark for 10–15 minutes and compare temps to your baseline. If temps stay high, recheck airflow and fan connections.
- Confirm RMA packaging: Match your case series (H6, H7, or H9 2023) to the correct NZXT RMA packaging kit and store it safely. Next step: order the kit now so it is ready if service is ever needed.
NZXT products that support prebuild upkeep
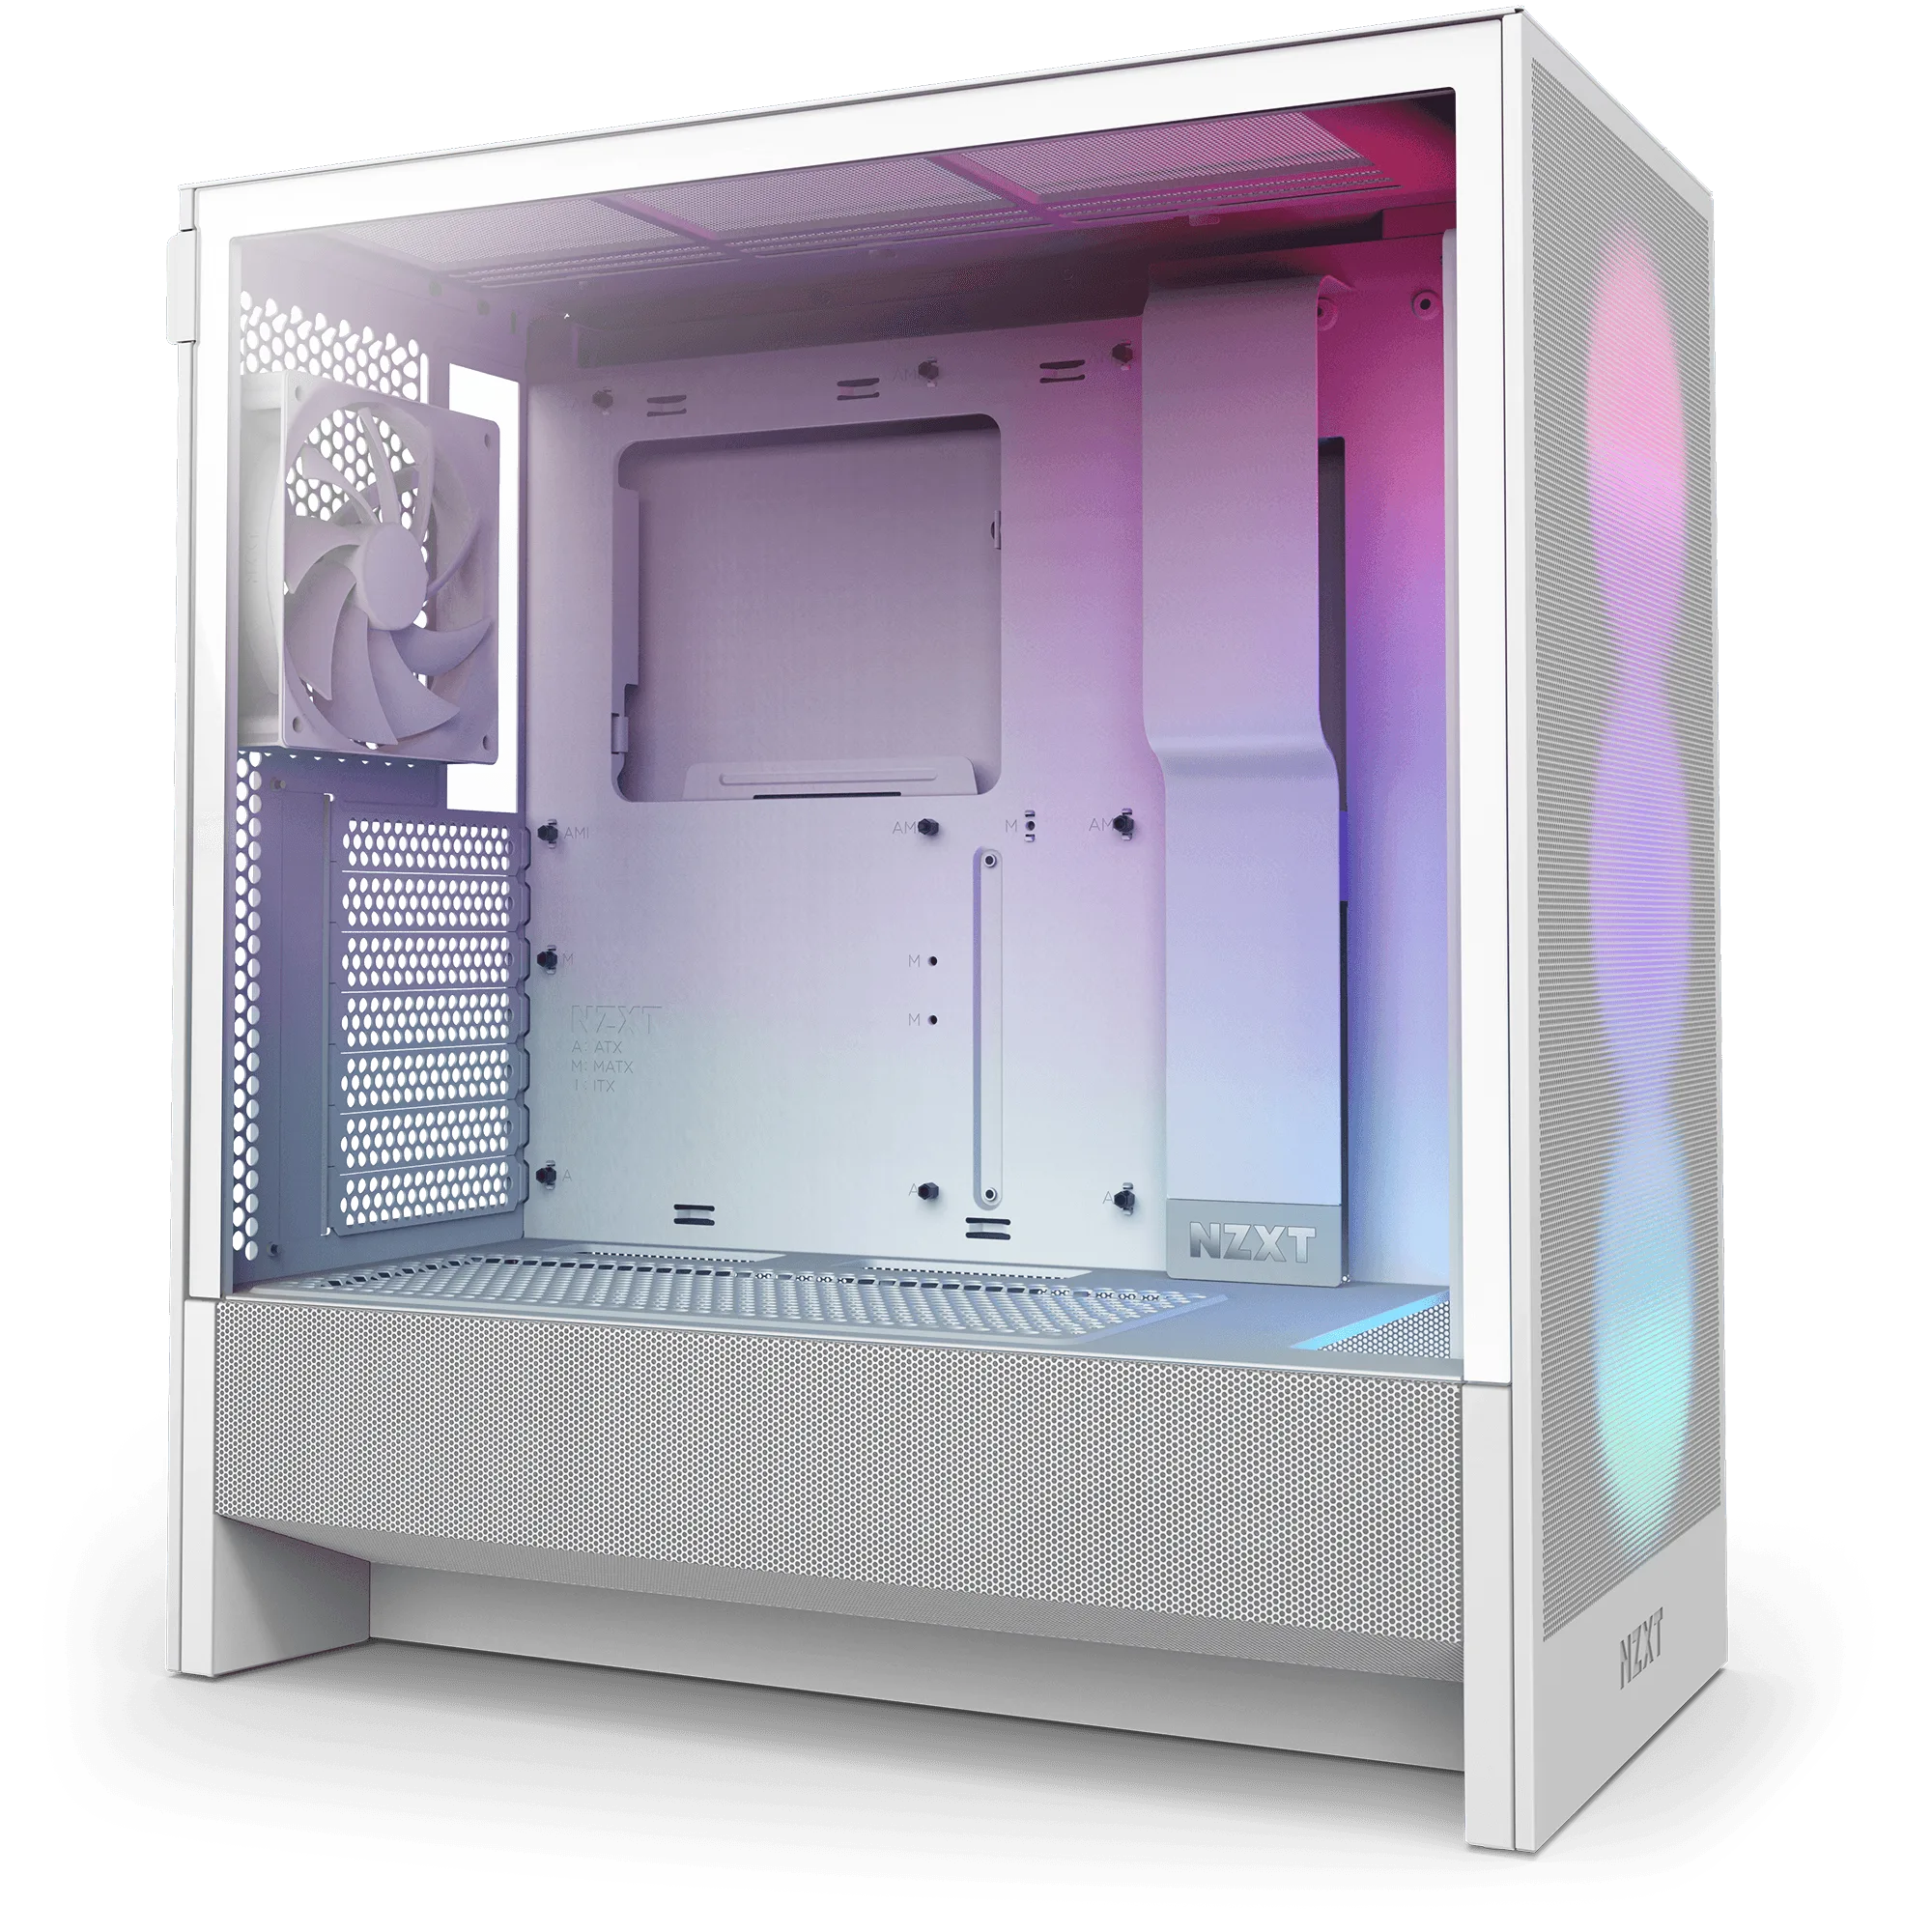
- Gaming PC RMA Packaging Materials (H6 Series): Holds up to 50 lbs, meets shipping carrier requirements, and packaging materials similar to this kit are required for all warrantable RMA procedures. If your prebuild uses an H6-series case, keeping this kit on hand means you can ship a warranty return safely without scrambling for boxes or risking damage.
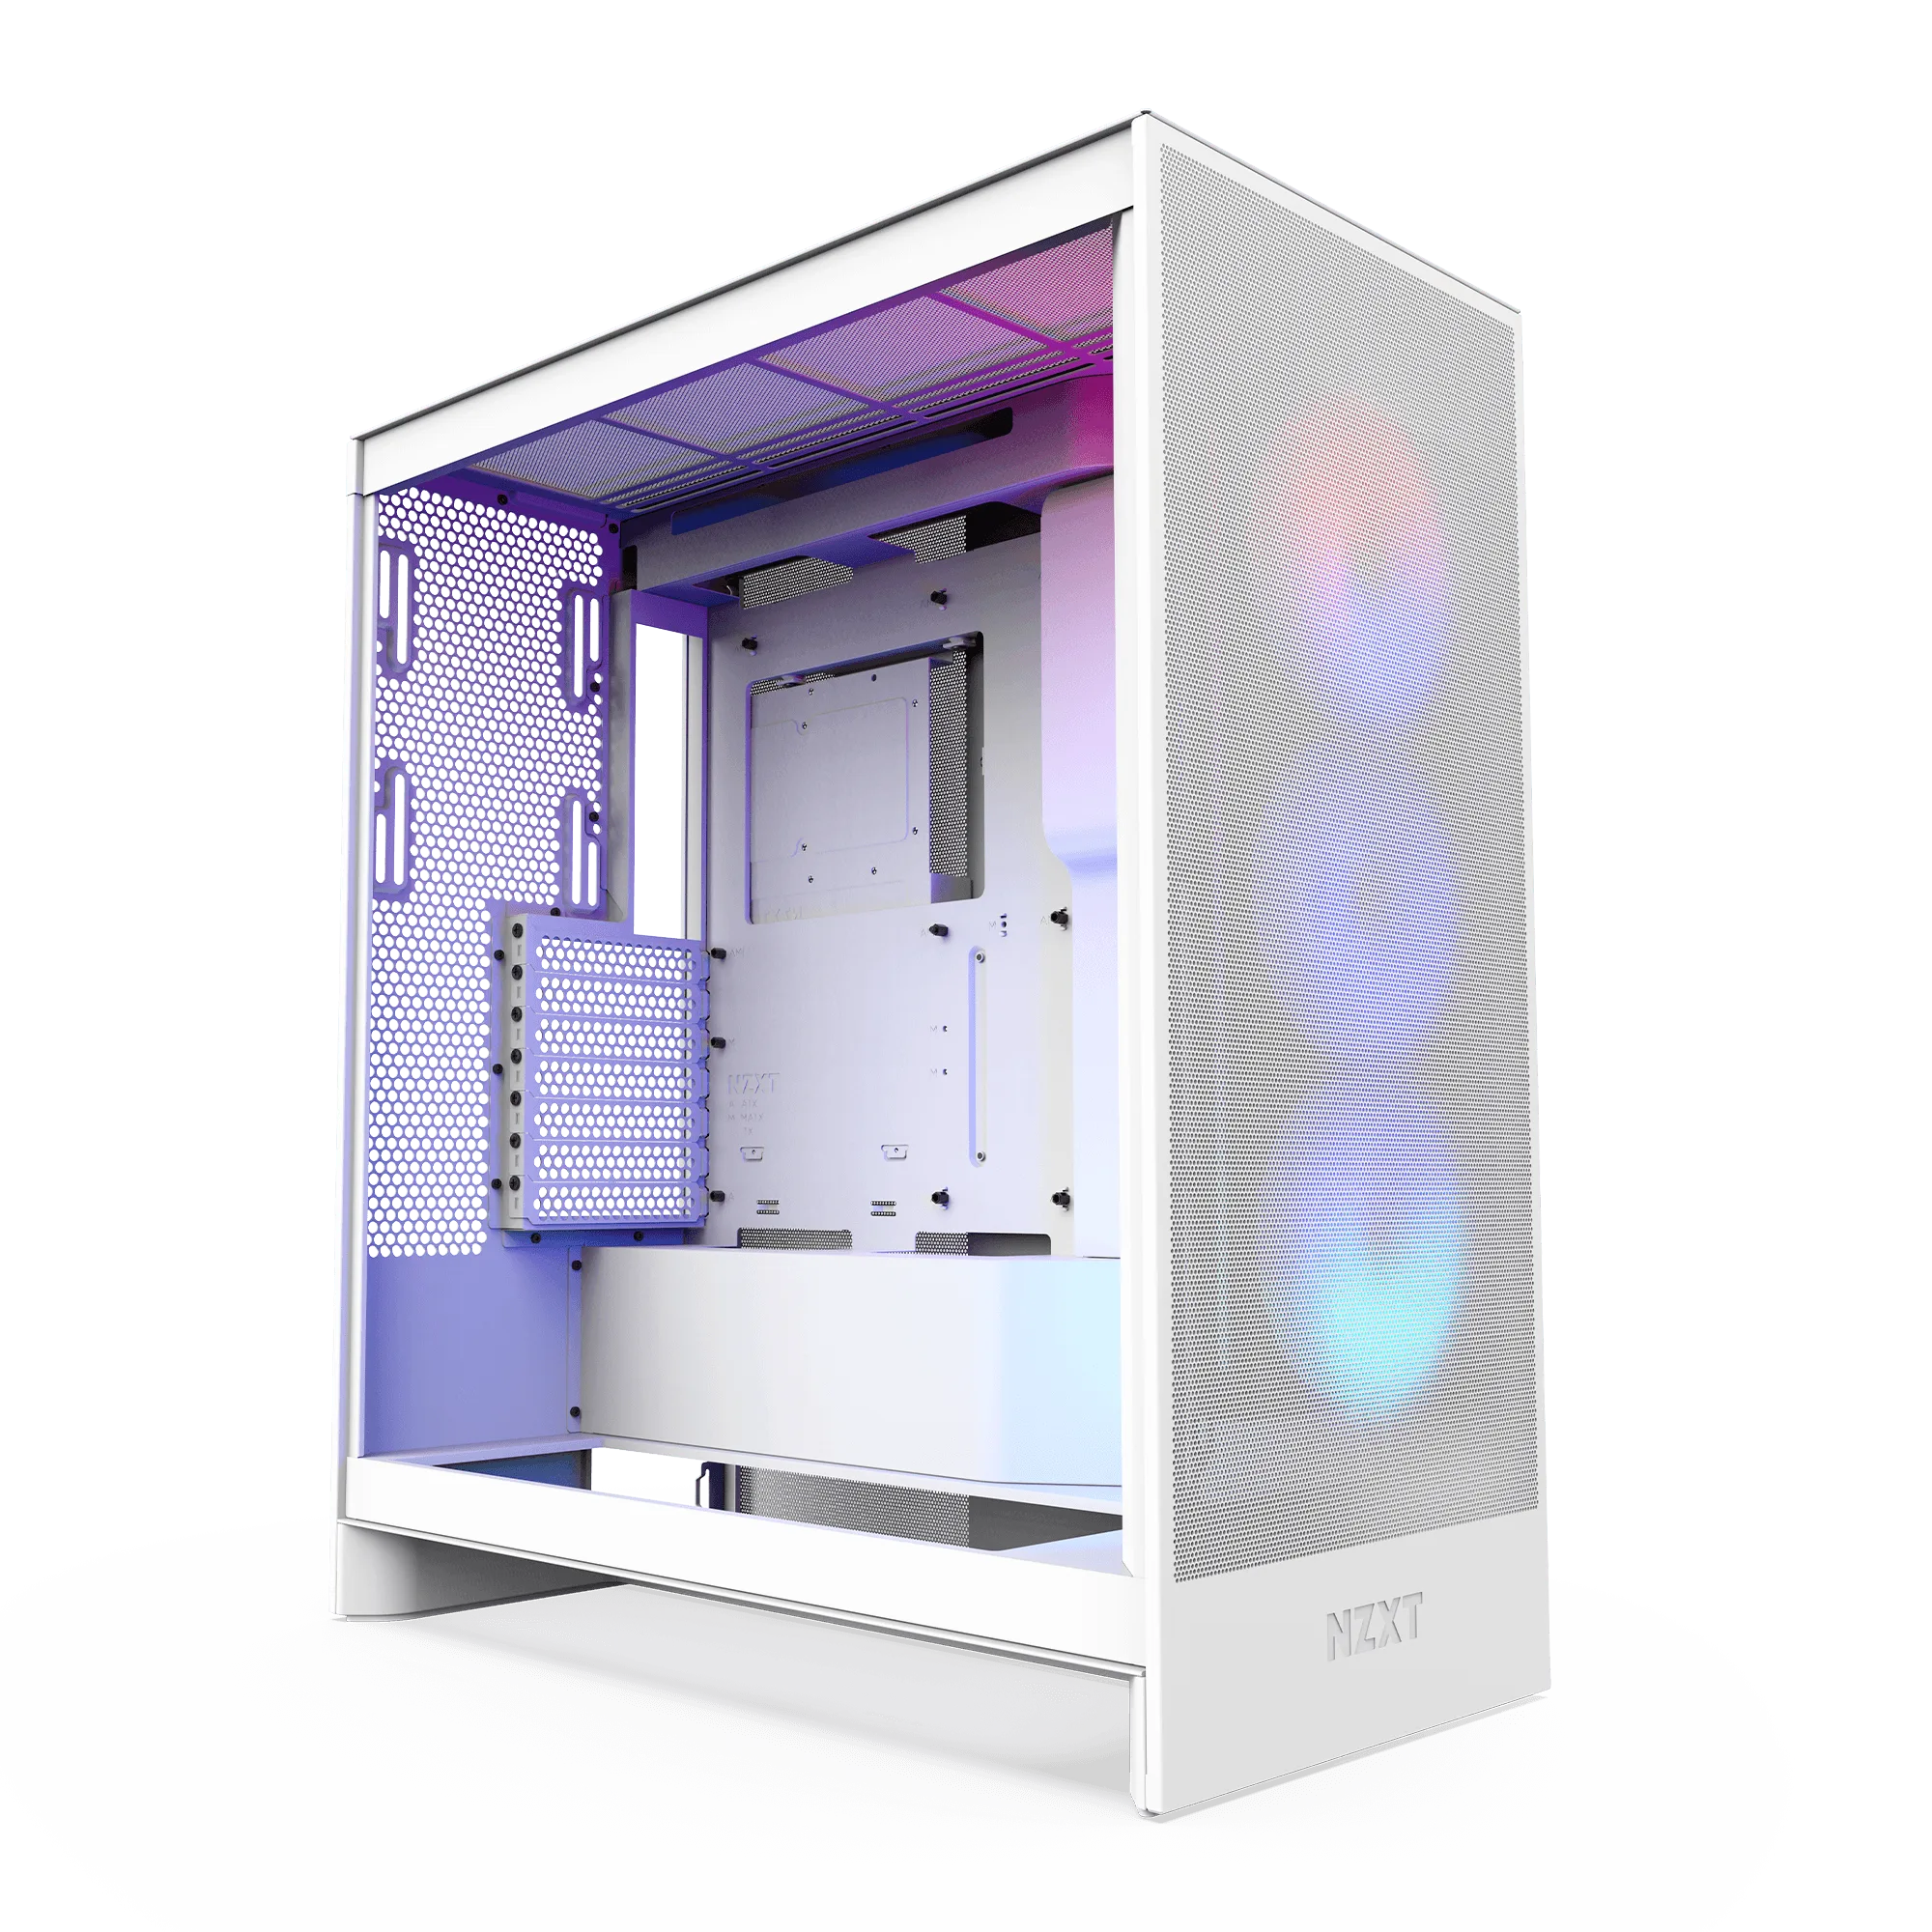
- Gaming PC RMA Packaging Materials (H7 Series): Provides a safe and secure shipping solution for your PC, and packaging materials similar to this kit are required for all warrantable RMA procedures. H7-series owners should match the kit to their case series; using the wrong foam can leave gaps that let the PC shift in transit.
- Gaming PC RMA Packaging Materials (H9 2023 Series): Holds up to 50 lbs and meets shipping carrier requirements; packaging materials similar to this kit are required for all warrantable RMA procedures. A correctly sized kit protects a large H9 build during shipping, which matters because a damaged return can complicate the warranty process.
A little routine care goes a long way. Dust your NZXT prebuild every month or two, watch your temperatures, and keep the right RMA packaging on hand—your PC will stay quiet, cool, and ready for years of gaming.