Quick answer
Use Kodiak Cakes baking mix as the base for no-bake protein balls by combining it with a wet binder like nut butter and milk, then rolling into bite-sized snacks. This method works with any flavor of baking mix, letting you create snickerdoodle, oatmeal chocolate chip, or your own custom protein balls in minutes.
Why Kodiak Cakes baking mix works for protein balls
Kodiak Cakes baking mixes are made with whole grains and a good amount of protein, which makes them a sturdy base for no-bake snacks. The mix absorbs moisture well, so you can shape it into balls without needing to bake them. That means you get the familiar flavor of your favorite mix in a portable, grab-and-go form.
Because the mix already contains leavening agents like baking powder, you don't need to worry about those when making no-bake balls. You're simply using the mix as a dry ingredient, so the texture stays dense and chewy rather than rising into a cake.
Choosing the right baking mix flavor
Any Kodiak Cakes baking mix flavor can be turned into protein balls, but the flavor you pick will change the final taste. For a classic cinnamon-sugar vibe, a snickerdoodle mix works well. For a chocolatey, oat-filled snack, the oatmeal chocolate chip mix is a great choice. If you want a neutral base that you can dress up with add-ins, a buttermilk or chocolate chip mix gives you more flexibility.
Keep in mind that sweeter mixes like chocolate chip may need less added sweetener, while plainer mixes might benefit from a touch of honey or maple syrup. Taste as you go and adjust to your preference.
Step-by-step: No-bake protein balls with Kodiak Cakes baking mix
- Gather your ingredients: You'll need 1 cup of Kodiak Cakes baking mix, 1/2 cup of nut butter (like peanut or almond), 1/3 cup of milk (dairy or plant-based), and 1 tablespoon of sweetener like honey or maple syrup. Optional add-ins: chocolate chips, shredded coconut, or vanilla extract. Check your baking mix's protein content to adjust the wet ingredients if needed; some mixes are drier than others.
- Mix the dry and wet ingredients: In a bowl, combine the baking mix and any dry add-ins. In a separate bowl, whisk together the nut butter, milk, and sweetener until smooth. Pour the wet mixture into the dry and stir until a thick dough forms. If the dough is too crumbly, add milk one tablespoon at a time. If it's too sticky, add a little more baking mix.
- Chill the dough: Cover the bowl and refrigerate for at least 30 minutes. This makes the dough easier to handle and helps the balls hold their shape. Don't skip the chill time – it's the key to preventing sticky, misshapen balls.
- Roll into balls: Scoop out about 1 tablespoon of dough and roll it between your palms to form a smooth ball. Place each ball on a parchment-lined tray. For uniform size, use a cookie scoop or measure with a spoon. Wet your hands slightly to prevent sticking.
- Store and enjoy: Keep the protein balls in an airtight container in the fridge for up to a week, or freeze them for up to three months. They're perfect for on-the-go snacking. Let frozen balls thaw for a few minutes before eating for the best texture.
Protein ball flavors to try
-
Oatmeal Chocolate Chip Protein Balls: Kodiak Oatmeal Chocolate Chip Protein Balls are described as easy, delicious, and satisfying even the most grizzly appetites. This mix gives you a ready-made chocolate chip and oat flavor, so you can skip extra add-ins and still get a hearty, satisfying snack.
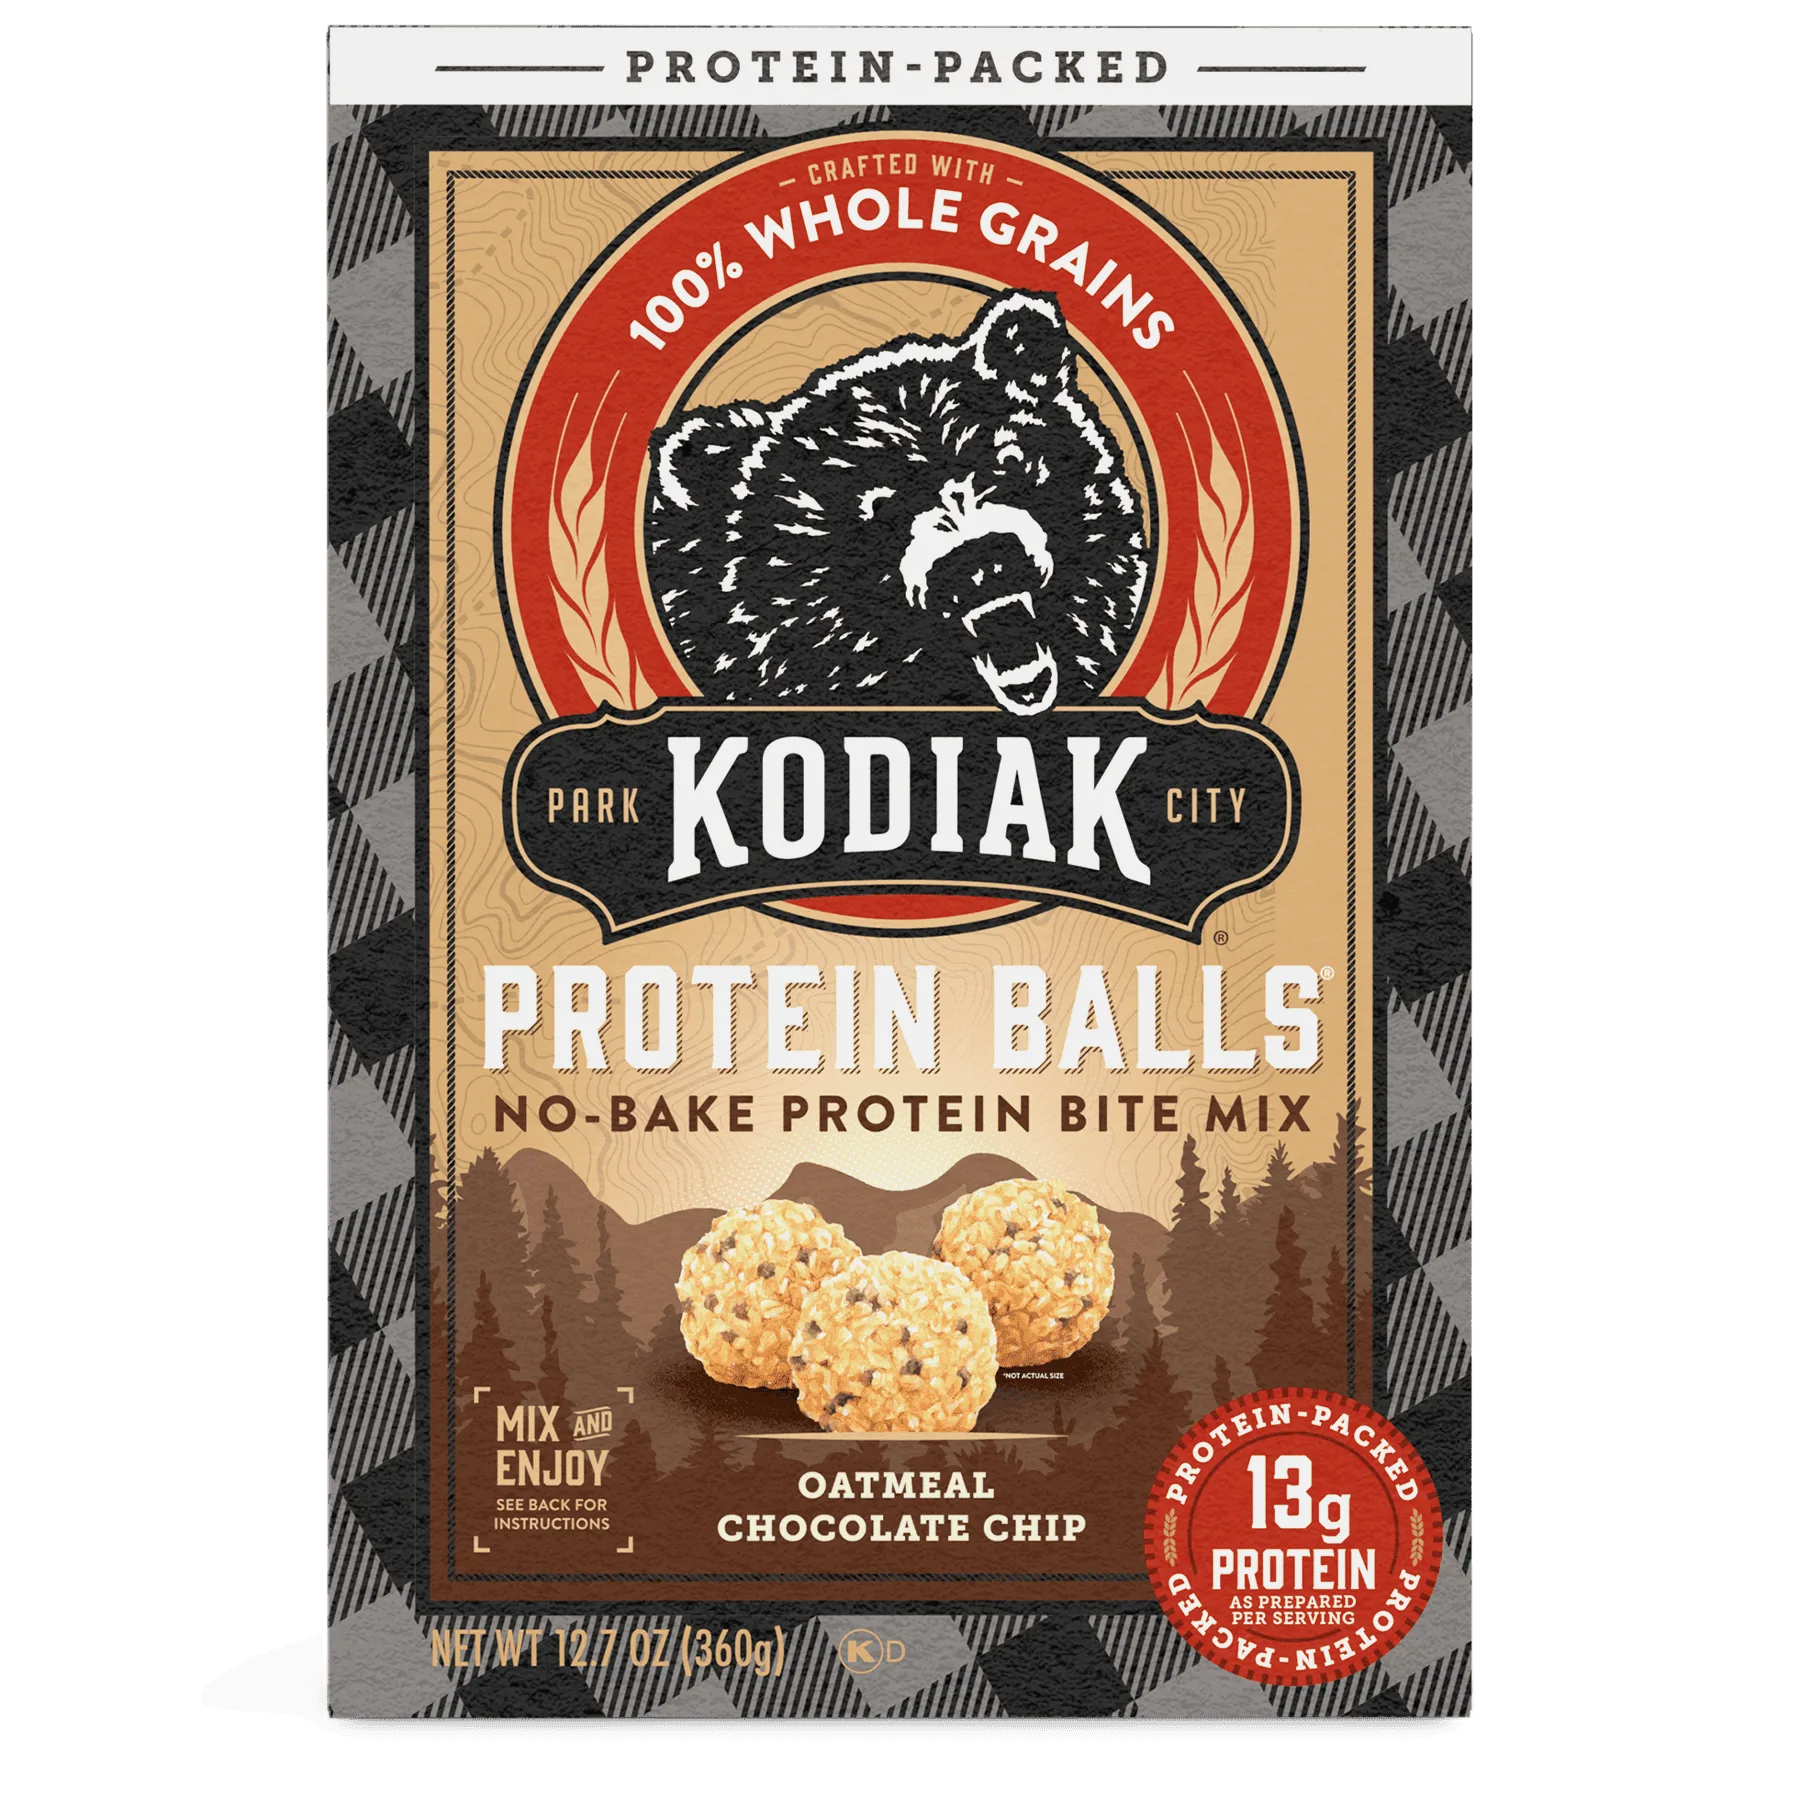
Oatmeal Chocolate Chip Protein Balls
-
Snickerdoodle Protein Balls: The snickerdoodle flavor is inspired by the classic tart, warm sugar cookie doused in cinnamon. If you love that cinnamon-sugar taste, this mix lets you create protein balls that mimic the cookie flavor without any baking.
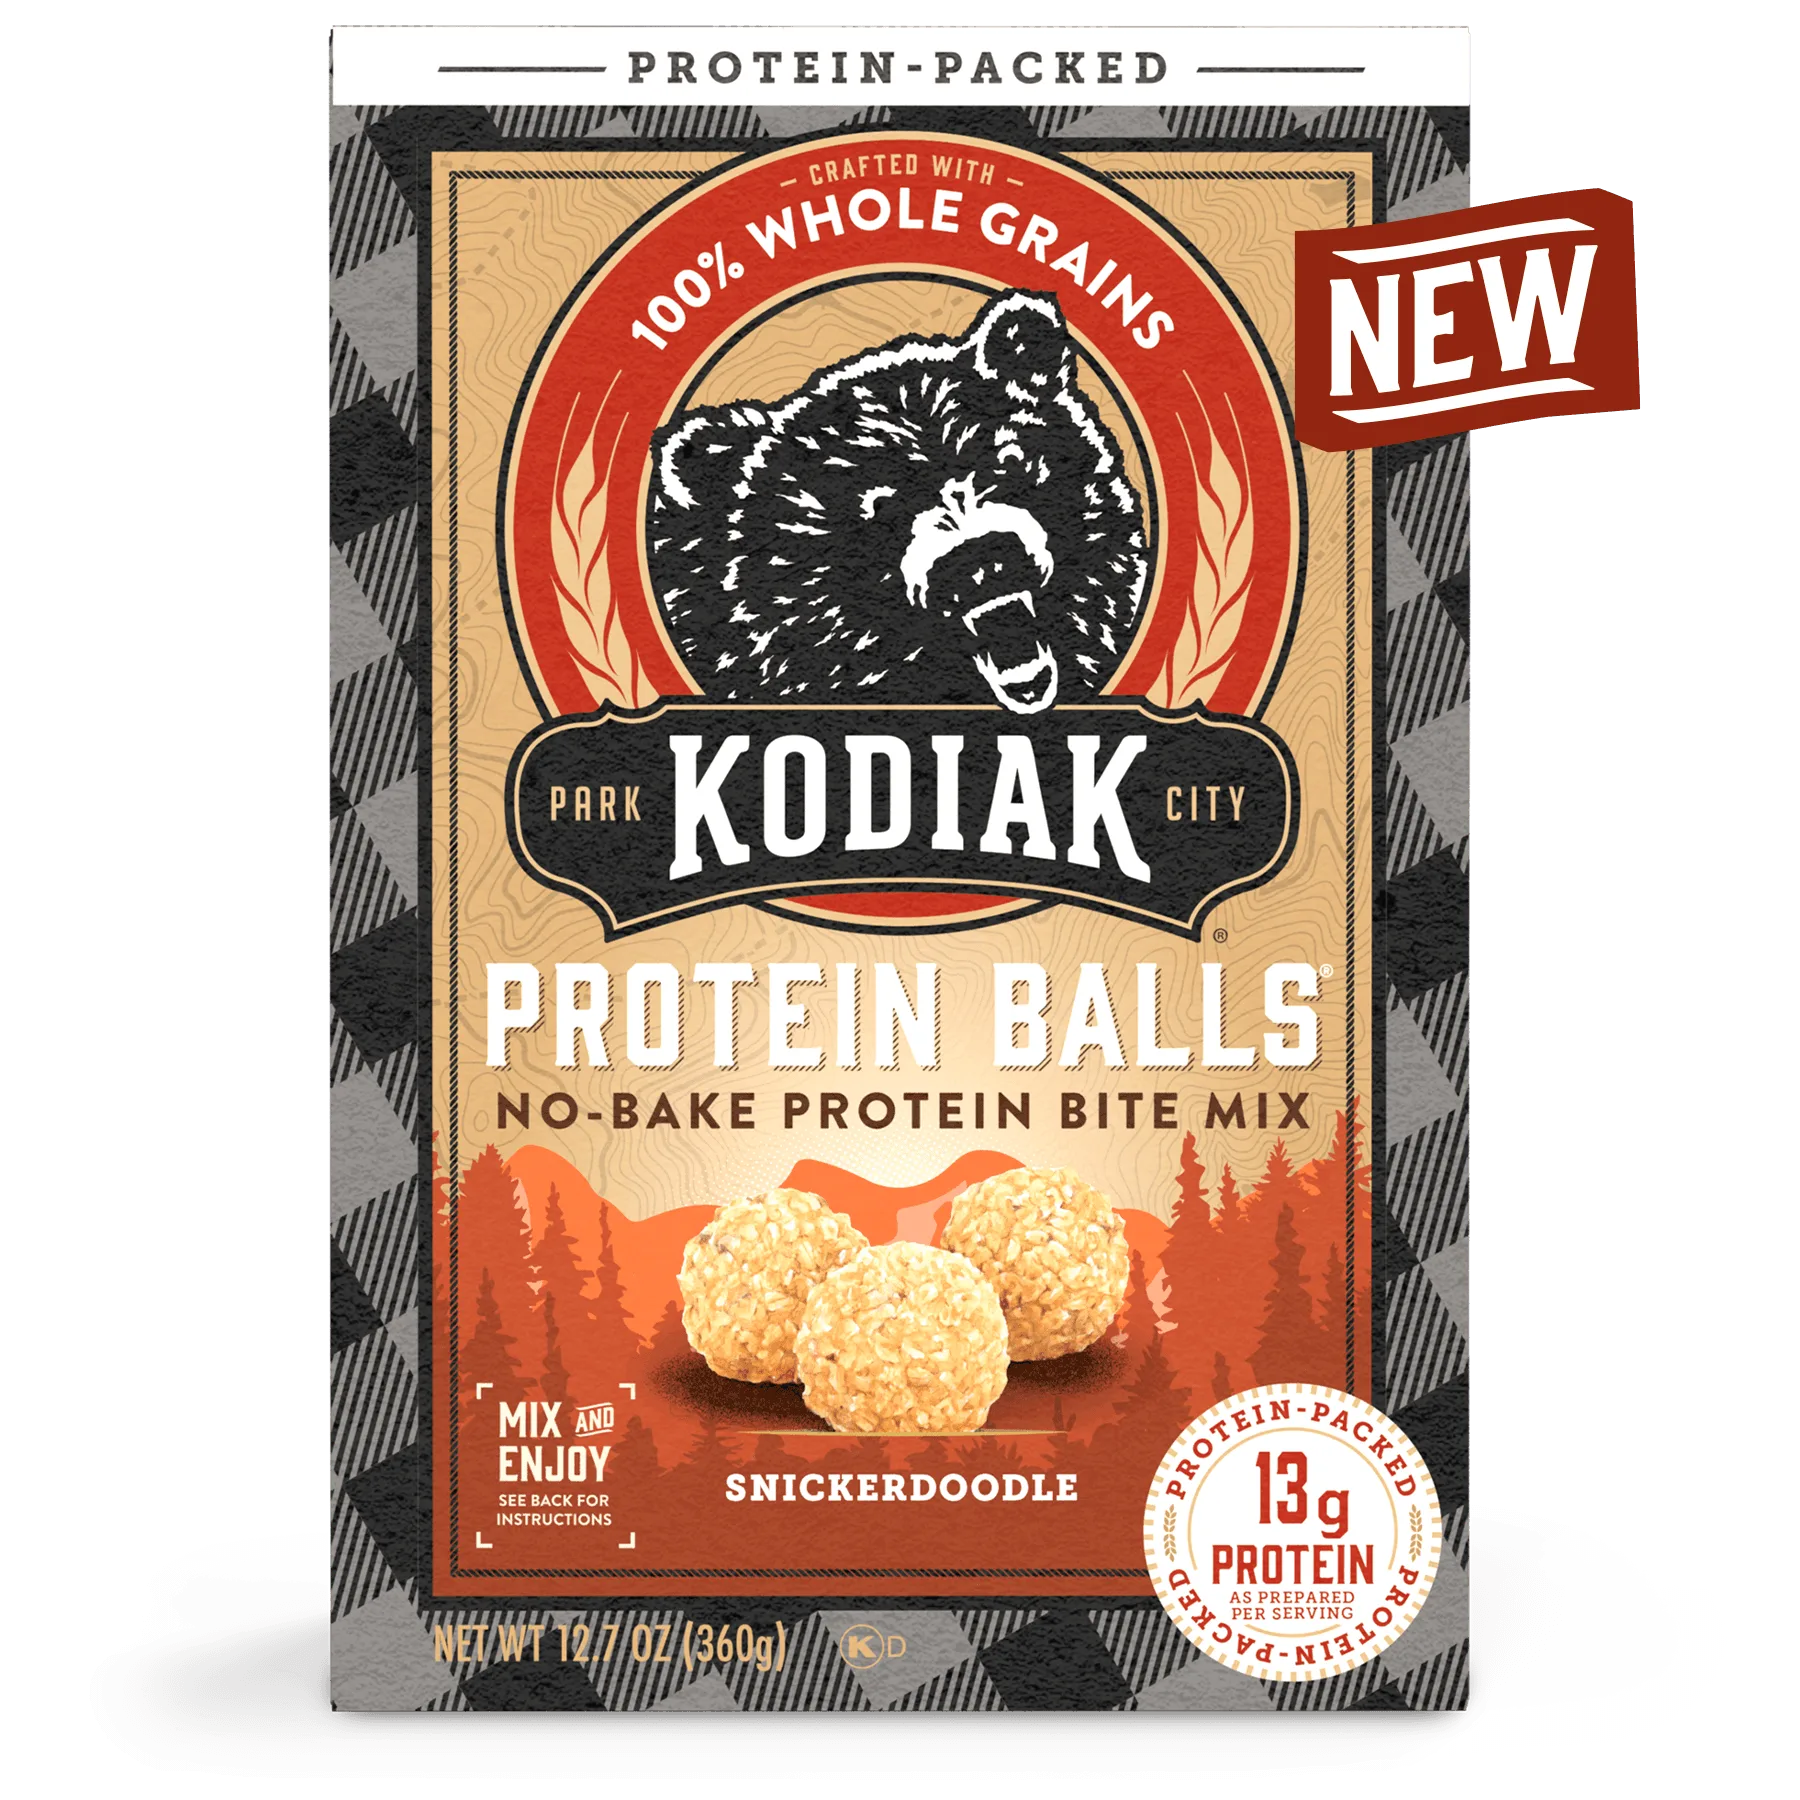
Snickerdoodle Protein Balls