Quick answer
Sew a leather handmade label on after quilting and binding, not before. Choose quilt label placement on the back, at least 1 inch in from the binding, then hand-stitch the label with a matching or contrast thread through the label's corner holes or around its edge. Keep stitches small, avoid the quilting lines, and sign or date the label before you attach it.
Choose quilt label placement before you pin anything
The most common mistake is sewing a label in the middle of the back where it fights the quilting pattern or sits under a hanging sleeve. Place it in a lower corner of the quilt back, roughly 1 to 2 inches from both the binding and the bottom edge. That spot stays visible when the quilt is folded on a bed or draped over a chair.
If the quilt will hang, keep the label out of the sleeve area. If it is a gift, a corner placement also lets the recipient find your name without unfolding the whole quilt.
Prepare the label and the quilt back
Press the quilt back flat and check that the area behind the label is smooth. Leather handmade labels are soft but durable, so they do not need to be folded under like fabric labels. If your label has pre-punched holes, line them up so the thread path is even on all sides.
Write the name, date, and any message on the label before attaching it. Once it is sewn down, writing becomes awkward and ink can bleed onto the quilt. Use a fine permanent pen and let it dry completely.
Pin or baste the label in place
Pin the label at its corners with fine pins, or baste it with a single strand of thread if the leather is thick. Basting is the safer option on quilts with dense quilting because pins can shift as you turn the quilt.
Check the placement from the front of the quilt as well. A label that looks centered on the back can appear off-center once the quilt is turned over.
Hand-stitch the label with small, even stitches
Use a hand-sewing needle and a thread that matches the leather or the quilt backing. Bring the needle up through the quilt back only, catching the batting lightly, then through the label hole or edge. Keep stitches about 1/8 inch apart and do not pull tight enough to pucker the leather.
A common mistake is stitching through the quilting lines. If your needle hits a quilting stitch, back out and move to a clear spot. On a machine-quilted quilt, hand-stitching the label gives you more control and a softer finish.
Finish the thread and check the result
Knot the thread on the back of the quilt, not on the label, and bury the tail under the backing. Give the label a gentle tug to confirm it is secure, then press the quilt back lightly around the label, not directly on the leather.
If you used a leather label with a 'Hand Made' engraving, the finished label becomes part of the quilt's story. That small step is what turns a project into a handmade quilt label you can date and keep.
Seven steps to attach a leather label
- 1. Wash and press the quilt back: Remove markings and press the backing flat so the label sits on smooth fabric. Checkpoint: the area behind the label should be wrinkle-free.
- 2. Mark the label position: Measure 1 to 2 inches in from the binding and bottom edge in a lower corner. Common mistake: centering the label where it hides under a hanging sleeve.
- 3. Write on the label first: Add name, date, and a short message with a fine permanent pen and let it dry. Checkpoint: test the pen on a scrap of leather if you are unsure.
- 4. Pin or baste the label: Secure corners with fine pins or a single basting thread. Common mistake: pinning only two corners so the label shifts.
- 5. Thread the needle: Use a hand-sewing needle and thread that matches the leather or backing. Checkpoint: knot the thread end before you begin.
- 6. Stitch around the label: Sew small stitches through the holes or edge, catching only the backing and a bit of batting. Common mistake: stitching through quilting lines or pulling the leather tight.
- 7. Knot and bury the thread: Finish on the back of the quilt, bury the tail, and press lightly around the label. Checkpoint: tug gently to confirm the label is secure.
Product facts that matter for this project
- Leather Handmade Labels 20pcs: Leather Handmade Labels 20pcs are leather labels with a 'Hand Made' engraving, sold in a 20-piece set at USD 9.28 (catalog comparison price USD 14.97). A 20-piece set gives you enough labels for a year of quilts, bags, and DIY crafts, so you can label gifts without saving the last one.
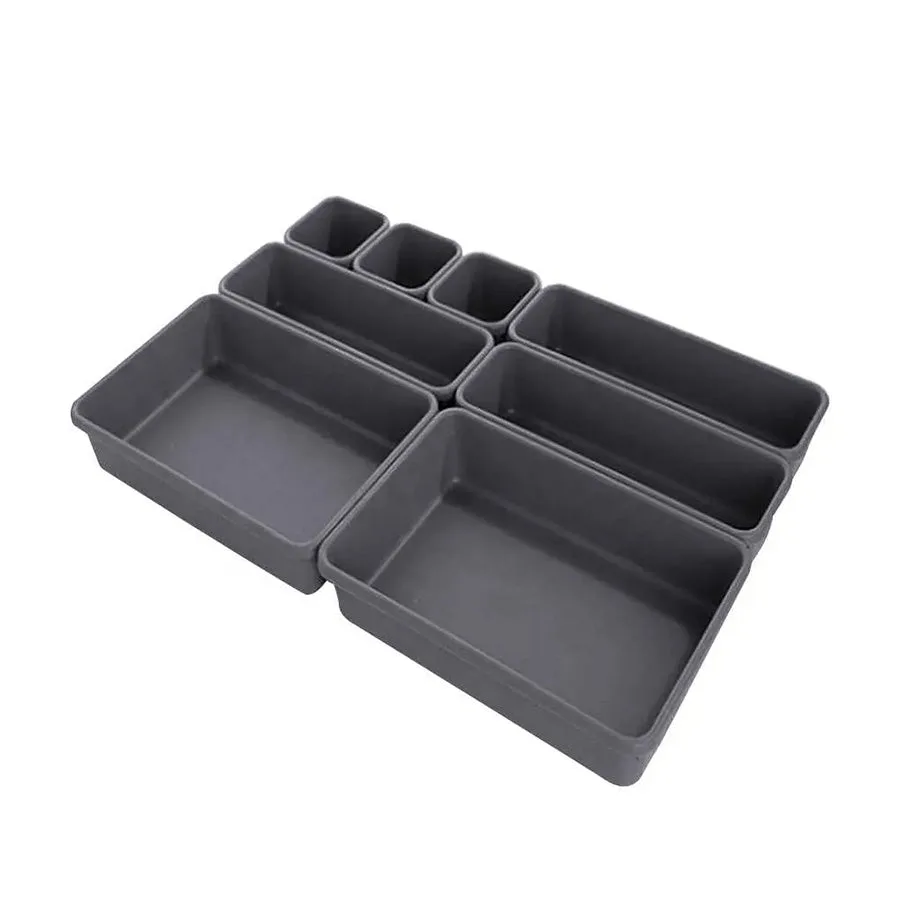
- Quilting Organizer For a Drawer: Quilting Organizer For a Drawer has three sizes and eight pieces for drawer storage, priced at USD 11.77 (catalog comparison price USD 18.99). Keeping needles, thread, and labels in one drawer organizer means you are not hunting for supplies when you sit down to sew a label.
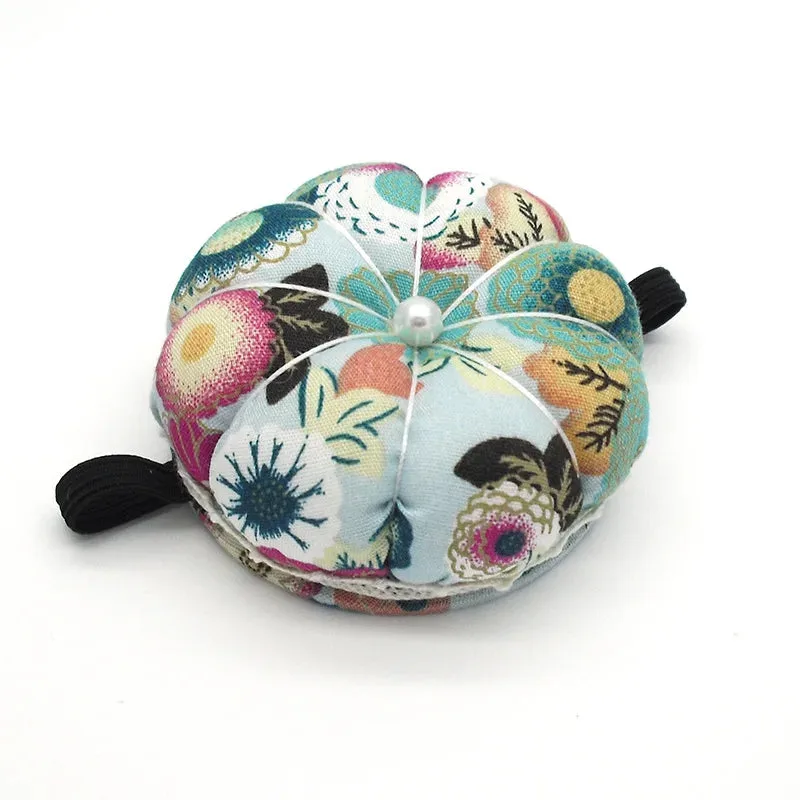
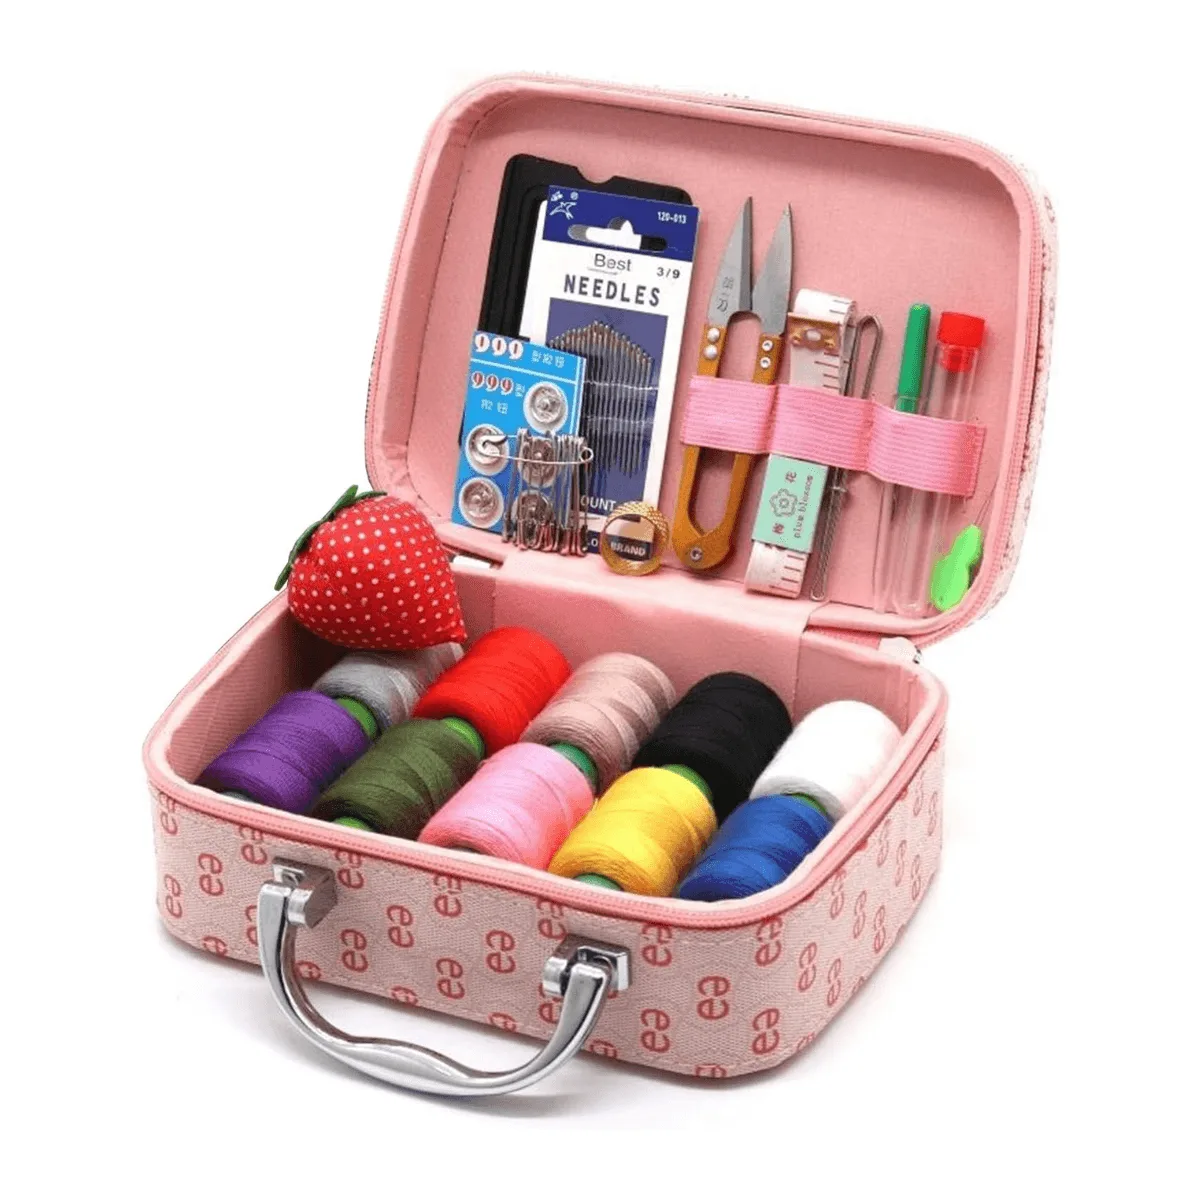
- Sewing Kit In a Stylish Box (Imagesbf): Sewing Kit In a Stylish Box (Imagesbf) includes sewing threads, needles, a measuring tape, thread snips, a pin cushion, a threader, a thimble, safety pins, and metal studs, priced at USD 23.43 (catalog comparison price USD 34.97). The kit covers the hand-sewing tools you need for label work, so you can start attaching labels without buying each notion separately.