Quick answer
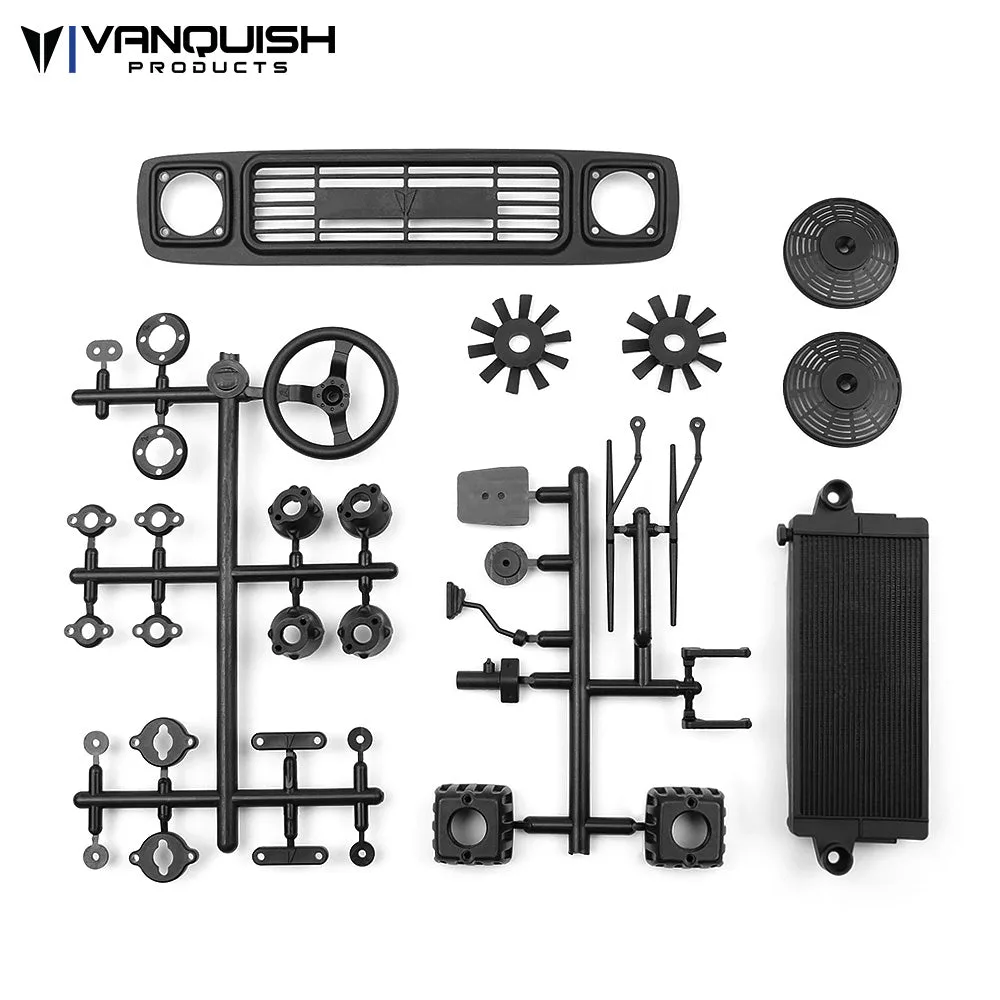
Fit the Origin Body Detail Set by test-fitting every piece before you cut, sand, or glue anything. Work from the largest parts down: radiator and fans, then grille, then light buckets, then interior and body details. Keep the body on the VS4-10 chassis while you check clearances so the details sit where the body actually lands, not where it looks right on the bench.
Prep the body and set up your work area
Before any scale body detail parts go on, confirm the body is trimmed, mounted, and sitting at its final ride height. If you are running the Origin Classic body on a VS4-10 chassis, the body position is fixed by the mounting system, so any detail that clears on the bench may still contact the chassis once the body drops into place. Work on a clean, well-lit surface with the chassis nearby. Keep small parts in a tray so light buckets and interior pieces do not disappear into carpet.
- Check the body is fully seated on its mounts before test-fitting details.
- Lay out every part from the set so you can identify the radiator, fans, grille, light buckets, and interior pieces before you start.
- Have a pin vise, hobby knife, sanding stick, and body scissors within reach.
Test-fit the radiator and fans first
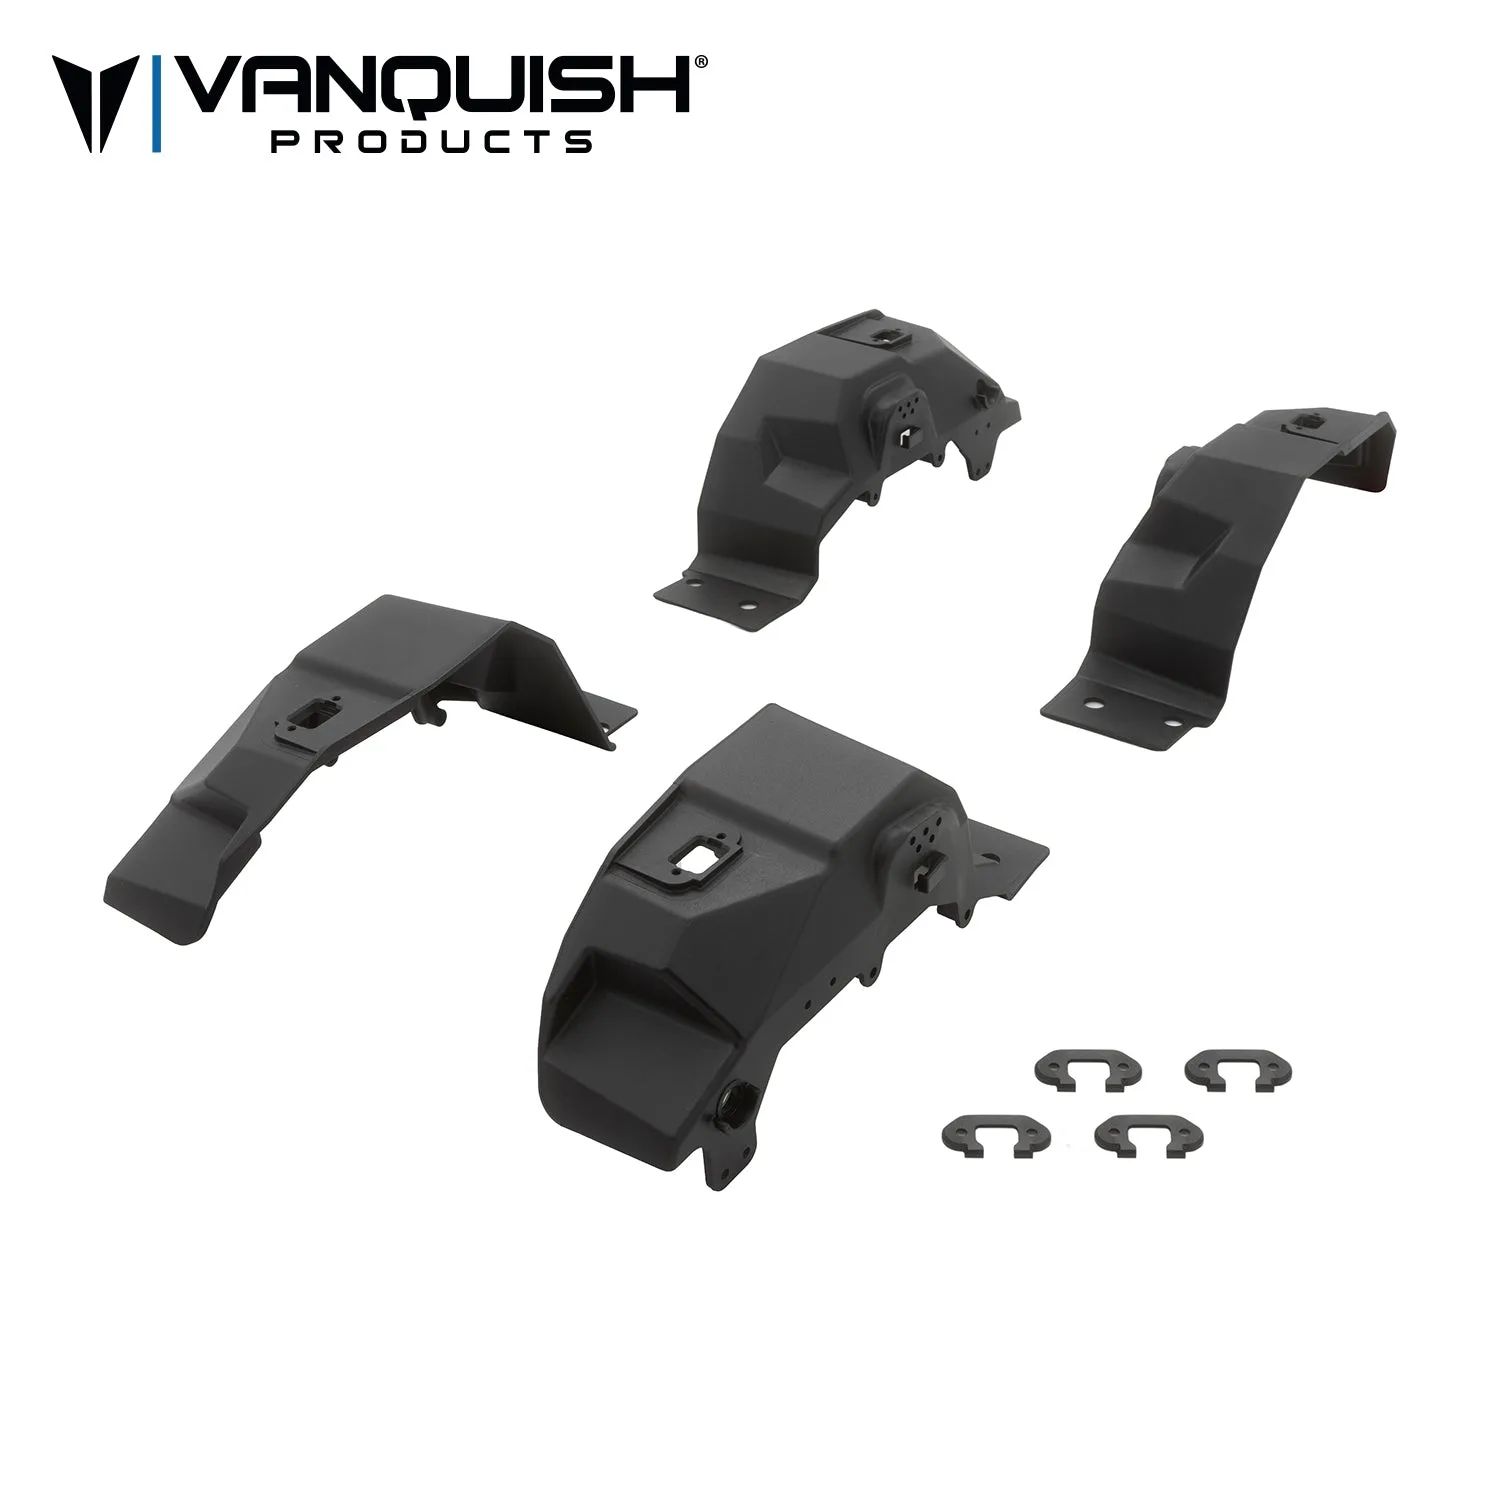
The radiator and fans are the largest pieces in the set, so they set the position for everything around them. Hold the radiator against the intended mounting area and check that it does not foul the inner fenders or shock towers. If you are using the Origin Classic Inner Fender Set, the molded front and rear inner fenders with integrated adjustable shock mounts occupy space near the front of the body. Confirm the radiator clears them before you commit to a position. Small adjustments here save you from trimming a glued part later.
Position the grille and light buckets
Once the radiator sits where you want it, place the grille and check that it lines up with the body's front opening. The light buckets should sit behind the grille openings without pushing the grille forward. This is the step where a millimeter of misalignment shows up as a crooked face, so check from the side and from directly in front. If the buckets need trimming to sit flush, remove material in small increments and re-check the fit rather than cutting to a mark.
Add interior and body detail accessories
The smaller interior and body detail accessories are the last parts to go on because they are the easiest to knock loose while you are still handling the body. Place them after the front-end parts are set, and check that they do not interfere with the body mounting system. If your VS4-10 uses the Dual Engagement Retention Pins (DERP) clip-less body mounting system, keep that area clear so the body still engages and releases cleanly. Details that block the mounts turn a quick body swap into a fight.
Secure the parts and do a final clearance check
Fasten the details using the method you are most comfortable with, whether that is small screws, shoe goo, or double-sided tape, and let adhesives cure fully before you handle the body. Then mount the body on the chassis, cycle the suspension through its travel, and turn the steering lock to lock. Listen for rubbing and look for contact between the details and the chassis, tires, or links. If something touches, fix it now rather than after the first trail run.
Install steps and checkpoints
- Test-fit every part before cutting or gluing: Hold each piece in place on the mounted body and mark only where material genuinely needs to come off. Injection molded nylon parts can be trimmed, but they cannot be put back. Checkpoint: every part sits flush with no force before you reach for adhesive.
- Work from largest to smallest: Set the radiator and fans first, then the grille and light buckets, then interior and body details. Each smaller part is positioned relative to the larger one in front of it. Checkpoint: the grille lines up with the body opening before you add light buckets.
- Keep the body mount path clear: If you use the DERP clip-less mounting system, route interior details and wiring away from the retention pins so the body still engages and releases without force. Checkpoint: the body clips on and off with the same effort as before the details went on.
- Check clearance at full suspension and steering travel: Mount the body, compress the suspension, and turn the steering lock to lock. Look and listen for rubbing against the inner fenders, tires, or links. Checkpoint: no contact through the full range of motion before the first run.
- Let adhesives cure before handling: If you used shoe goo or tape, give it the full cure time. Handling a body with uncured adhesive shifts parts and leaves a crooked grille or light bucket. Checkpoint: parts do not move when you gently press on them.
Parts in this install
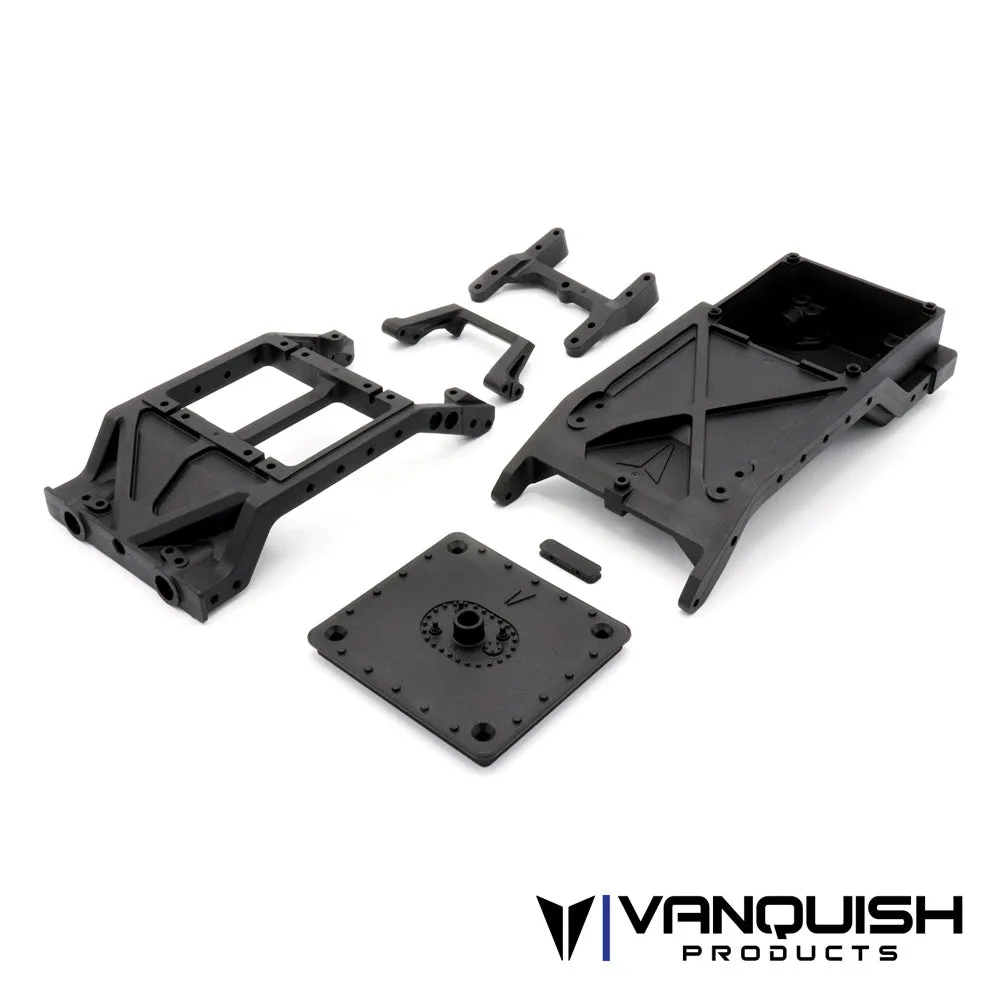
- Origin Body Detail Set: Vanquish Origin Body replacement detail set made from injection molded nylon, including radiator and fans, grille, light buckets, and interior and body detail accessories. The set covers the main scale focal points in one package, so you can plan the whole front-end and interior layout before you start cutting or gluing.
- Origin Classic Inner Fender Set: Origin Classic Inner Fender Set for the VS4-10 chassis, with molded front and rear inner fenders, integrated adjustable shock mounts, and rock light mounts. It is compatible with the Dual Engagement Retention Pins (DERP) clip-less body mounting system and the Origin Classic body. If you run these inner fenders, check radiator and detail clearance against them early, and keep the DERP mounting area clear so the body still clips on and off without interference.
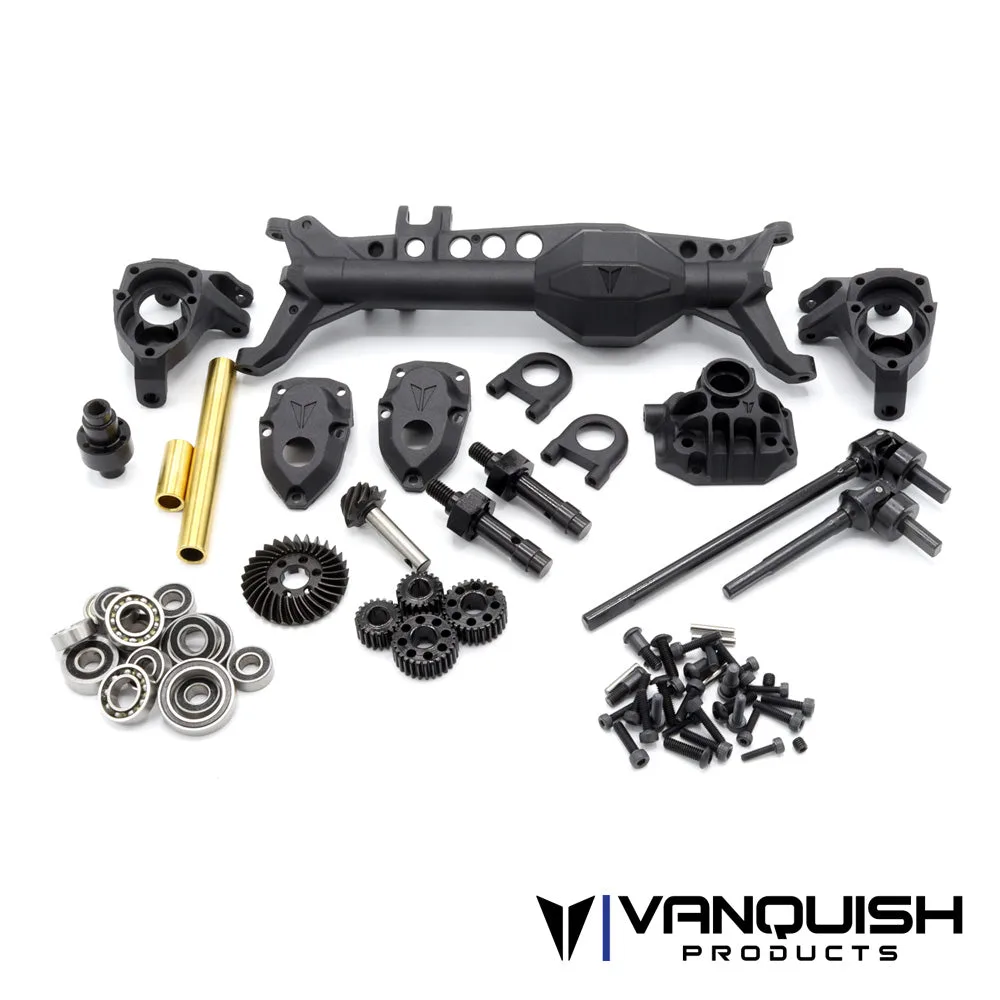
- F10 Portal Front Axle Set: F10 Portal Front Axle Set with an ultra rigid molded design, integrated truss tying both ends of the axle together, and brass inner reinforcement tubes that add strength and weight down low. Added low weight and a wider axle assembly can change how the body sits and how much clearance you have at full steering lock, so re-check detail clearance after any axle change.