Quick answer
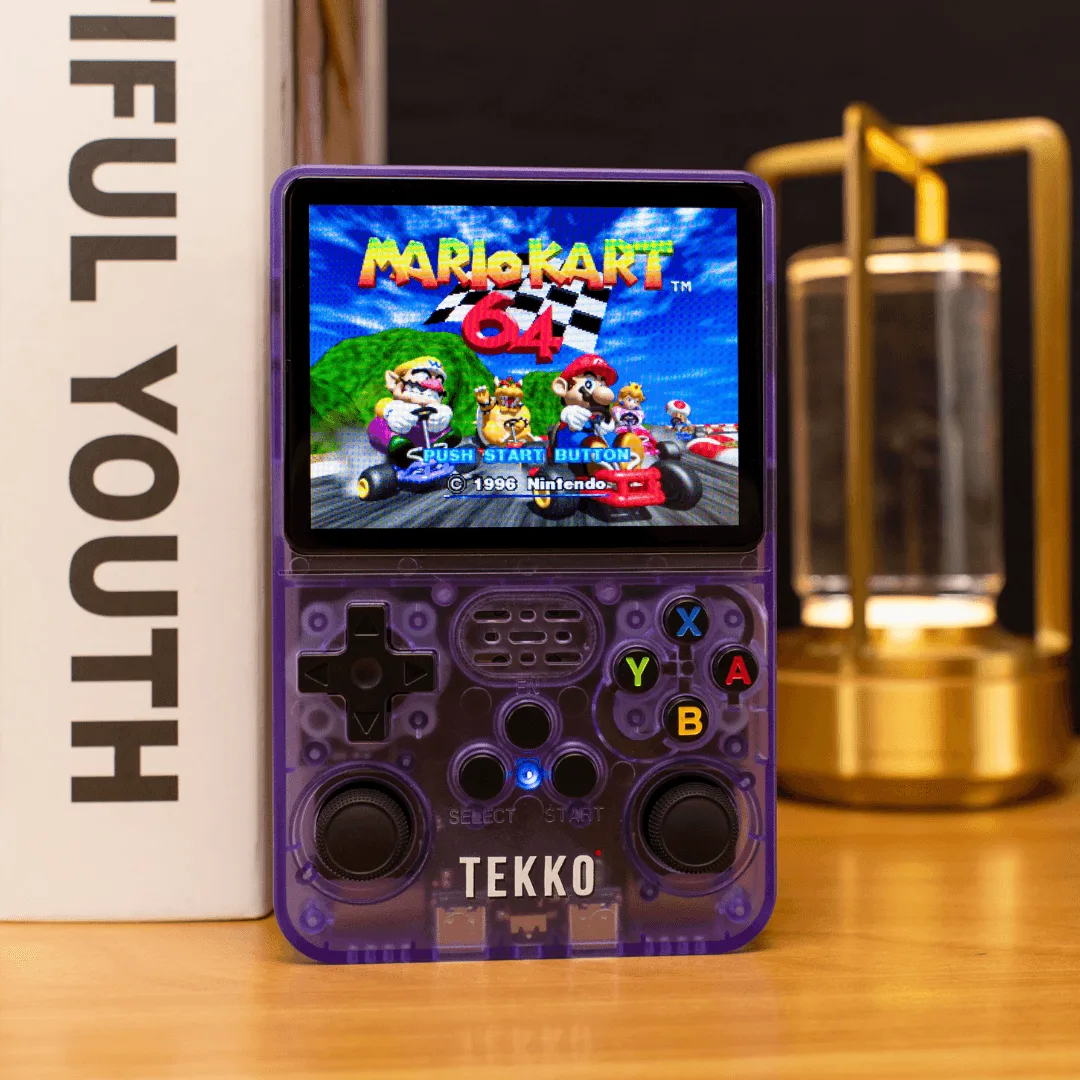
Personalize your TEKKO ONE by first cleaning the shell and controller surfaces, then apply stickers to flat areas and press Stick Grips onto the analog sticks. Work slowly, align before pressing, and avoid covering vents or buttons. This keeps your retro handheld looking unique without sacrificing grip or function.
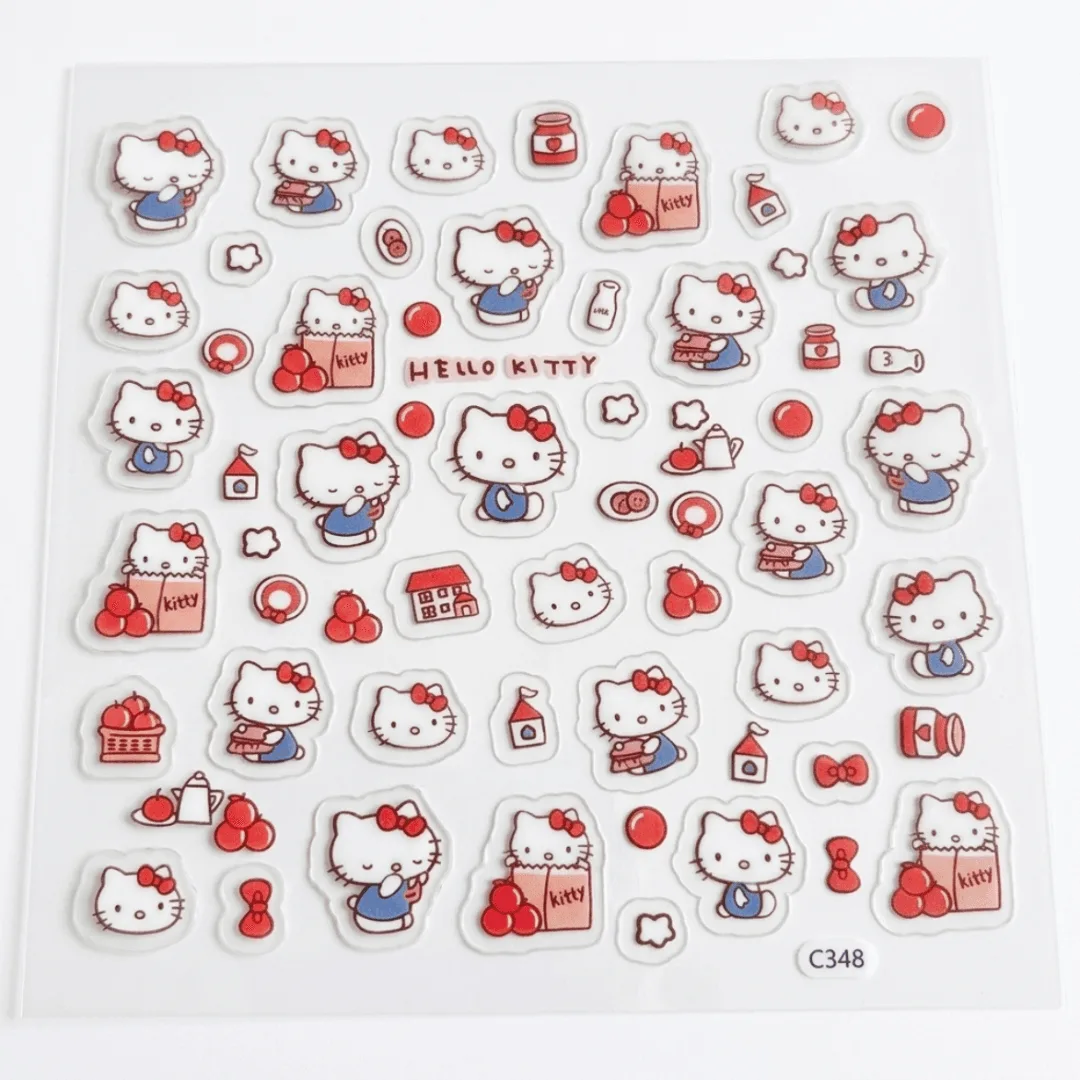
stickers
Prep your TEKKO ONE for personalization
Before applying anything, power off the console and remove any controllers or cables. Use a microfiber cloth lightly dampened with water to wipe dust and oils from the shell and controller surfaces. Let everything dry completely. A clean surface helps stickers and grips adhere evenly and prevents trapped grit from creating bumps.
Choose the right spots for stickers
Stickers work best on flat, non-textured areas of the TEKKO ONE shell, such as the back panel or the space around the screen bezel. Avoid placing them over buttons, ports, vents, or the game search button, as this can interfere with function. If you use multiple stickers, plan a layout first by dry-fitting them without peeling the backing.
Apply Stick Grips for comfort and control
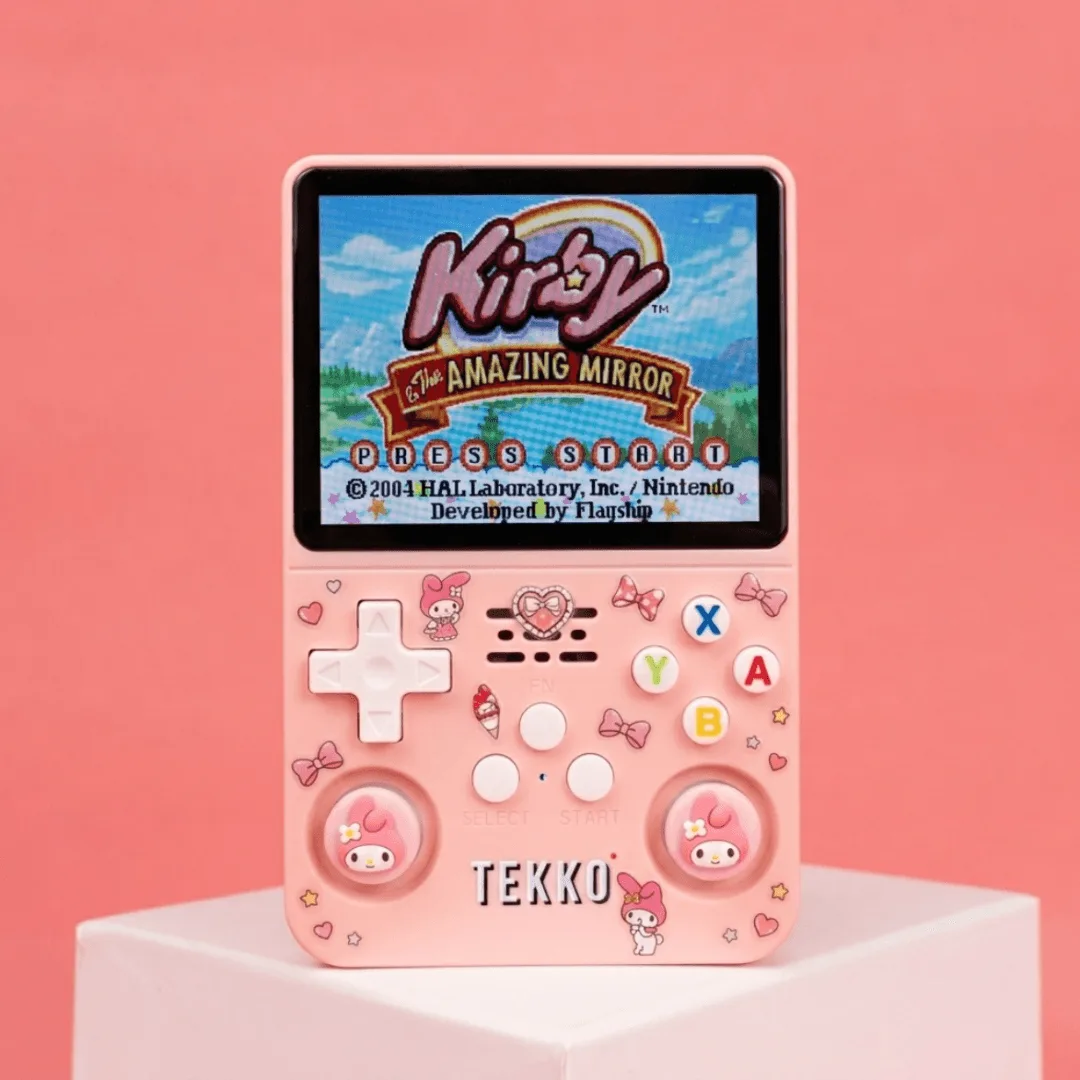
Stick Grips are designed to provide a comfortable and secure hold on your controller. They are available in six designs: Kitty, Night Bunny, Cloud Bunny, Pink Bunny, Sakura, and Catch. To apply, stretch the grip over the analog stick and press down firmly around the edges. Check that the grip sits flat and does not rub against the controller shell when you move the stick.
Step-by-step personalization
- Clean the surface: Wipe the console shell and controller with a dry or slightly damp microfiber cloth. Let it dry fully. Checkpoint: no dust or oily residue remains.
- Plan your sticker placement: Arrange stickers on flat areas away from buttons, vents, and the screen. Dry-fit first. Common mistake: placing stickers over curves or controls, which causes peeling or blocked inputs.
- Apply stickers slowly: Peel the backing and press from the center outward, smoothing out air bubbles as you go. Checkpoint: edges lie flat and do not lift.
- Attach Stick Grips: Stretch each grip over the analog stick and press firmly around the edges until it sits flat. Common mistake: not seating the grip evenly, which can cause it to slip during play.
- Test and adjust: Turn on the console and move the sticks through their full range. If a grip rubs or a sticker interferes, remove and reposition. Checkpoint: controls move freely and no buttons are obstructed.
Product facts
- Stick Grips: Stick Grips are available in six unique designs: Kitty, Night Bunny, Cloud Bunny, Pink Bunny, Sakura, and Catch. You can match your grip style to your console color or swap designs whenever you want a fresh look.
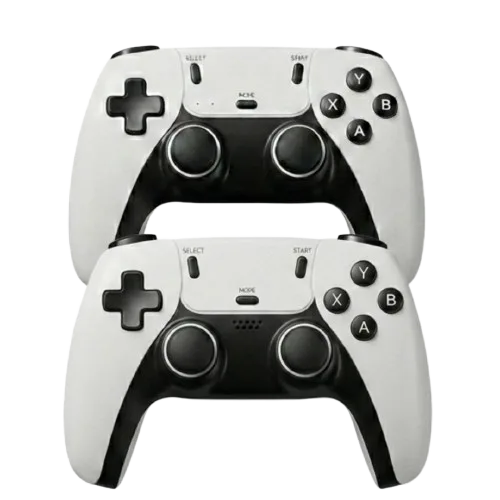
- Tekko Controllers: Tekko Controllers are compatible with the TEKKO ONE retro games console and feature a standard design for a classic feel. If you add grips to a spare controller, you keep the same familiar layout while improving comfort.