Quick answer
To install a Redcat steering servo correctly, first disconnect the battery, then remove the old servo and its mounting hardware. Mount the new servo using the correct upper servo mount (like the Redcat RER14761 for MONTE CARLO models), center the servo horn, connect the linkage, and adjust the endpoints before testing.
What You Need Before Starting
Before you begin, make sure you have the correct replacement servo and any necessary mounting parts. For example, the Redcat RER14761 upper servo mount front spare part is required for MONTE CARLO vehicles and comes as a single piece. Also check your vehicle manual for servo specifications and have a small Phillips screwdriver, a hex wrench set, and a servo horn that matches your steering linkage.
If you are upgrading to aluminum steering knuckles for better durability and steering response, consider the Redcat 02131P Aluminum Steering Knuckles L/R in purple. These fit LIGHTNING EP DRIFT, LIGHTNING STK, and VOLCANO EPX/EPX PRO models and can improve overall steering feel once the servo is installed correctly.
Common Mistakes to Avoid
One frequent error is installing the servo without first centering the servo horn. This causes the steering to pull to one side. Another mistake is overtightening the mounting screws, which can strip the plastic servo ears or the upper servo mount. Always hand-tighten and then give a quarter turn with a tool.
Also, forgetting to adjust the servo endpoints after installation can lead to binding or stripped gears. Use your transmitter's endpoint adjustment (EPA) or dual-rate setting to limit servo travel to match the steering linkage's mechanical limits.
Tools and Parts Checklist
Gather these items: a new steering servo, the correct upper servo mount (e.g., Redcat RER14761 for MONTE CARLO), a servo horn, linkage rod and ball ends, a small Phillips screwdriver, hex wrenches (1.5mm, 2.0mm), thread locker (blue), and your vehicle's manual. If you are replacing suspension hinge pins at the same time, the Redcat 50038 lower inner suspension arm hinge pins (4 pins per package, 6x94mm) are available for Rampage MT and legacy Rampage Dunerunner models.
Step-by-Step Redcat Steering Servo Installation
- Step 1: Disconnect Battery and Remove Old Servo: Disconnect the vehicle battery to prevent accidental startup. Remove the old servo by unscrewing the mounting screws and disconnecting the servo lead from the receiver. Note the orientation of the servo and the mounting plate. Checkpoint: Take a photo of the old setup before removal to reference during reassembly.
- Step 2: Install the Upper Servo Mount: If your vehicle uses a separate upper servo mount (like the RER14761 for MONTE CARLO), attach it to the chassis using the original screws. Ensure it sits flat and the screw holes align. Do not overtighten. Common mistake: Using the wrong mount or skipping it entirely can cause the servo to shift under load.
- Step 3: Mount the New Servo: Place the new servo into the mount with the output shaft facing the correct direction (usually toward the steering linkage). Secure it with the included rubber grommets and brass bushings to reduce vibration. Tighten screws evenly. Checkpoint: The servo should sit snug but not compressed. Over-tightening can damage the servo case.
- Step 4: Center the Servo and Attach the Horn: Power on the transmitter and receiver (with wheels off the ground). The servo will automatically center. Install the servo horn so it points straight ahead (90° to the servo body). Tighten the horn screw with a drop of blue thread locker. Common mistake: Installing the horn off-center forces you to use sub-trim to compensate, reducing total travel.
- Step 5: Connect the Steering Linkage: Attach the linkage rod from the servo horn to the steering bellcrank or knuckles. Adjust the rod length so that the wheels point straight when the servo is centered. Use ball links or turnbuckles for fine adjustment. Checkpoint: Both front wheels should have equal toe. If one wheel points inward, adjust the rod length.
- Step 6: Adjust Endpoints and Test: With the wheels off the ground, turn the steering full left and right using the transmitter. Adjust the EPA (endpoint adjustment) or dual-rate setting so the servo stops just before the linkage binds. Then test on the ground in a clear area. Common mistake: Setting endpoints too wide can strip servo gears or damage steering components.
Parts Mentioned in This Guide
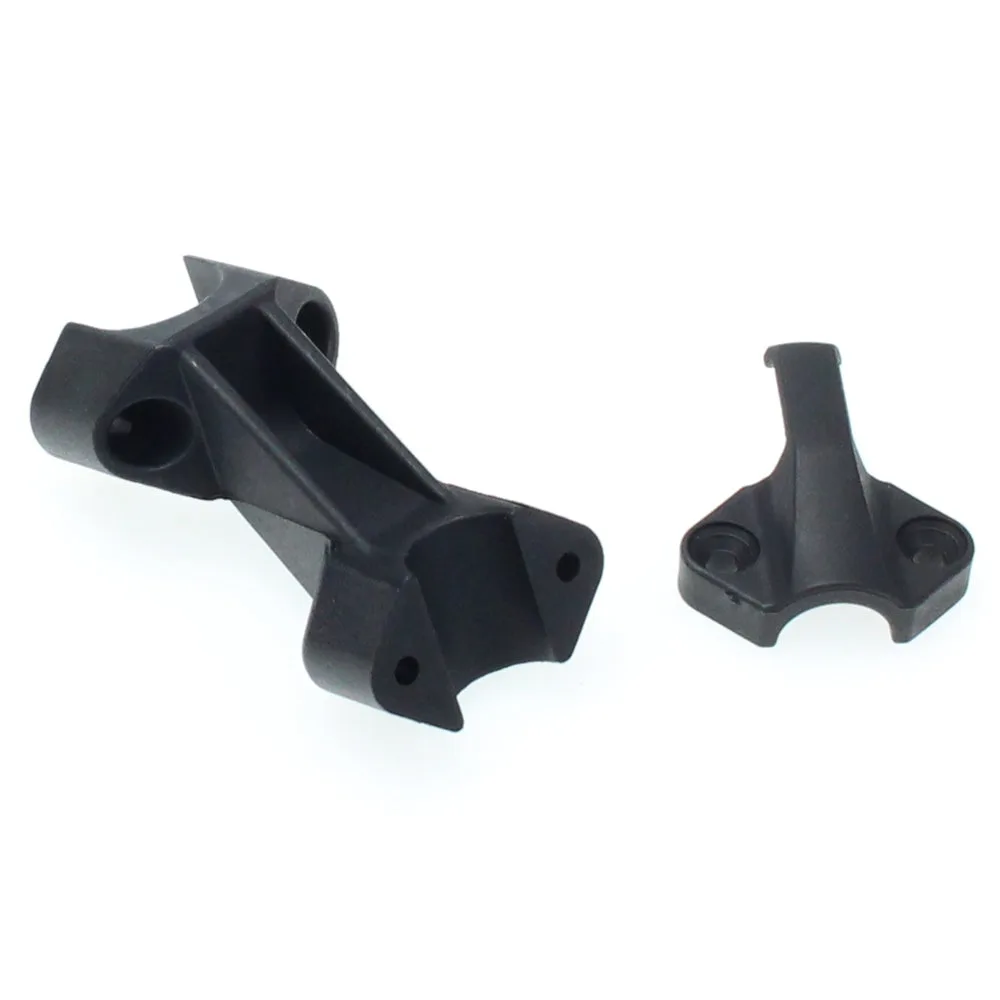
- RER14761: Redcat Racing RER14761 is an upper servo mount front spare part, supplied as a single piece (1pc). It is listed for use with the MONTE CARLO current vehicle. If you own a MONTE CARLO, this is the correct mount to secure your new steering servo. Using the wrong mount can cause misalignment or loose fit.
- 02131P: Redcat Racing 02131P Aluminum Steering Knuckles L/R in purple. This pair is designed as a hop-up or spare part for select Redcat vehicles, including LIGHTNING EP DRIFT, LIGHTNING STK, and VOLCANO EPX/EPX PRO models. Aluminum construction improves durability and steering response. Upgrading to aluminum knuckles reduces flex in the steering system, making the servo's work more precise and the vehicle more responsive.
- 50038: Redcat Racing 50038 lower inner suspension arm hinge pins. Each package includes 4 pins, each measuring 6 x 94 mm. Fits Rampage MT and legacy Rampage Dunerunner models. Worn hinge pins can cause sloppy steering feel. Replacing them during a servo install ensures the entire front end is tight and predictable.