Quick answer
To measure your bra size at home, wear an unpadded bra or no bra, stand straight, and wrap a soft tape around your ribcage directly under your bust to get your band size. Then measure around the fullest part of your bust. The difference between those two numbers gives you your cup size. Always round to the nearest whole number, and if you land between sizes, try the larger band first.
A bra that fits properly can change how your clothes look and how you feel all day. But many of us wear the wrong size because we guess or stick with a size we were fitted for years ago. The good news is you can get a reliable starting point at home with just a soft measuring tape and a mirror.
This guide walks you through each measurement step, explains how to read the numbers, and shares common mistakes to avoid. You will also learn how to confirm the fit once you try a bra on, so you can shop with confidence.
Before you start: what you need
You do not need a professional fitter to get a good baseline. All you need is a soft measuring tape, a mirror, and a few minutes. Wear a non-padded bra or go without one so the tape sits close to your body and gives an accurate reading. If you use a padded bra, the foam can add inches and throw off your cup calculation.
Stand in front of a mirror so you can keep the tape level all the way around. Keep the tape snug but not tight. You should be able to slip one finger under the tape. If the tape digs in, your measurement will be too small and your bra will feel tight.
- Use a soft tape, not a metal builder's tape.
- Check in a mirror that the tape is straight across your back.
- Breathe normally; do not puff out your chest or hold your breath.
Step 1: Measure your band size
Wrap the tape around your ribcage, directly under your bust. The tape should sit where the band of your bra normally rests. Pull it snug and check in the mirror that it is level all the way around. Write down the number in inches. If it is an odd number, round down to the nearest even number for your band size. For example, 31 inches becomes a 30 band.
If you get an even number, that is your band size. Some brands use slightly different sizing, so always check the brand's size chart. A common mistake is measuring too low, over the top of your stomach instead of under your bust. That gives a larger band size and a bra that rides up.
- Keep the tape parallel to the floor.
- Round down to the nearest even number for your band.
- Re-measure if the tape slipped or twisted.
Step 2: Measure your bust size
Wrap the tape around the fullest part of your bust, usually across the nipple line. Keep the tape level and snug, but do not compress your breast tissue. Stand straight with your arms down. Write down this number in inches. This is your bust measurement.
A common mistake is pulling the tape too tight, which flattens the bust and gives a cup size that is too small. Another mistake is measuring over a padded bra. If you are unsure, measure twice and take the average.
- Measure at the fullest point, not across the top of your bust.
- Keep the tape snug but not indenting your skin.
- Write down the number immediately so you do not forget it.
Step 3: Calculate your cup size
Subtract your band measurement from your bust measurement. The difference in inches tells you your cup size. A 1-inch difference is an A cup, 2 inches is a B cup, 3 inches is a C cup, 4 inches is a D cup, 5 inches is a DD or E cup, and so on. For example, if your band is 34 and your bust is 37, the difference is 3 inches, so you are a 34C.
If you land between cup sizes, try the smaller cup first, then adjust. Cup size is not static; it changes with your band size. A 34C and a 36B have similar cup volumes but different band lengths. Knowing both numbers helps you find the right starting point.
- Difference of 0-1 inch: AA or A cup.
- Difference of 2 inches: B cup.
- Difference of 3 inches: C cup.
- Difference of 4 inches: D cup.
- Difference of 5 inches: DD or E cup.
Step 4: Check the fit when you try a bra on
Your measurements give you a starting size, but the real test is how the bra feels and looks. Put the bra on the loosest hook. The band should be snug and level all the way around, not riding up at the back. You should be able to fit two fingers under the band. If the band digs in or leaves red marks, go up a band size.
Next, check the cups. Your breast tissue should be fully inside the cup, with no bulging at the top or sides. The center gore (the piece between the cups) should lie flat against your chest. If it floats away, the cup is too small. If the cups wrinkle or gap, the cup is too big. Adjust the straps so they stay in place without digging in.
- Band rides up: go down a band size or tighten the straps.
- Cups overflow: go up a cup size.
- Cups gap: go down a cup size.
- Center gore floats: go up a cup size.
Step 5: Re-measure and adjust as needed
If the first bra you try does not feel right, do not assume your measurements are wrong. Use the fit checks above to adjust one size at a time. For example, if the band is comfortable but the cups overflow, try the same band with a larger cup. If the band is too tight but the cups fit, try a larger band and a smaller cup (a sister size).
Your size can change with weight fluctuations, hormonal changes, or after pregnancy. Re-measure every six months or whenever your bras start feeling uncomfortable. A bra that fit perfectly last year may not be the right size today.
- Sister sizes: 34C is equivalent to 36B and 32D.
- If the band is tight, try a larger band and smaller cup.
- Re-measure every six months for the best fit.
Your at-home bra fitting steps
- Measure your band: Wrap a soft tape snugly around your ribcage under your bust. Round down to the nearest even number. Checkpoint: the tape should be level and snug, not digging in.
- Measure your bust: Measure around the fullest part of your bust, keeping the tape level and snug without compressing. Checkpoint: do not measure over a padded bra.
- Calculate your cup: Subtract your band measurement from your bust measurement. Each inch of difference equals one cup size. Checkpoint: a 3-inch difference is a C cup, 4 inches is a D cup.
- Try on and check the band: Fasten on the loosest hook. The band should be level and snug, and you should fit two fingers under it. If the band rides up, go down a band size.
- Check the cups: Ensure your breast tissue is fully inside the cup with no bulging or gaping. The center gore should lie flat. If the gore floats, go up a cup size.
- Adjust and re-measure: If the fit is off, try a sister size or re-measure. Re-check your size every six months. A well-fitted bra should feel comfortable all day.
Bras that work well with an at-home fit
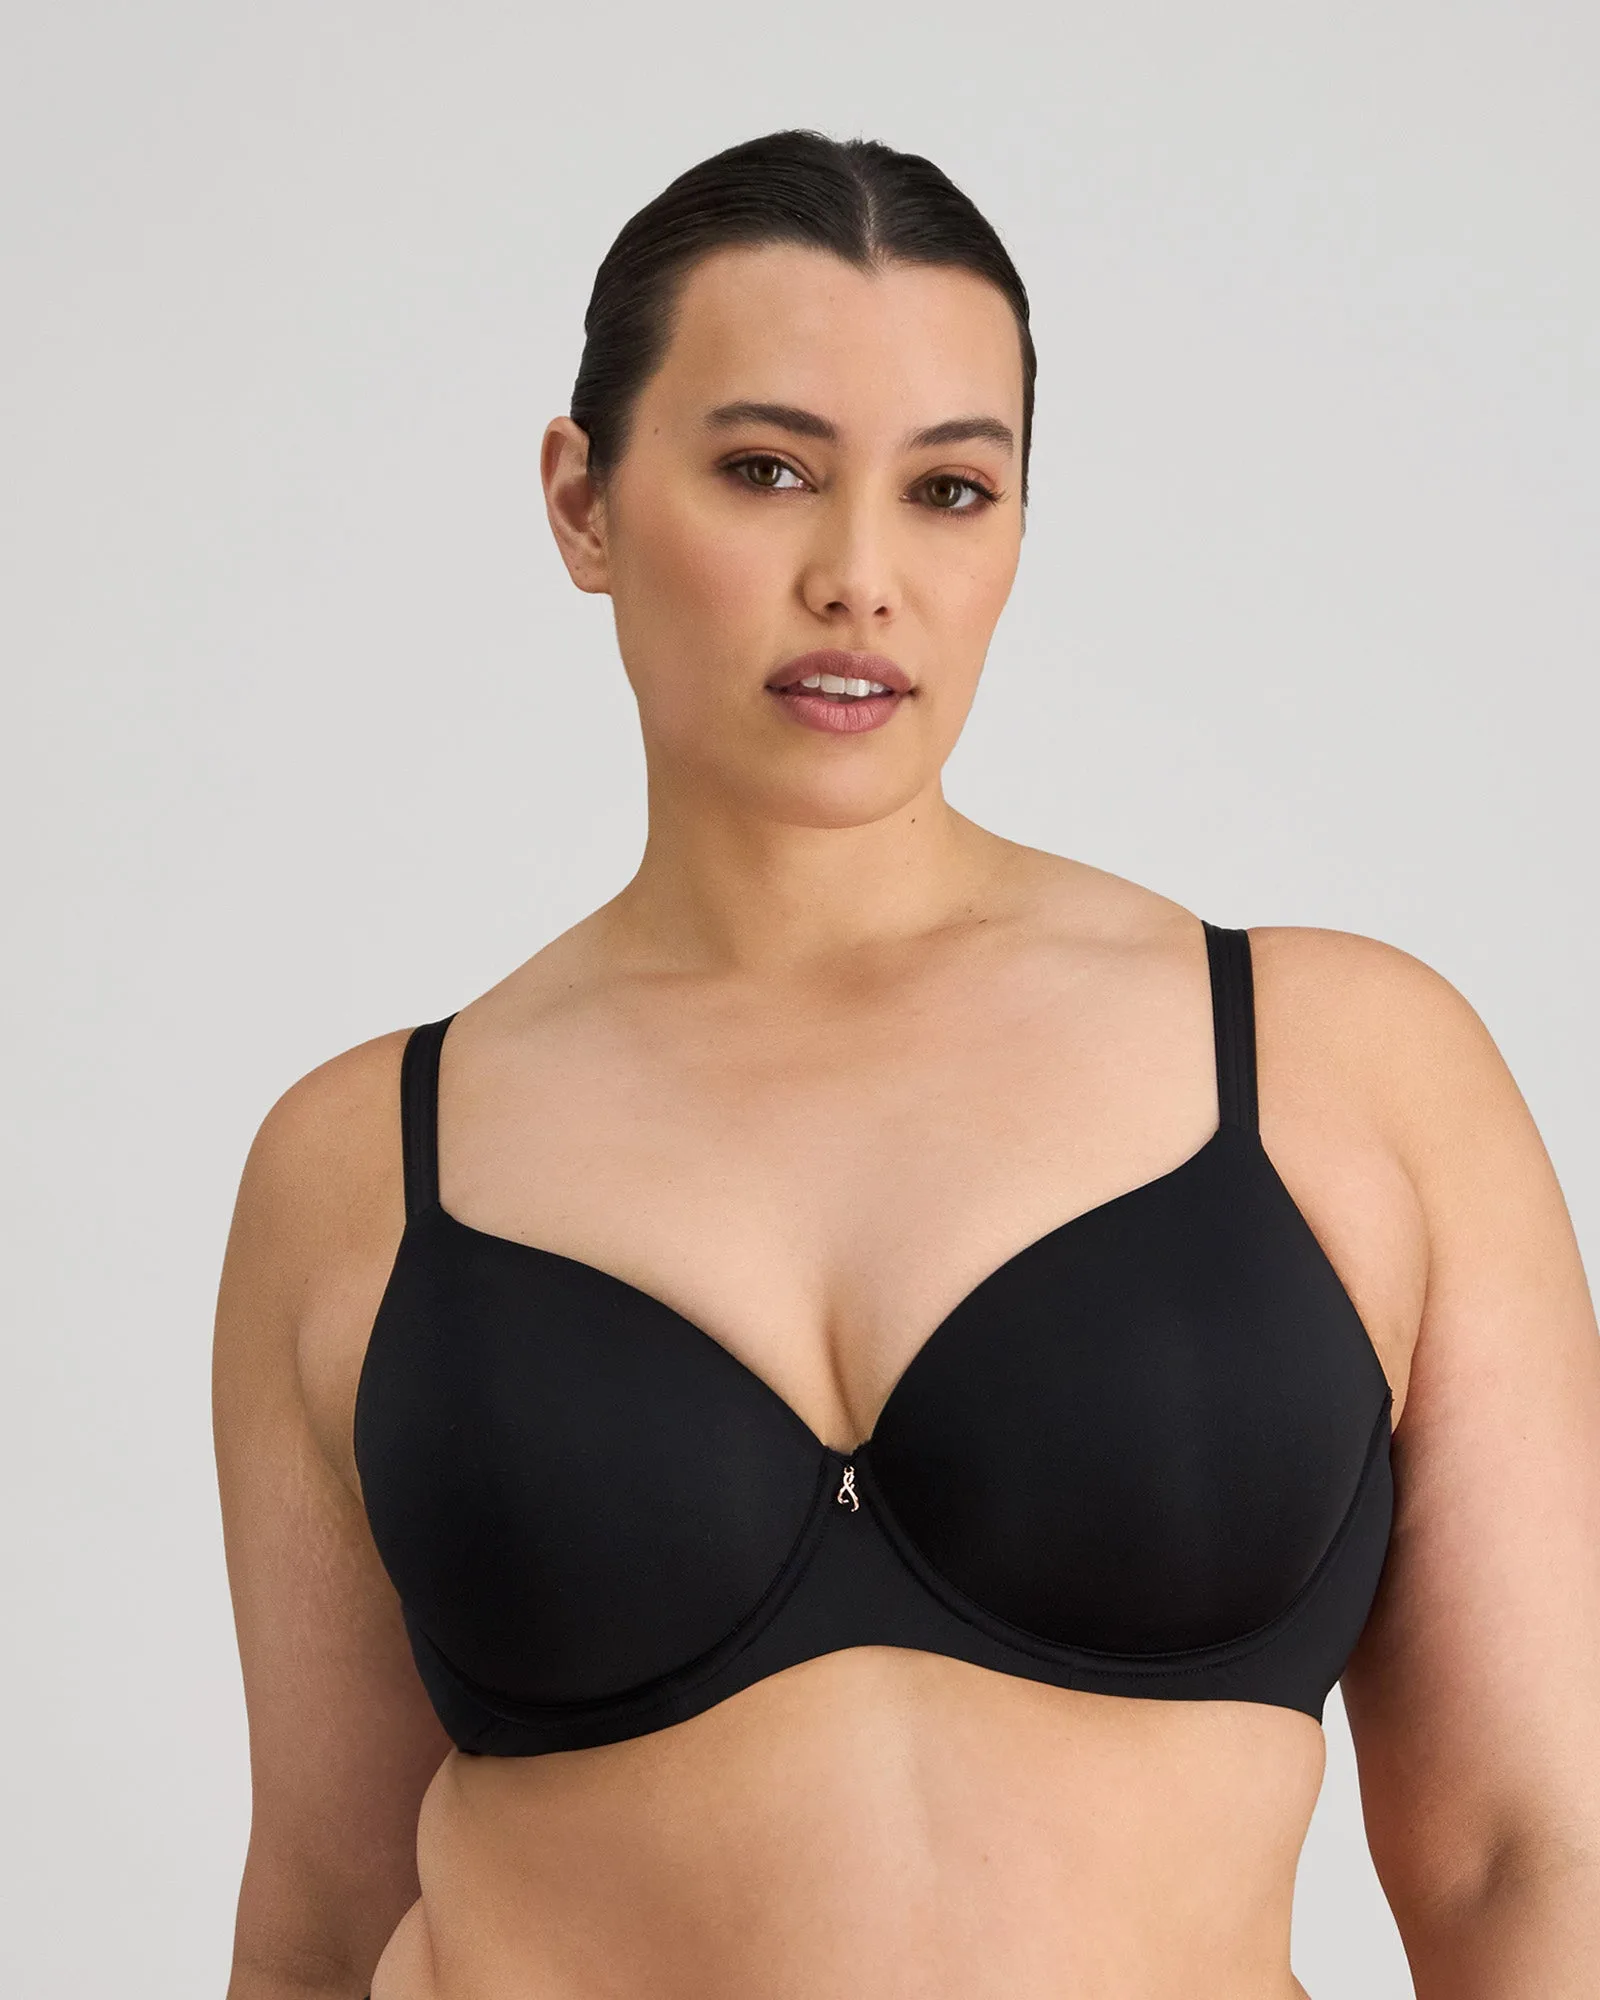
- Sculpt Contour Bra - Black: Moulded contour cup with subtle stretch for great fit and support, smooth microfibre, and a plunge cut for lower necklines. The contour cups hold their shape, so they are forgiving if your size falls between two cup sizes. The smooth microfibre also means clothes glide over it, which helps you see if the band and cups lie flat.
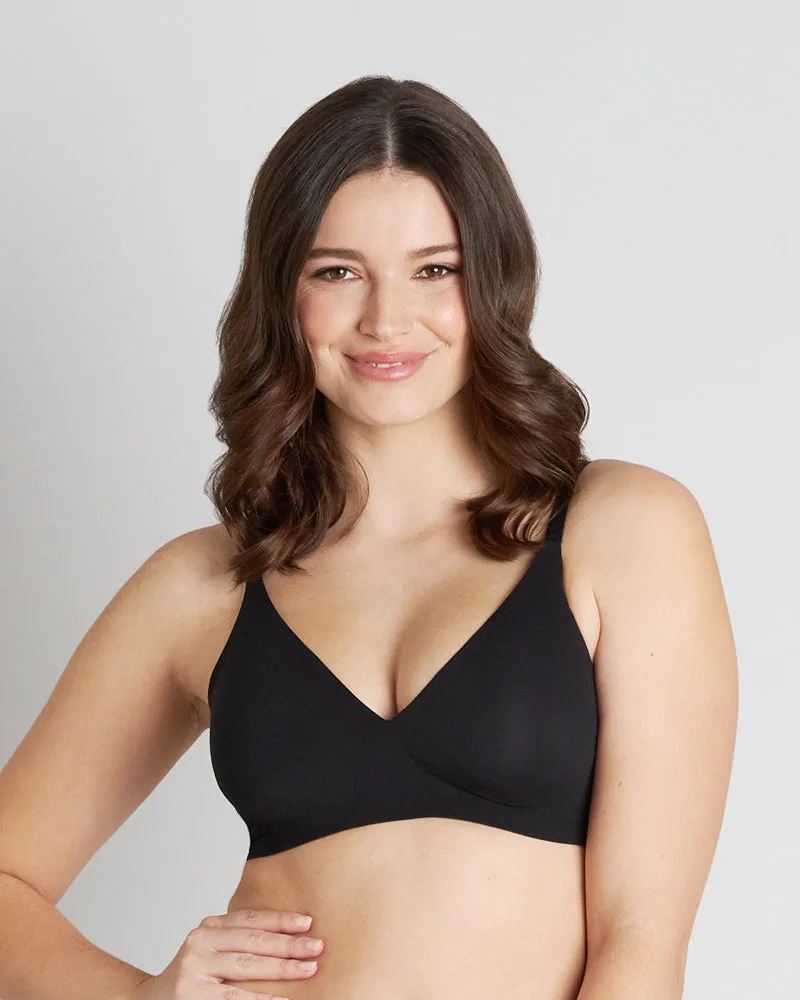
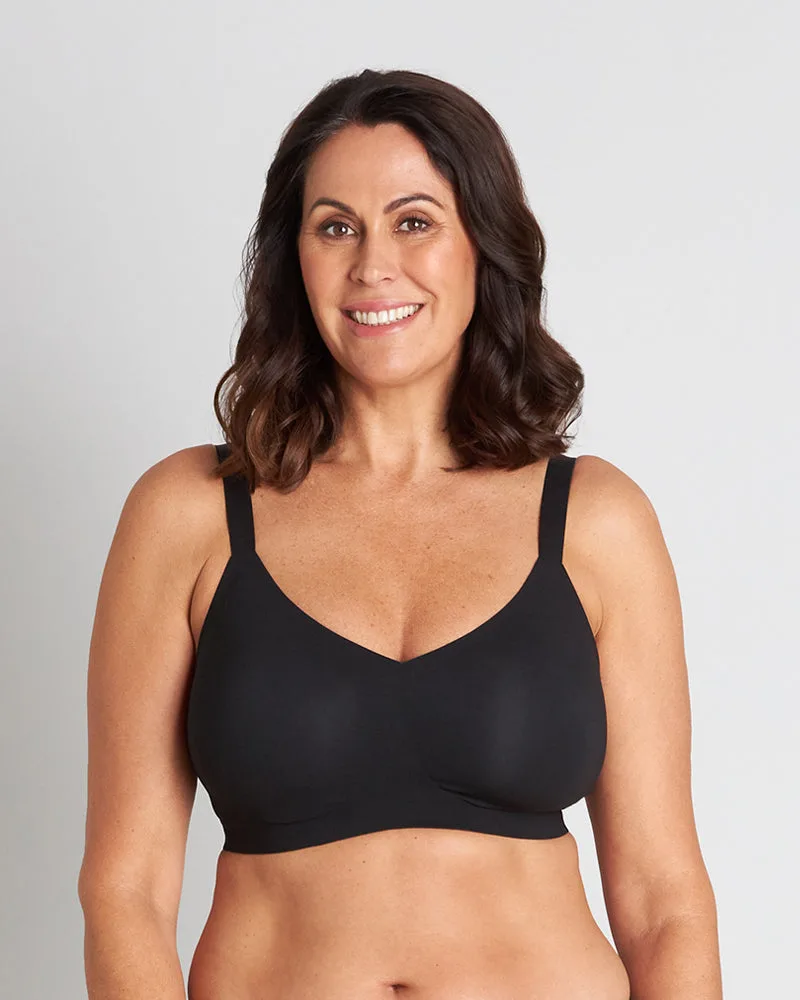
- https://bendonlingeriecim.com/products/bendon-comfit-collection-wire-free-bra-black-25-7637-f64c37f7645c3933c37c4088-1319385https://bendonlingeriecim.com/products/bendon-comfit-collection-wire-free-bra-black-21-7637x-15b5c98d22fa512768aba8c5-1319449Comfit Collection Wire Free Bra - Black: Double layered molded fabric cups for a comfortable flexible fit, wirefree support created with innovative bonding technology, and seamfree, stitchfree cup and back. If you are sensitive to underwires or want a bra for lounging, this wirefree style gives you support without digging. The seamless design makes it easier to spot fit issues like band riding up.
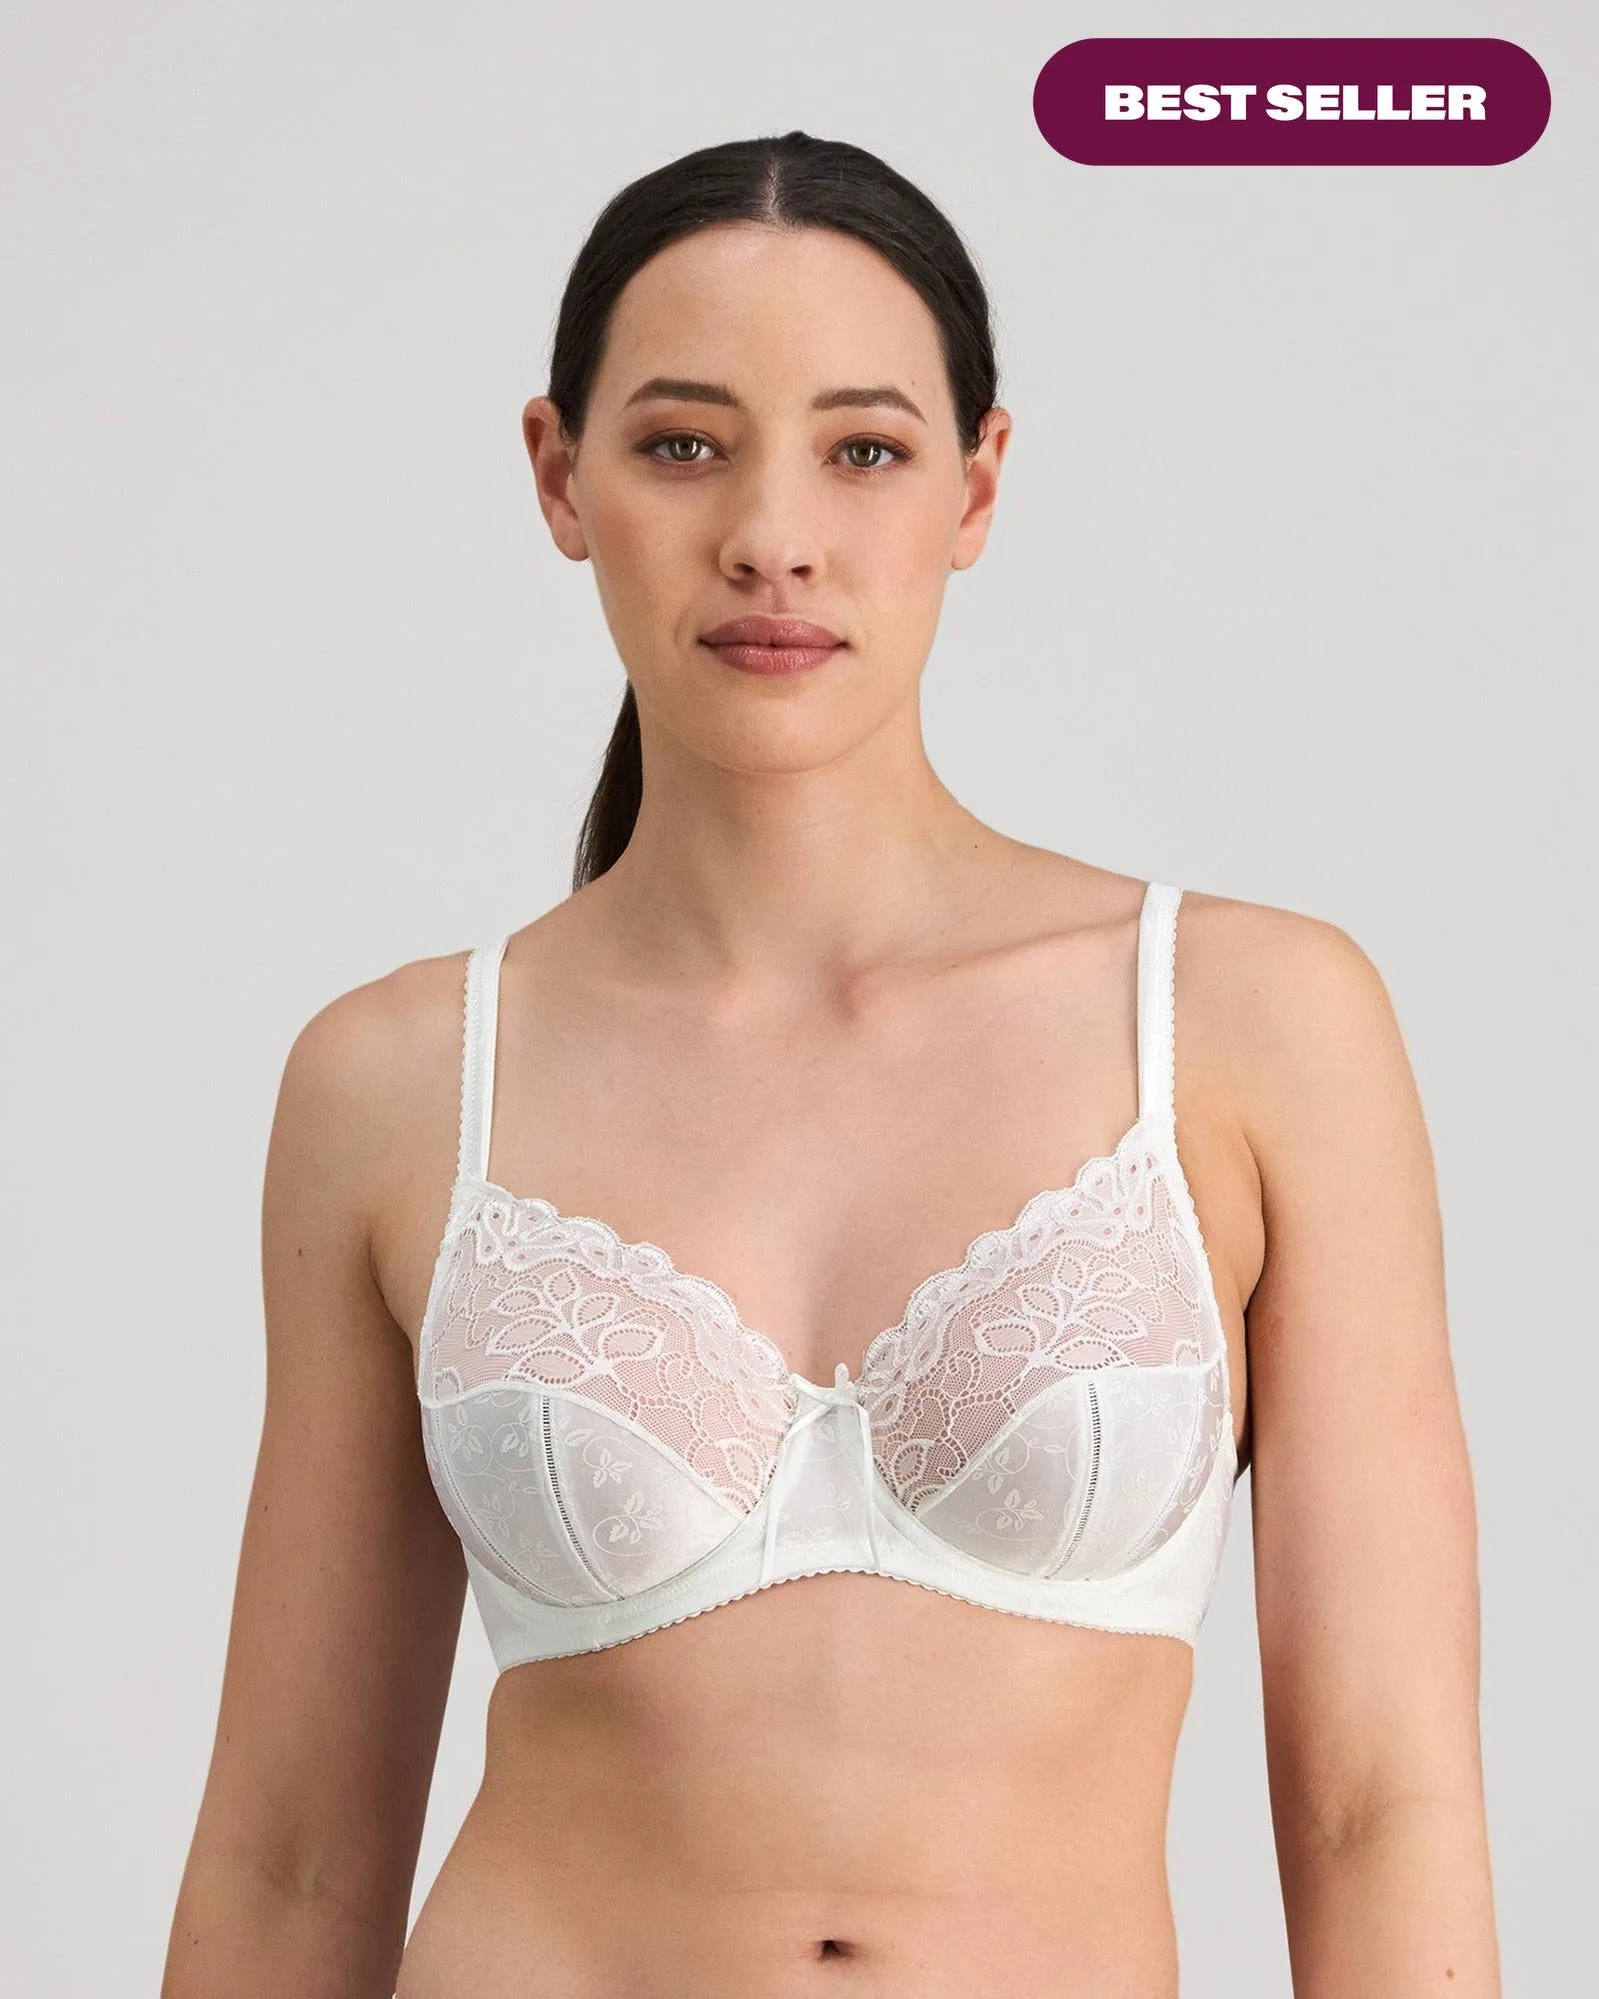
- Yvette Underwire Bra - White: Four-piece cup gives great shape and support, with a sophisticated laddered stitch and detailed microfibre back strap for additional support and comfort. A four-piece cup can accommodate a fuller bust and give a rounded shape. The detailed back strap adds stability, which is helpful if you are between band sizes.
Measuring your bra size at home is a simple skill that pays off every day. Start with your band and bust measurements, calculate your cup size, and then use the fit checks to fine-tune. Remember that your size can change, so re-measure regularly. With these steps, you can find a bra that supports you comfortably and looks great under your clothes.