Quick answer
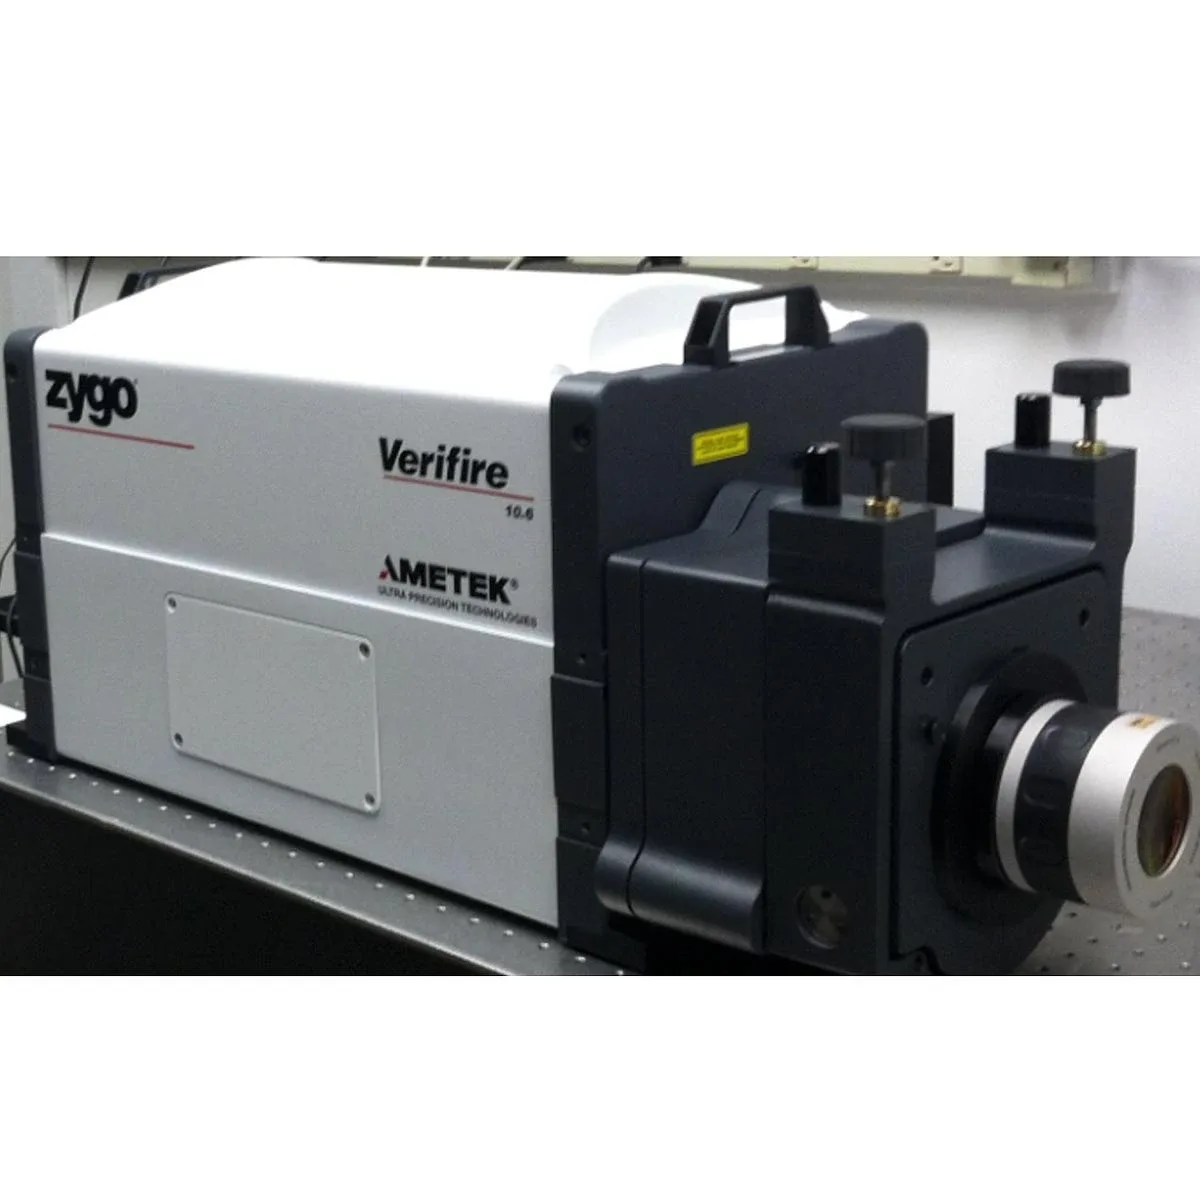
Install your Zygo vibration isolation table on a rigid, level floor away from vibration sources, then level the table and align optical mounts before fine-tuning the isolators. Verify stability by measuring fringe drift with a Zygo interferometer such as the 1.064 μm Verifire with 6 in. aperture. Allow 24–48 hours for the system to settle before critical measurements.
Prepare the site and inspect the table
Choose a location on a concrete slab, ideally on grade or in a basement, away from HVAC units, elevators, and heavy foot traffic. Ensure the floor is flat and can support the table plus payload. Unpack the table and inspect for shipping damage; check that all isolators, leveling valves, and mounting holes are intact. Gather tools: a precision level (0.02 mm/m or better), torque wrench, hex keys, and a cleanroom-compatible cleaner.
Common mistake: placing the table on a suspended wooden floor or near a door. Checkpoint: the floor should feel solid underfoot and not transmit vibrations when you walk nearby.
Position the table and level it roughly
Set the table in its final location, leaving at least 60 cm of clearance on all sides for access. If the table has removable isolators, install them according to the manufacturer's instructions. Use the leveling feet or isolator height adjustment to bring the tabletop within 0.5 mm/m of level. Start with the corners and work toward the center to avoid twisting the frame.
Common mistake: over-tightening one corner, which can warp the table. Checkpoint: a precision level placed on the table in both X and Y directions should show less than half a bubble deviation.
Align optical mounts and components
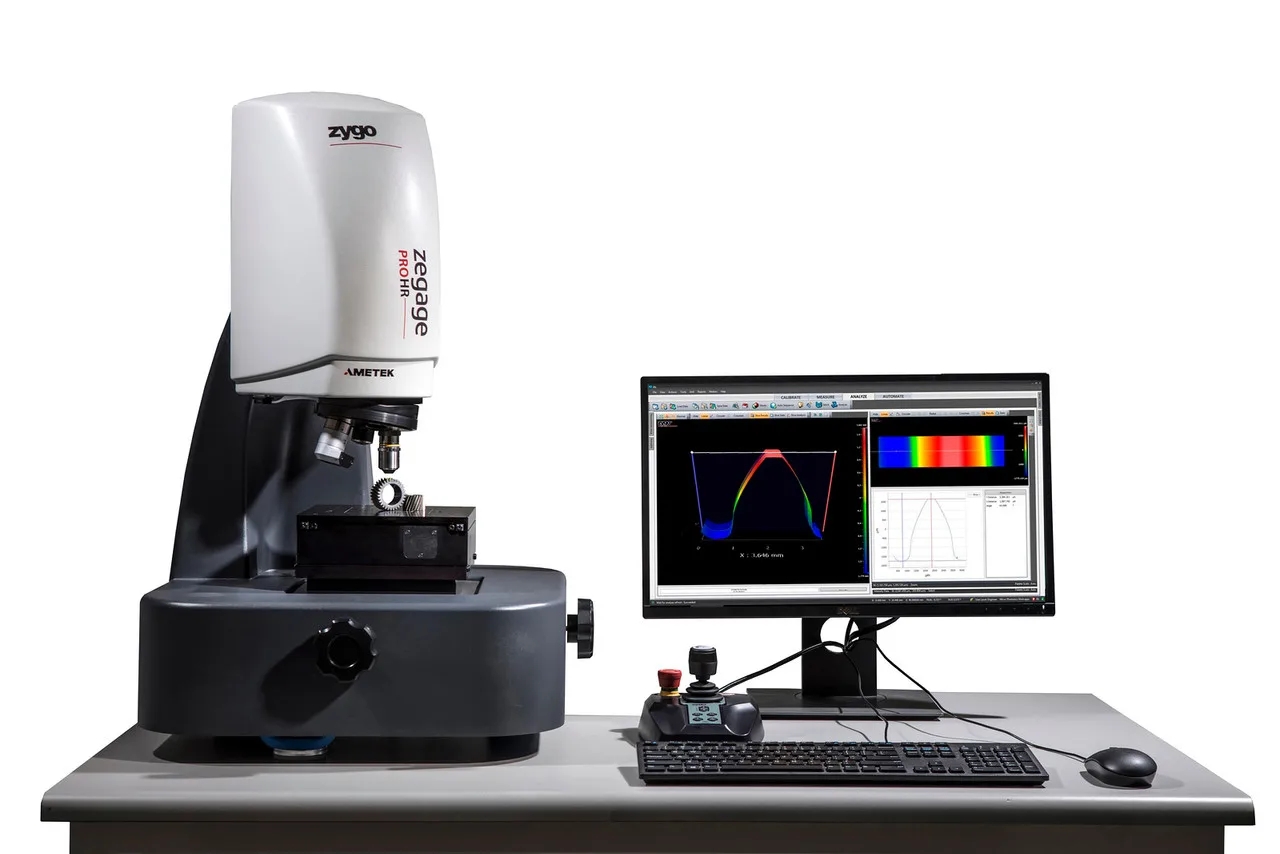
Once the table is level, begin mounting your optical components. Use the table's tapped hole grid to position mounts, and finger-tighten screws first. Align the optical axis by using a laser or alignment telescope, adjusting mounts iteratively. For interferometry, pay special attention to the reference surface and the device under test. If you are using a Zegage ProHR, its motorized XYZ stage and manual tip/tilt can simplify fine alignment.
Common mistake: forcing a mount into a misaligned hole, which can strip threads. Checkpoint: the beam should stay centered on the target over the full travel of the stage.
Fine-tune the vibration isolation
If your table uses pneumatic isolators, adjust the air pressure to bring the table to its nominal height. Most isolators have a leveling valve that automatically maintains height; verify that the table returns to level after a gentle push. For active isolation systems, follow the manufacturer's startup procedure. Allow the system to stabilize for at least 30 minutes before measuring.
Common mistake: setting the pressure too high, which can cause the table to drift. Checkpoint: the table should settle within a few seconds after a light push, with no continuous oscillation.
Verify interferometer stability
Set up your interferometer and measure fringe stability over 5–10 minutes. A stable setup should show minimal fringe drift (less than one fringe per minute for most applications). If drift is excessive, check for air currents, temperature gradients, or floor vibrations. Use the 1.064 μm Verifire Interferometer with 6 in. aperture for high-resolution measurements; its encoded zoom and focus help maintain alignment during testing.
Common mistake: measuring immediately after installation before thermal equilibrium. Checkpoint: repeat the measurement after 24 hours; stability should improve as the system settles.
Installation and alignment steps
- Site preparation: Place the table on a rigid, level floor away from vibration sources. Ensure at least 60 cm clearance on all sides. Checkpoint: floor should not transmit vibrations when walked on.
- Rough leveling: Adjust isolators or feet to bring the table within 0.5 mm/m of level, working from corners to center. Checkpoint: precision level shows less than half a bubble deviation.
- Optical alignment: Mount and align optical components using the table's hole grid, starting with finger-tight screws. Checkpoint: beam stays centered over the full travel of the stage.
- Isolator tuning: Set air pressure or active isolation parameters so the table returns to level after a gentle push. Checkpoint: table settles within seconds without oscillation.
- Stability verification: Measure fringe drift with an interferometer over 5–10 minutes; repeat after 24 hours. Checkpoint: drift less than one fringe per minute for most applications.
Product facts
- 1.064 µm Verifire Interferometer with 6 in. Aperture: 1.064 μm Verifire Interferometer with 6 in. aperture, encoded zoom and focus, SKU SSR VF-1064-6-1. Provides a stable, high-resolution measurement reference for verifying table isolation performance.
- Zegage ProHR: Zegage ProHR includes a motorized XYZ stage (100 x 100 mm), manual tip/tilt (±4°), 10x and 50x objectives, and a new system controller with Win 11 and Mx software. Its motorized stage and tip/tilt simplify fine alignment of samples on the isolation table.
- 88nm Step Standard with ZYGO Certification: 88nm Step Standard with ZYGO Certification, SKU 6300-0917-01, from an ISO 17025 certified laboratory. Can be used as a reference artifact to check system calibration after installation and alignment.