Quick answer
Most quilt patterns use the same small set of abbreviations and symbols, and once you know them you can read almost any pattern. Start with the cutting list, translate each abbreviation (WOF, RST, HST, and so on), and check the diagram key before you cut fabric. When a pattern includes a ruler-specific note, such as the Stripology Squared ruler in the Clarissa pattern, read that line first because it changes how you cut.
What the cutting list is telling you
The cutting list is a bridge between the fabric requirements and the piecing steps. It usually lists each fabric by name or letter, the number of pieces to cut, and the size of each piece. Read it as a set of instructions, not a suggestion: if it says cut 12 strips 2 1/2 inches wide, that count assumes you are cutting from selvage to selvage across the usable width of the fabric.
A common beginner mistake is cutting all of one shape before checking the next line. Some patterns sequence cuts so that offcuts from one strip feed the next unit. Work top to bottom, and keep a pencil handy to tick off each line as you cut.
- Fabric letter or name: matches the fabric key in the pattern
- Number of pieces: how many to cut, not how many to sew
- Cut size: the measurement before any seam allowance is sewn
- Sub-cuts: smaller pieces cut from a strip you already cut
Abbreviations you will see on almost every pattern
Pattern abbreviations save space on the page, and they are consistent enough that learning a dozen covers most patterns. WOF means width of fabric, usually measured from selvage to selvage after you square up the cut edge. RST means right sides together, the default orientation for sewing a seam. HST and QST mean half-square triangle and quarter-square triangle, two common pieced units. RST and WOF appear in nearly every pattern, so learn those two first.
If an abbreviation is not defined in the pattern, check the pattern's own glossary before assuming a meaning. Pattern writers sometimes use a term in a specific way, and guessing can cost fabric.
- WOF: width of fabric, selvage to selvage
- RST: right sides together
- HST: half-square triangle
- QST: quarter-square triangle
- LOF: length of fabric, parallel to the selvage
- SA: seam allowance, often 1/4 inch in quilting
How to read the diagrams and symbols
Diagram symbols usually show orientation, not decoration. A solid line often marks a cutting line, a dashed line a stitching line, and an arrow a pressing direction. Shaded or numbered areas show which fabric goes where. If a diagram includes a small ruler icon or a note about a specific tool, that is a cutting instruction, not a suggestion.
Patterns that rely on a specialty ruler will say so. The Clarissa pattern, for example, is written for the Stripology Squared ruler by GE Designs and also includes instructions for regular rulers, so you can choose the method that matches the tools you own.
- Solid line: cut here
- Dashed line: sew here
- Arrow: press in this direction
- Shaded area: fabric placement
- Ruler note: method-specific cutting instruction
When a pattern offers more than one size
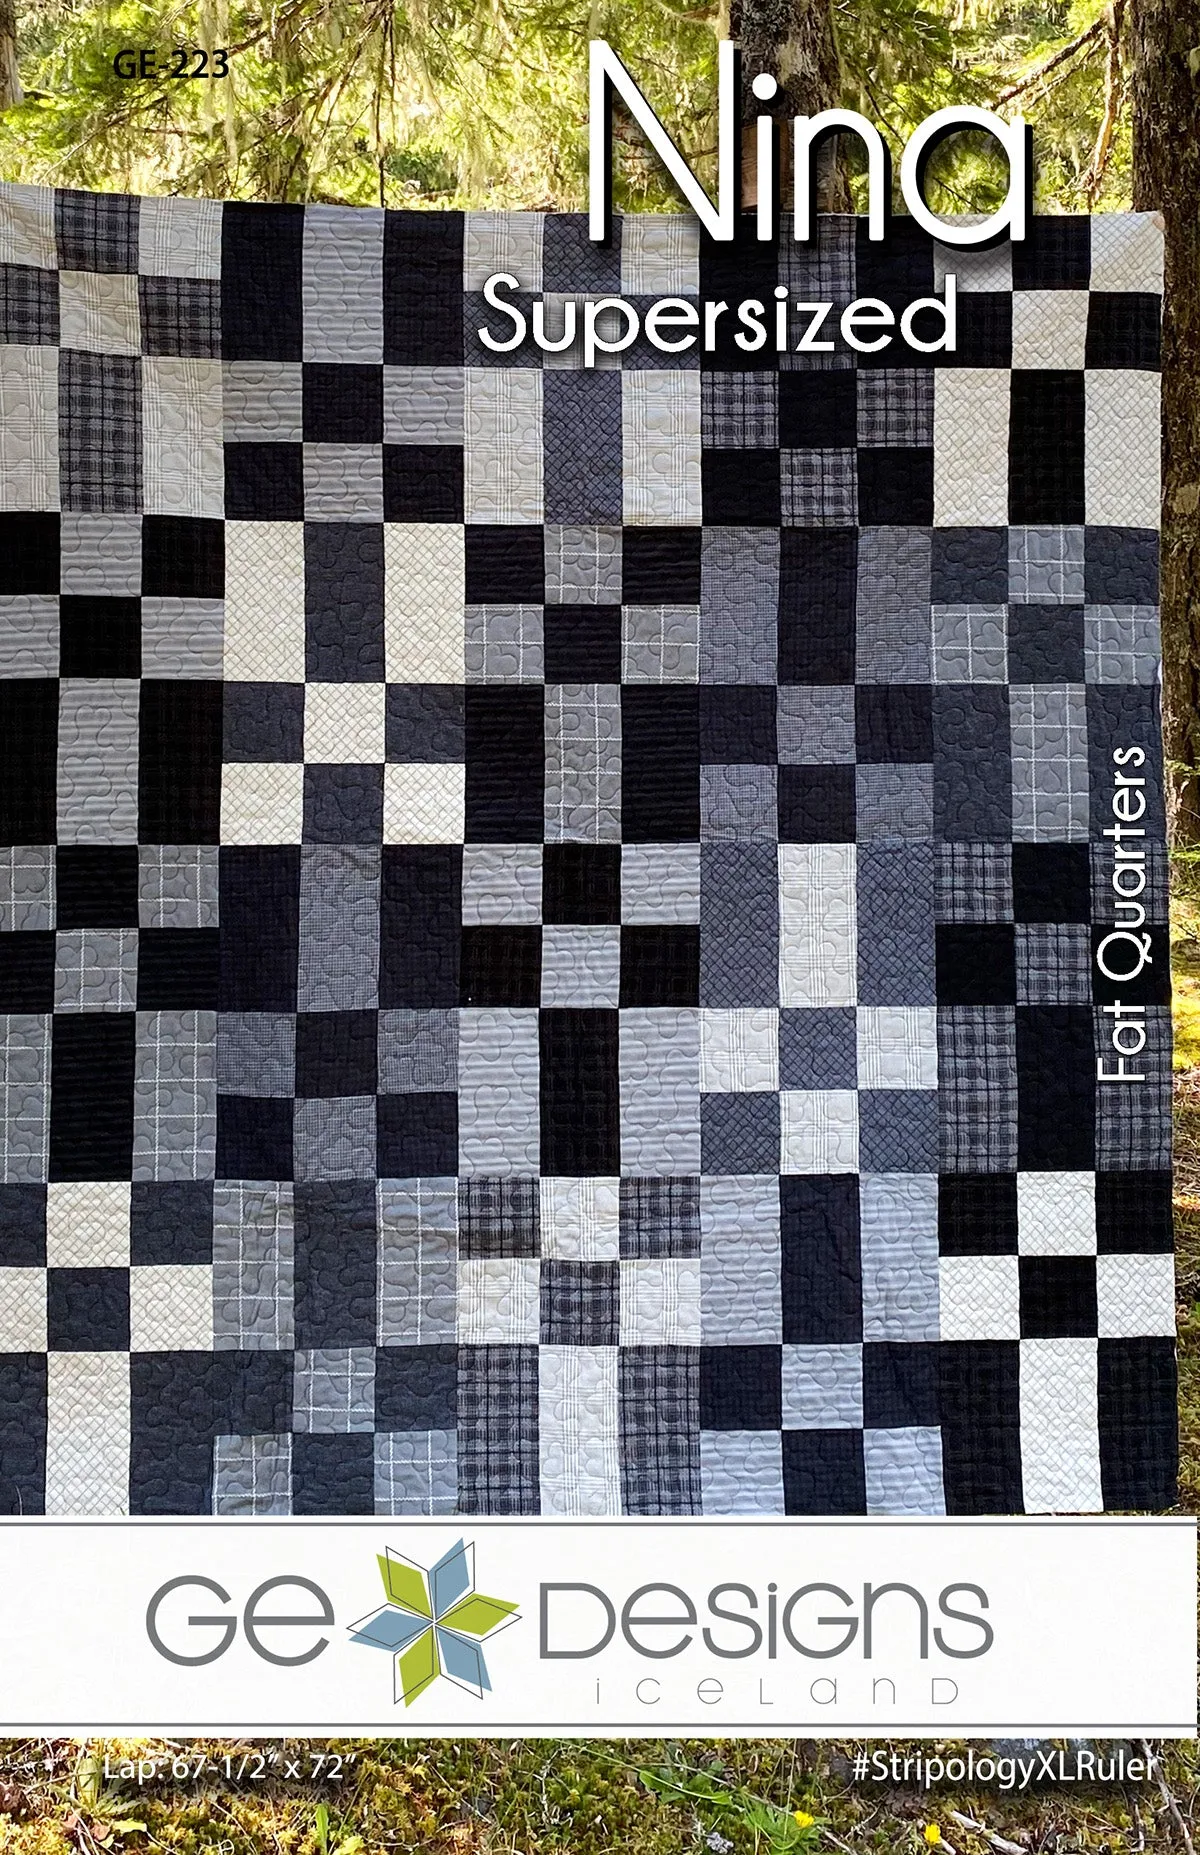
Multi-size patterns list cutting and yardage separately for each size, and the piecing steps are usually shared. Read the size column before you cut, not after. A pattern with lap, full/queen, and king options, such as Nina Supersized, will have different cut counts for each size even though the construction is the same.
If you plan to change sizes, check whether the pattern is written as a scaled design or as separate cut lists. Scaled designs may need different yardage than the listed size, so buy fabric based on the size you intend to make.
- Circle or highlight your size before cutting
- Check yardage for your size, not the first size listed
- Confirm whether sub-cuts change between sizes
Quilting terms glossary: quick answers
What does WOF mean in quilting?
WOF stands for width of fabric, measured from one selvage to the other. Most patterns assume about 40 to 44 inches of usable width, but always measure your own fabric after squaring the cut edge, because the usable width varies by fabric. Measure your fabric, not the pattern's assumption.
What does RST mean on a quilt pattern?
RST means right sides together. It tells you to place two fabric pieces with their printed sides facing each other before sewing the seam. If a pattern says RST and you sew wrong sides together, the seam will show on the front of the quilt. Check orientation before you pin.
How do I read a quilt pattern if I am a total beginner?
Read the fabric requirements and cutting list first, then the piecing steps, then the finishing instructions. Translate every abbreviation before you cut. If the pattern references a specific ruler or tool, decide whether you will use that method or the included alternative before you start cutting. Read the whole pattern once before you pick up the rotary cutter.
What is the difference between HST and QST?
HST is a half-square triangle, made from two triangles sewn along the diagonal to form a square. QST is a quarter-square triangle, made from four triangles and often used for hourglass units. They are cut and sewn differently, so check which one the pattern calls for. Match the unit name to the diagram before cutting.
Do I have to use the ruler a pattern recommends?
Not always. Some patterns, like Clarissa, include instructions for a specialty ruler and for regular rulers, so you can choose. Other patterns are written only for one method, and substituting a different ruler may change the cut sizes. Check for an alternative method before buying a new ruler.
Patterns that put these terms to work
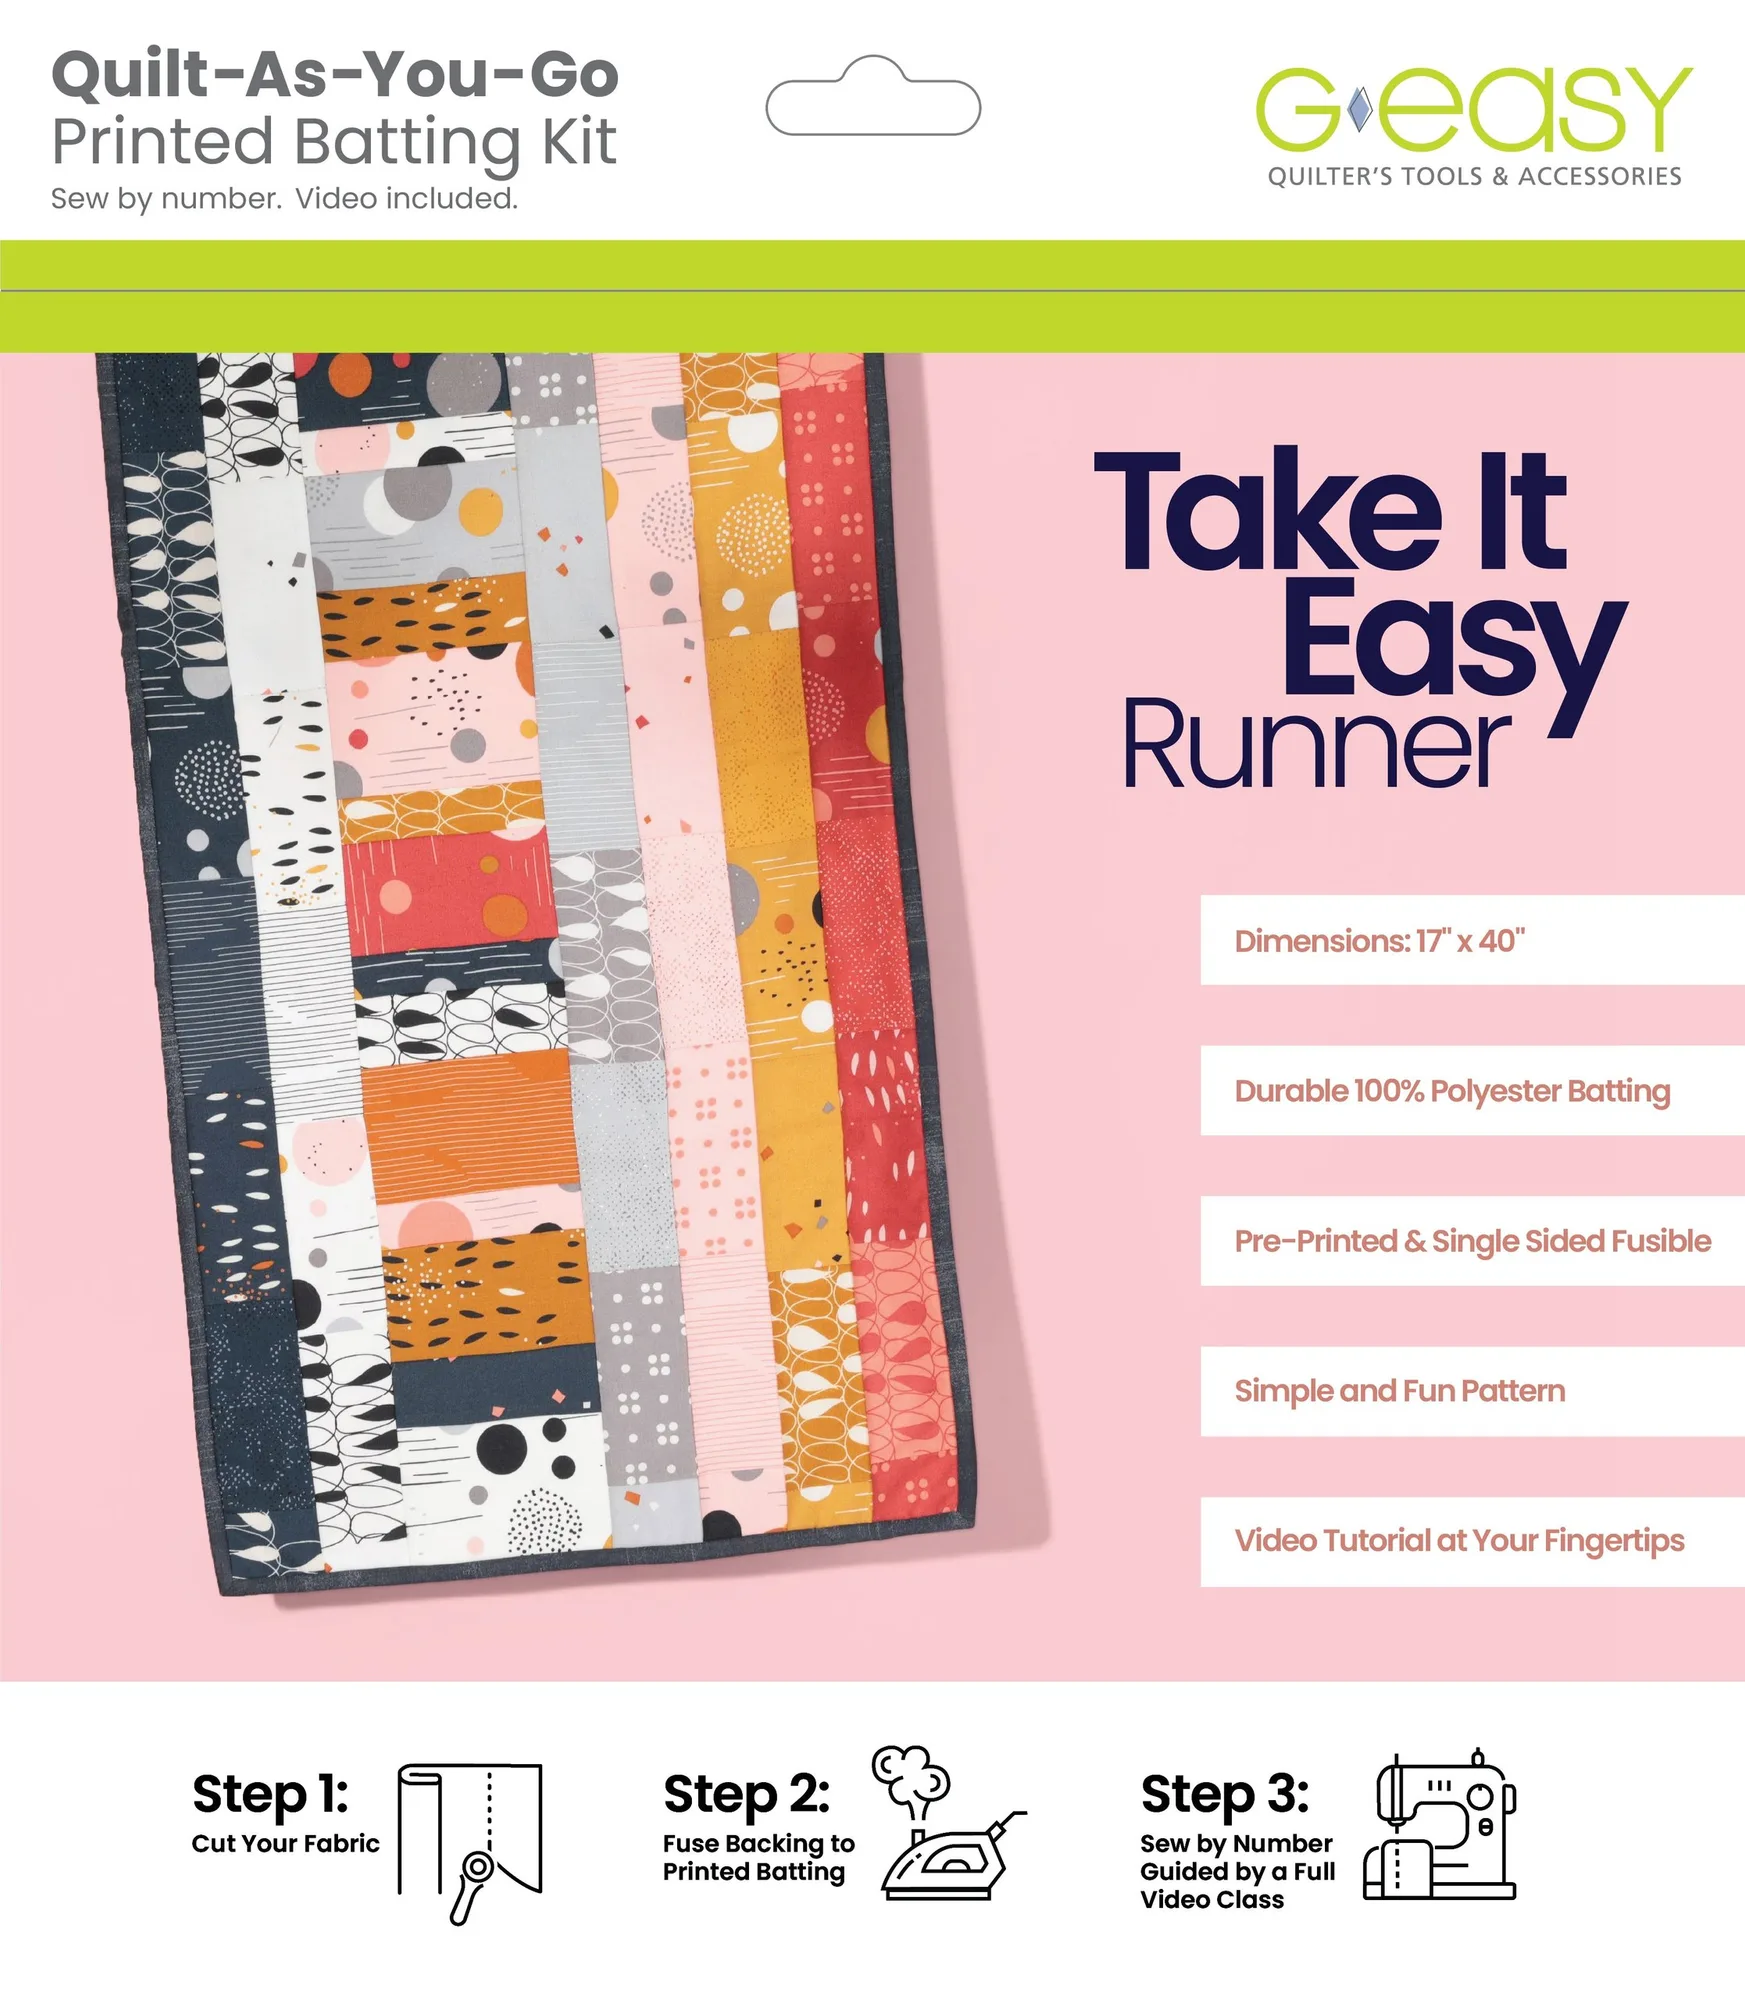
- Quilt-As-You-Go Batting Kit - Take It Easy Runner: The Take It Easy Runner Quilt-As-You-Go Batting Kit includes single-sided fusible printed batting and a full-color pattern that guides you through a sew-by-number process, plus a step-by-step video class. The printed batting and numbered steps replace some of the symbol-reading you would do on a standard pattern, which makes it a practical first project if you are still learning the vocabulary.
- Nina Supersized - Fat Quarter Pattern 223: Nina Supersized is an oversized version of the Nina pattern with three size options: Lap, Full/Queen, and King. A multi-size pattern is a good place to practice reading size-specific cutting lists before you cut fabric.