Quick answer
Bake chocolate babka by making a soft, enriched dough, chilling it before rolling, spreading a cooled chocolate filling, cutting and twisting the log into a loaf, proofing until visibly puffed, and baking until the internal temperature reads about 190°F. The two things that decide your result are chilling the dough before shaping and proofing long enough after shaping.
chocolate babka
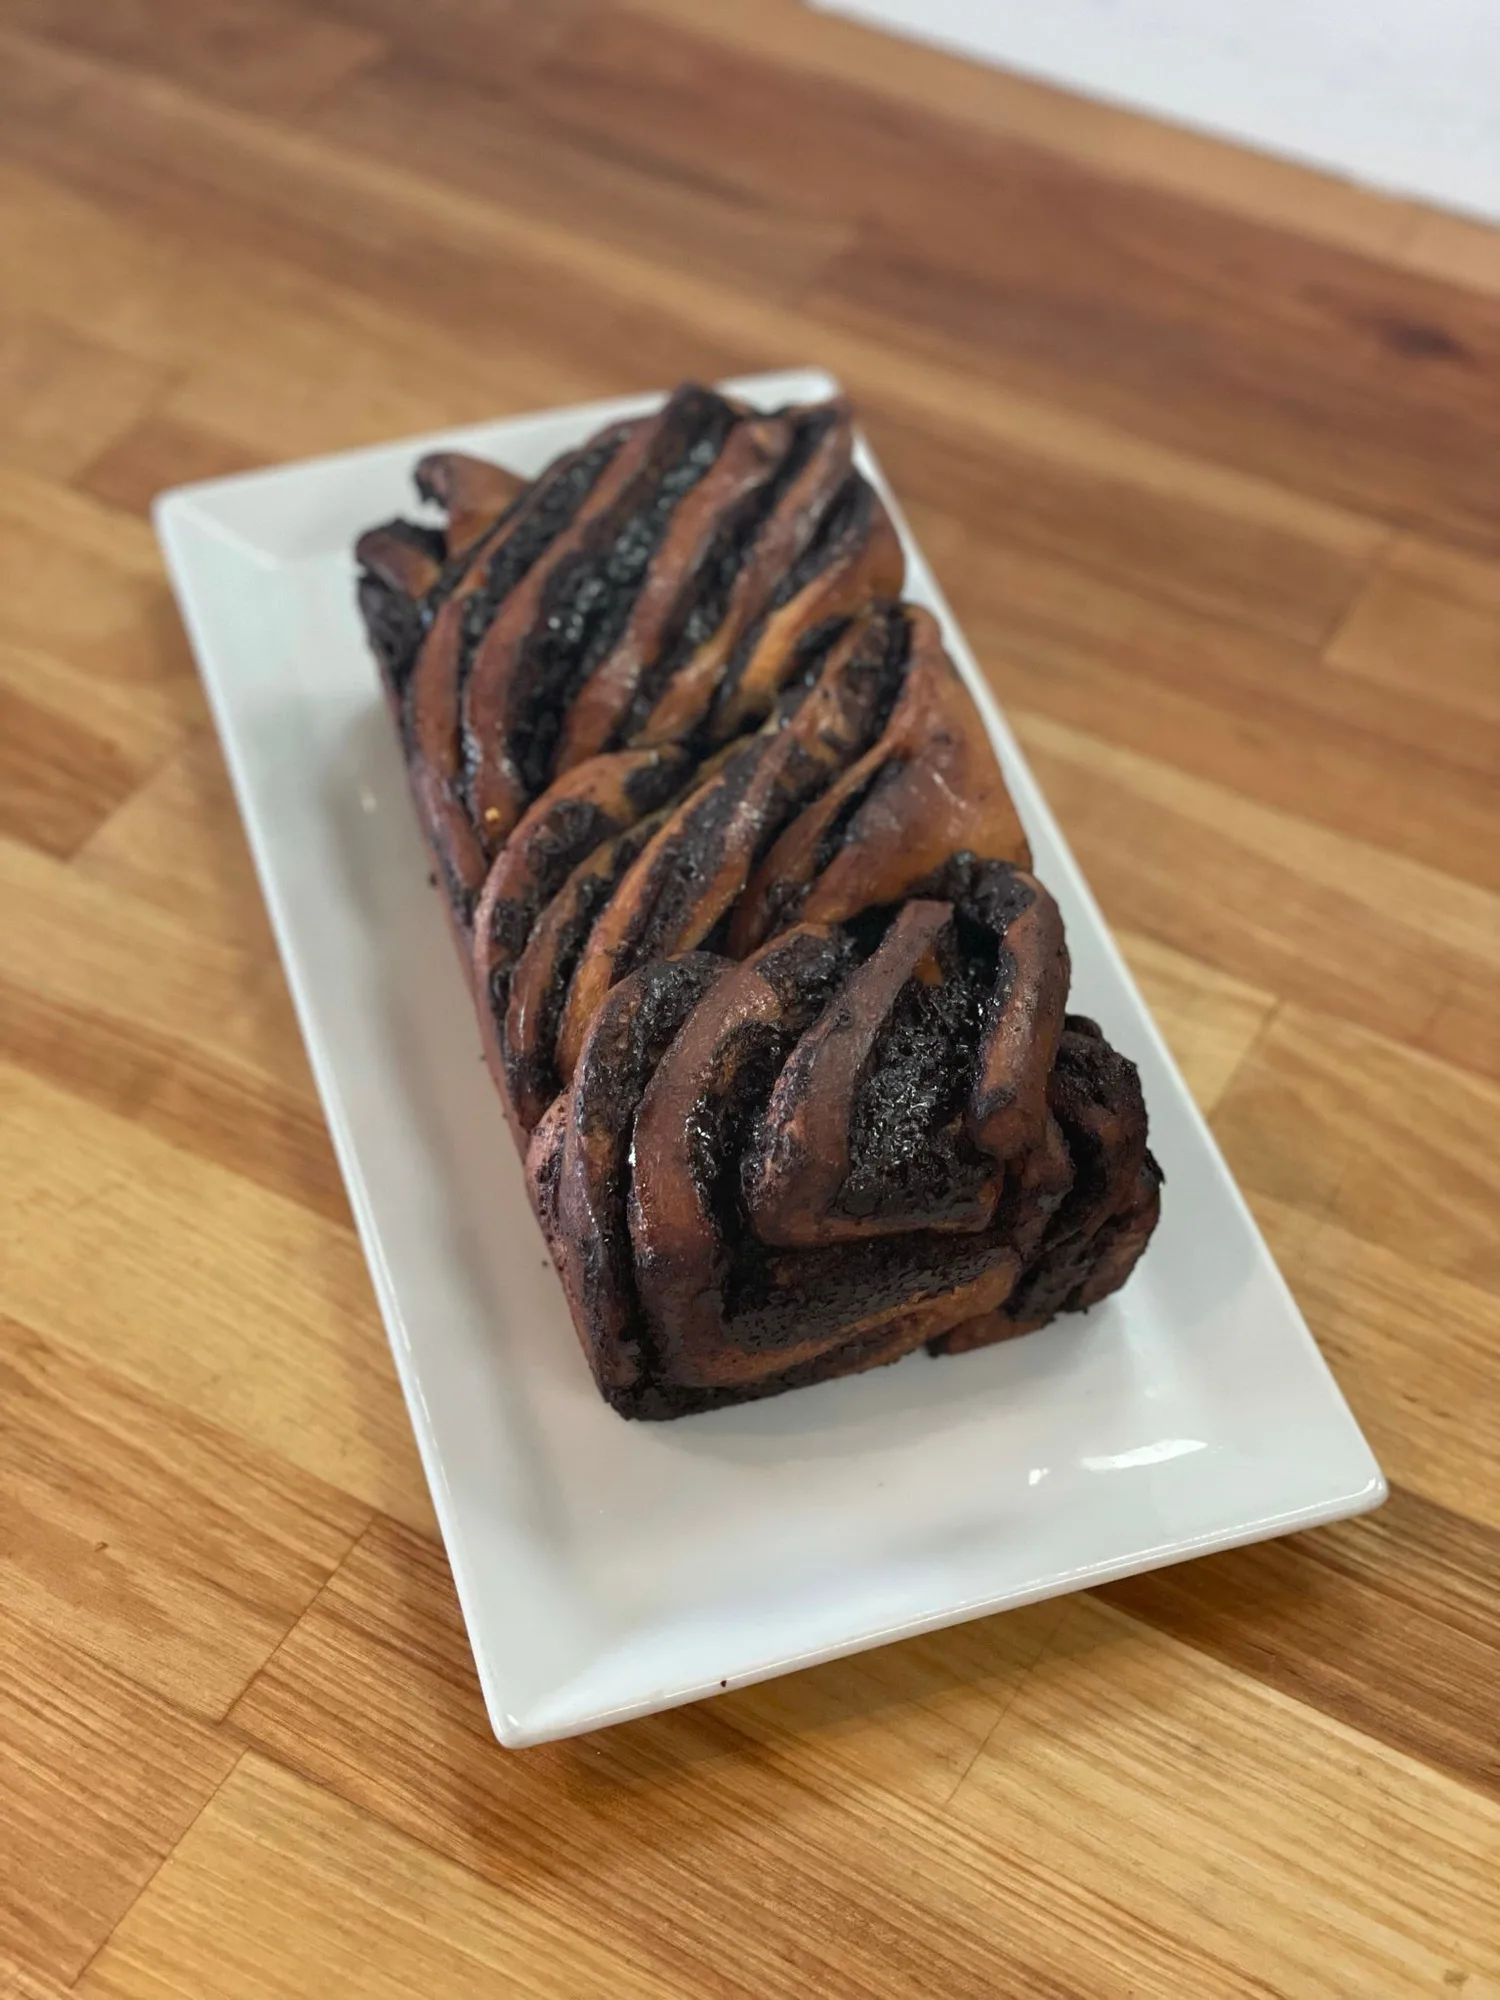
Chocolate babka is a rich, twisted loaf with a chocolate filling running through every slice. It rewards patience more than technique: the dough needs time to chill, the filling needs to cool, and the shaped loaf needs a full proof before it goes in the oven.
This guide walks through the whole process in order, from mixing to cooling, with the checkpoints that tell you when to move on. If you have baked bread before, you already have the skills. If you have only baked quick breads, treat this as a slow weekend project and you will get a defined swirl instead of a muddy center.
What you need before you start
Babka dough is an enriched dough, meaning it contains eggs, milk, butter, and sugar. That makes it soft, slow to rise, and easy to tear if you roll it warm. Plan for a dough that feels tacky but not sticky, and expect the first rise to take longer than a plain bread dough.
For the filling, use a chocolate spread that holds its shape at room temperature. A runny filling will squeeze out during shaping and burn at the edges. If you make your own, cool it completely before spreading, or the dough will soften and tear.
- Weigh your ingredients if you can; enriched doughs are sensitive to flour changes.
- Use a stand mixer with a dough hook for the long knead, or knead by hand for 12 to 15 minutes.
- Have a bench scraper and a sharp knife or pastry wheel ready for shaping.
Mixing the dough
Combine the flour, sugar, yeast, and salt, then add the milk and eggs and mix until a shaggy dough forms. Knead until the dough is smooth and pulls away from the bowl, then add the softened butter a tablespoon at a time. The dough will look greasy and broken at first; keep kneading until it comes back together and looks glossy.
This stage can take 8 to 12 minutes in a mixer. Stop when the dough passes a windowpane test, meaning you can stretch a small piece thin enough to see light through it without it tearing. If it tears immediately, keep kneading.
- Common mistake: adding butter before the dough is developed, which keeps it greasy and slack.
- Checkpoint: the dough should be smooth, elastic, and slightly tacky, not sticky.
Chilling the dough
Shape the dough into a ball, place it in a lightly oiled bowl, cover it, and refrigerate it for at least 4 hours or overnight. Chilling firms the butter so the dough rolls thin without sticking, and it slows the yeast so the flavor develops.
Do not skip this step. A warm dough will fight you during shaping, and the filling will smear instead of staying in distinct layers. If you are short on time, 2 hours in the fridge is the minimum, but the dough will still be soft.
- Common mistake: rolling the dough straight after mixing, which produces a torn, uneven loaf.
- Checkpoint: the dough should feel firm and cool, not cold enough to crack.
Making and cooling the filling
Melt chocolate with butter, then stir in sugar, cocoa, and a pinch of salt until you have a thick, spreadable paste. Let it cool to room temperature. If it is warm, it will melt the dough on contact and ruin the swirl.
A filling that is too thin will leak out during baking. If yours looks runny, chill it for 20 minutes before spreading. You want a texture like soft peanut butter, easy to spread but not dripping.
- Common mistake: spreading hot filling, which turns the dough greasy and hard to handle.
- Checkpoint: the filling holds a soft peak when stirred and does not run off a spoon.
Rolling and spreading
Roll the chilled dough on a lightly floured surface into a rectangle about 12 by 16 inches and a quarter inch thick. Keep the edges straight by lifting and rotating the dough as you go. Spread the cooled filling over the surface, leaving a one-inch border on all sides.
The border matters. Without it, the filling pushes out when you roll and the loaf seals poorly. Work quickly so the dough stays cold; if it softens, slide it onto a tray and chill for 10 minutes before continuing.
- Common mistake: rolling too thin, which causes the dough to tear under the filling.
- Checkpoint: the rectangle should be even, with no thin patches you can see through.
Shaping the twist
Roll the dough up from the long side into a tight log, seam side down. Use a sharp knife or pastry wheel to cut the log in half lengthwise, exposing the filling. Turn both halves cut side up and cross them, then twist them over each other, keeping the cut sides facing outward as much as possible.
Lift the twisted loaf into a parchment-lined 9 by 5 inch pan, tucking the ends under. Do not press the twist flat; the loaf should look slightly loose so it can expand. If the filling smears, wipe your knife between cuts.
- Common mistake: cutting with a dull knife, which drags the filling and crushes the layers.
- Checkpoint: the twist should show clear bands of dough and filling, not a solid mass.
Proofing the shaped loaf
Cover the pan loosely and let the loaf proof at room temperature until it has visibly puffed and nearly fills the pan, about 1.5 to 2.5 hours. Because the dough is enriched and cold from the fridge, this can take longer than you expect. Do not rush it with high heat, which melts the filling.
The poke test works here: press a floured finger gently into the side of the loaf. If the indentation springs back slowly and partially, it is ready. If it springs back immediately, give it more time. If it stays dented, it has overproofed and should go into the oven right away.
- Common mistake: baking underproofed, which gives a dense, tight crumb.
- Checkpoint: the loaf should look puffy and jiggle slightly when you nudge the pan.
Baking and cooling
Bake at 350°F for 45 to 55 minutes, tenting with foil after 30 minutes if the top browns too fast. The loaf is done when the center reads about 190°F on an instant-read thermometer and the top sounds hollow when tapped. If you do not have a thermometer, insert a skewer into the center; it should come out with only a few moist crumbs.
Cool the babka in the pan for 15 minutes, then transfer it to a rack. Slicing hot babka will crush the swirl and leave a gummy center. Wait at least 45 minutes, or cool it completely for the cleanest slices. Store leftovers wrapped at room temperature for two days, or freeze slices for up to a month.
- Common mistake: cutting too early, which smears the filling and makes the crumb look raw.
- Checkpoint: the internal temperature should be near 190°F, not 200°F, which dries the loaf.
Babka process at a glance
- Mix and knead the enriched dough: Work the dough until smooth and elastic, then add softened butter gradually and knead until glossy. Checkpoint: the dough passes a windowpane test without tearing.
- Chill for at least 4 hours: Refrigerate the covered dough so the butter firms and the dough rolls thin without sticking. Checkpoint: the dough feels firm and cool, not stiff.
- Make and cool the filling: Stir melted chocolate, butter, sugar, cocoa, and salt into a thick paste, then let it reach room temperature. Checkpoint: the filling spreads like soft peanut butter, not drips.
- Roll, spread, and twist: Roll a 12 by 16 inch rectangle, spread filling to within an inch of the edges, roll into a log, cut lengthwise, and twist. Checkpoint: the twist shows clear bands of dough and filling.
- Proof until puffy: Let the shaped loaf rise at room temperature until it nearly fills the pan and springs back slowly when poked. Checkpoint: a gentle press leaves a slow, partial indentation.
- Bake to 190°F and cool fully: Bake at 350°F for 45 to 55 minutes, tenting with foil if needed, then cool in the pan 15 minutes before moving to a rack. Checkpoint: the center reads about 190°F and the loaf sounds hollow.
Kneads products that help with babka
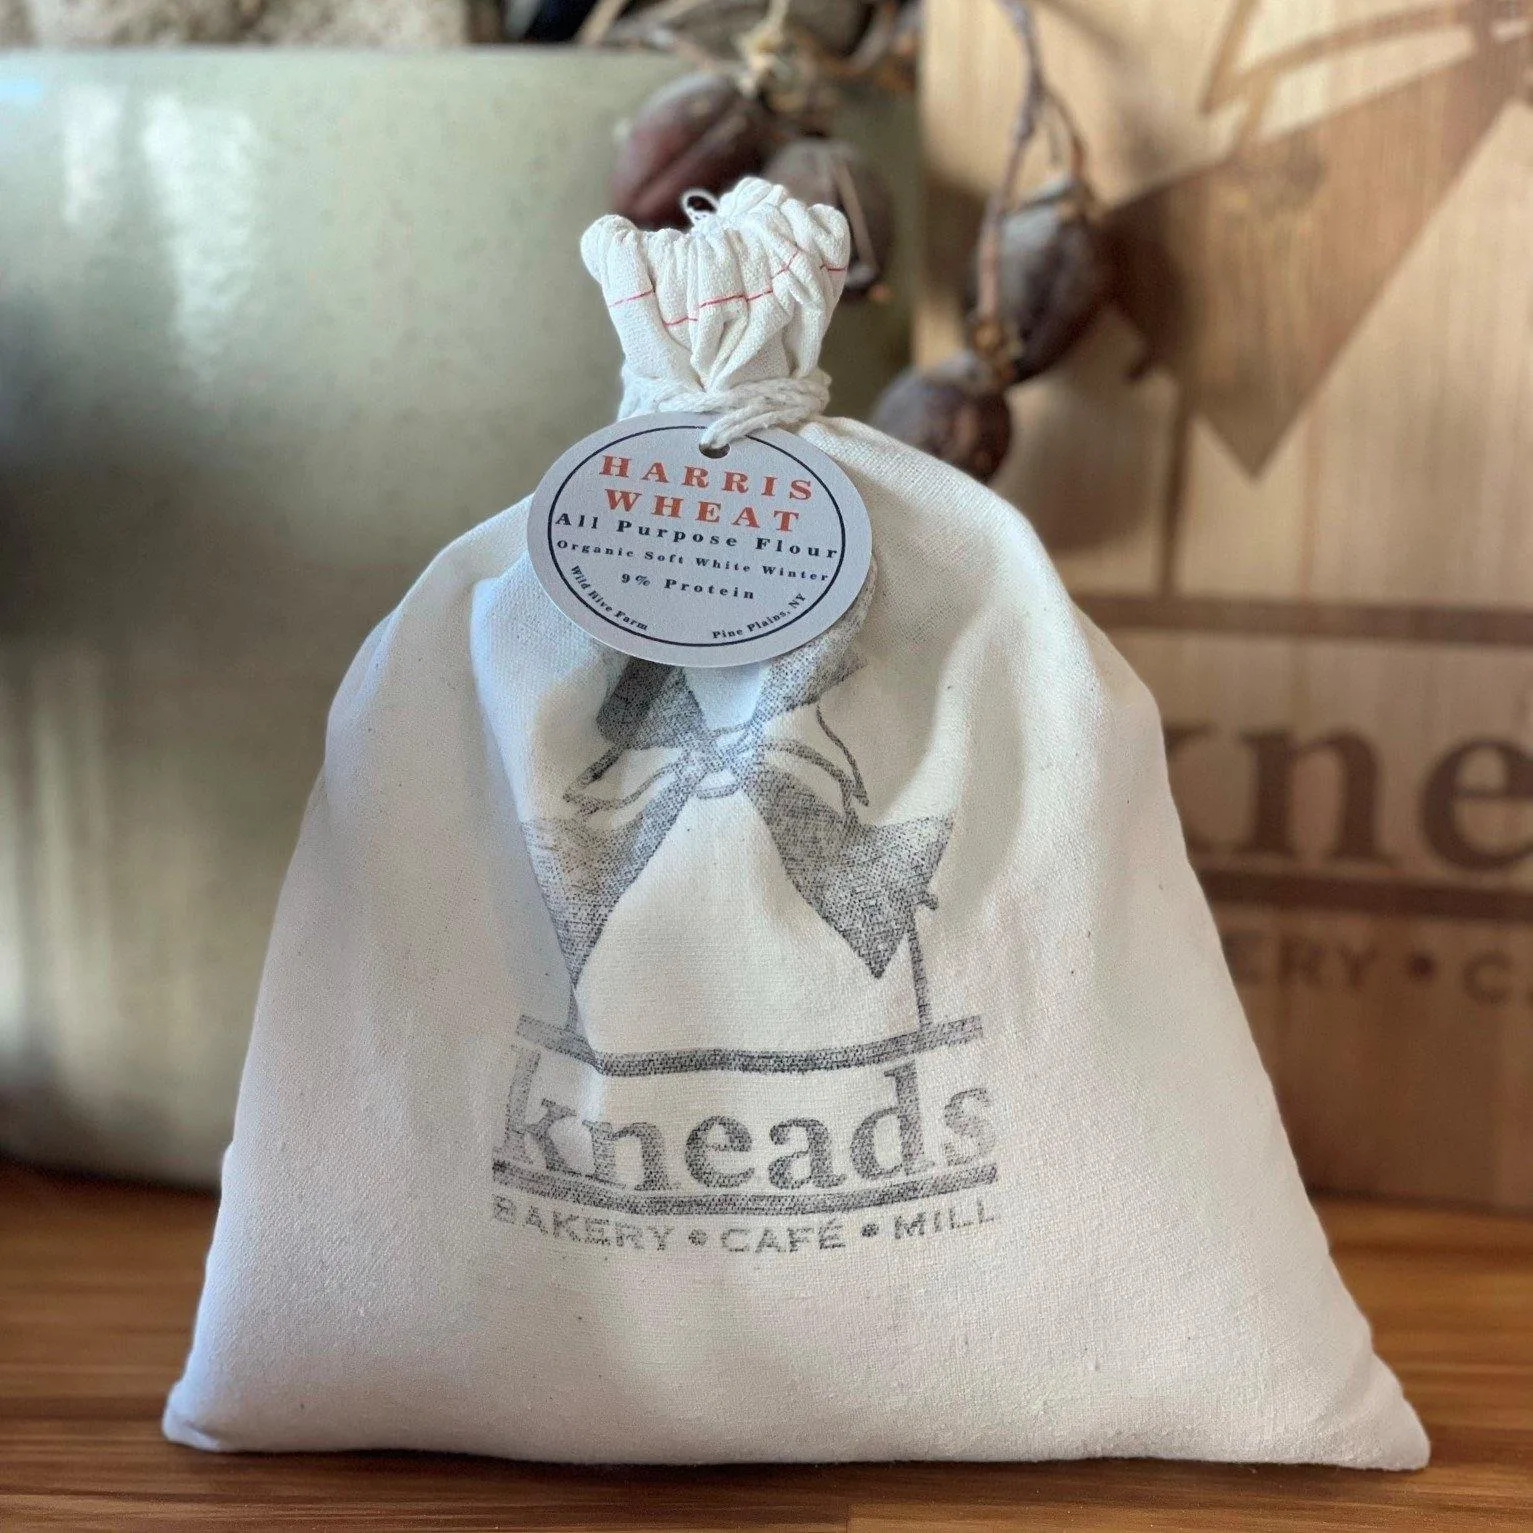
- Whole Wheat All Purpose Flour Organic: Milled fresh in store on a New American Stone Mill and sold in a 2 lb (908 g) bag. Freshly milled whole wheat flour absorbs more liquid than aged flour, so add milk gradually and expect the dough to need a little extra rest before rolling.
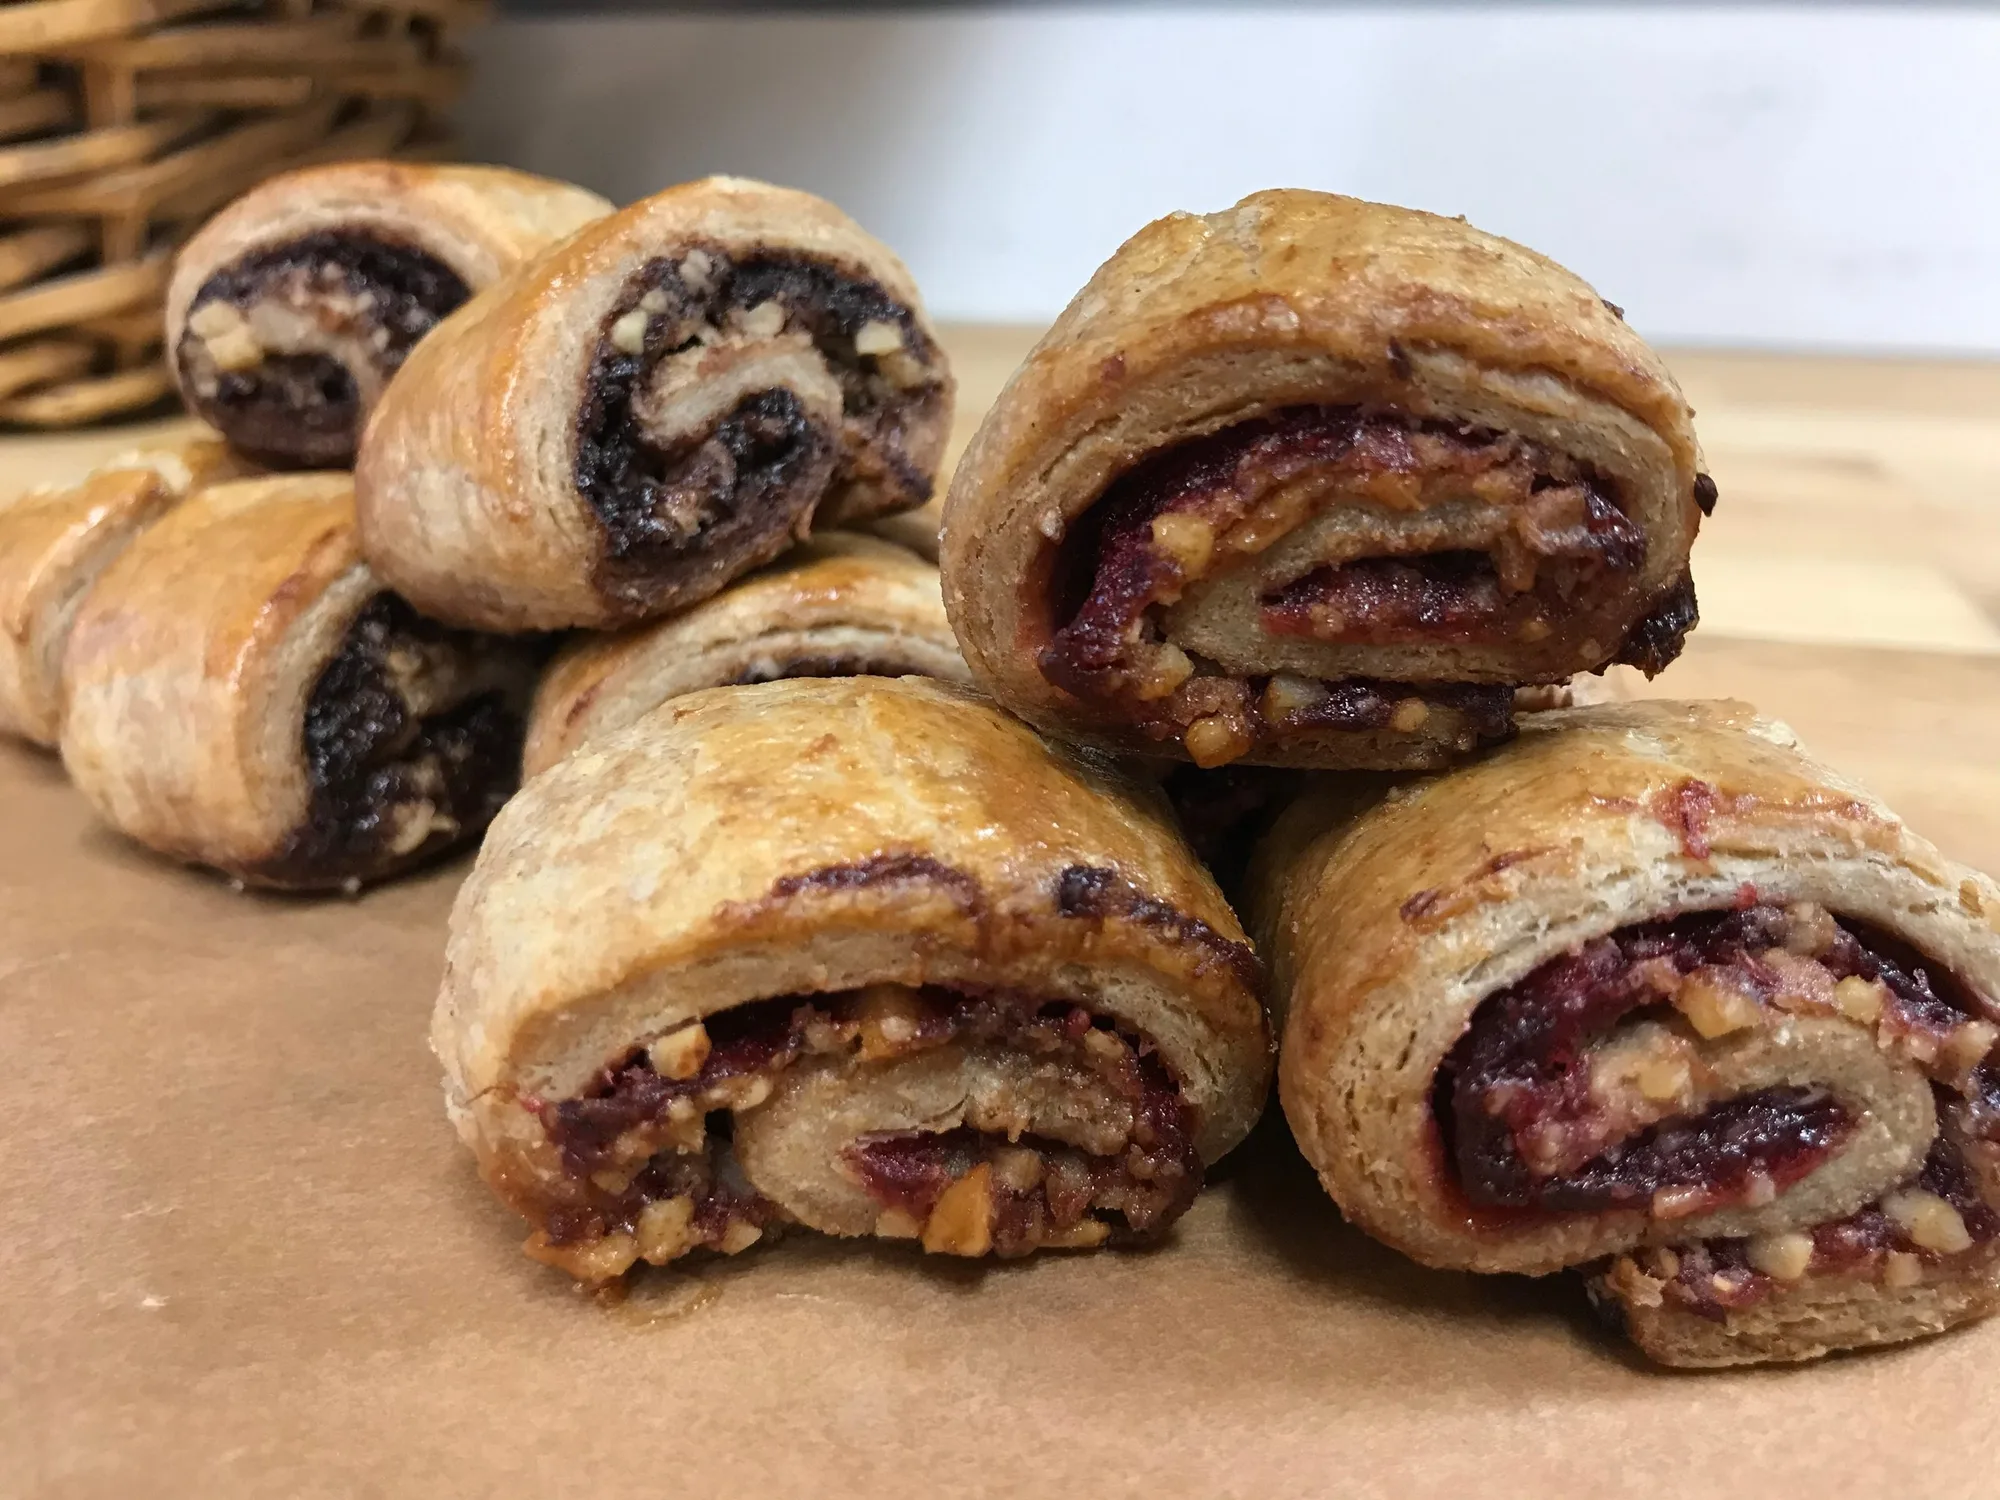
- Chocolate Walnut Rugelach: A cream cheese whole wheat pastry with a chocolate walnut filling, tagged for Hanukkah and Rosh Hashanah. If you want the chocolate-and-dough combination without shaping a babka, this is a smaller, already-finished option to serve alongside your bake.
Chocolate babka is less about perfect technique and more about timing: cold dough, cool filling, a full proof, and a patient cool-down. Follow the checkpoints above and you will get a defined swirl and a tender crumb. If you want to taste the finished result first, the Chocolate Walnut Rugelach at Kneads gives you the same chocolate-and-pastry pairing in a smaller format.