Quick answer
Use the hexagon-engraved side for carving roasts and the smooth side for chopping vegetables or smaller cuts. The removable stainless-steel tray catches juices, making cleanup easier.
Why two sides matter for meat prep
A hybrid carving and cutting board gives you two distinct surfaces for different stages of meat preparation. The carved hexagon side grips a roast or bird so it stays put while you slice, while the smooth side is better for dicing vegetables or mincing aromatics that might get caught in grooves.
The removable stainless-steel tray is a practical addition: it collects juices from the carving side and can be emptied without lifting the board. This keeps your counter cleaner and reduces cross-contamination risk when you move from raw meat to other ingredients.
Choosing the right side for the task
For large roasts, whole chickens, or turkeys, the carving side with hexagon grooves prevents sliding and channels juices into the trenches. For smaller items like chicken breasts, pork chops, or vegetables, the smooth side gives you a flat, stable surface without grooves that could trap small pieces.
Step-by-step meat prep with a hybrid board
- Set up the board with the carving side up: Place the board on a stable, dry counter with the hexagon-engraved side facing up. Slide the stainless-steel tray into the slot on the side you'll be working from. Check that the tray is fully seated so juices flow into it. Common mistake: forgetting to insert the tray before carving, which lets juices run onto the counter.
- Carve your roast or bird: Set the meat on the hexagon surface. The engraved pattern grips the meat, so it won't slide around as you slice. Use long, steady strokes with a sharp carving knife. Let the trenches guide excess juices toward the tray. Checkpoint: If the meat still shifts, pat it dry with paper towels first — moisture reduces grip on the hexagons.
- Flip to the smooth side for prep work: Once carving is done, flip the board over to the smooth side. Use it to chop vegetables, mince garlic, or slice smaller cuts of meat. The flat surface gives you full contact with your knife blade. Common mistake: using the grooved side for small items like diced onions — they can fall into the trenches and be hard to scoop up.
- Empty the juice tray and clean the board: After carving, remove the stainless-steel tray and pour the collected juices into a container for gravy or discard. Wash the board with warm soapy water and a soft sponge. Avoid abrasive scrubbers that could scratch the surface. Dry it thoroughly before storing. Checkpoint: Do not soak the board for long periods — water can seep into any exposed wood edges if the board has a wood core.
- Store the board flat or on its edge: Store the board in a dry area, either flat on a shelf or propped on its edge. Avoid leaning it against wet surfaces or stacking heavy pots on top. This prevents warping and keeps both sides ready for use. Common mistake: storing the board in a damp drawer or near the sink — moisture can cause the board to warp over time.
Product spotlight
-
Hybrid Carving & Cutting Board: The carving side features engraved hexagons to keep a roast from sliding, plus trenches for draining tasty juices. The flip side is perfectly smooth for chopping and cutting. You get two functional surfaces in one board, so you don't need separate boards for carving and chopping.
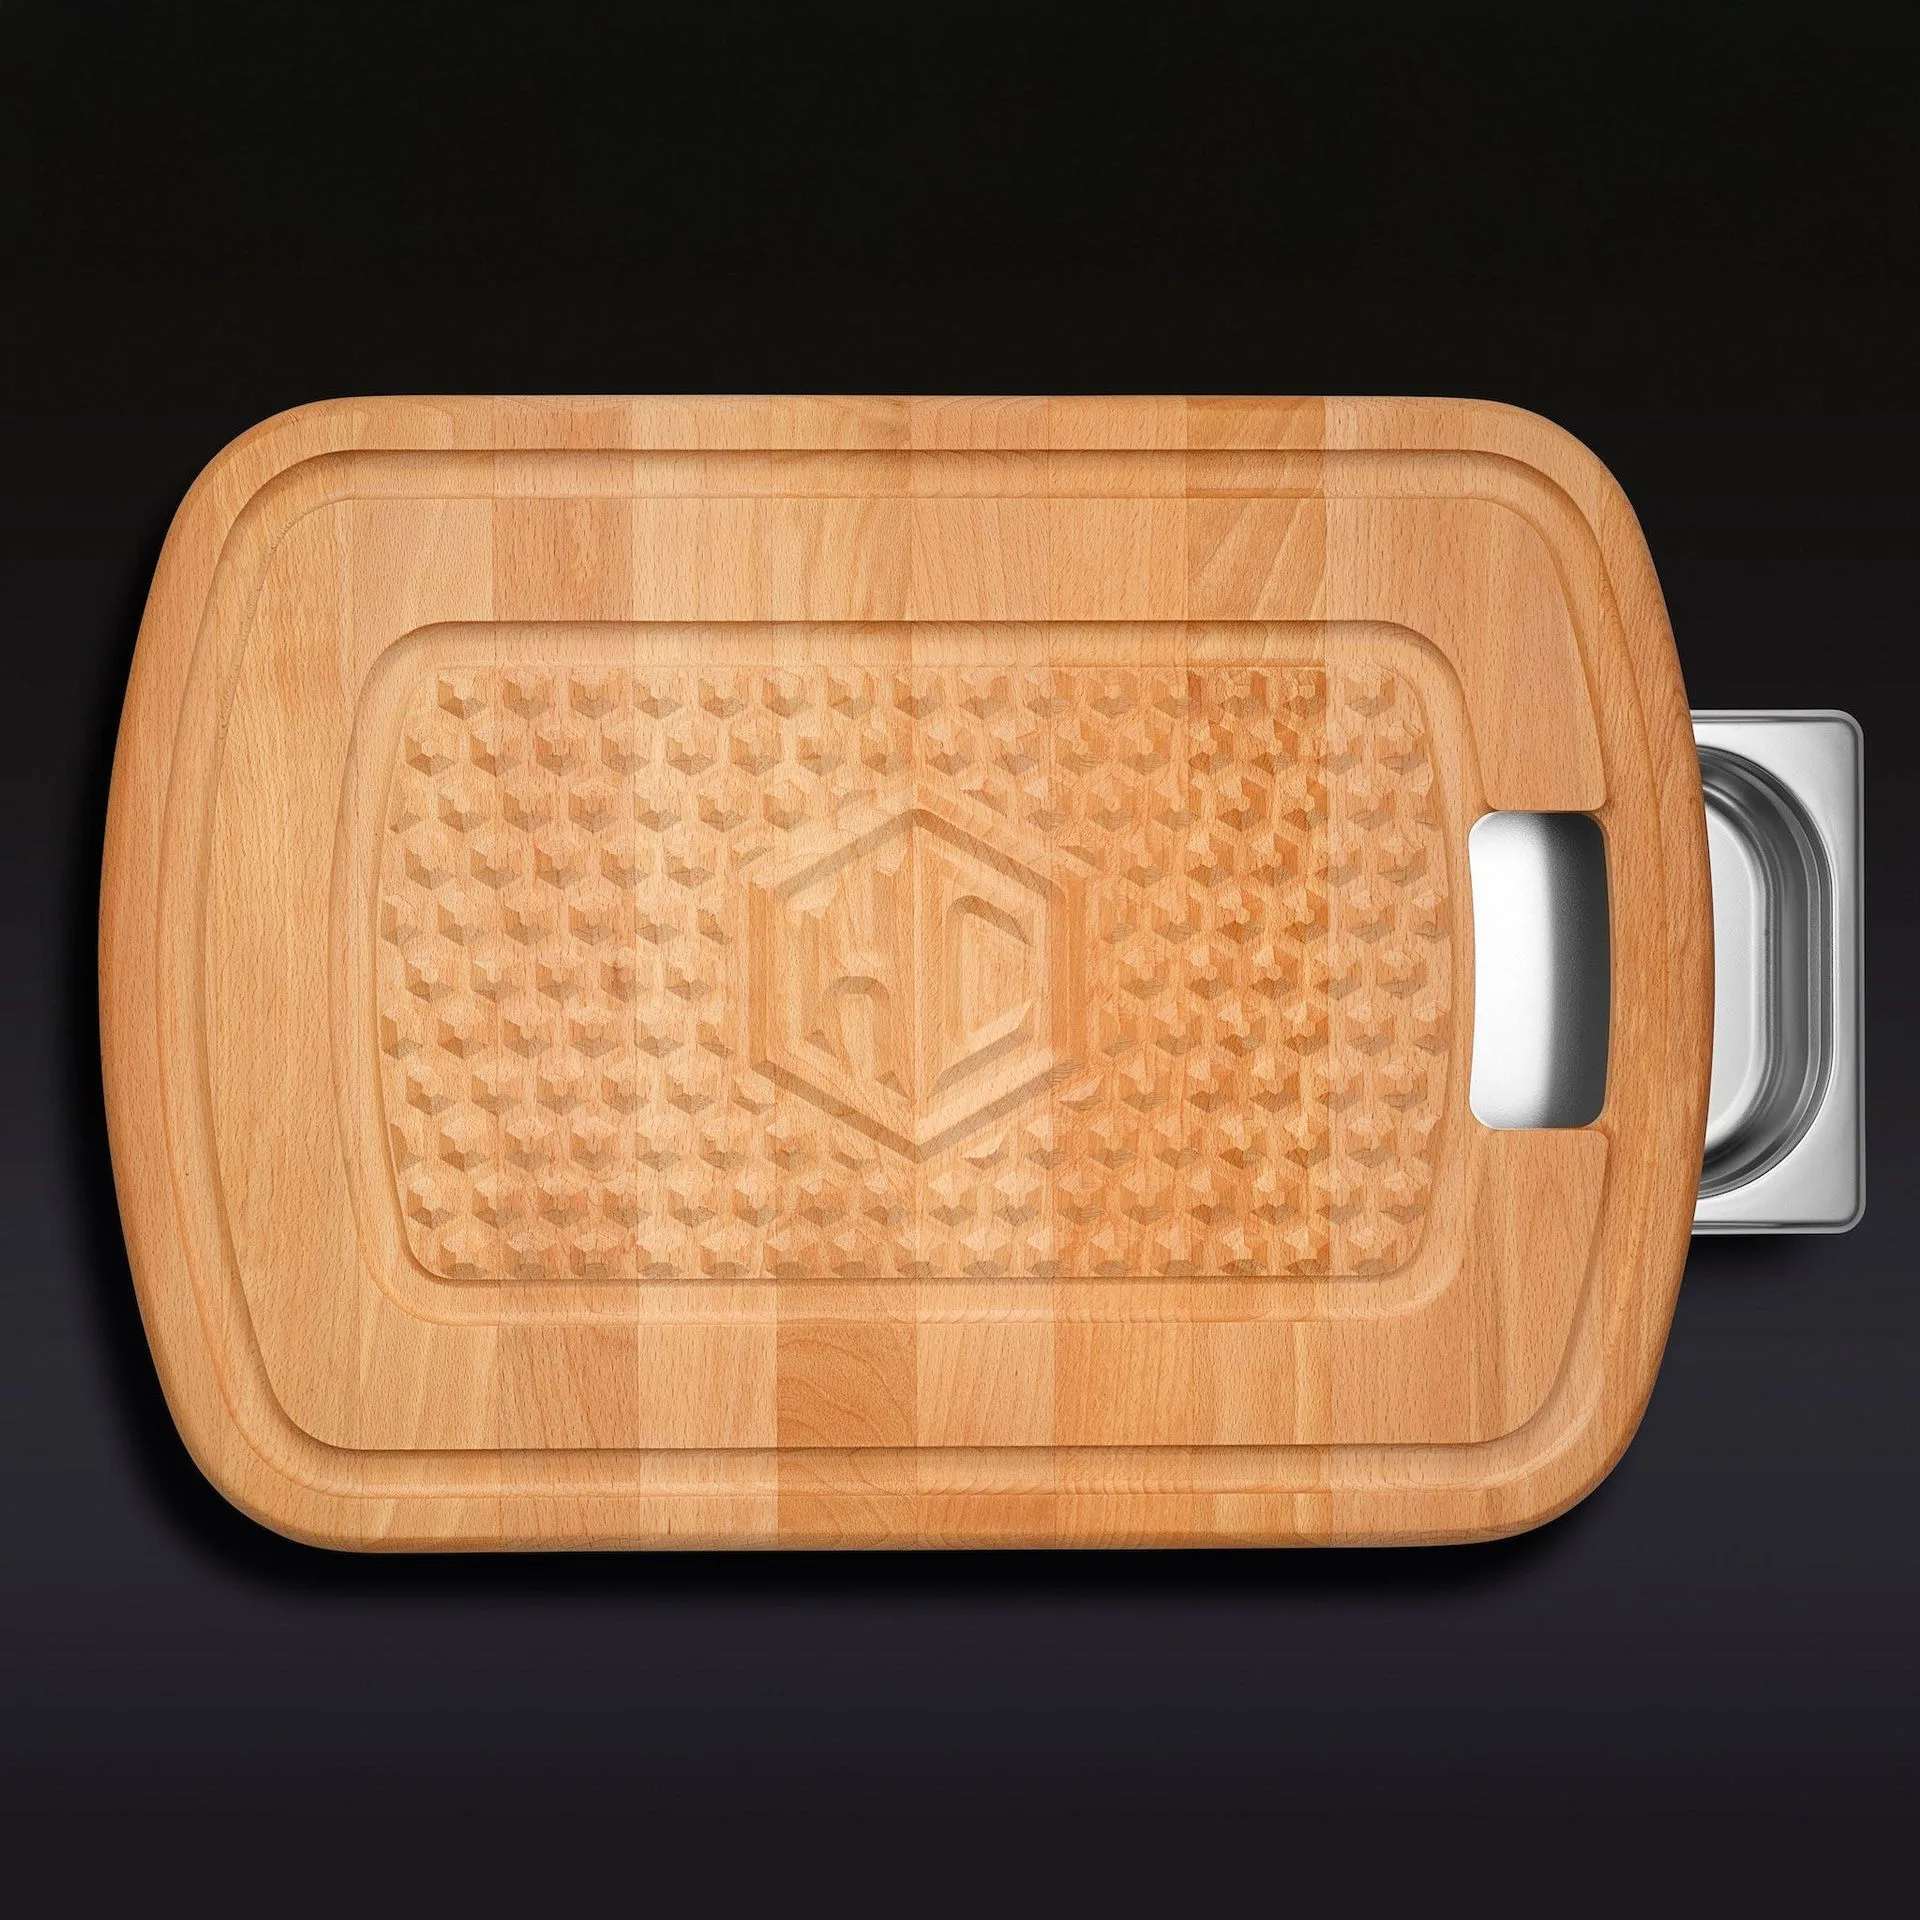
Hybrid Carving & Cutting Board
-
Hybrid Carving & Cutting Board: A removable stainless-steel tray collects jus and is accessible from either side. Juices drain into the tray instead of pooling on your counter, making cleanup faster and reducing mess.