Quick Answer
To restore rusty cast iron, scrub off rust with steel wool or a scouring pad, wash and dry thoroughly, then apply a thin layer of oil and bake it on. This 5-step process removes rust and rebuilds the seasoning so your pan is ready to cook again.
Why Cast Iron Rusts and Why You Can Fix It
Cast iron rusts when its protective seasoning layer wears off and moisture hits the bare metal. This happens after washing with soap, cooking acidic foods, or leaving a pan wet. The good news is rust is only surface damage — it does not ruin the pan. With a little elbow grease and a re-seasoning cycle, your skillet can return to its former nonstick glory.
Lodge Cast Iron skillets come pre-seasoned from the foundry, but even the best seasoning can fail if the pan is neglected. The Wildlife Series™ 12 Inch Cast Iron Elk Skillet, for example, has a naturally seasoned surface that's ready to go, but if you leave it in the sink overnight, rust spots can appear. The same applies to any seasoned cast iron cookware.
What You'll Need
You probably already have most of the tools: steel wool or a stiff nylon brush, mild dish soap, a clean towel, vegetable oil or flaxseed oil, and an oven or stovetop. Avoid using power tools or harsh chemicals — they can damage the metal. A little patience is the only other ingredient.
5 Steps to Restore Rusty Cast Iron
- Step 1: Scrub Off Rust: Use steel wool or a stiff nylon brush to scrub the rusty areas. For light rust, soap and water are fine. For heavy rust, make a paste of baking soda and water or use a chainmail scrubber. Scrub until the rust is gone and the metal feels smooth. Common mistake: using too much force and scratching the metal. Stop once the rust is removed.
- Step 2: Wash and Dry Completely: Wash the pan with mild dish soap and warm water to remove any rust residue and grit. Rinse thoroughly. Dry immediately with a clean towel, then place the pan on a low stove burner for a minute to evaporate any remaining moisture. Any water left behind will cause new rust. Checkpoint: the pan should be bone-dry before you oil it.
- Step 3: Apply a Thin Layer of Oil: Pour a small amount of vegetable oil, canola oil, or flaxseed oil onto the pan. Use a paper towel to spread it in a thin, even layer over the entire surface — inside, outside, and handle. Then wipe off the excess with a clean cloth. The pan should look almost dry, not greasy. Common mistake: using too much oil, which creates a sticky, uneven seasoning.
- Step 4: Bake the Seasoning: Place the pan upside down on the middle oven rack with a baking sheet or foil on the lower rack to catch drips. Bake at 450°F (230°C) for one hour. Then turn off the oven and let the pan cool inside. This polymerizes the oil into a hard, nonstick seasoning layer. Checkpoint: the pan will look darker and have a slight sheen when done.
- Step 5: Repeat if Needed: For heavy rust or bare metal spots, repeat steps 3 and 4 two or three times. Each layer builds a stronger seasoning. After the final coat, your pan is ready to use. Cook something fatty like bacon or cornbread first to reinforce the seasoning. Verdict: a properly re-seasoned pan will be smooth, dark, and nonstick. If it still feels rough, scrub lightly and apply another coat.
Cast Iron That's Worth Restoring
- Wildlife Series™ 12 Inch Cast Iron Elk Skillet: Cast iron that loves to celebrate the great outdoors! This skillet brings great heat retention, time-tested durability, and a naturally seasoned cooking surface that's ready to go, straight from the foundry. If your current skillet is beyond repair or you want a fresh start, this pre-seasoned pan is ready to cook immediately and will last for decades with proper care.
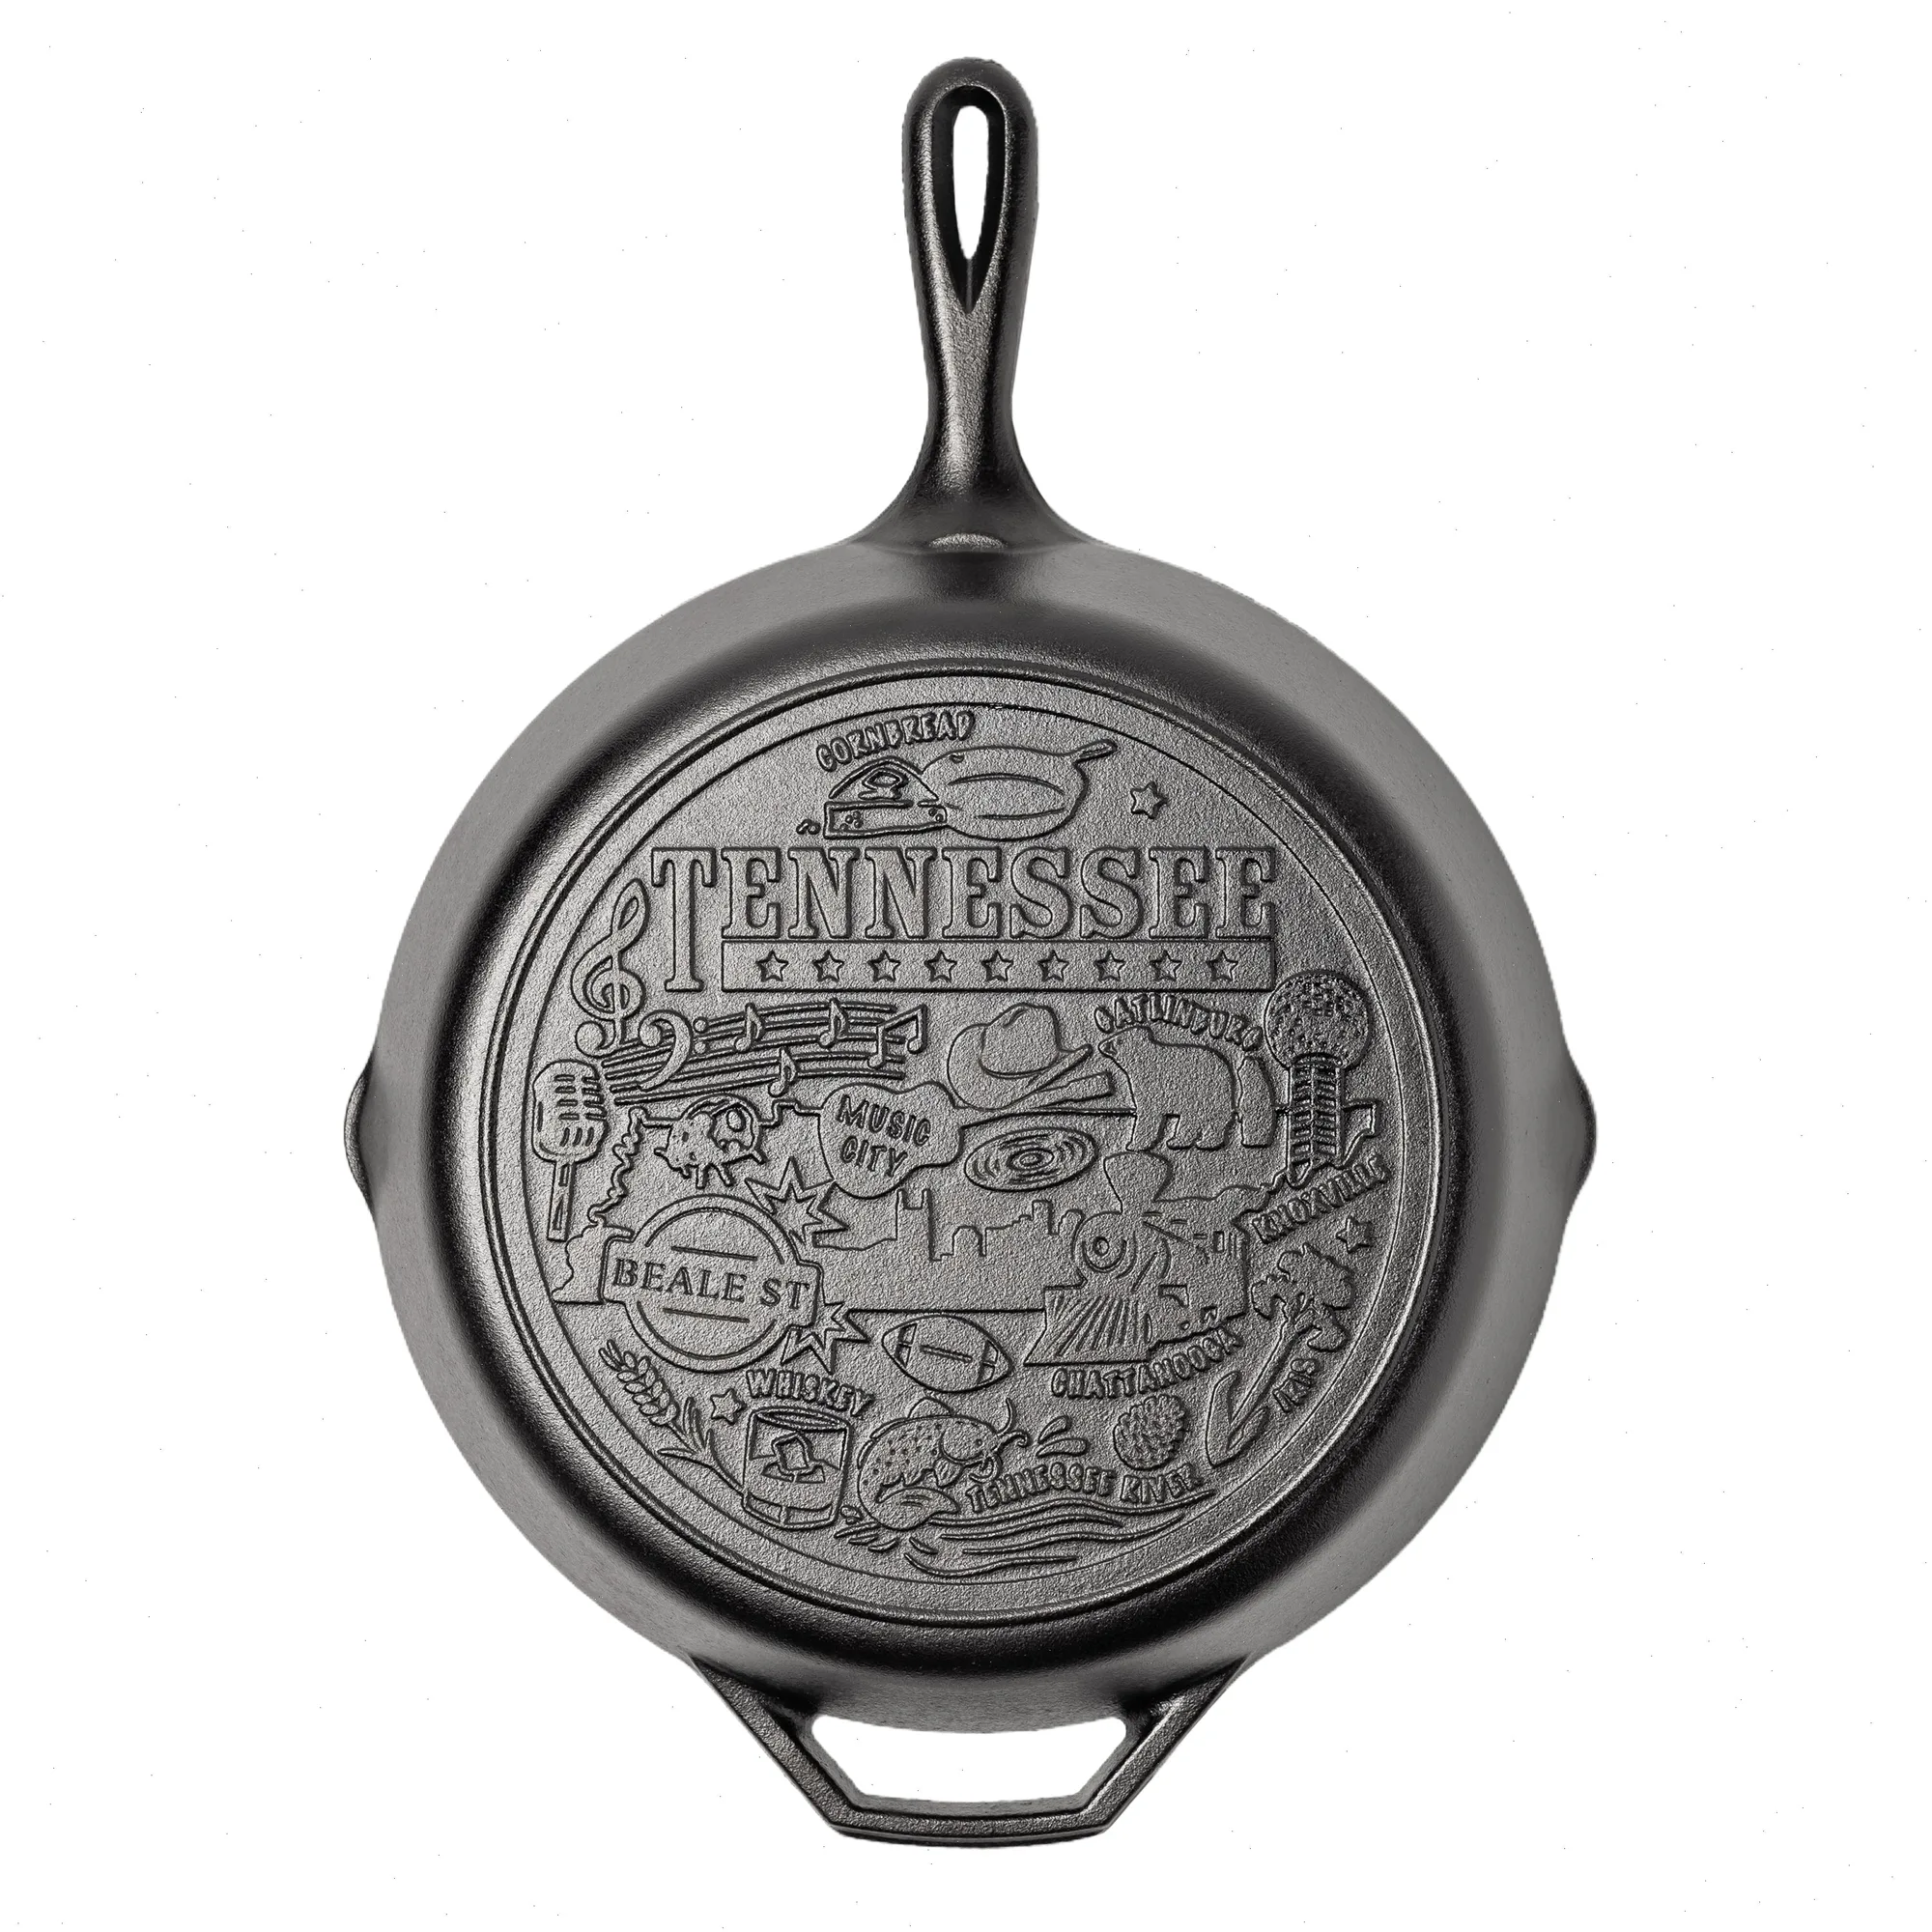
- American Road Trip: 12 Inch Seasoned Cast Iron Skillet, New York: Celebrate the 'Empire State' with a special edition New York skillet! This pan is part of our American Road Trip series, and takes you on a tour of your favorite states. A collectible skillet that's also fully functional — if you're restoring a rusty one, consider replacing it with a pan that's both a kitchen tool and a conversation piece.