Quick answer
Start by writing the current month on your first monthly page, then build one weekly spread, then add tabs. Do a two-week test run before committing to a full year. An undated planner works best when you set up only the pages you will actually use in the next 30 days.
Why undated planners change your setup order
A dated planner tells you where to start. An undated one does not, which is why most blank planner setup attempts stall on page one. The fix is to set up in reverse: decide what you need to track, then create only the pages that serve it. Leave the rest of the book empty until you need it.
This approach also protects you from a common trap. People fill in twelve months of dates, then change jobs, move, or drop a habit in March, and the planner becomes a record of a plan they no longer follow. Undated pages let you restart without wasting paper.
Gather your setup tools before you write
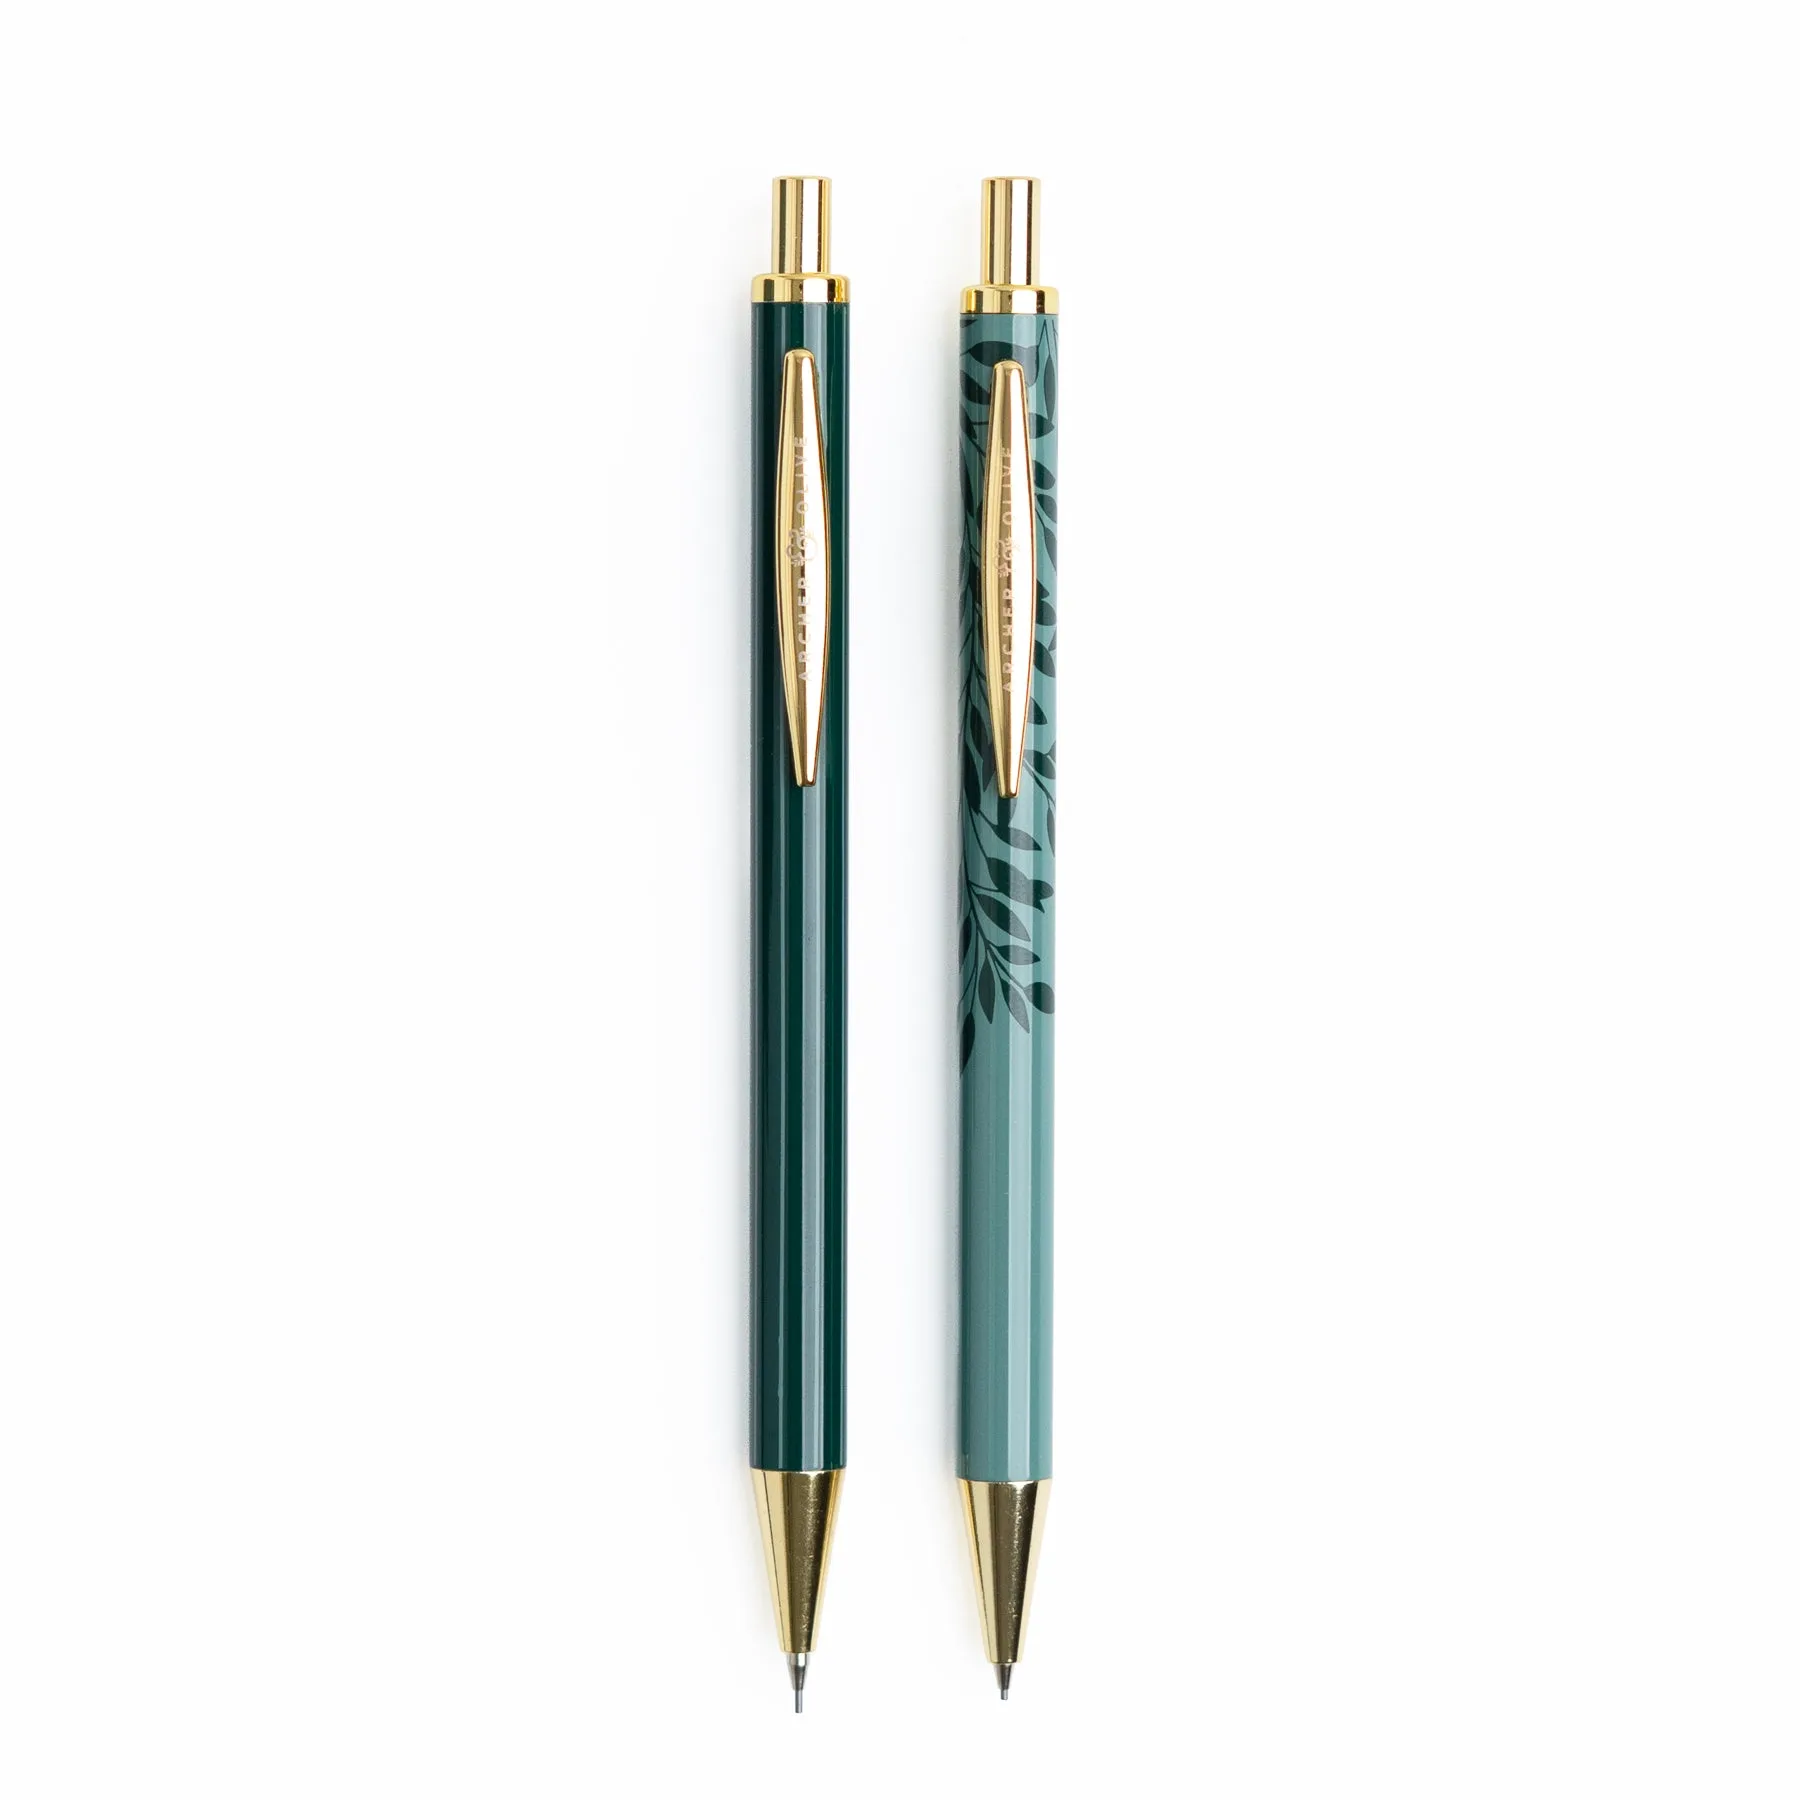
You need three things: a pen that will not bleed through your page weight, a way to create tabs, and a ruler if you plan to draw any lines. If your planner uses heavier paper, most fine-liner and gel pens behave well, but test on a back page first.
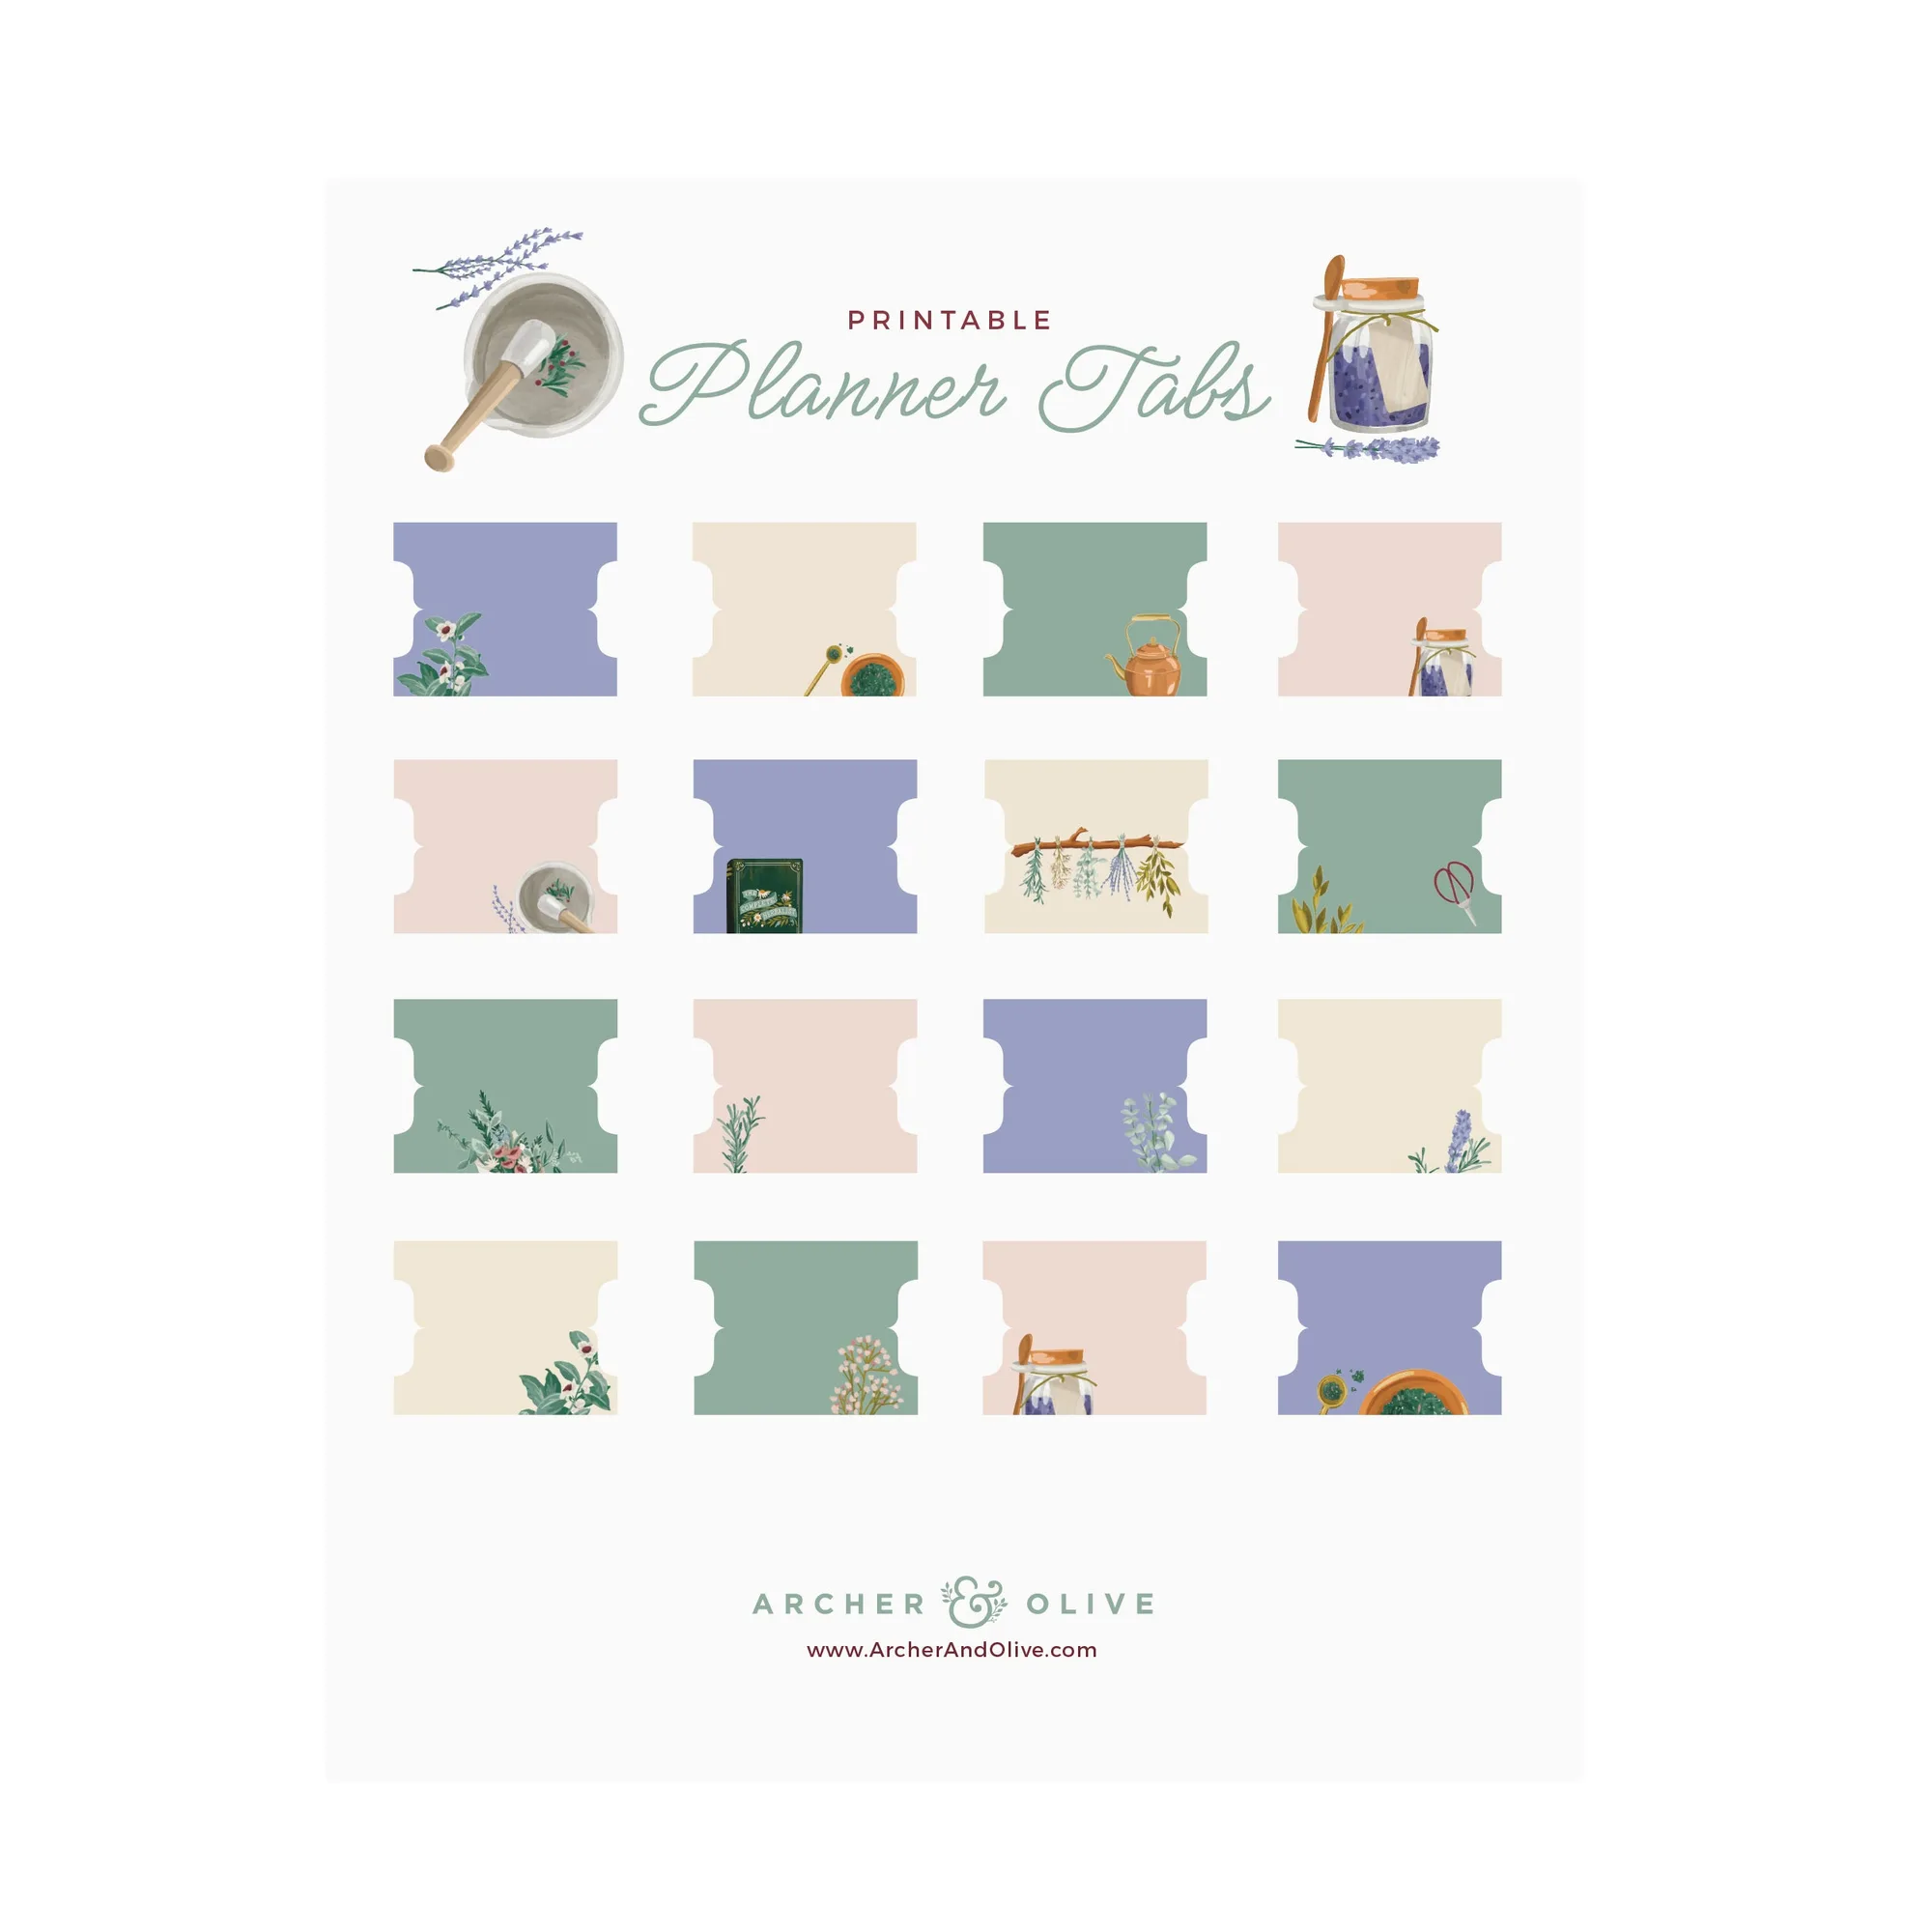
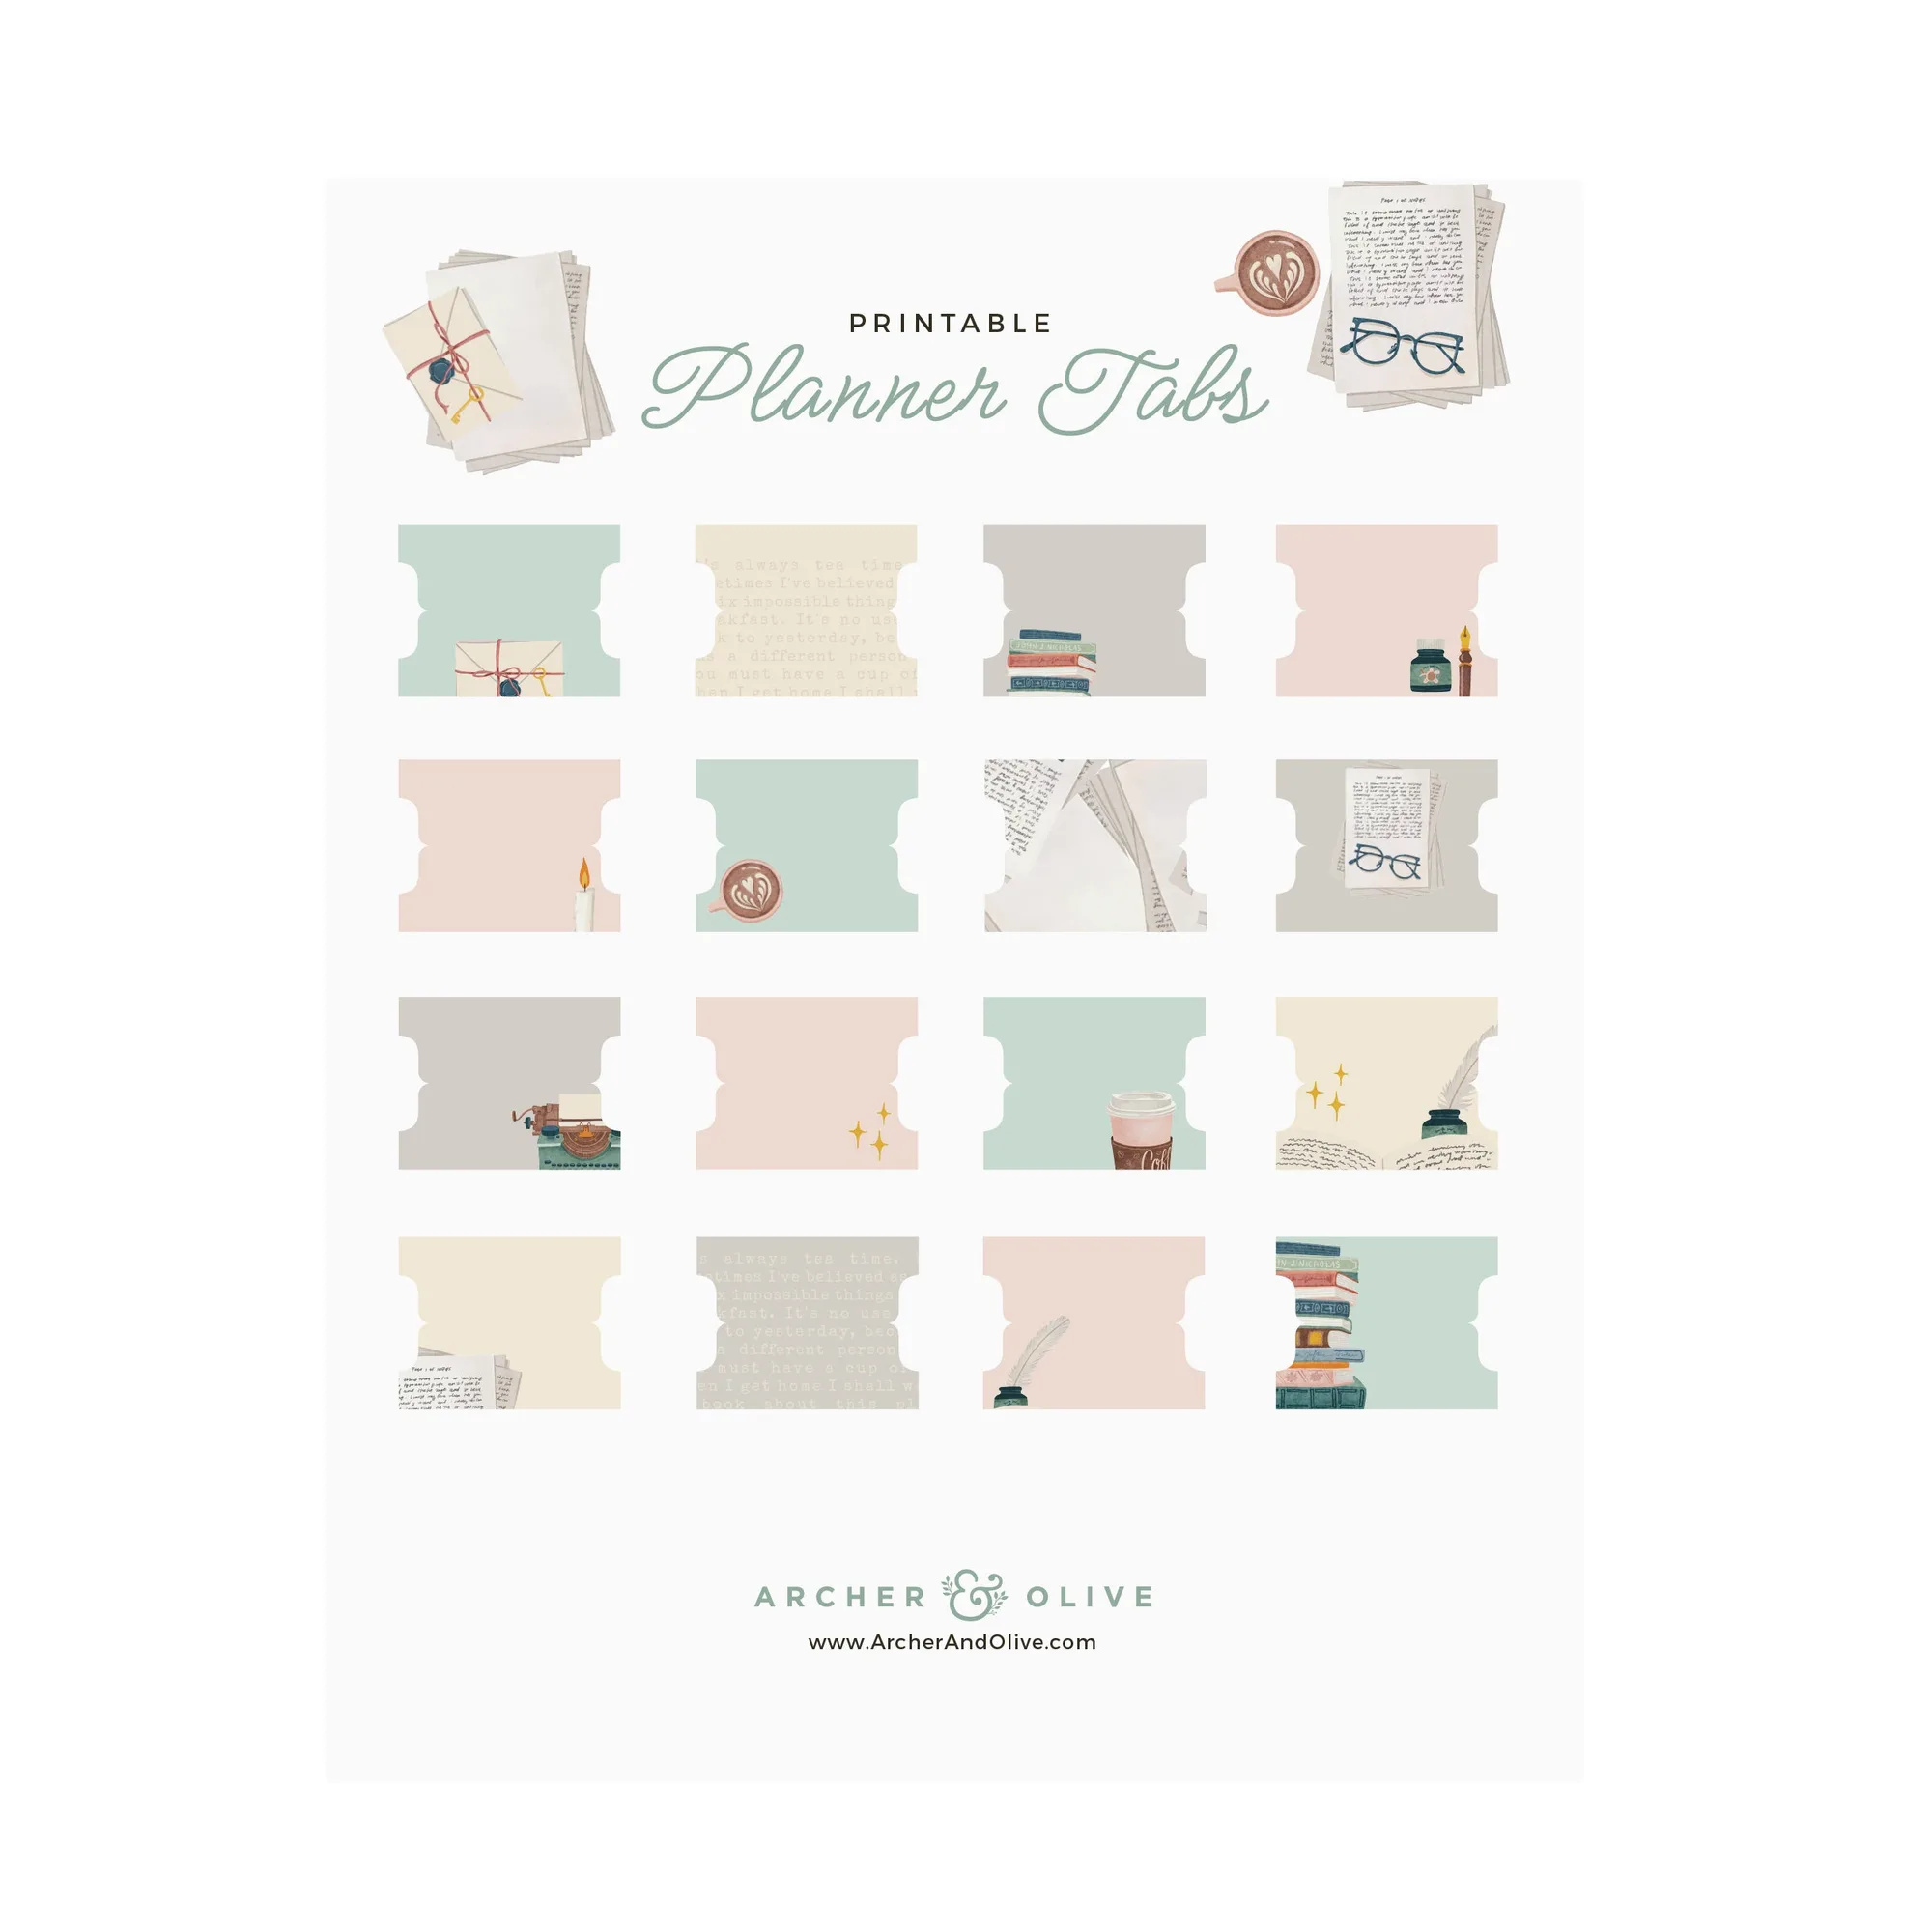
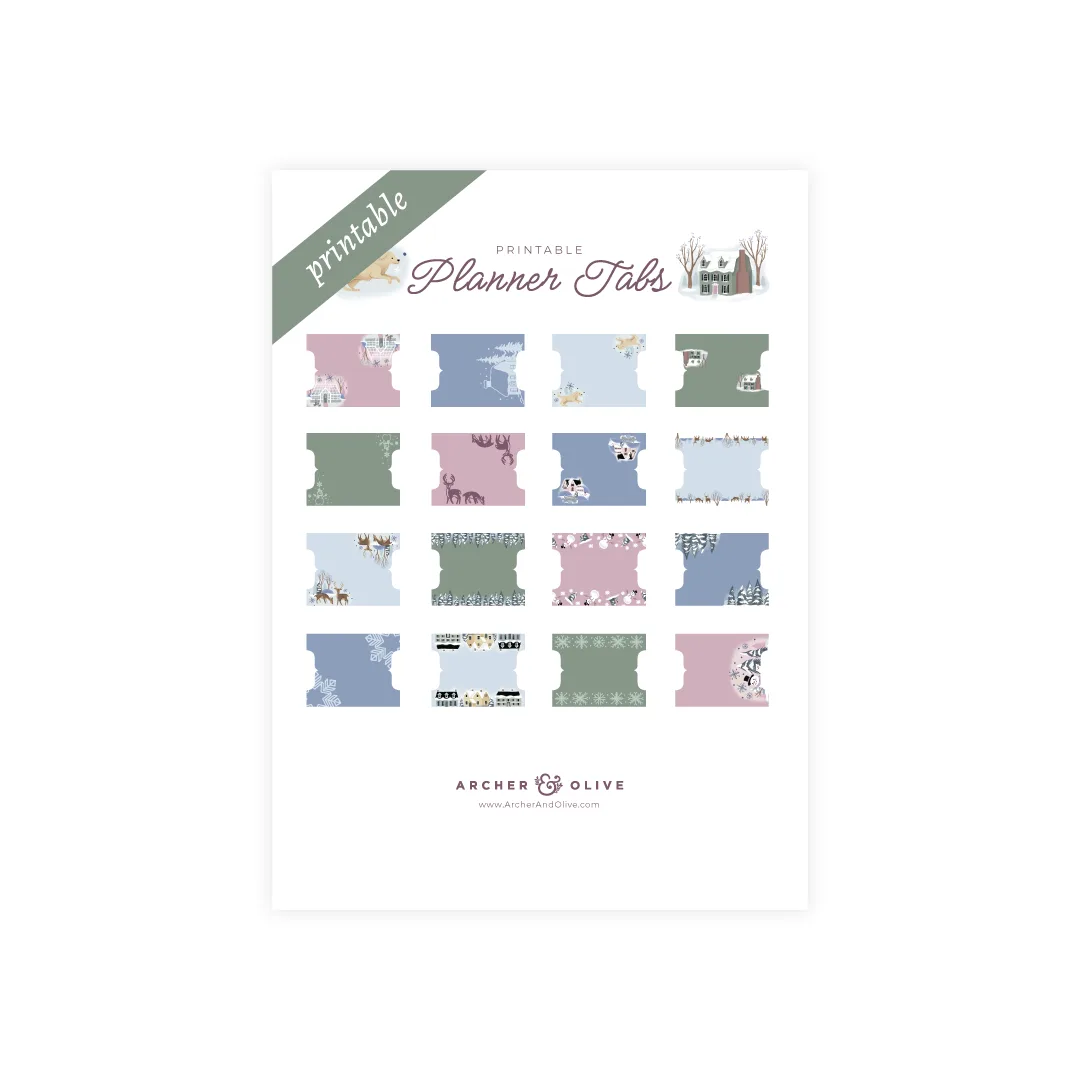
Tabs matter more than people expect in an undated book, because you are creating the navigation as you go. Printable tab sets let you add structure without hand-lettering every divider, and they are removable if you change your mind.
Choose your core spreads before you add extras
Most undated setups need four spread types: a month map, a weekly layout, a task or project list, and a notes section. Anything beyond that, such as habit trackers or reading logs, should wait until you have used the core four for two weeks.
If you are building an A5 undated planner setup, space is the constraint. A5 gives you roughly half a letter page per side, so a weekly spread usually needs two pages rather than one. Plan for that before you commit to a layout.
Setup steps in order
- Step 1: Write the current month on your first monthly page: Open to the first monthly spread and write the month and year you are starting in. Do not fill in future months yet. Common mistake: dating twelve months ahead, which locks you into a structure you have not tested. Checkpoint: only one month should be dated when you finish this step.
- Step 2: Build one weekly spread and use it for seven days: Create a single weekly layout that matches how you actually plan: appointments, tasks, or both. Write in it for a full week before making a second one. Common mistake: designing a beautiful spread you never open because it does not match your routine. Checkpoint: if you used it fewer than four days, simplify the layout before continuing.
- Step 3: Add tabs for the sections you have actually used: After two weeks, tab only the sections that earned their place: month, week, tasks, notes. Printable tab sets work well here because you can print a second sheet if your sections change. Common mistake: tabbing ten sections at the start, which makes the tabs useless for quick navigation. Checkpoint: four to six tabs is the practical maximum for an A5 book.
- Step 4: Create a task or project list behind its own tab: Use one page for open tasks and one for projects with deadlines. Keep the list separate from your weekly spread so unfinished items do not clutter each week. Common mistake: rewriting the same carried-over tasks every week instead of moving them once. Checkpoint: if a task has moved three weeks in a row, either schedule it or delete it.
- Step 5: Add a notes section at the back and leave it undated: Reserve the final pages for meeting notes, ideas, or reference lists. Do not add dates or page numbers you will have to maintain. Common mistake: treating notes as a journal, which makes them hard to search later. Checkpoint: notes should be scannable, not chronological.
- Step 6: Date the next month only when the current one ends: When you reach the end of a month, write the next month on the following monthly page. This keeps your planner accurate to your real life instead of a plan you made months ago. Common mistake: pre-dating several months and then abandoning the book when plans change. Checkpoint: one month dated at a time is the rule that keeps an undated planner useful.
Products that fit this setup
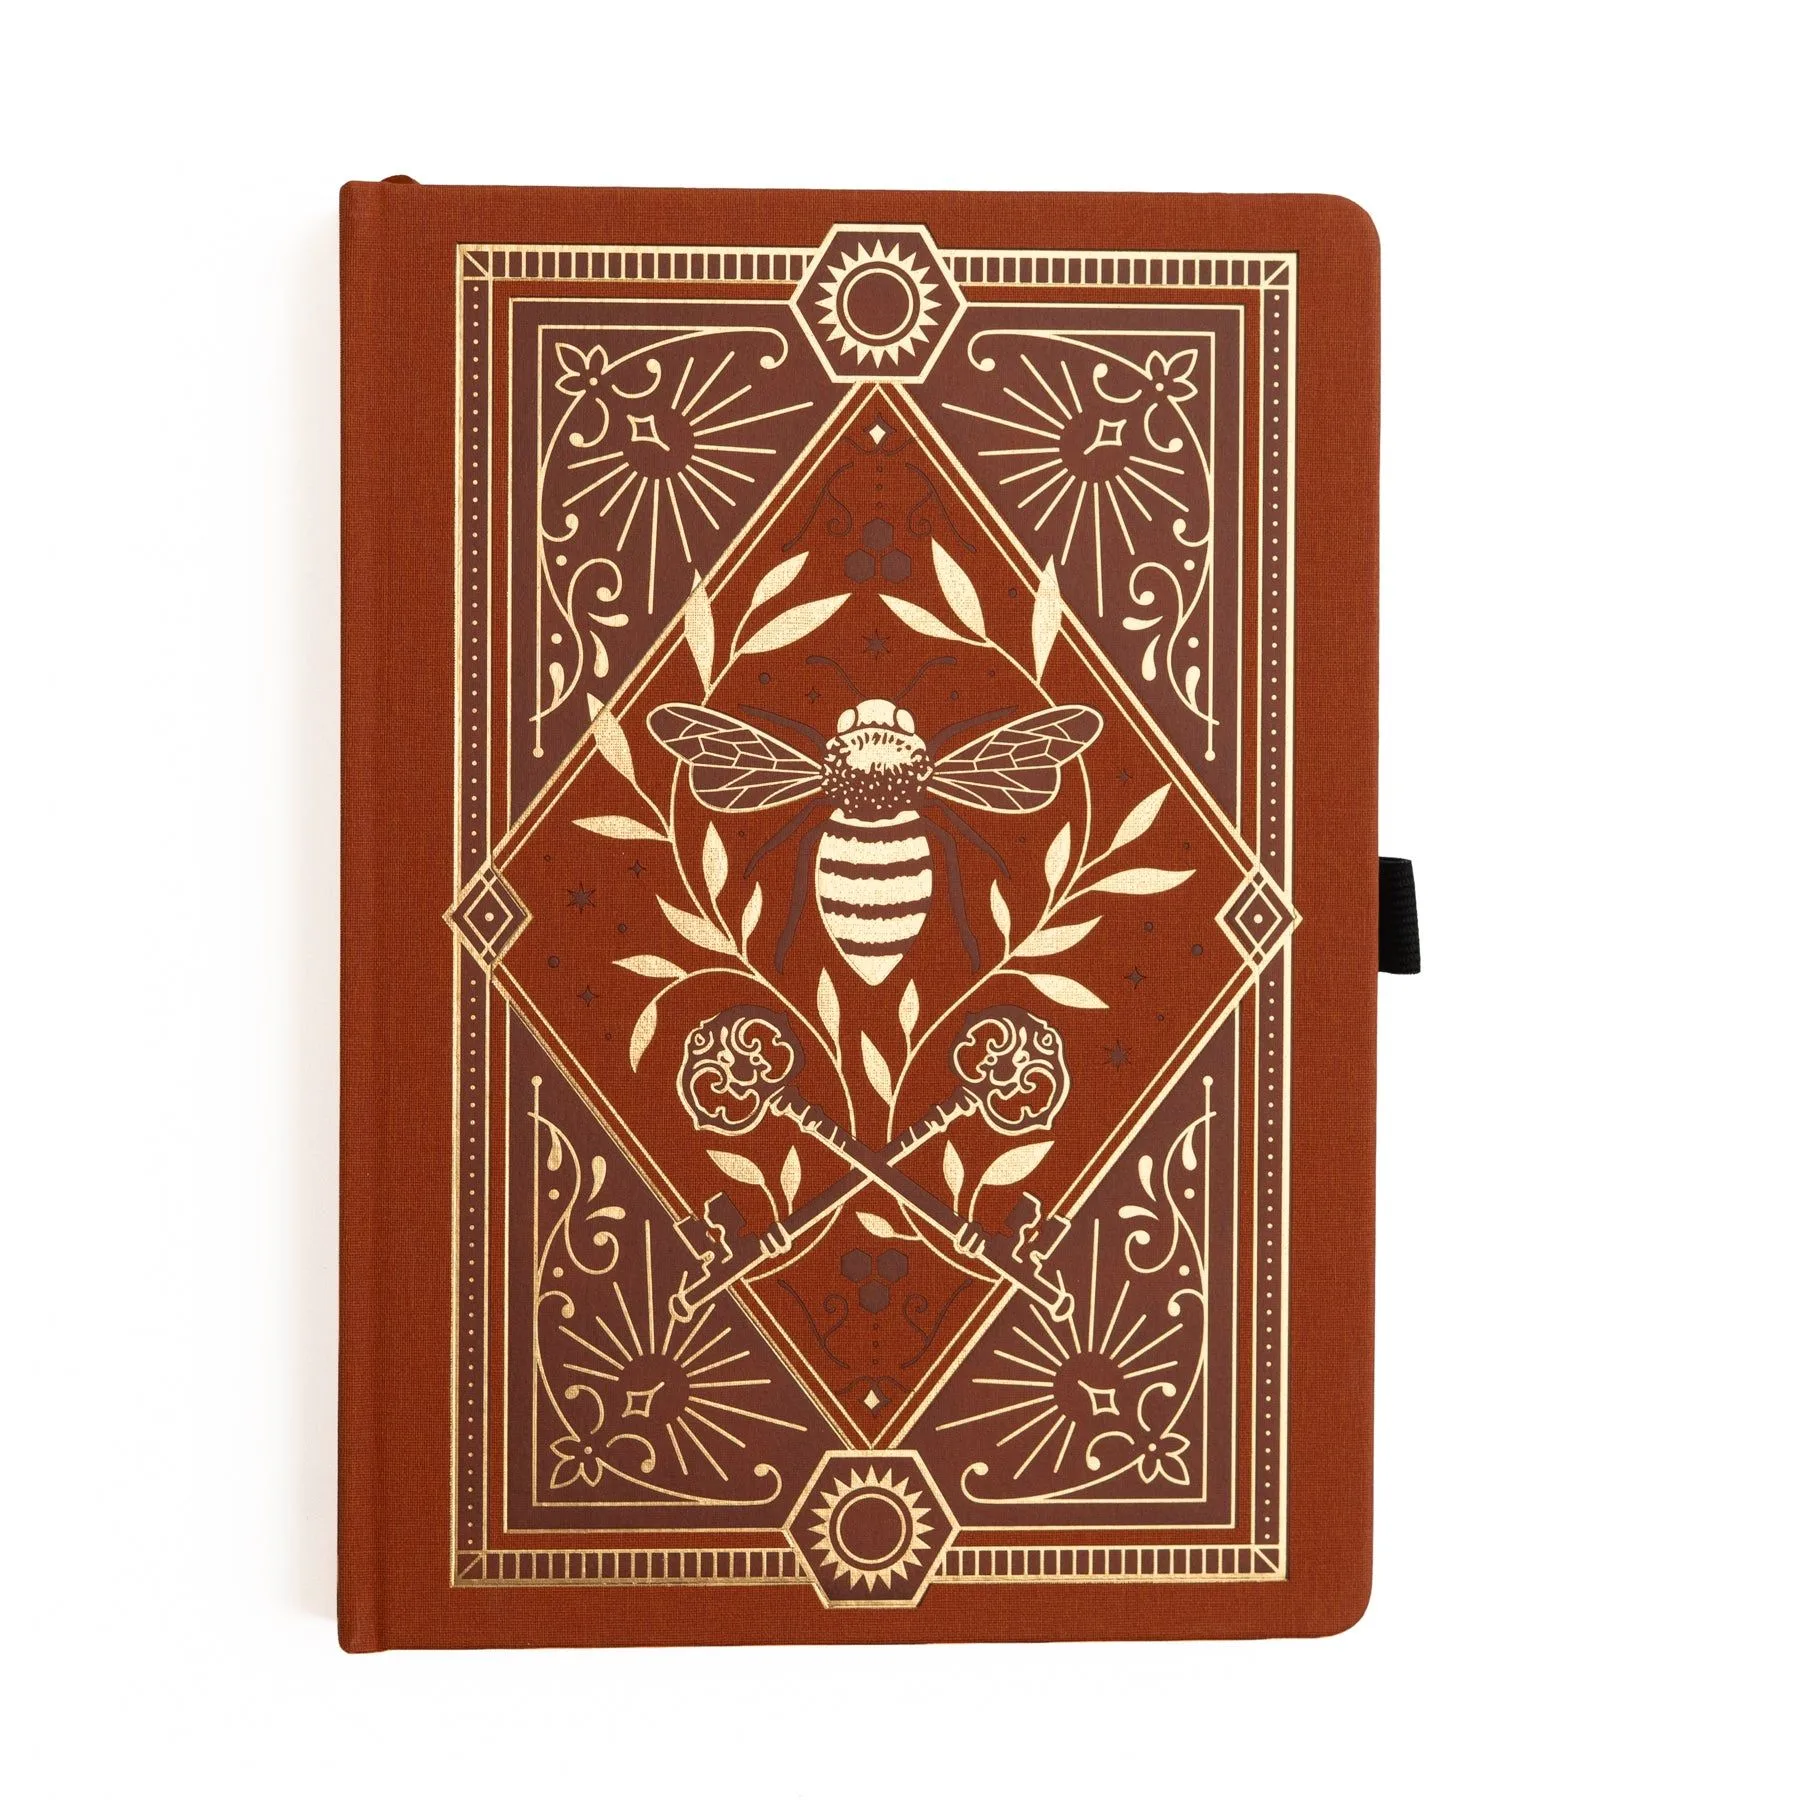
- A5 Undated Planner: Songbird: A5 Undated Planner: Songbird is an undated A5 planner with soft vegan leather cover and flexible goal-setting structure. Because it is undated, you can start on any day or month, which suits the two-week test run described above.
- Printable Planner Tabs: Winter Village: Printable Planner Tabs: Winter Village is an instant-download PDF tab set with pastel, hand-painted winter scenes. Printable tabs let you build navigation after you know which sections you actually use, rather than guessing at the start.