Quick answer
Baking bread in a seasoned cast iron loaf pan gives you even heat distribution, a crisp crust, and a moist crumb. Preheat the pan, grease lightly, and adjust your bake time slightly longer than for standard pans.
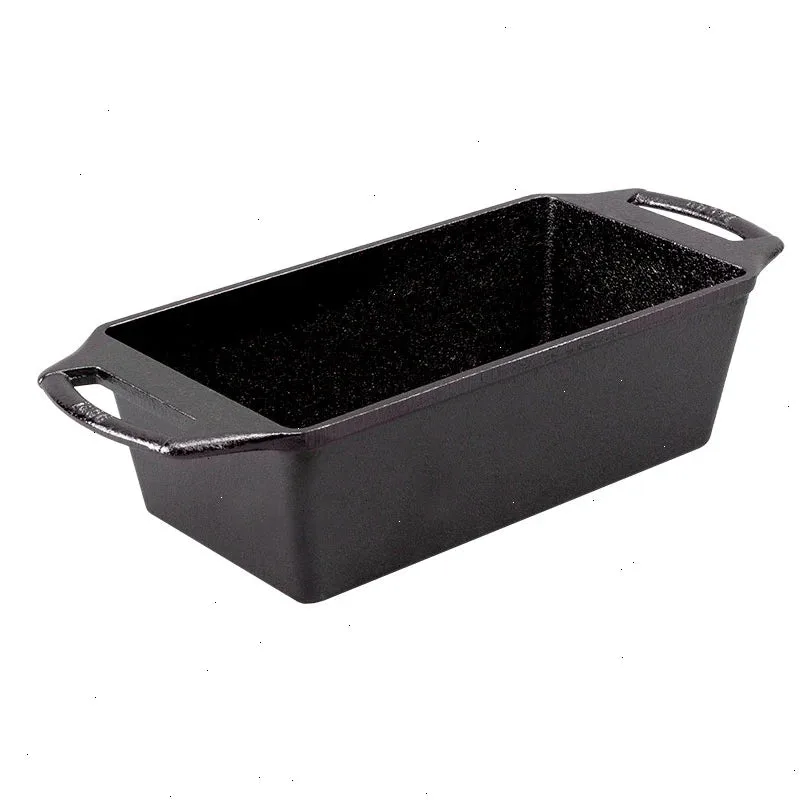
seasoned cast iron loaf pan
Why Choose a Cast Iron Loaf Pan for Bread
Cast iron holds and radiates heat far more evenly than thin metal or glass loaf pans. This means your bread rises steadily without hot spots that can scorch the sides or leave the center underdone. The naturally seasoned surface of a Lodge cast iron loaf pan is ready to use straight from the foundry, and it develops a non-stick patina over time that makes release easier with each bake.
One trade-off: cast iron is heavy and takes longer to preheat. Plan to place the pan in the oven while it preheats so the entire pan reaches baking temperature. This extra step prevents a sudden temperature drop when you add the dough.
Dough Preparation Tips for Cast Iron
Any standard sandwich bread or quick bread recipe works in a cast iron loaf pan. Because the pan retains heat so well, you may need to reduce the oven temperature by 25°F compared to a recipe written for glass or aluminum. This prevents the crust from browning too quickly before the interior is fully baked.
For best results, let your dough rise until it crowns about 1 inch above the rim of the pan. Cast iron's heat retention helps create a strong oven spring, so the loaf will rise further during the first 10 minutes of baking.
Step-by-Step: Baking Bread in a Cast Iron Loaf Pan
- Preheat the pan with the oven: Place your seasoned cast iron loaf pan in the cold oven, then set the temperature to 375°F (or 25°F lower than your recipe). Let the pan heat for at least 20 minutes after the oven reaches temperature. Common mistake: adding dough to a cold pan causes a dense, uneven loaf. Always preheat.
- Lightly grease the hot pan: Remove the hot pan using oven mitts. Brush a thin layer of neutral oil or melted butter on the interior surfaces. The seasoned surface is already non-stick, but a light grease ensures clean release for your first few bakes. Checkpoint: use a pastry brush to reach corners evenly. Avoid pools of oil.
- Add the dough and bake: Gently place your risen dough into the hot, greased pan. Return to the oven immediately. Bake for 40–50 minutes, or until the internal temperature reaches 190–200°F and the crust is deep golden brown. Checkpoint: if the top browns too fast, tent loosely with foil after 25 minutes.
- Cool and release: Let the loaf rest in the pan for 5 minutes after baking. Run a thin spatula around the edges, then turn the pan upside down to release the bread. Cool completely on a wire rack before slicing. Common mistake: slicing while warm compresses the crumb. Wait until fully cool.
What You Need
- Seasoned Cast Iron Large Loaf Pan: Cast iron is a baker’s best friend. That’s because cast iron bakeware won’t dent, bend, or warp at high temperatures, so you can keep perfecting your quick breads and sandwich loaves. The naturally seasoned cooking surface is ready to go, straight from the foundry. And great heat retention helps you get perfect bakes every single time. The Lodge Seasoned Cast Iron Large Loaf Pan gives you a warp-free, ready-to-use surface that distributes heat evenly for consistent browning and a tender crumb.